Visit any Facebook group on dog care or training and you’ll find lots of questions from new puppy families. Many of these questions and concerns stem from, or are caused by, transition stress.
Stress is often defined as a state of mental or emotional strain or tension resulting from adverse or very demanding circumstances. In our case, the stress is the transition from the breeder’s home to the home of the new family. Coping with this transition should always fall under “demanding” and never “adverse” experiences, as our puppies are moving into loving and attentive homes that are carefully chosen to be just the right match for our puppy and the family.
It’s important to note that stress is beneficial for our puppy. All dogs will experience multiple stress inducing events throughout life. Indeed many dogs, such as show, sport, or working dogs, will be exposed regularly to stress and their body and mind must learn to cope and function optimally under it’s effects. In short, stress builds stronger and more resilient dogs.
Learning to cope with, and work through, stress associated with changes stems from a puppy feeling competent and confident during transitions and is an important part of the socialization experience for every dog.
Our work starts long before this day!
By thinking about the imminent departure of our puppy and preparing the puppy for this experience, we can help our puppy adapt as easily as possible during this transition. We can also teach our family how to help their dog master transitions, something that sets both puppy and family up for long term success.
I’ve compiled a list of 10 easy to implement exercises we use to help puppies transition smoothly to their new homes. These are based heavily on the Puppy Culture protocols we are already using.
Goals:
1. Puppy will learn to anticipate transitions as positive experiences that lead to good things.
2. Family will learn how to teach their puppy that transitions are positive experiences using primary reinforcements such as: Social Interaction, Food, Play.
3. Family will learn to make the most of management and choice funnels to set their puppy up for success and growing confidence in choice.
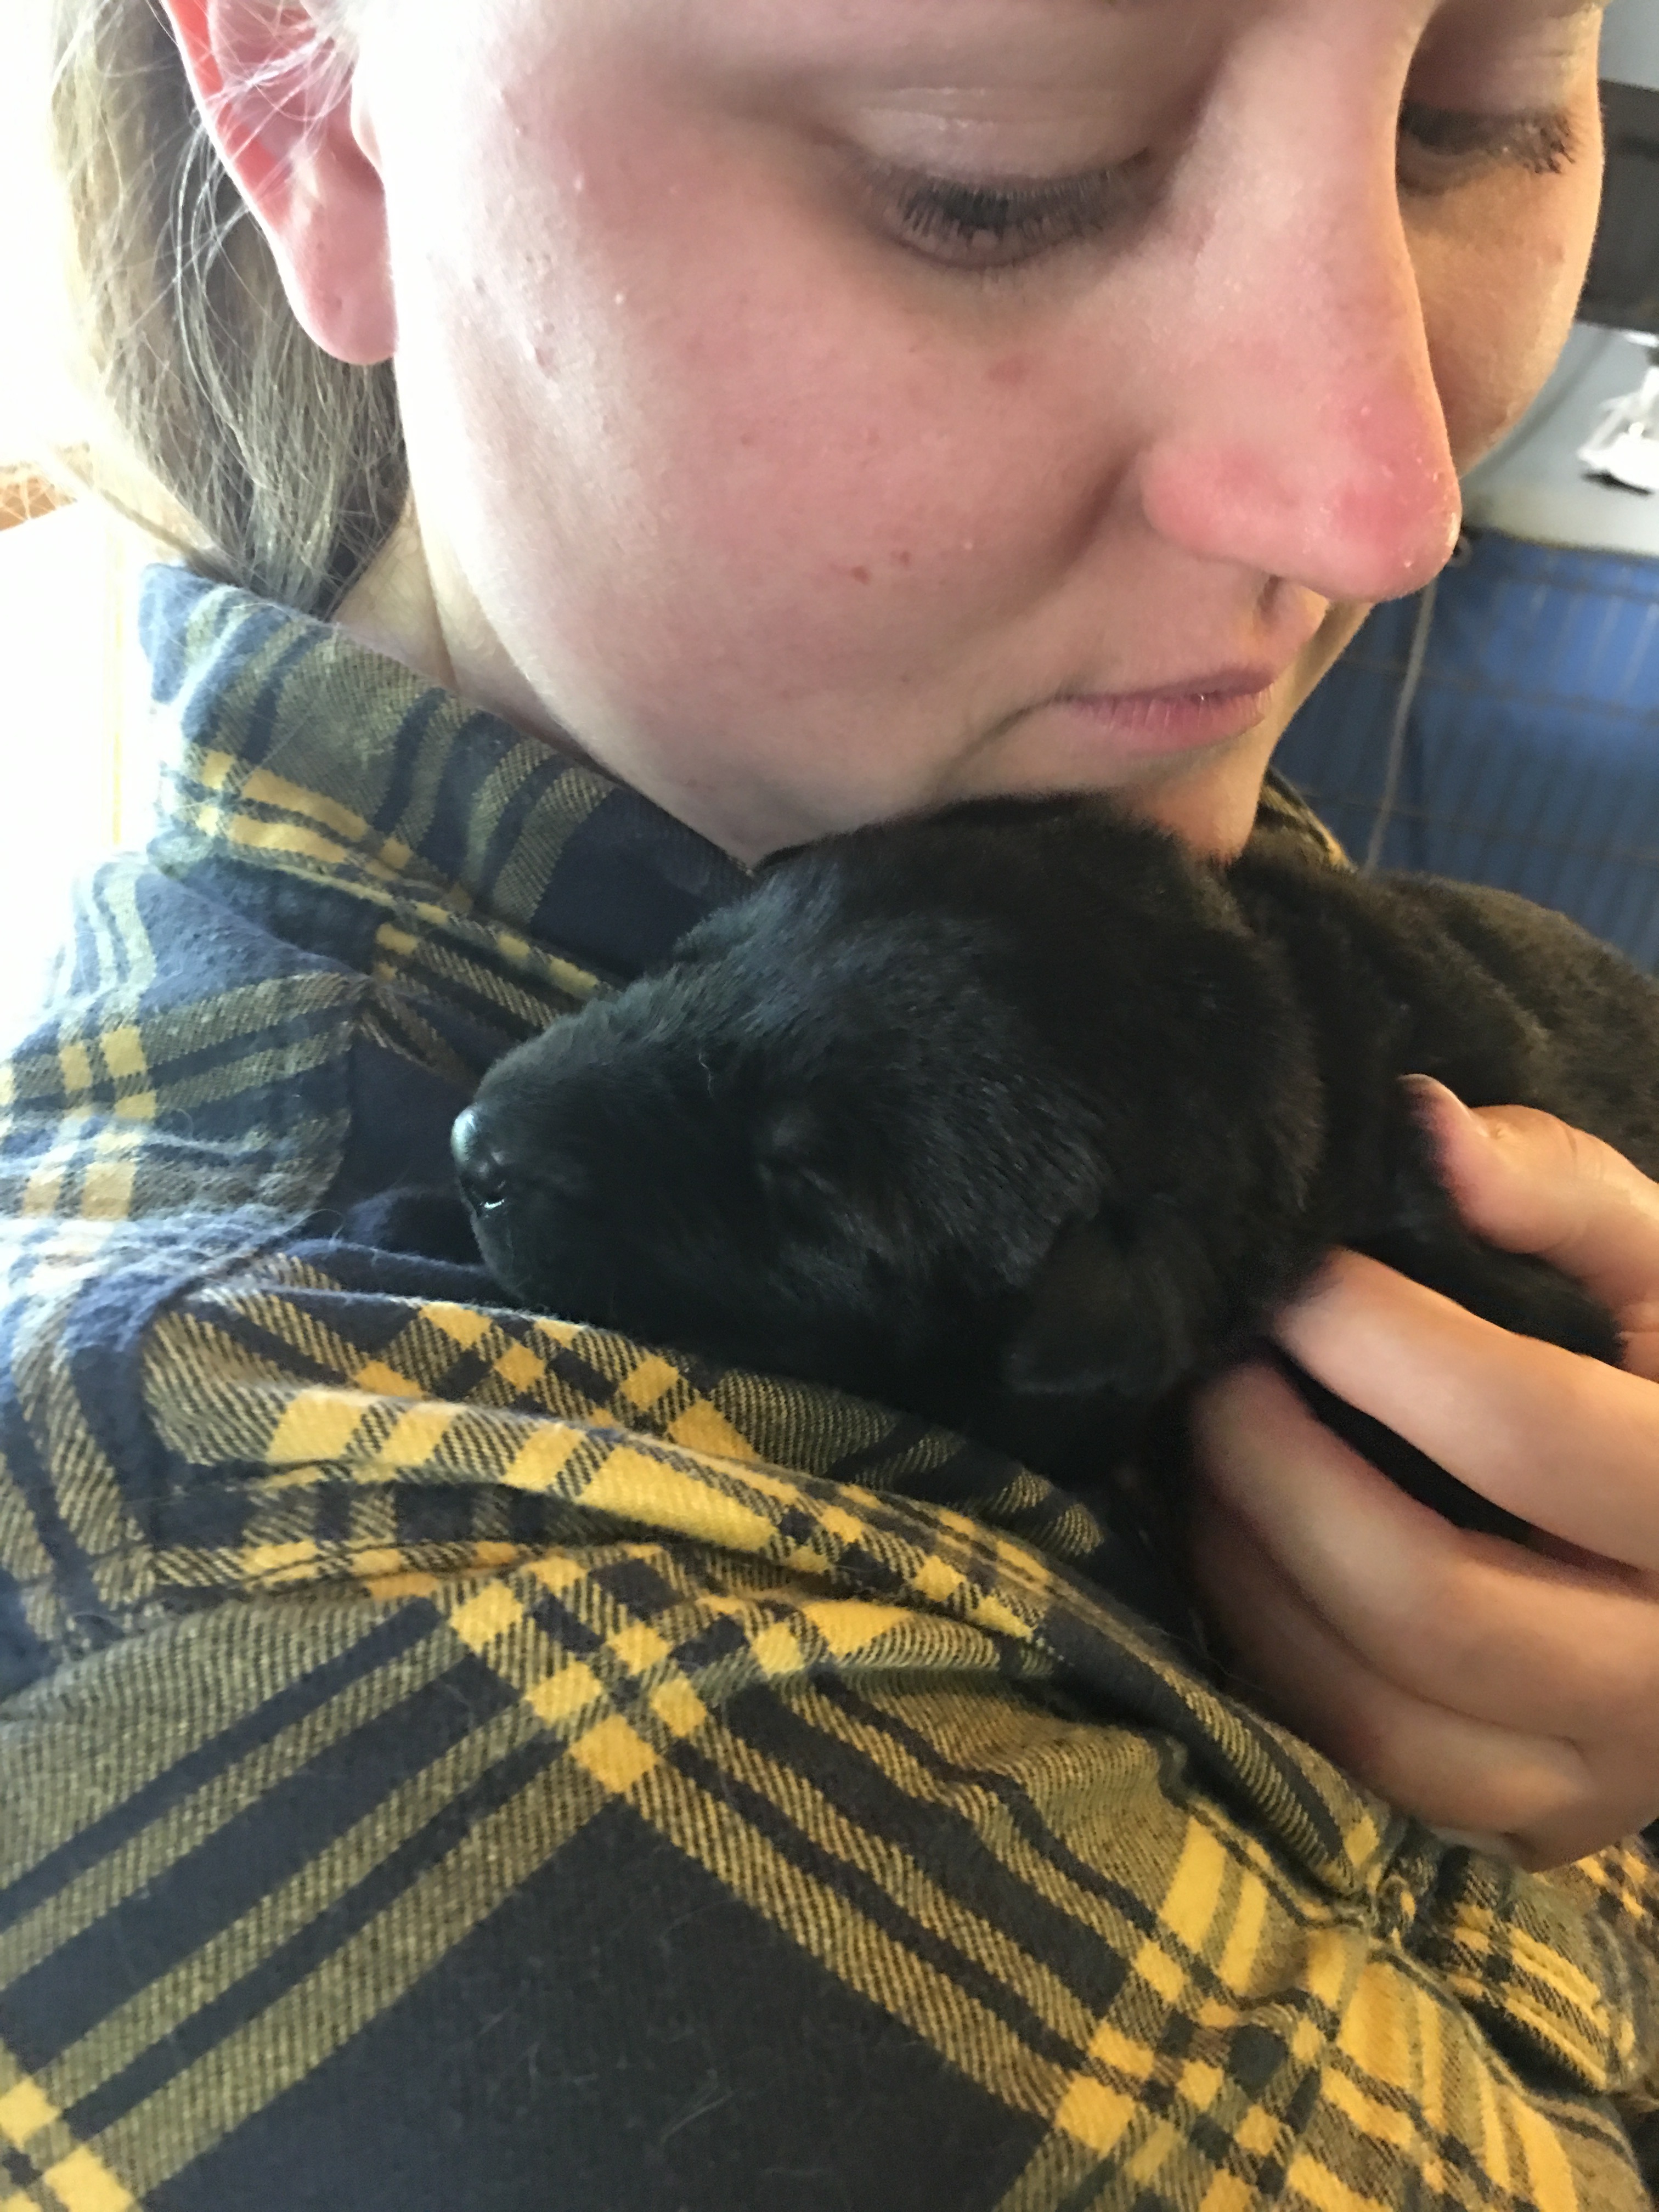
Individual cuddle and attention starts early.
1. Individual Handling = Attention, Treats, Fun.
As per the Puppy Culture protocol we follow, as soon as your dam will tolerate it, remove each puppy from the dam and litter for individual attention. Make some time for this each day if possible. Early on, this will be exclusively cuddling, brushing, and other form of petting, but as the puppy matures and becomes socially aware this should expand to include grooming, husbandry, and training, all taught and conditioned with high value food, as well as various types of play. Create a checklist, or use the Puppy Culture Workbook to ensure you rotate through each type of activity with each puppy. Try to avoid only removing puppies for things the puppy might experience as unpleasant, such as vaccinations, worming, or other necessary care. Our goal is our puppy learning to associate removal from it’s litter with positive experiences.
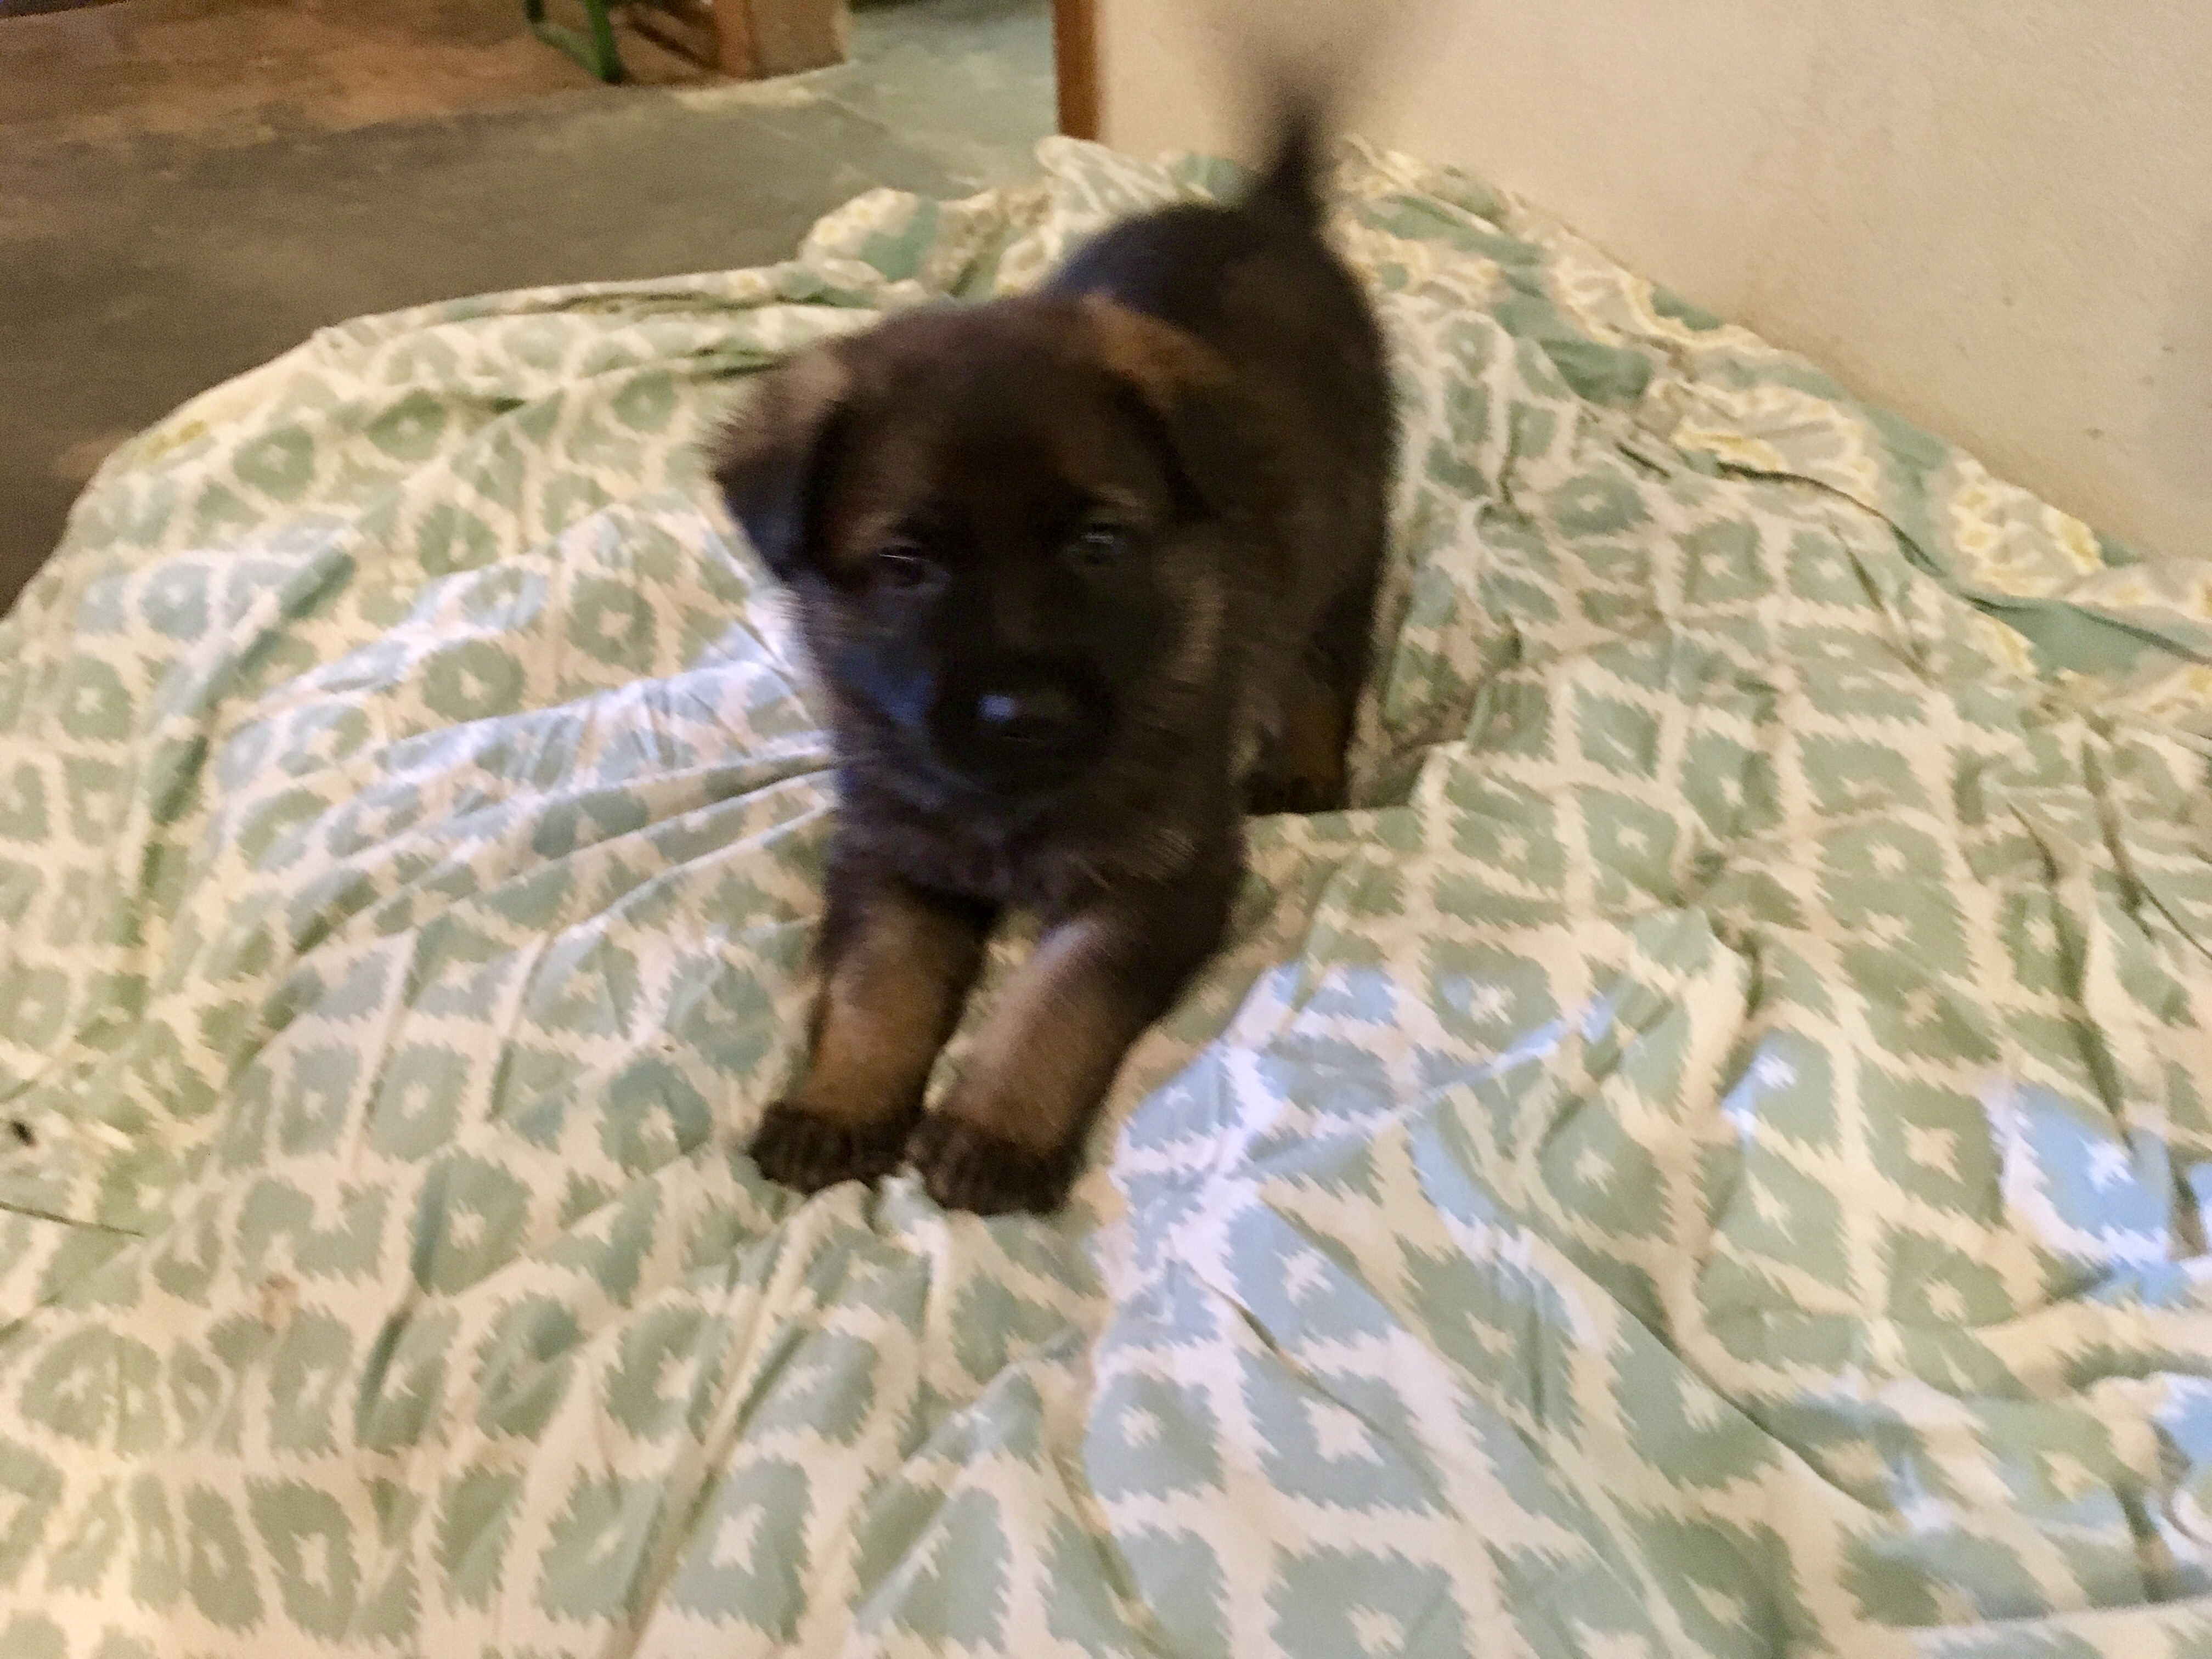
New room, new bed = Play!
2. Novel Locations = Attention, Treats, Fun.
As part of your Individual Handling, be sure to rotate through different locations. It’s tempting to simply remove a puppy and work in the living room, but make an effort to use every puppy safe room of your house, and even carrying a puppy outside to a front or back porch. Older puppies can be taken to your puppy safe yard, or even off property in a puppy stroller. If you are doing car conditioning, this counts as a novel location and individual attention too.
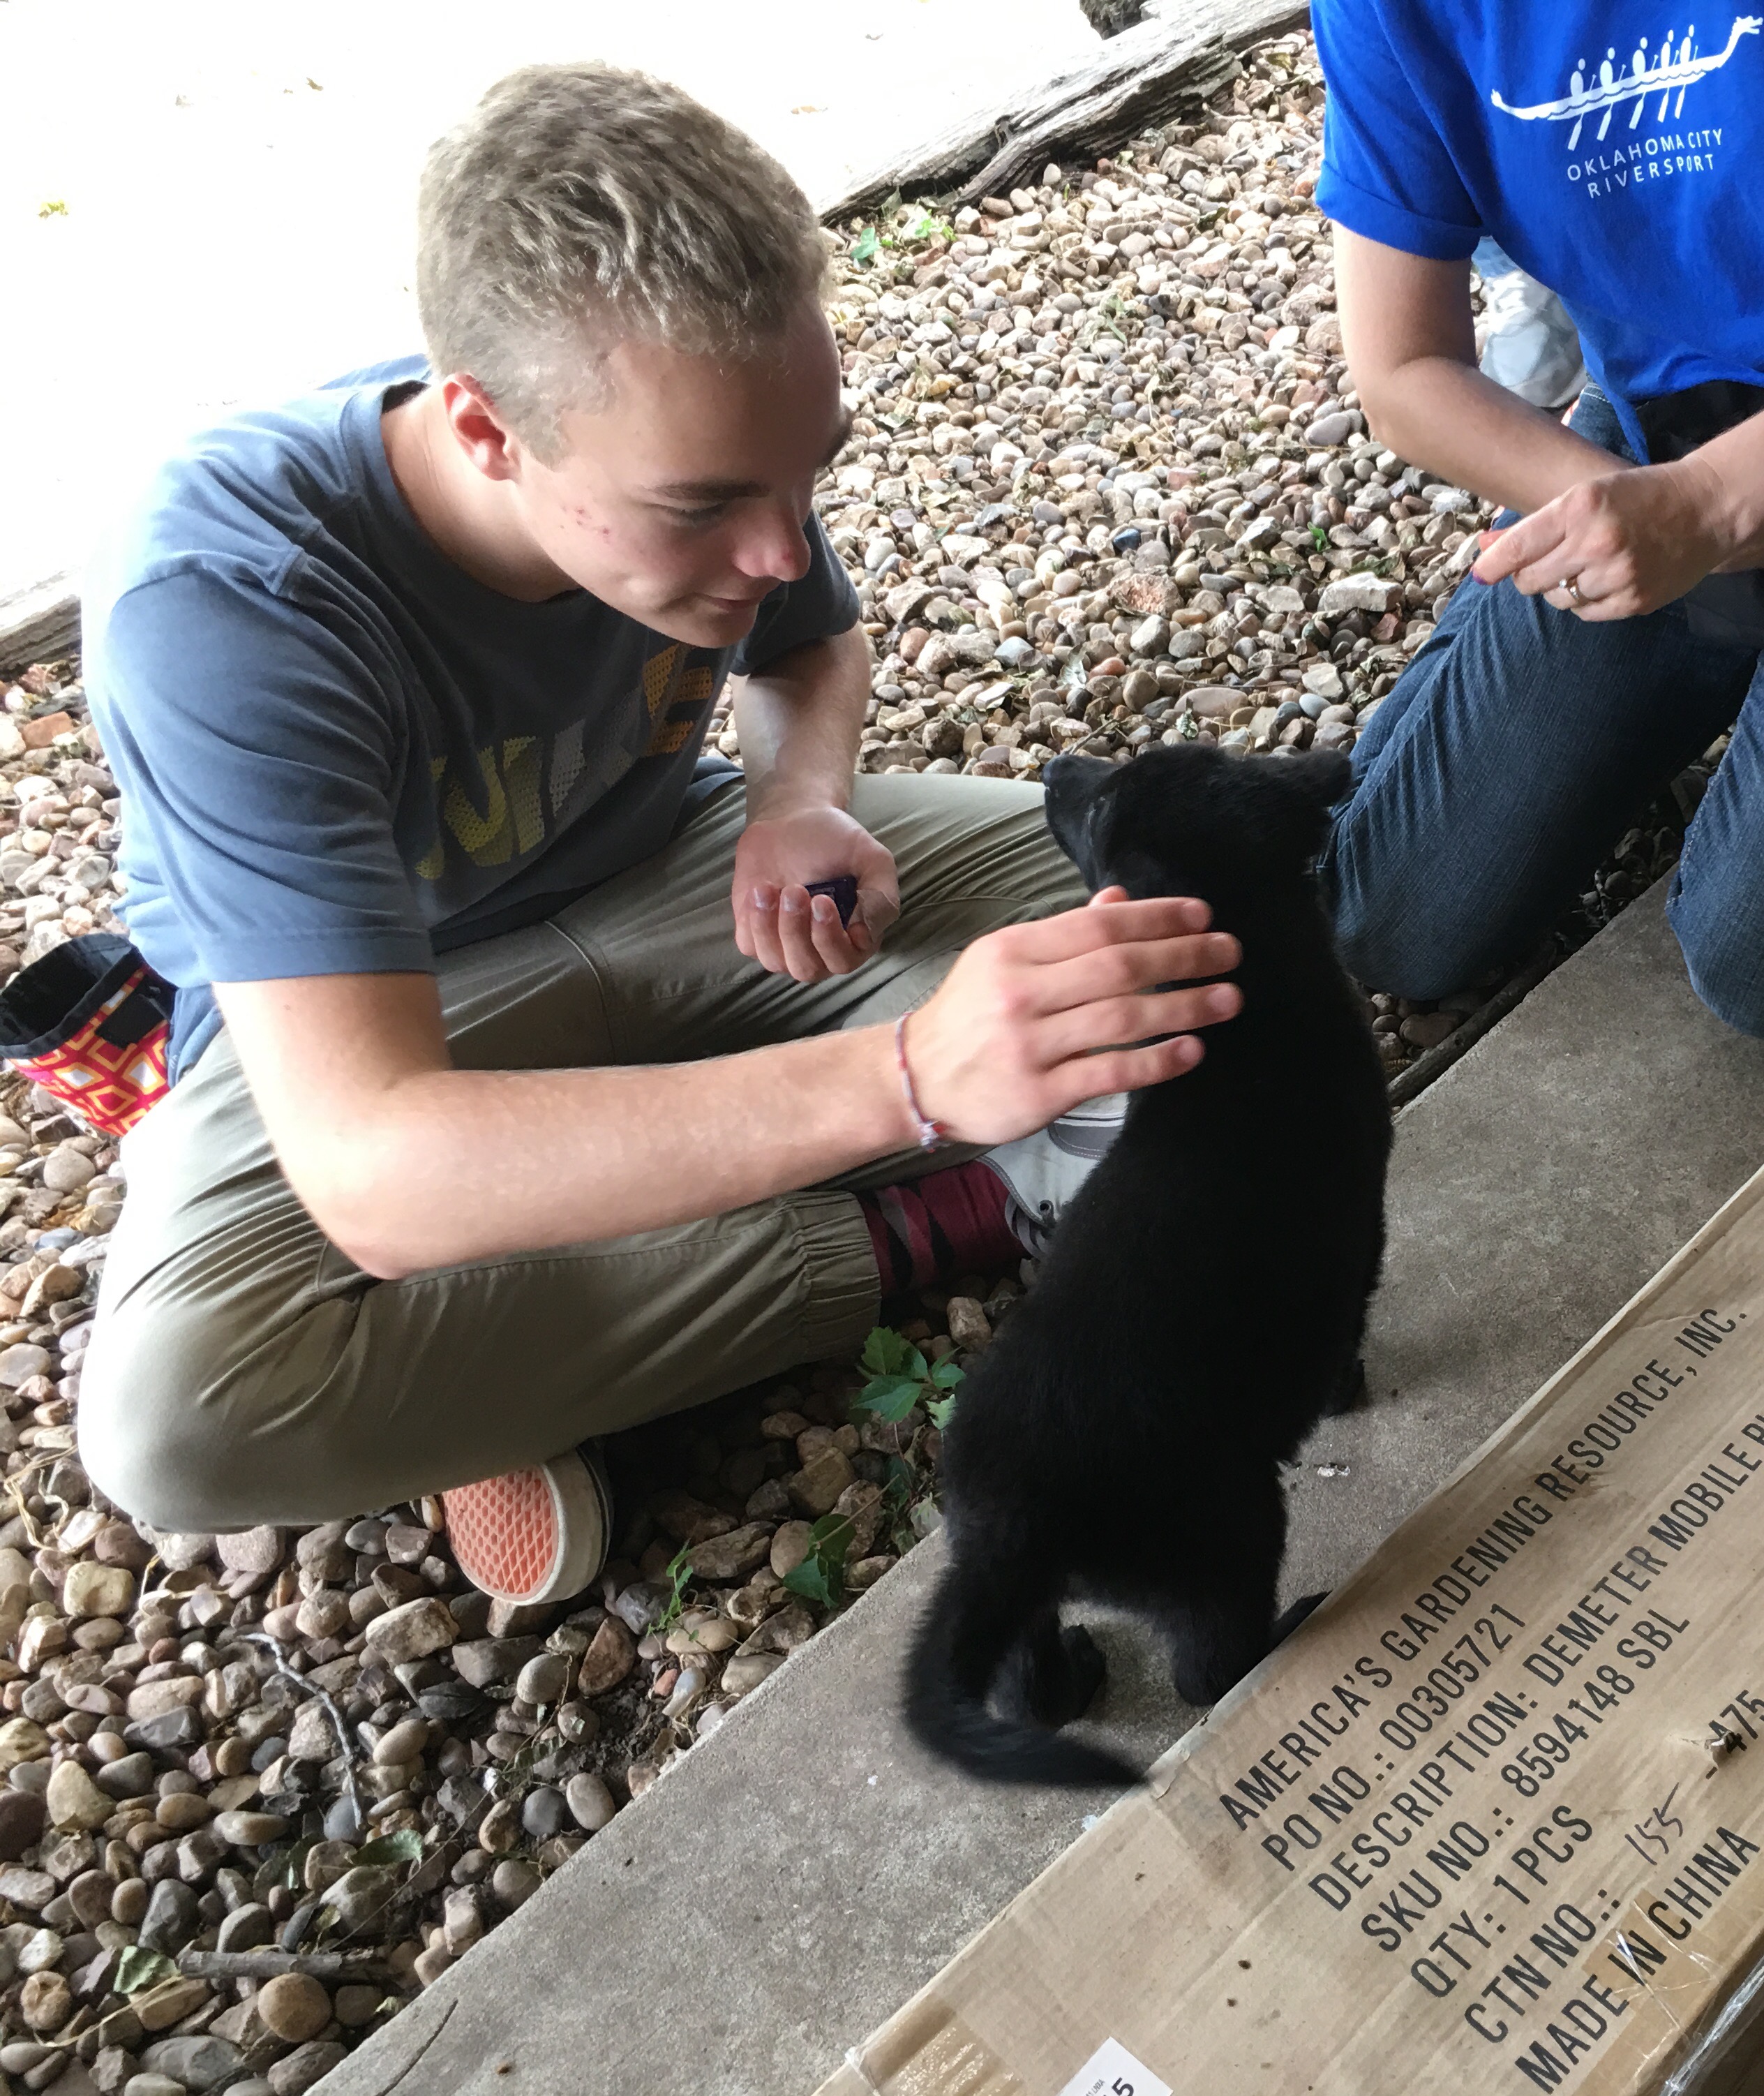
3. Novel People=Attention, Treats, Fun.
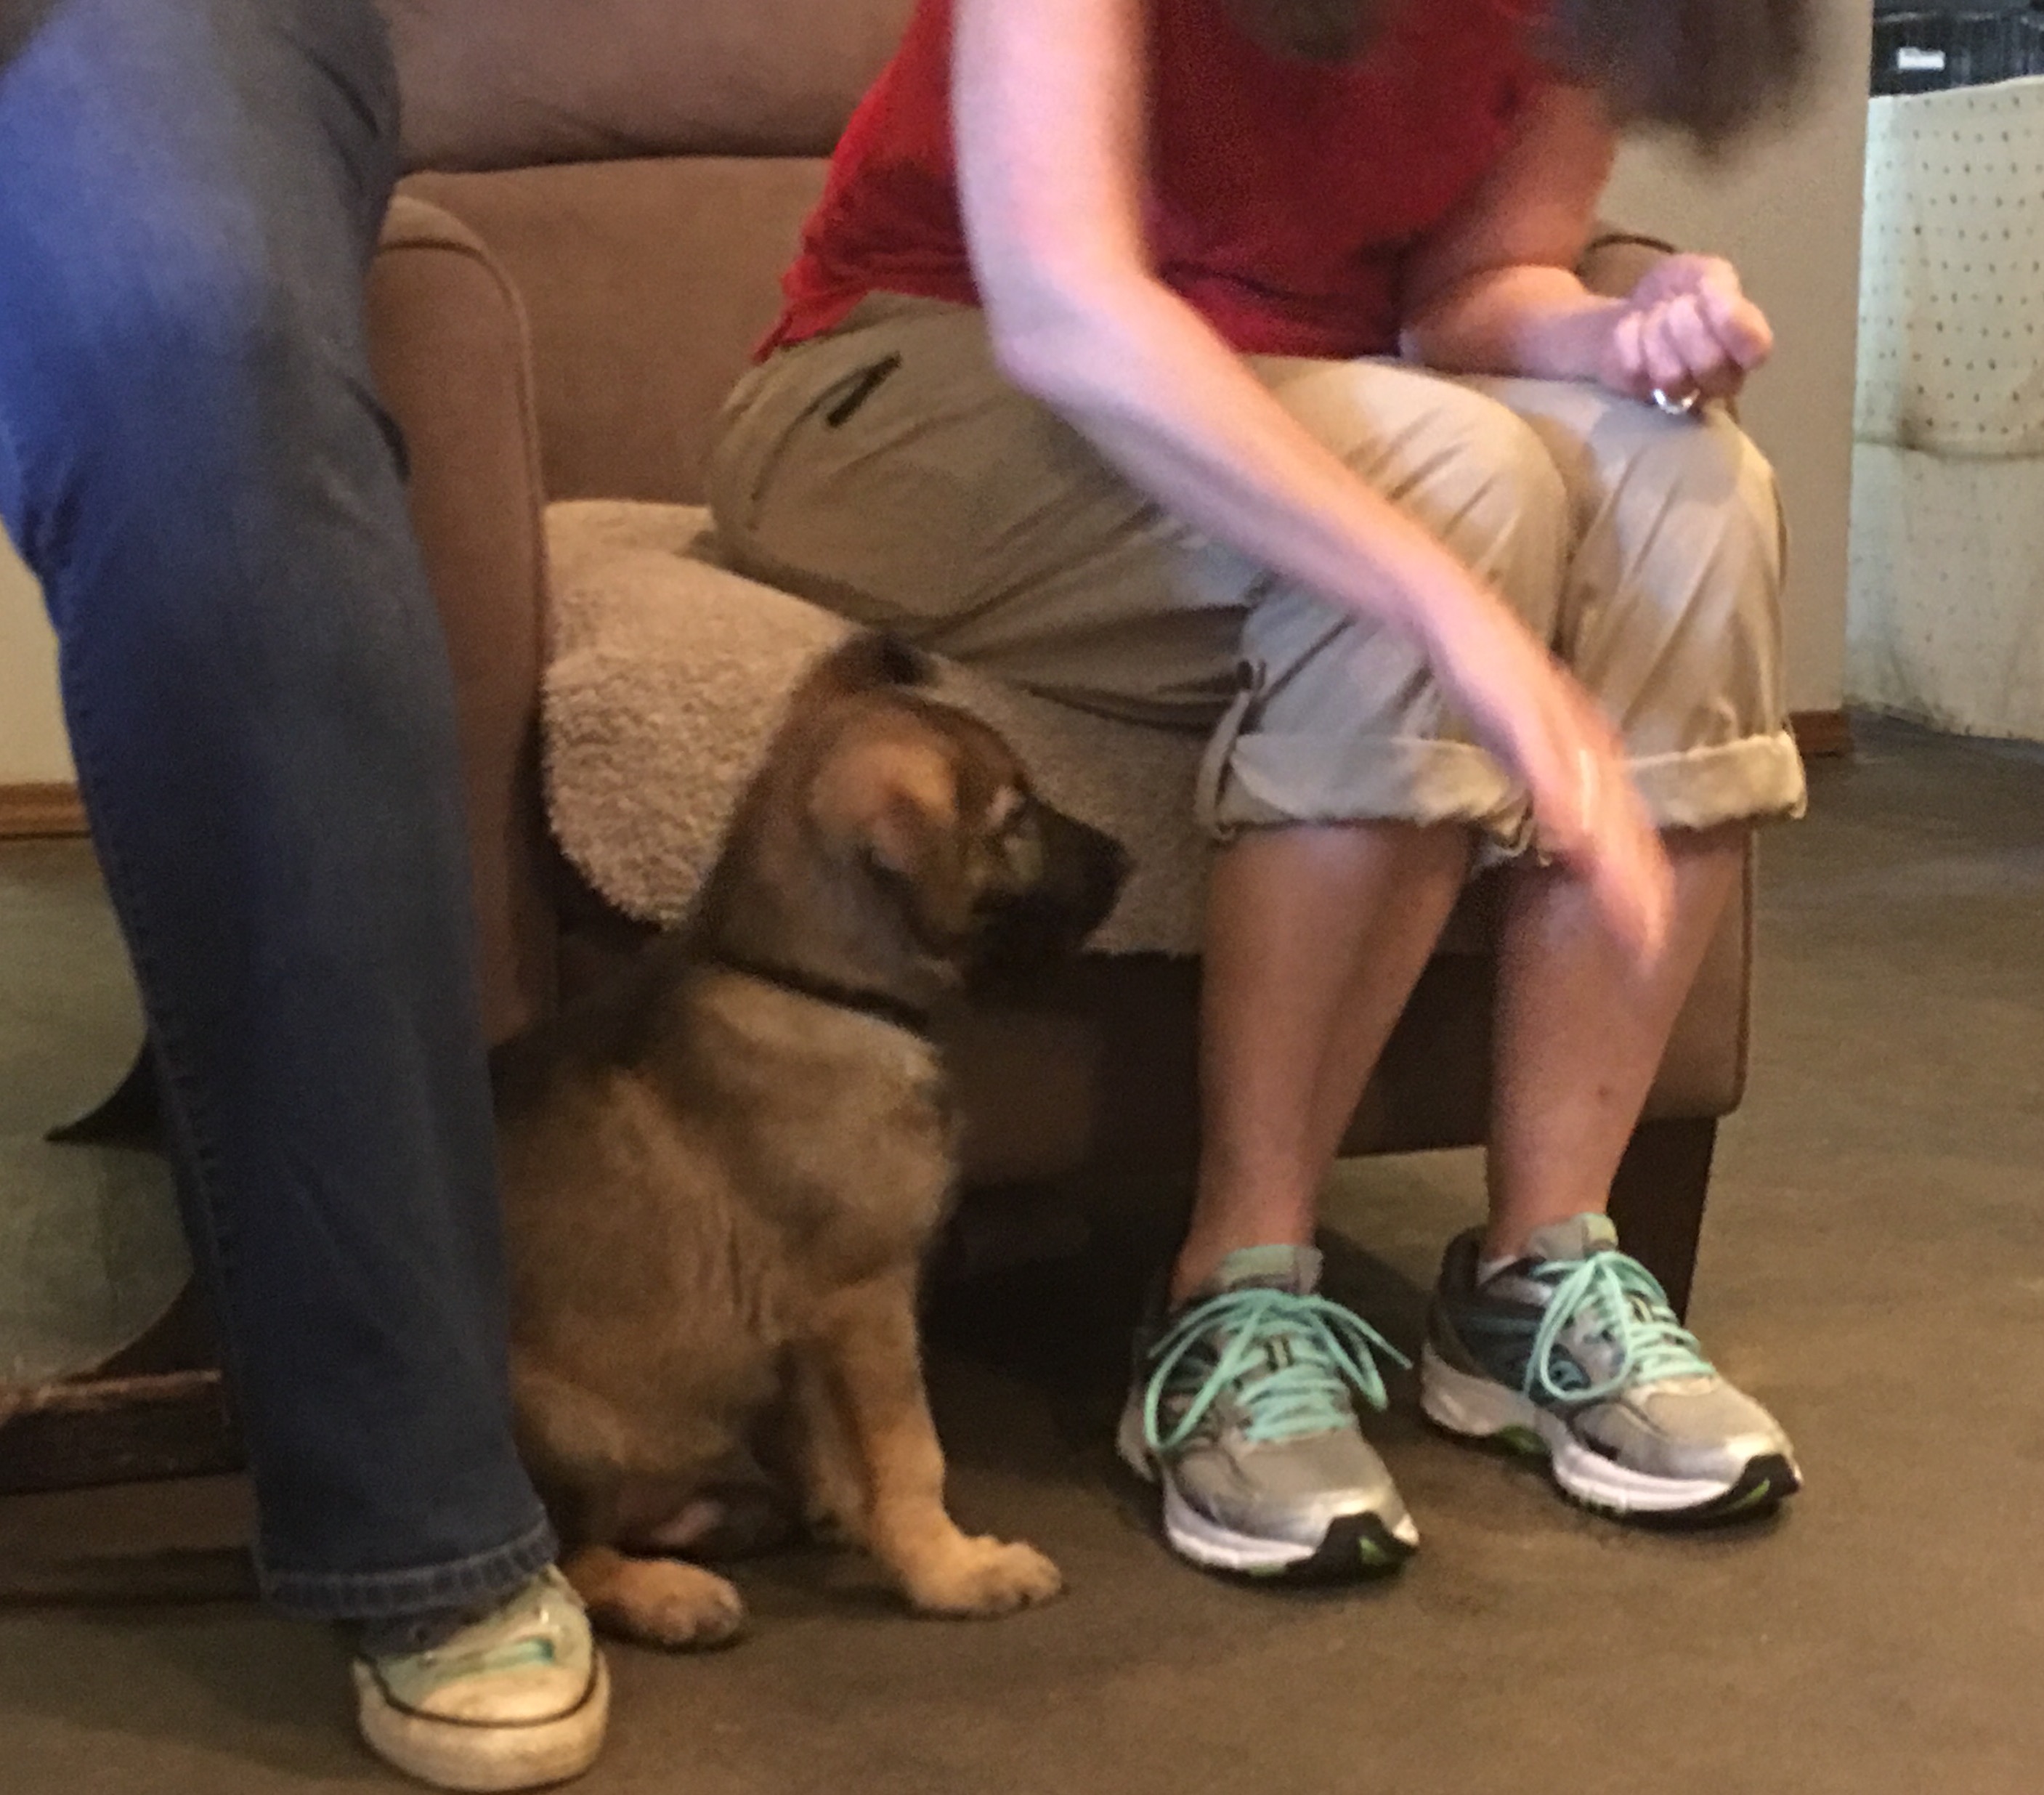
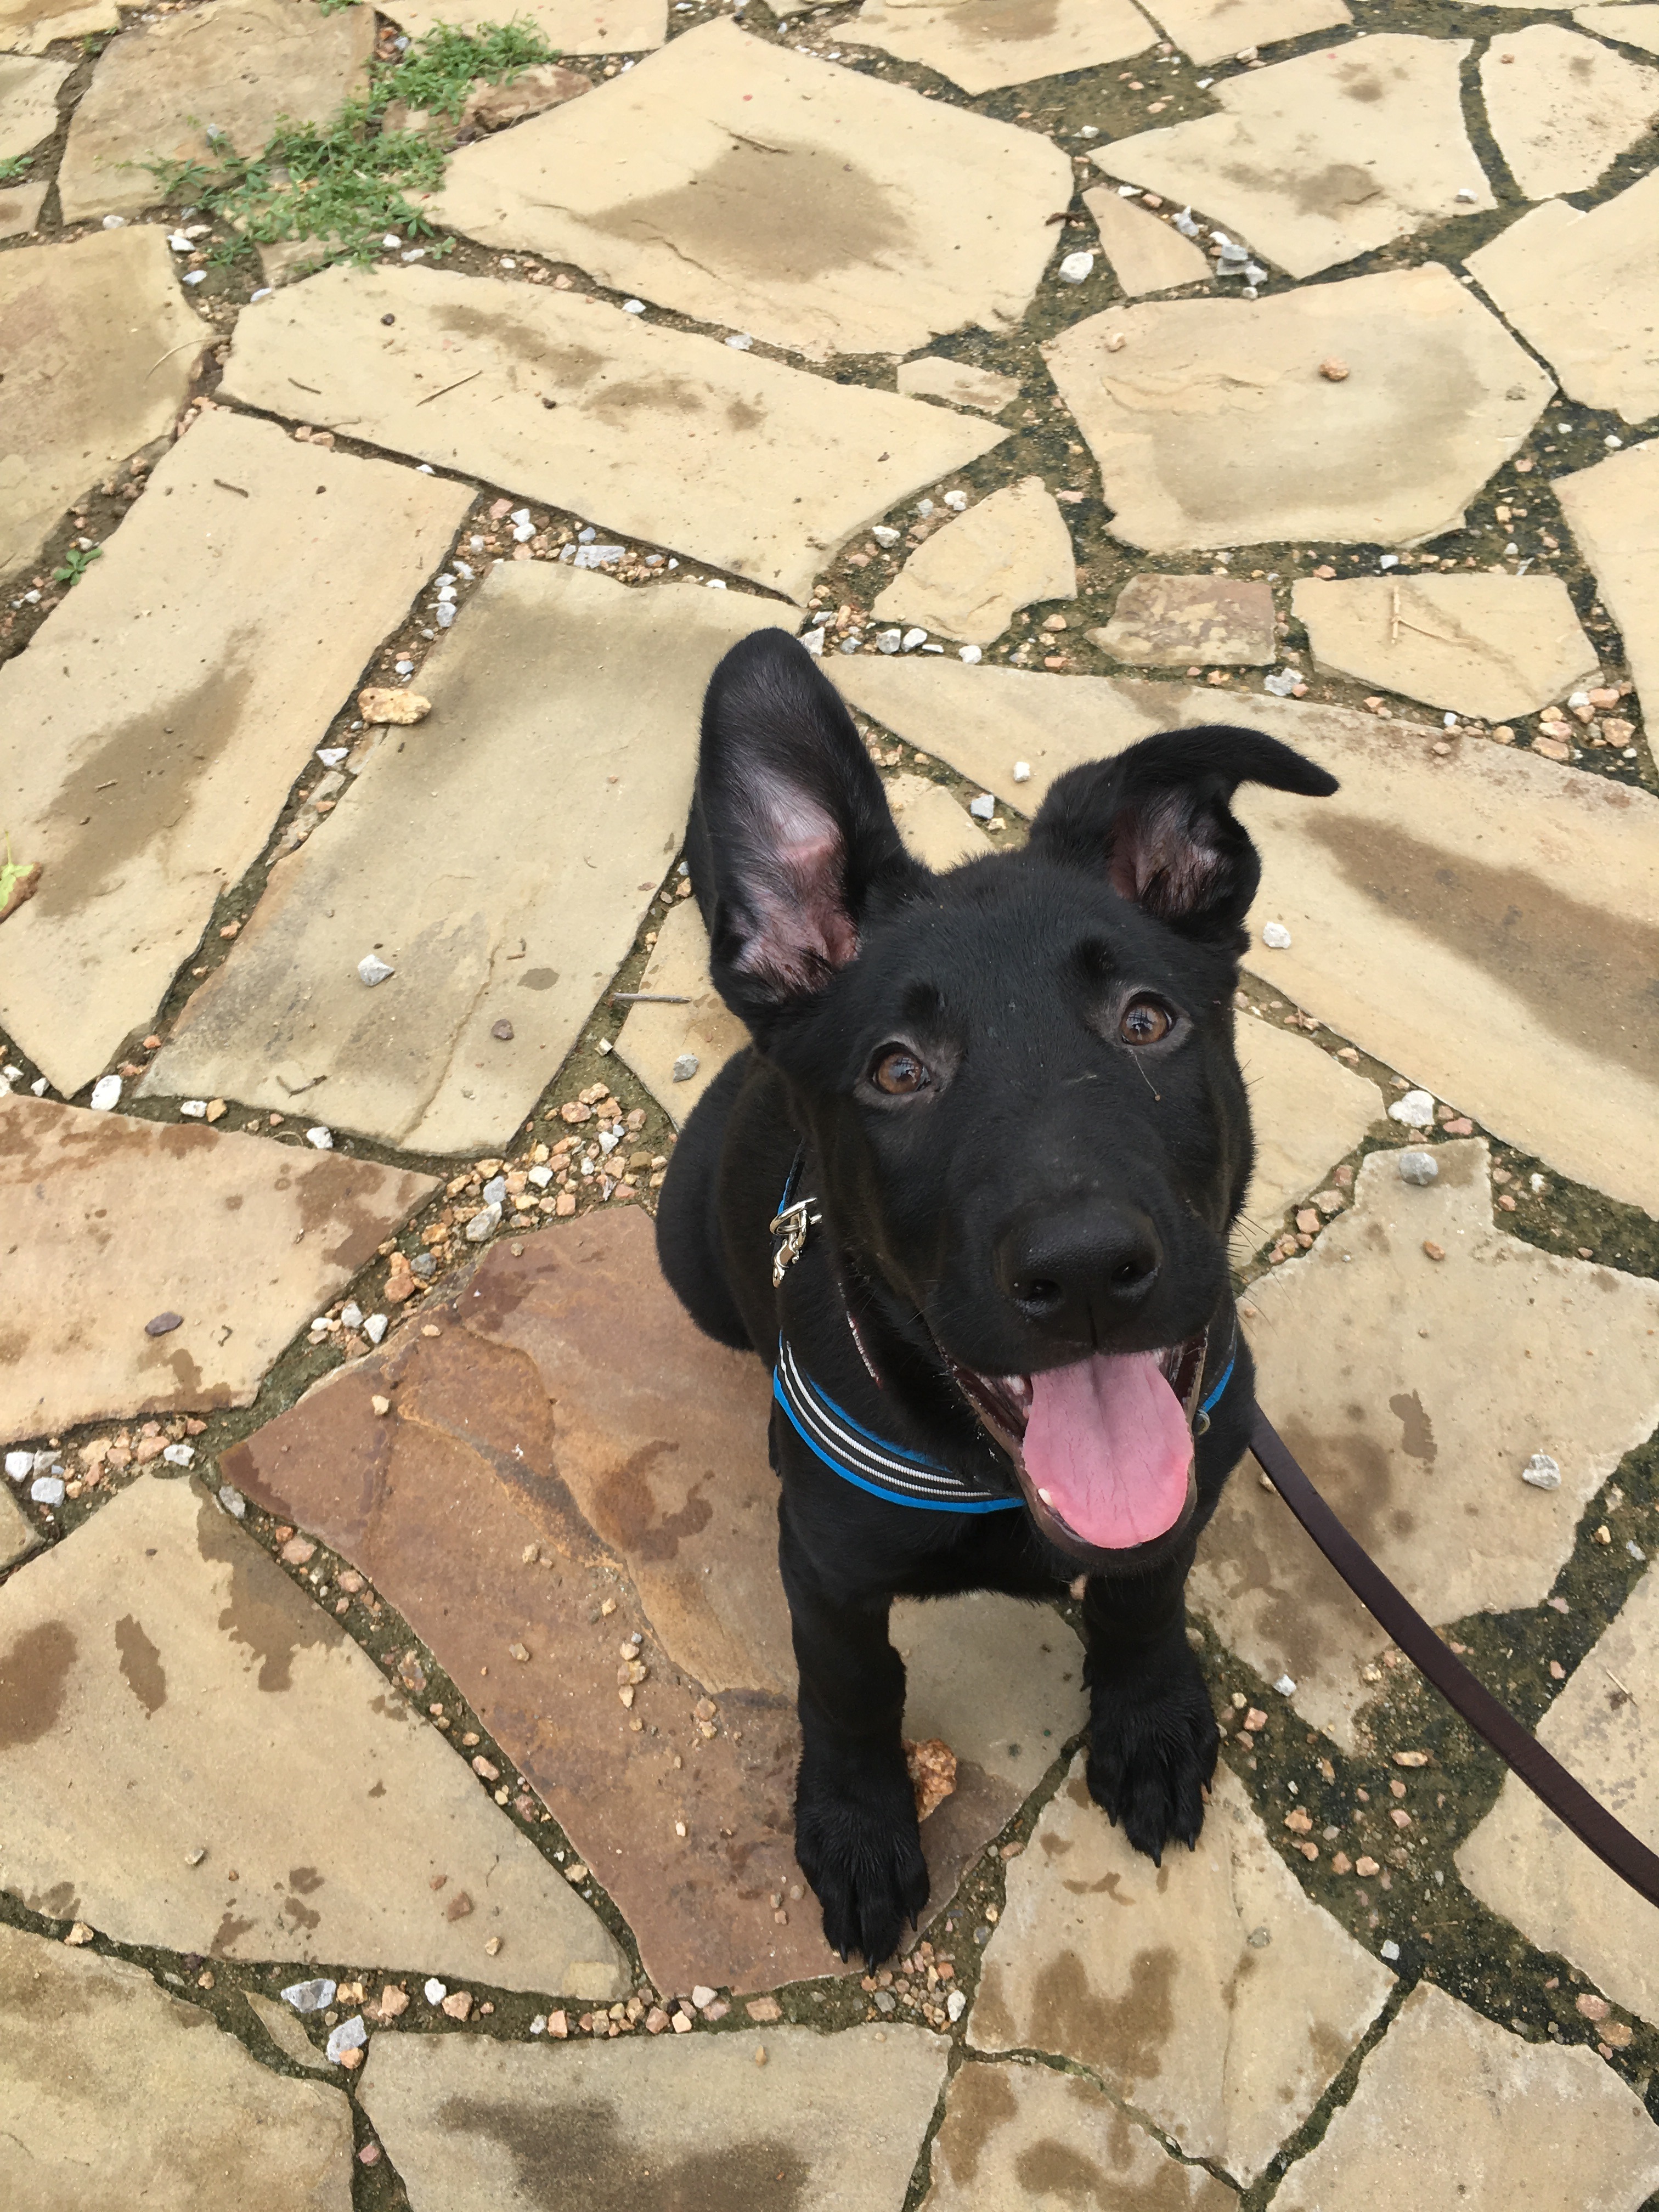
On a hot summer morning Caleigh learns that interacting with a stranger (her future mom Camille) is both safe and fun.
Even though breeders often wait to introduce novel people until puppies are older, most breeders have a small group of family and close friends who drop by to visit puppies (using all appropriate bio hazard protocols.) These visits should contain some individual handling of puppies (of course, be sure your dam will tolerate this) and use proper management and safety protocols to ensure everyone is comfortable and safe. Once puppies are in the Critical Socialization Period, visits increase. Emphasis should be placed on creating and maintaining a Positive Emotional Response or Positive Conditioned Emotional Response to people and locations.
This puppy has already learned how to offer eye contact as a behavior, so she is delighted to learn that this new person will also click and treat her for offering eye contact. She now feels very confident and has happy associations with being removed from her litter and handed off to a person she does not know.s as well as transitions. Make abundant use of high value food and chews and all positively taught behaviors the puppies know.
*NOTE! Always supervise and manage socialization of your puppies. Remember, Single Event Learning is real and any scary or traumatic experience during the CSP can have long lasting effects on the puppy’s behavior.
4. Create Security in Schedules.
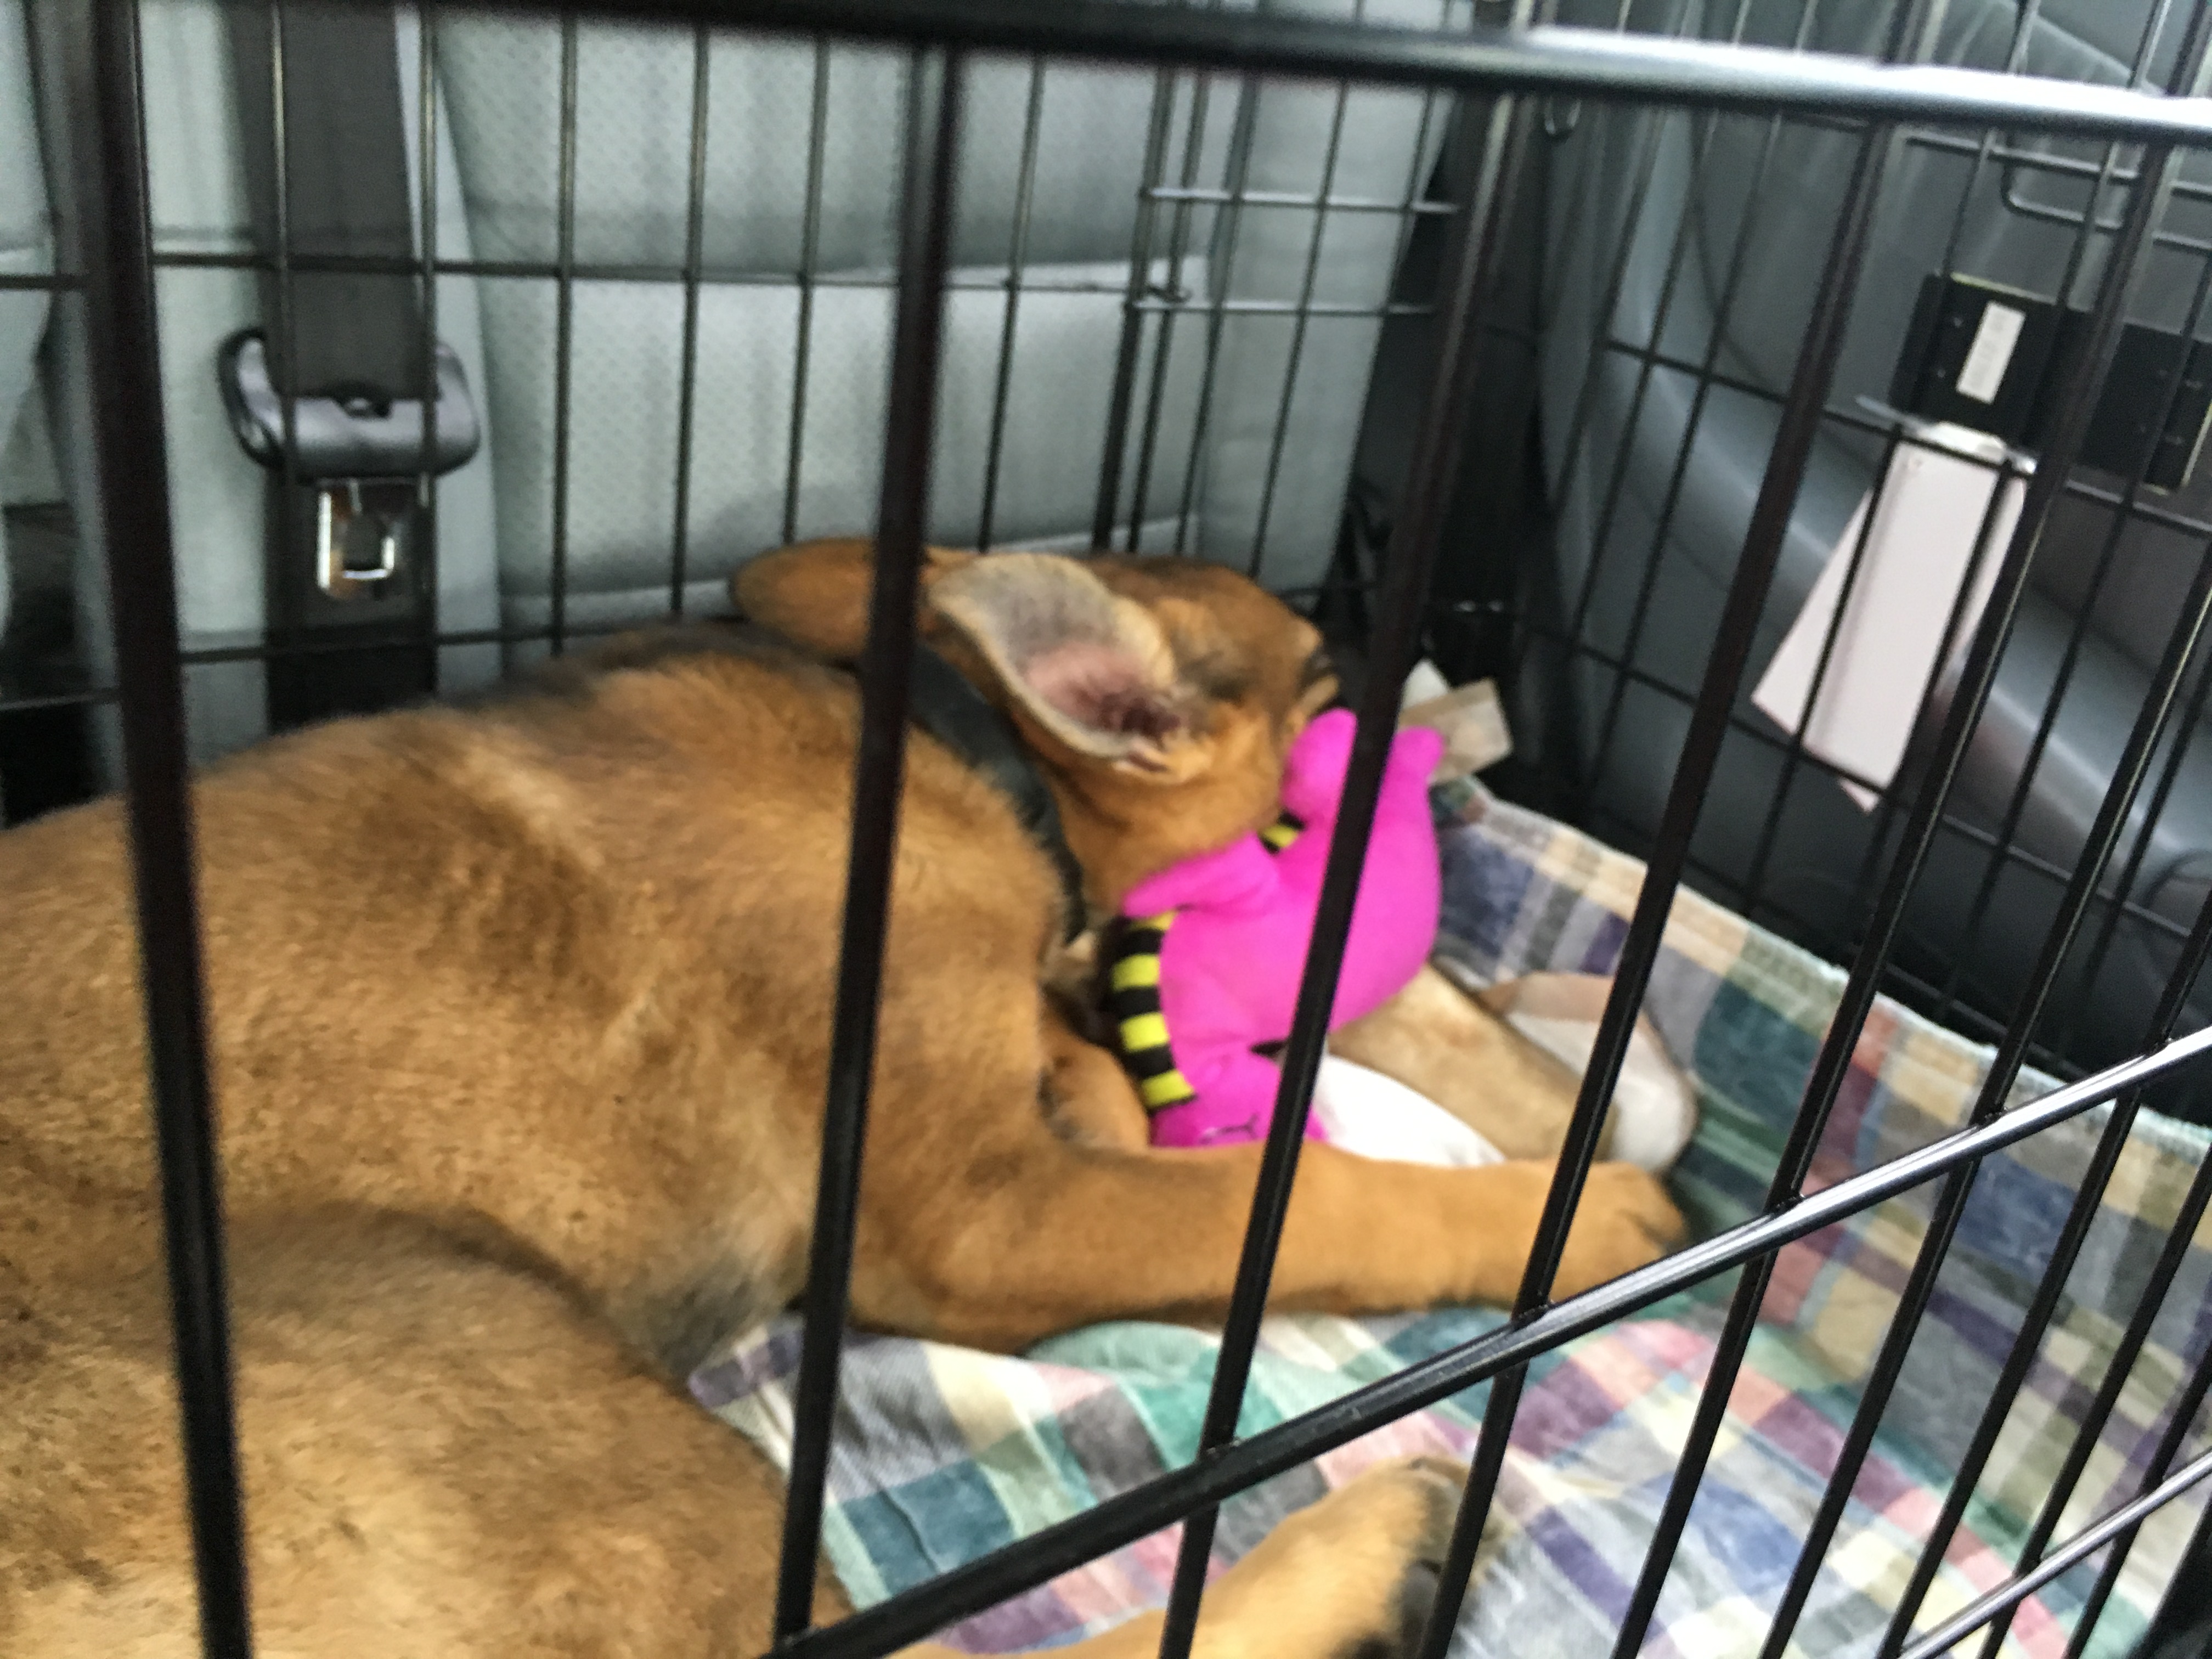
Portia is enjoying crate resting time after morning exercise and training. She has two pacifiers, and is already conditioned to expect resting during the late morning. This will help her feel more confident when crated in her new home.
Puppies are a schedule intensive creature. By making note of your puppy care schedule, you can help both your new family and the puppy. Make note of your typical feeding/cleaning schedule as well as your training and crate conditioning routines.
Most puppies will have owners who work during the day and many puppies can expect to be confined at some point during the day, and crated during sleeping hours.
Knowing this, we try to work on crate conditioning with our litters during the day. This is fit in after morning clean up, breakfast, and play time, when the puppies are getting tired and ready for rest. At this point we do crate chews and naps, as the puppies are primed and set up for success – napping and being calm in their crates.
By anticipating what your puppy’s schedule will likely be in the new home, you can prepare your puppy for it’s transition. Knowing what to expect builds a puppy’s confidence during the stress of transition. Further, knowing this routine can help our family during the transition period, so be sure to send home a copy of your schedule with each puppy.
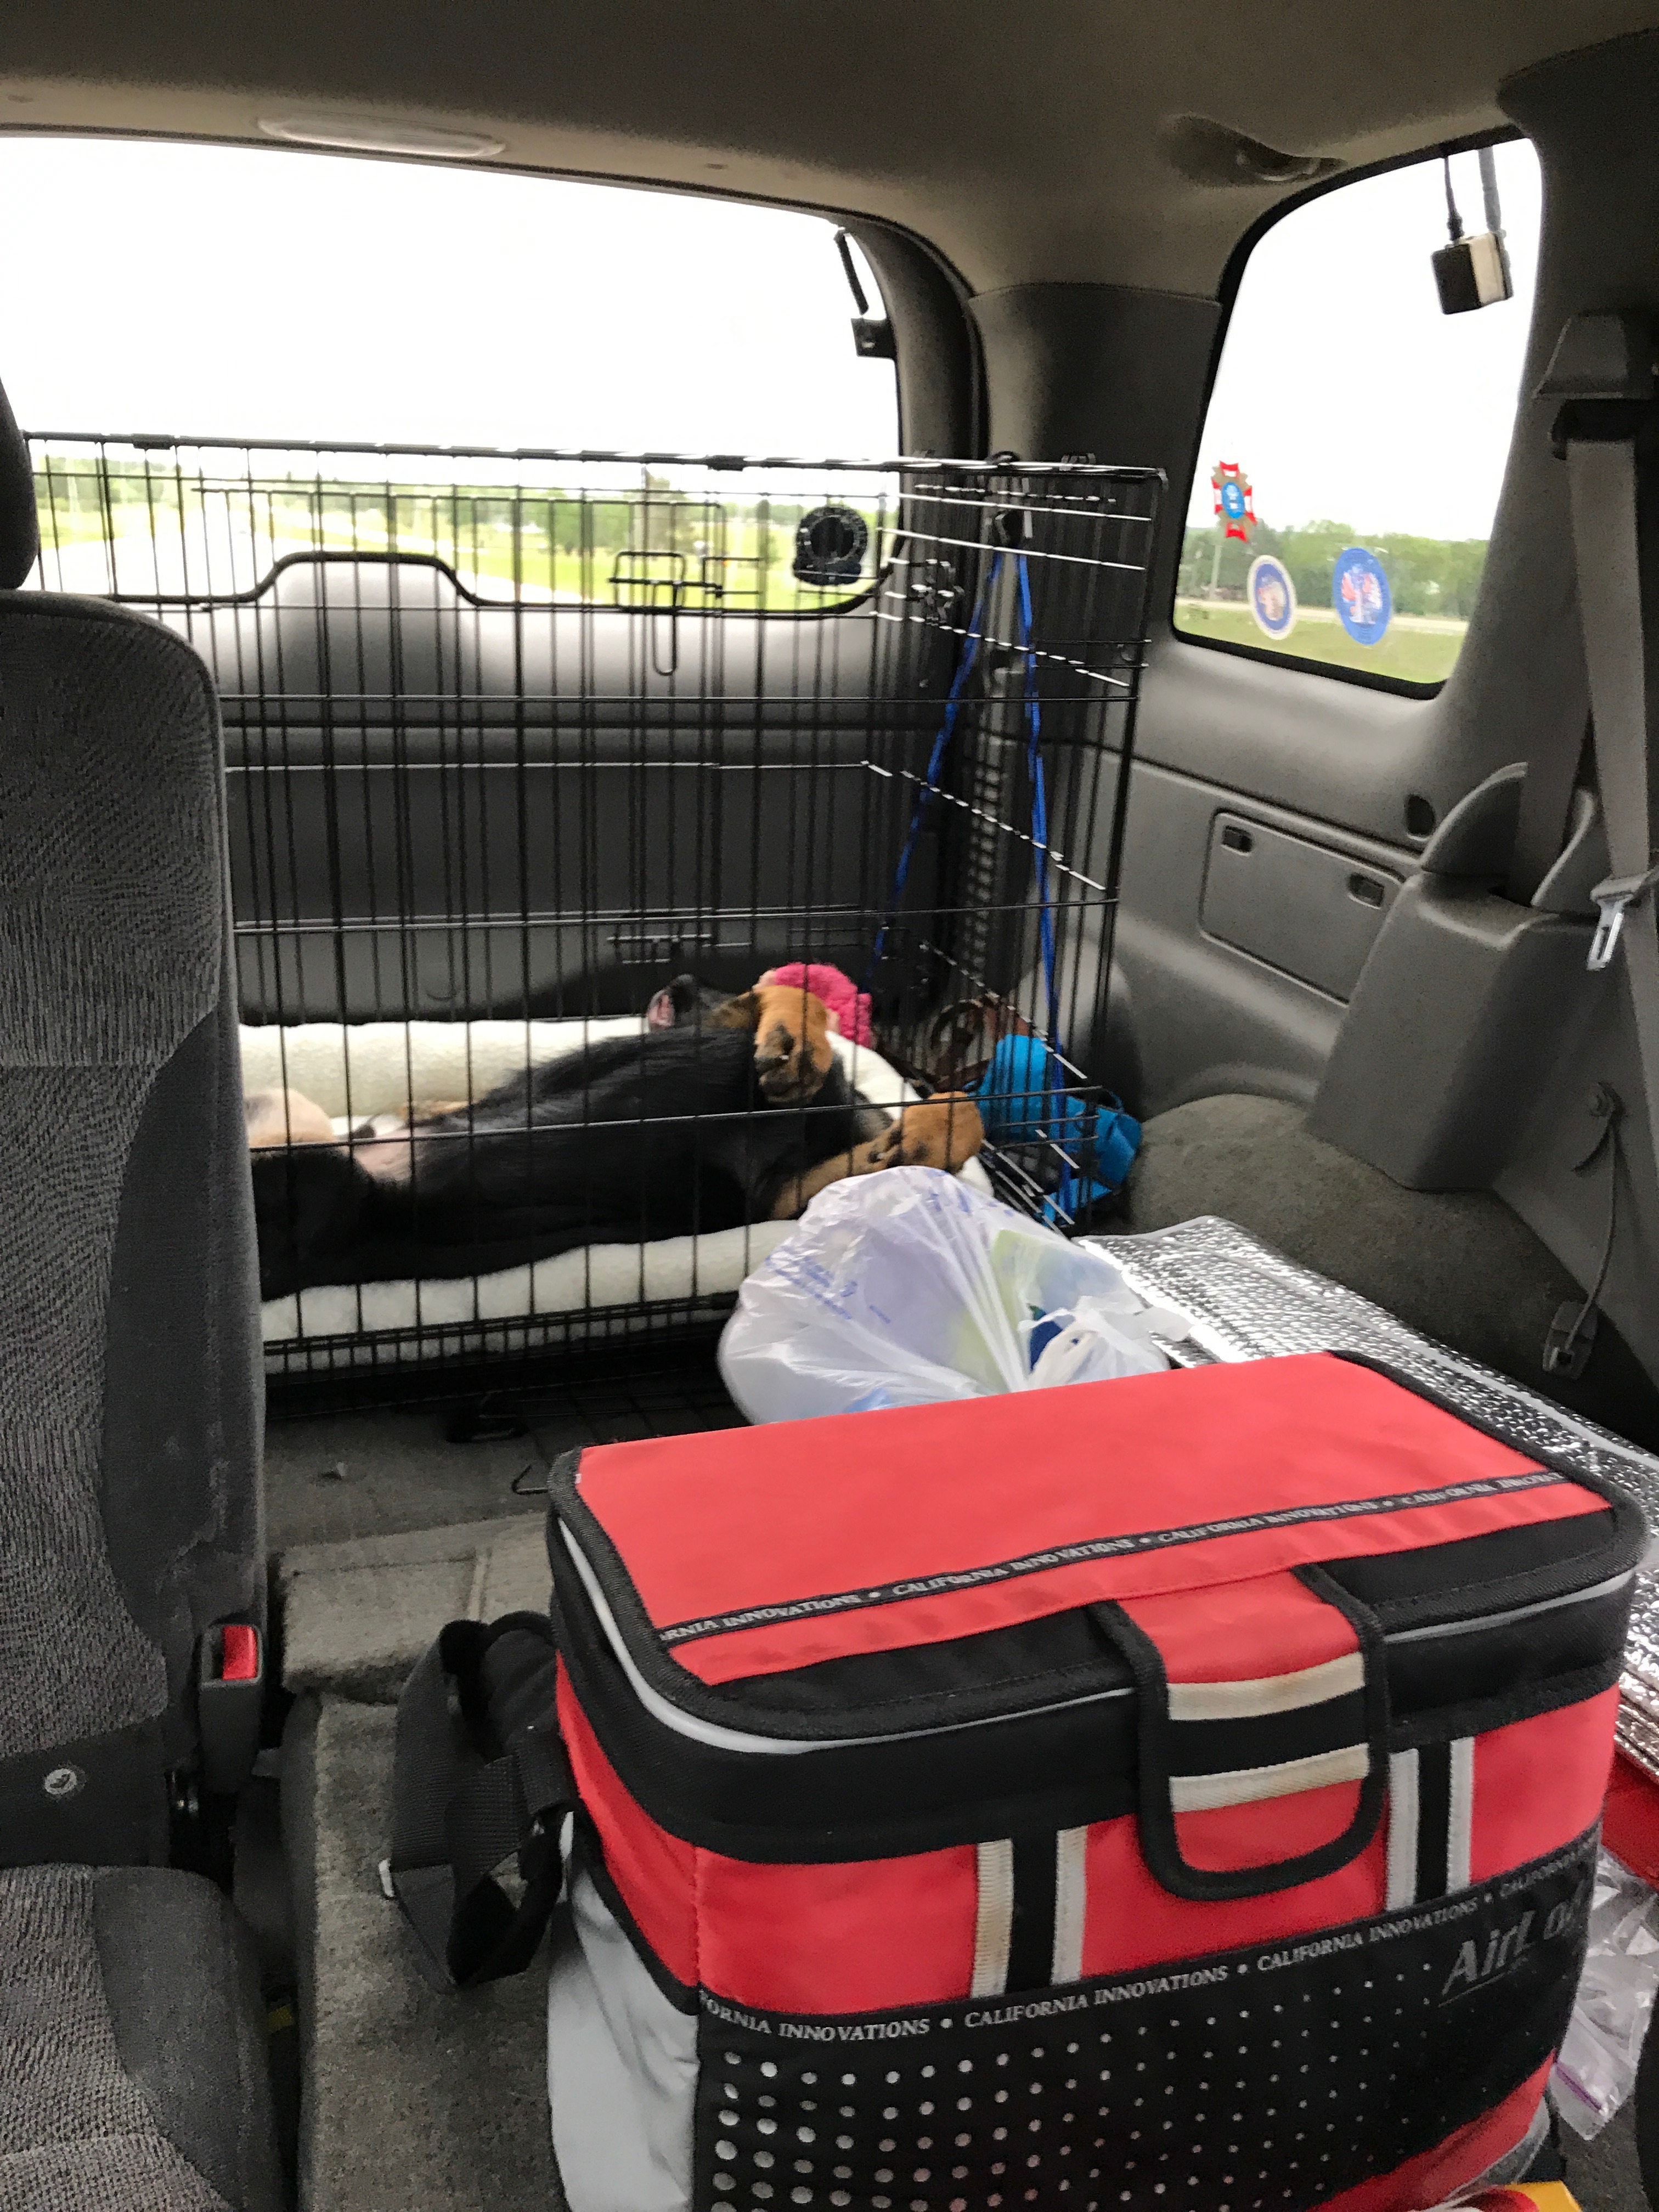
Surprise Car Crate = Raw Bone!
5. Create Adaptability By Throwing Out The Schedule!
We don’t want our puppy to be so habituated to a particular schedule that changes in routine are distressing. So while puppies really do require some scheduling of meals and cleanliness for their health and well being, we can also create an happy anticipation of change by pairing random events with very enjoyable activities.
Mix up your elective activities. We can’t really just “not feed or clean up after” our puppies, that’s a given. Puppies require regular feeding and a clean environment. But all other activities (passive enrichment, active enrichment, crate conditioning, etc.) are elective activities that we can move around. Since our puppies LOVE these elective activities (as they are paired with food, play, and learning) we can also create an happy anticipation of change by creating some randomness in these activities.
This is how I do this! I assign each activity a number.
1. Passive Enrichment: Novel item(s), Weaning Pen toy resets.
2. Active Enrichment: Clicker training lessons.
3. Puppy Scent Games: Puppy tracking.
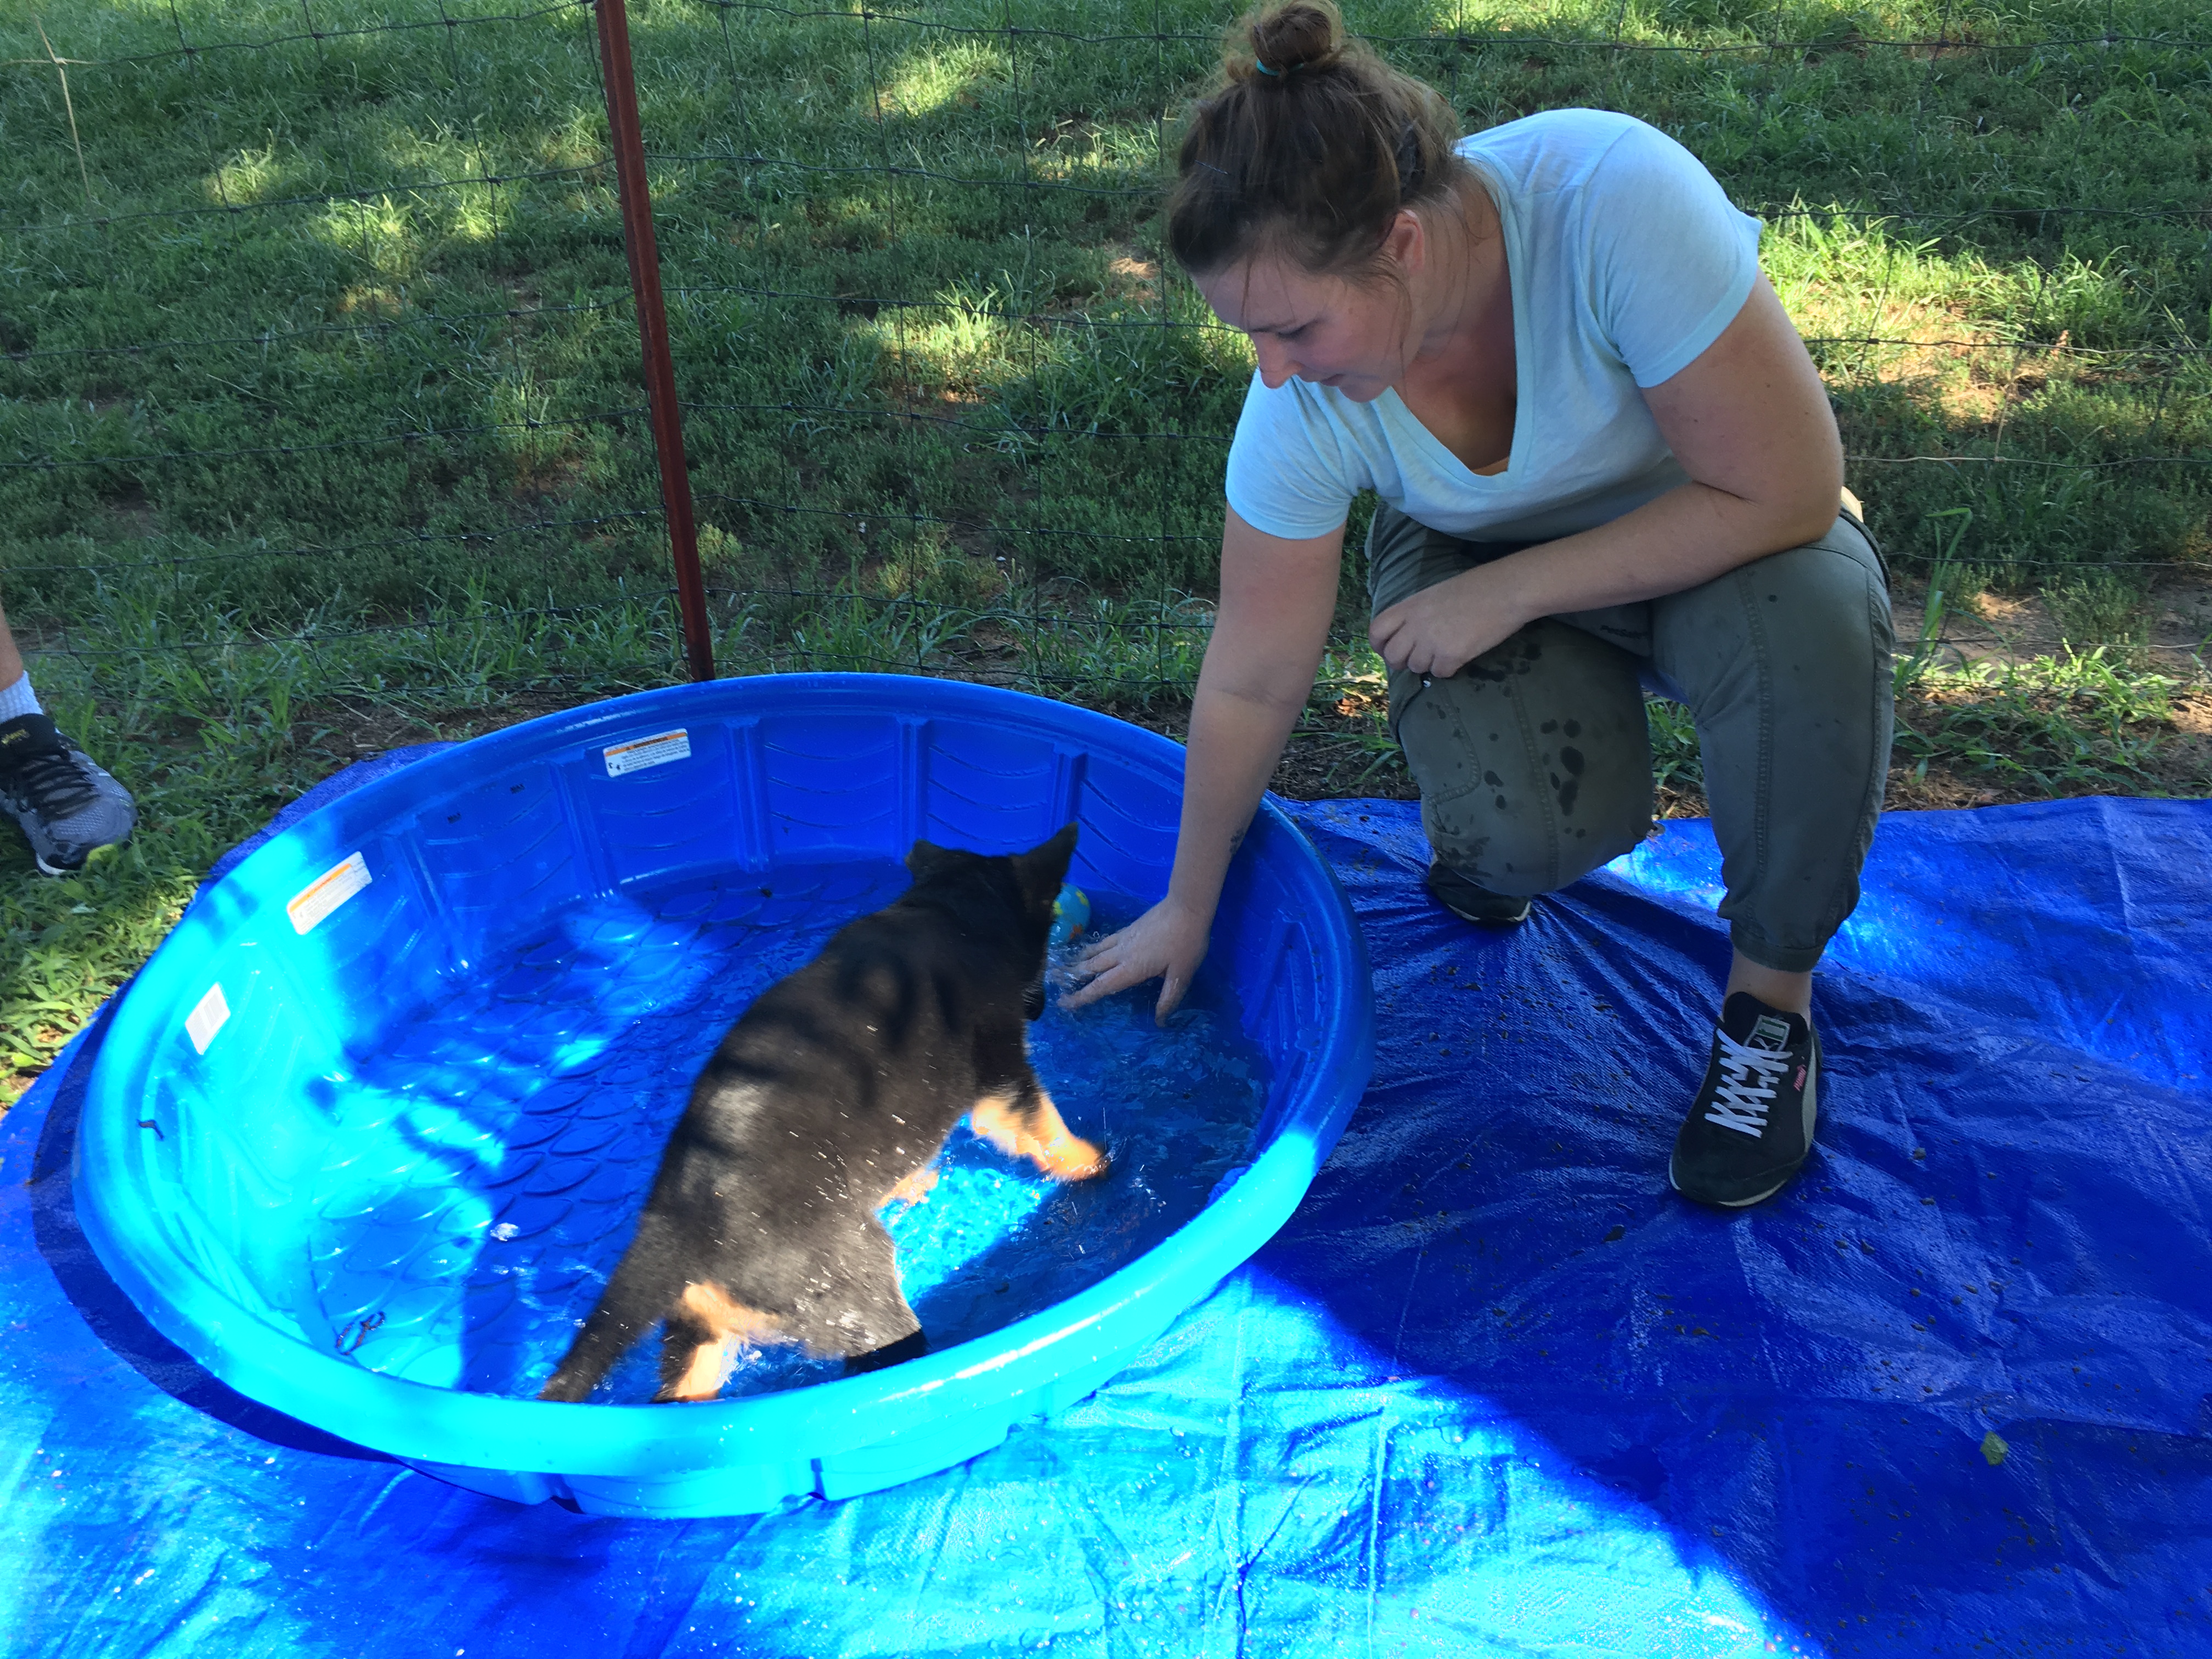
4. Noodling: Yard exploration and play.
5. Crate Conditioning: Crate chews, in house or car.
6. Nothing Time: Puppies are left alone in the house.
7. Play: Fetch, flirt, tug games.
8. Nothing Time: We are home, but not interacting.
9. Grooming: Individual, one-on-one attention.
10. Active Enrichment: Clicker Training (this is twice, because we have lots of training to do!)
Then I download a free Random Number Generator onto my phone (from the App Store or Google Play) and set it from 1-10.
The Random Number Generator then gives me an elective activity, and I do this activity during one of three free times: After Breakfast, After Lunch, or After Dinner. Since I know I can’t skip feeding or cleaning up after my puppies, this means I need to work variety in between these non elective scheduled tasks. This allows me to condition the puppies to both feel confident their needs will be met. But at the same time, that many fun and unexpected things are going to happen in any day.
Note, I’ve included two types of “alone time” time, one when we leave the house and another when we are home but not interacting with the puppies. Both happen as part of our regular schedule, but I want to ensure that the puppies have lots of experience with us leaving the house, as well as us being home but ignoring the them. This mirrors real life and what will happen in any type of home situation.
One of the greatest gifts you can give your puppy and it’s future family is investing in creating a Positive Conditioned Emotional Response to being both crated and confined in an x pen. Both are tools your puppy family needs to use to manage their puppy’s behavior and safety in the first months of it’s life, and both are a common cause of distress for puppies and owners.
Conversely, if your puppy has had rushed and forced confinement, and thus has a Negative Conditioned Emotional Response to confinement, this may express itself during transition stress as excessive vocalization, panic, refusal to enter the crate, or urinating/defecating when confined. All these signs of distress can affect outcomes in the new home and even the dog’s behavior going forward.
Be sure to teach your new puppy owners how to continue your crate conditioning work once they bring their puppy home. Here is our blog post on creating Confident Craters, a Guide for New Puppy Owners
You can find our Crate Conditioning for breeders and fosters here:
Your puppy’s new family will benefit greatly by being able to provide the puppy with a variety of pacifiers, but only if puppies leave the breeder knowing the behaviors needed to enjoy pacifiers this will be much easier. Again, when presented with a familiar challenge in the new home, a puppy’s feeling of competence during transition increases.
Some of these pacifiers will be instinctively engaging to puppies. Natural chews such as hooves, bones, tracheas, and bully sticks require no “teaching” and puppies will enjoy them right from the start. Some pacifiers, such as Kibble Nibbles or Wobblers, need practice and puppies need regular exposure to learn to enjoy them.
By starting around weaning age and offering different pacifiers throughout the weeks, the puppies have lots of opportunity to learn how to engage with these items and to enjoy them.
Here is a list of items we find work well for our puppies.
1. Lick mats
2. Snuffle mats (We send a snuffle mat home with each puppy.)
3. Kibble Nibble
4. Kong Quest and Wobbler
5. IQ Ball
6. Stuffed Hooves, Kongs, Trachea, Whimzee
7. Slow Feed Bowls (great for raw or canned foods!)
8. Scent Items and Familiars.
Be sure to send a scented item home with each puppy; this can be a baby blanket, fleece toy, or even the puppy’s own crate. By planning to send scented items home with the puppy, you provide a source of familiarity and comfort during transition. I love these hand crafted blanket and tug kits from Smiling Dog. Conversely, you can send home a snuffle mat, which doubles as an enrichment item and a familiar.
9. Send home detailed dietary instructions.
This is an easy one, and something most breeders do anyway. By providing detailed dietary instructions, at least a weeks supply of the breeder’s diet, and instructions for training bait and treats, the breeder can help ensure that the transition time isn’t complicated by unnecessary gastric upset. Puppies with GI upset may not sleep through the night, they may soil their crate or themselves, and all these things can push a puppy from transition stress into transition distress.
Set your families up for success by guiding them on the importance of dietary consistency in both meals, enrichment, and training bait during transition.
This puppy has learned to target her nose to the hand. Her new mom learns how to maintain and use this very functional behavior before taking her home. This helps them have a mutually understood “language” during transition.
10. Install positively conditioned bridges to help your puppy “over” life’s transitions.
I’ve saved the most important for last. Really, this subject warranted it’s own lengthy blog (but don’t worry, I’ll save that for another day!) because it’s really just THAT important.
What do we mean by a bridge behavior? A bridge is a behavior taught in such a way that a positive emotional response is PART of the behavior. A bridge doesn’t work if it’s a behavior the puppy learned through avoidance. We want our bridge behaviors to help us reach our goal of a dog who thrives under stress, and who enjoys life’s transitions.
The magic of the bridge is in the communication between the puppy and the new owner. When puppies leave our home they also leave behind all those contextual cues and paths to access reinforcements that help them know what is expected when, and what behavior might work in particular settings. They feel a bit like “strangers in a strange land” in the new home. The new family often feels the same way, just how do they get the puppy to do the things they need? Our bridge behaviors give the puppy a way to communicate to the owner, and the owner to the puppy. There is empowerment, confidence, and mutual bonding in this shared language.
We encourage our new families to start the day they bring their puppy home with the Puppy Culture Communication Trinity, and to run through these lessons in order. Running through these familiar lessons helps the puppy feel confident and competent in the new home.
Our bridge behaviors MUST include a positive emotional response. Since we are Puppy Culture breeders and clicker trainers, this is easy for us, as all our Puppy Culture Active Enrichment Behaviors and our other clicker trained behaviors fit this requirement.
Here are the bridge behaviors our puppies are taught before they go home.
1. Sit (Mand) for things you want.
2. Attention (eye contact.)
3. Follow Leash Pressure.
4. Hand Target (touch your nose to my hand.)
5. Crate Up (enter your crate.)
6. Find It (find food I’ve tossed.)
7. Come when called.
With this small set of baby behaviors our puppy can, when unsure what to do, be quickly prompted for behaviors they are confident in and have a positive emotional response to.
Attention is a powerful bridge behavior and easy to recognize reinforced throughout the day.
Of course, we also need to teach our new families the basics clicker training, and most importantly when and how to use the bridge behaviors.
Here are some examples of using bridge behaviors during transition week.
First Day:
Puppy can Mand to leave crate.
Puppy can Mand for meals.
Puppy can have the clicker powered up.
Puppy can Mand for toy toss.
Puppy can give Attention for tugging.
Puppy can Mand for petting.
Puppy can run outside the door to “find it”.
Puppy can Come for meals, attention, and play.
Second Day:
Puppy can Mand to leave Crate.
Puppy can Mand for meals.
Puppy can play The Box Game.
Puppy can practice Leash Walking.
Puppy can Mand for petting.
Puppy can give Attention for toy toss.
At Vet:
Puppy can Mand for social interaction.
Puppy can play Attention while vet listens to heart.
Puppy can follow a Hand Target onto scale.
Because we have already conditioned these bridge behaviors, AND taught the puppy owner how to teach, use, and reinforce them, the puppy can experience these situations (all of which are transitions) as fun and reinforcing events because the puppy “knows” how to earn reinforcement in the form of praise, food, and play. What a great confidence booster!
Puppies Manding at their first vet visit.
This helps our puppy learn from the very start that it has control over what happens to it, that good things are plentiful and easy to access, and that change predicts these wonderful things.
Will our puppy still experience stress during it’s transition?
Of course our puppy is still going to experience transition stress, and this stress is beneficial. But by planning ahead we can create a confident puppy who transitions easily, one who welcomes change, variety, and thinks clearly under stress.
We also provide our new puppy families with the knowledge and skills they need to have the smoothest transition possible. After all, puppies are TONS of hard work, as breeders we can lighten this workload on our new families tremendously, just through planning and execution of some good common sense protocols.
Modern dogs face many challenges and stressors that our breed’s foundation dogs and our breed architects couldn’t imagine. Modern breeders are not only producing dogs who can adapt to modern environments, but we are also doing our best to give puppies the tools they need to succeed, from the couch to the podium, right from the start.
Sometimes I just want a quick and low prep way to stuff a Kong or Squirrel Dude.
Maybe because company’s come over and I would like to give my dog a pacifier to occupy her (kinda like giving a child a coloring book) so she can hang with us without pestering my guests.
Or maybe I’m offering a Kong every day, and I want variety, and some no cook options!
So, here ya go, three super easy, and two super quick stuffing hacks.
1. Kibble Kongs:
What could be easier than a Kong stuffed with Kibble? Now, even easier than this method is that the Squirrel Dudes come equipped with small fingers around the opening, this allows you to put dry kibble right in the Squirrel Dude and the kibble will fall out slowely. Super easy.
However, if you are using a Kong or other type of dispenser with just a plain opening the dry kibble would just fall out, not much fun, and not much enrichment value.
But never fear, you can use something as simple as your dogs dry food kibble and some water to make a kong.
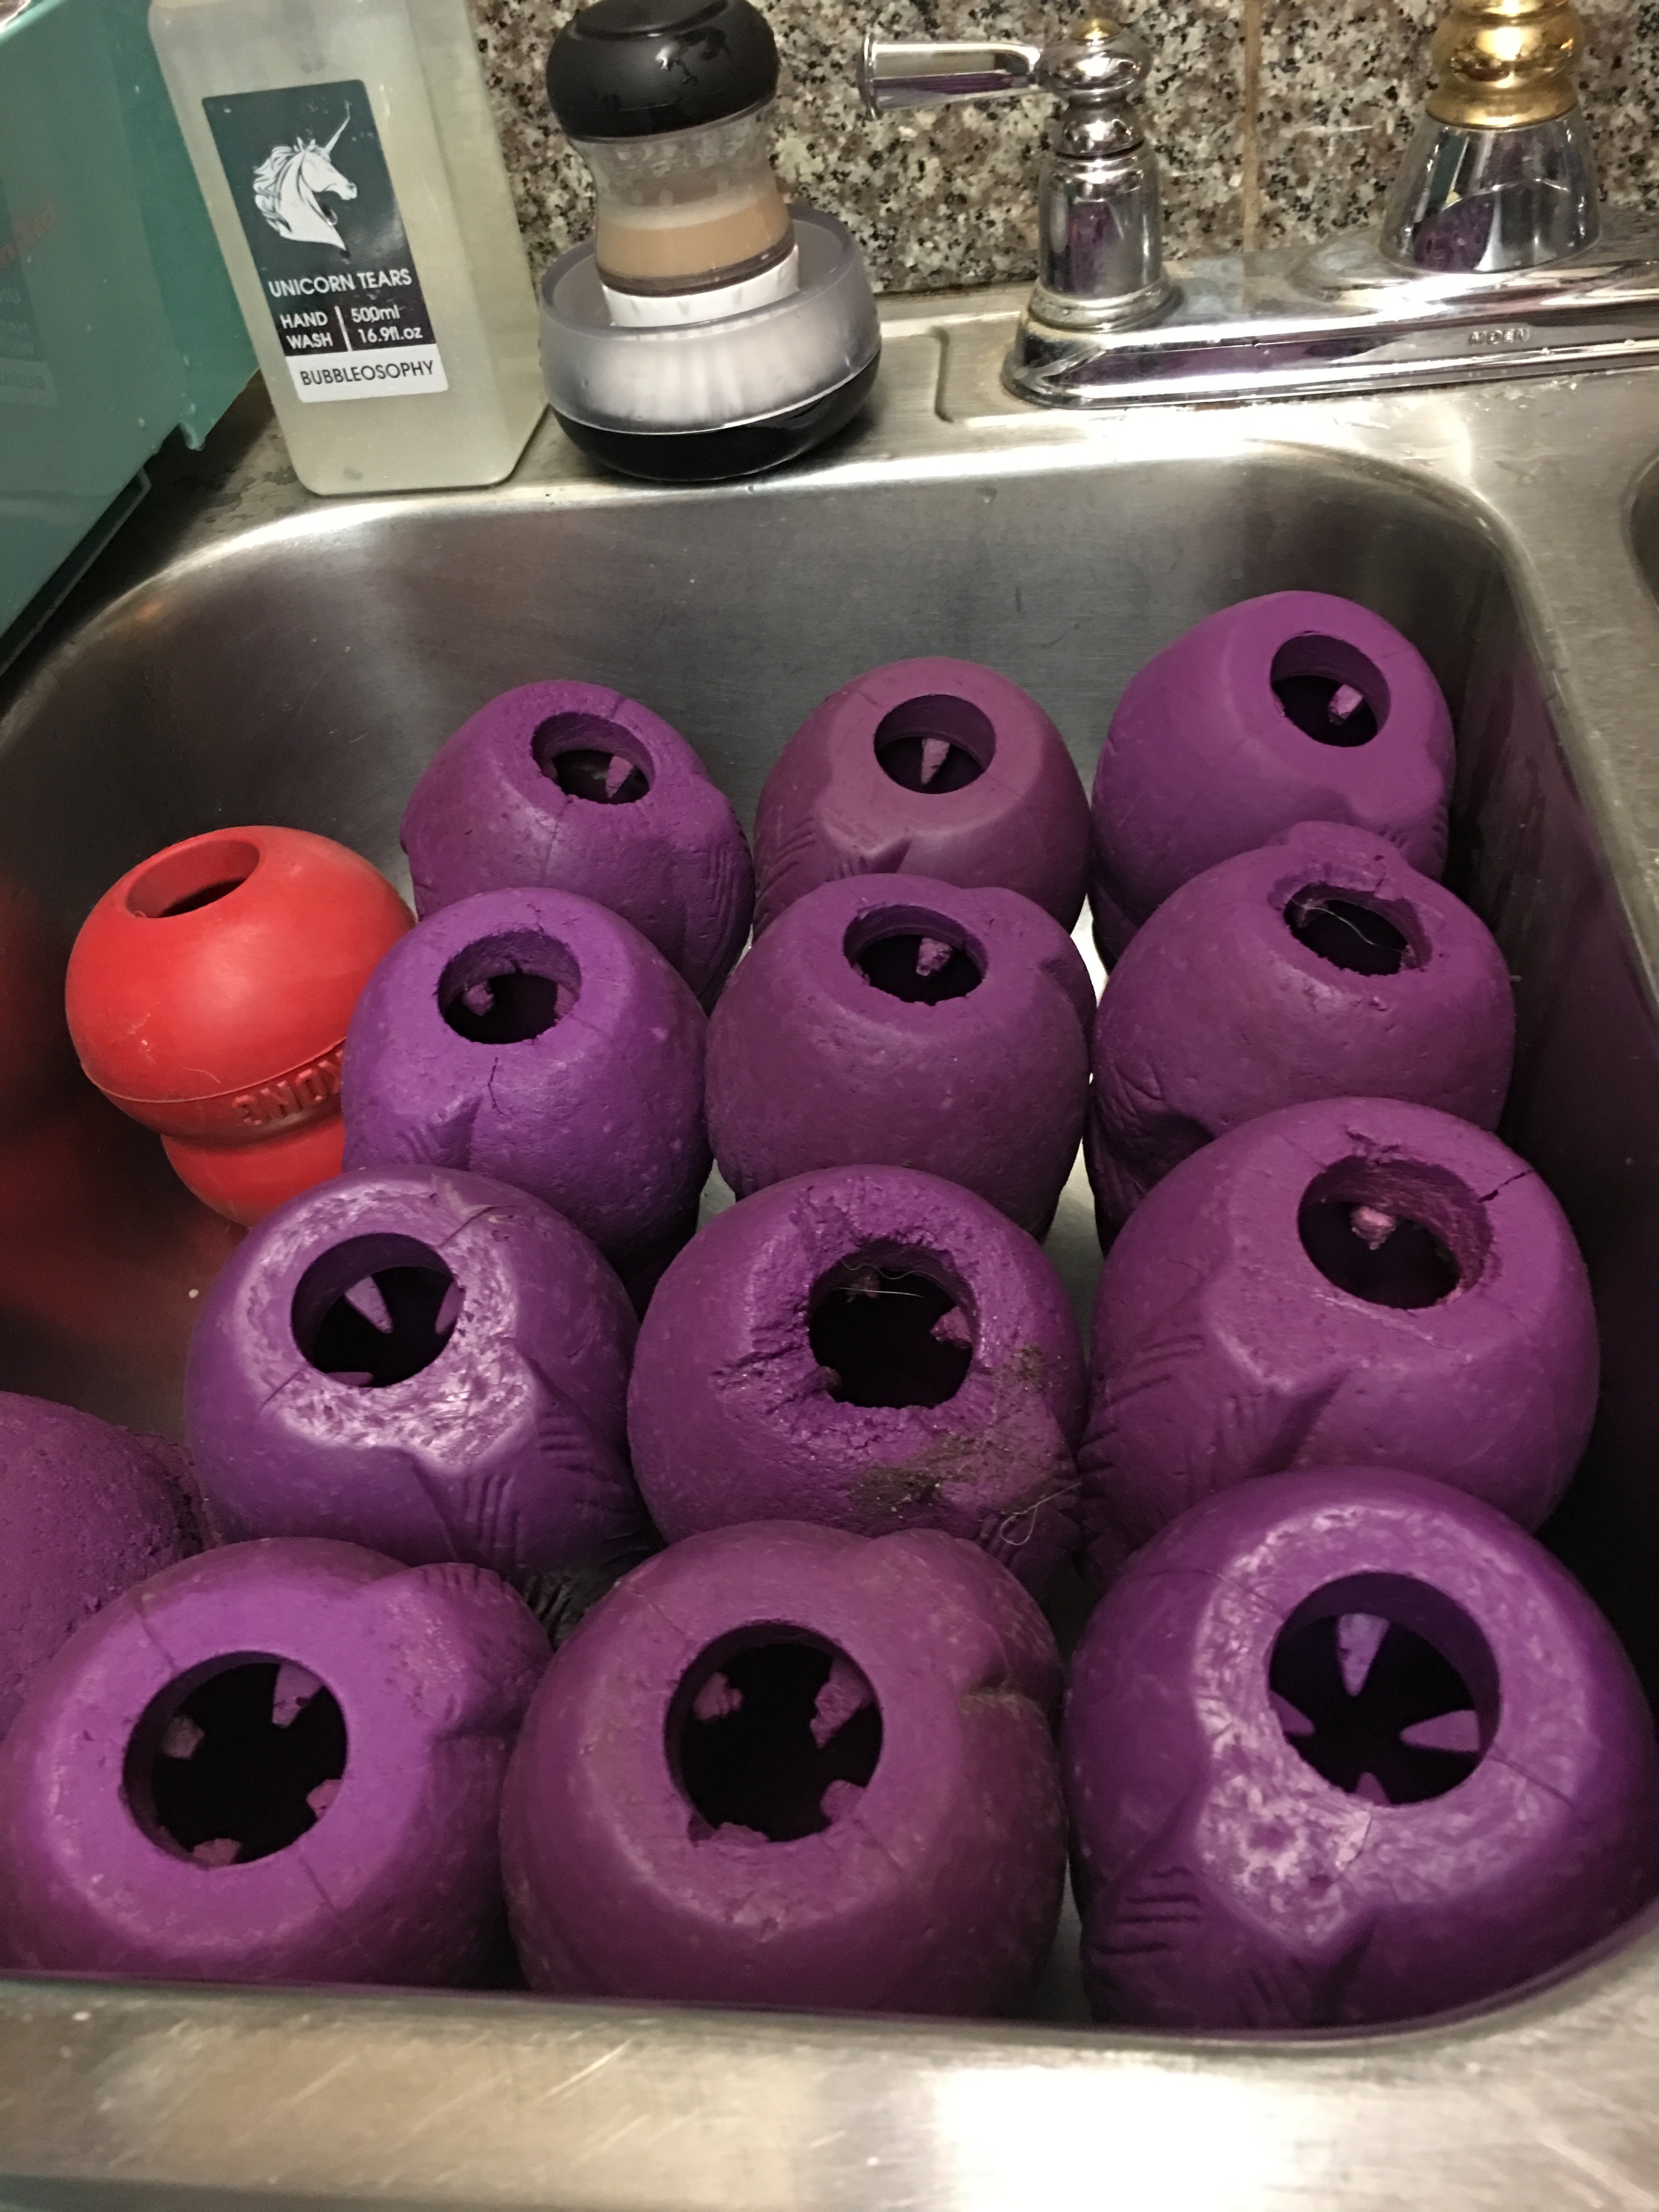
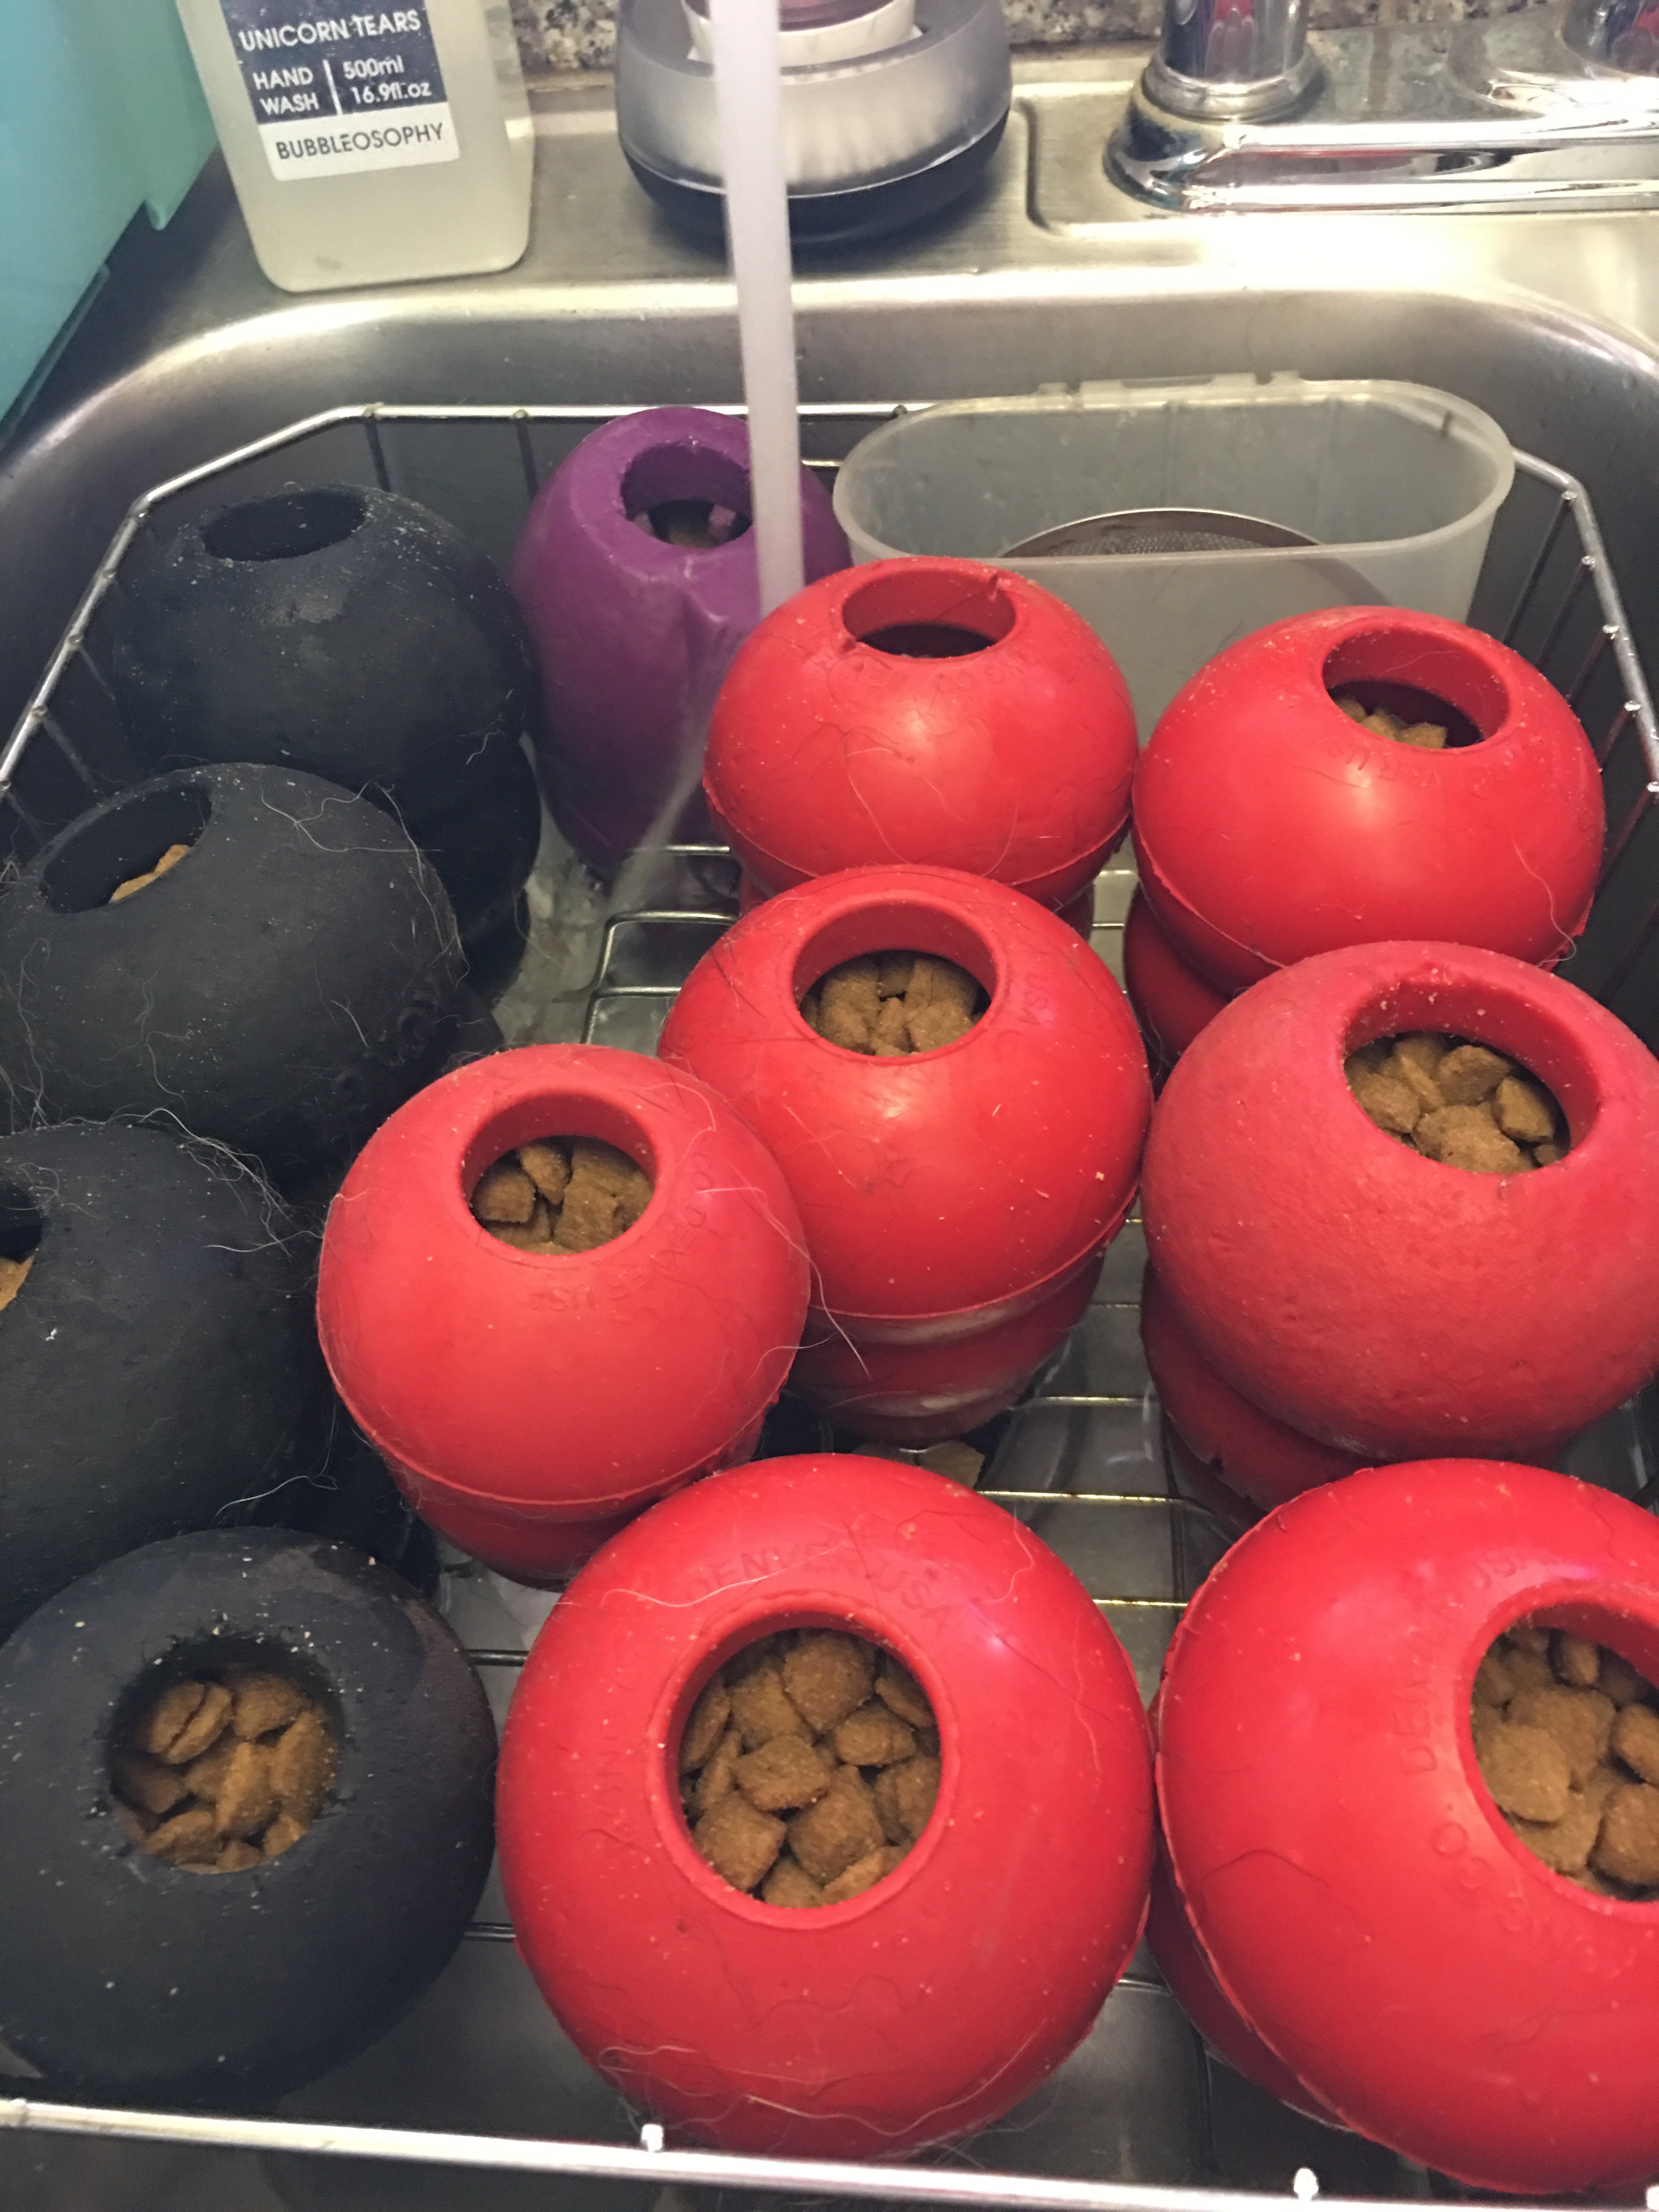
I make about 12 Kongs at once with this method, because I can fit that many in my sink, but you can make a single Kong by dropping the kong into a cup that is slightly larger and deeper than the Kong.
But I use my sink either with, or without, a dish drying rack.
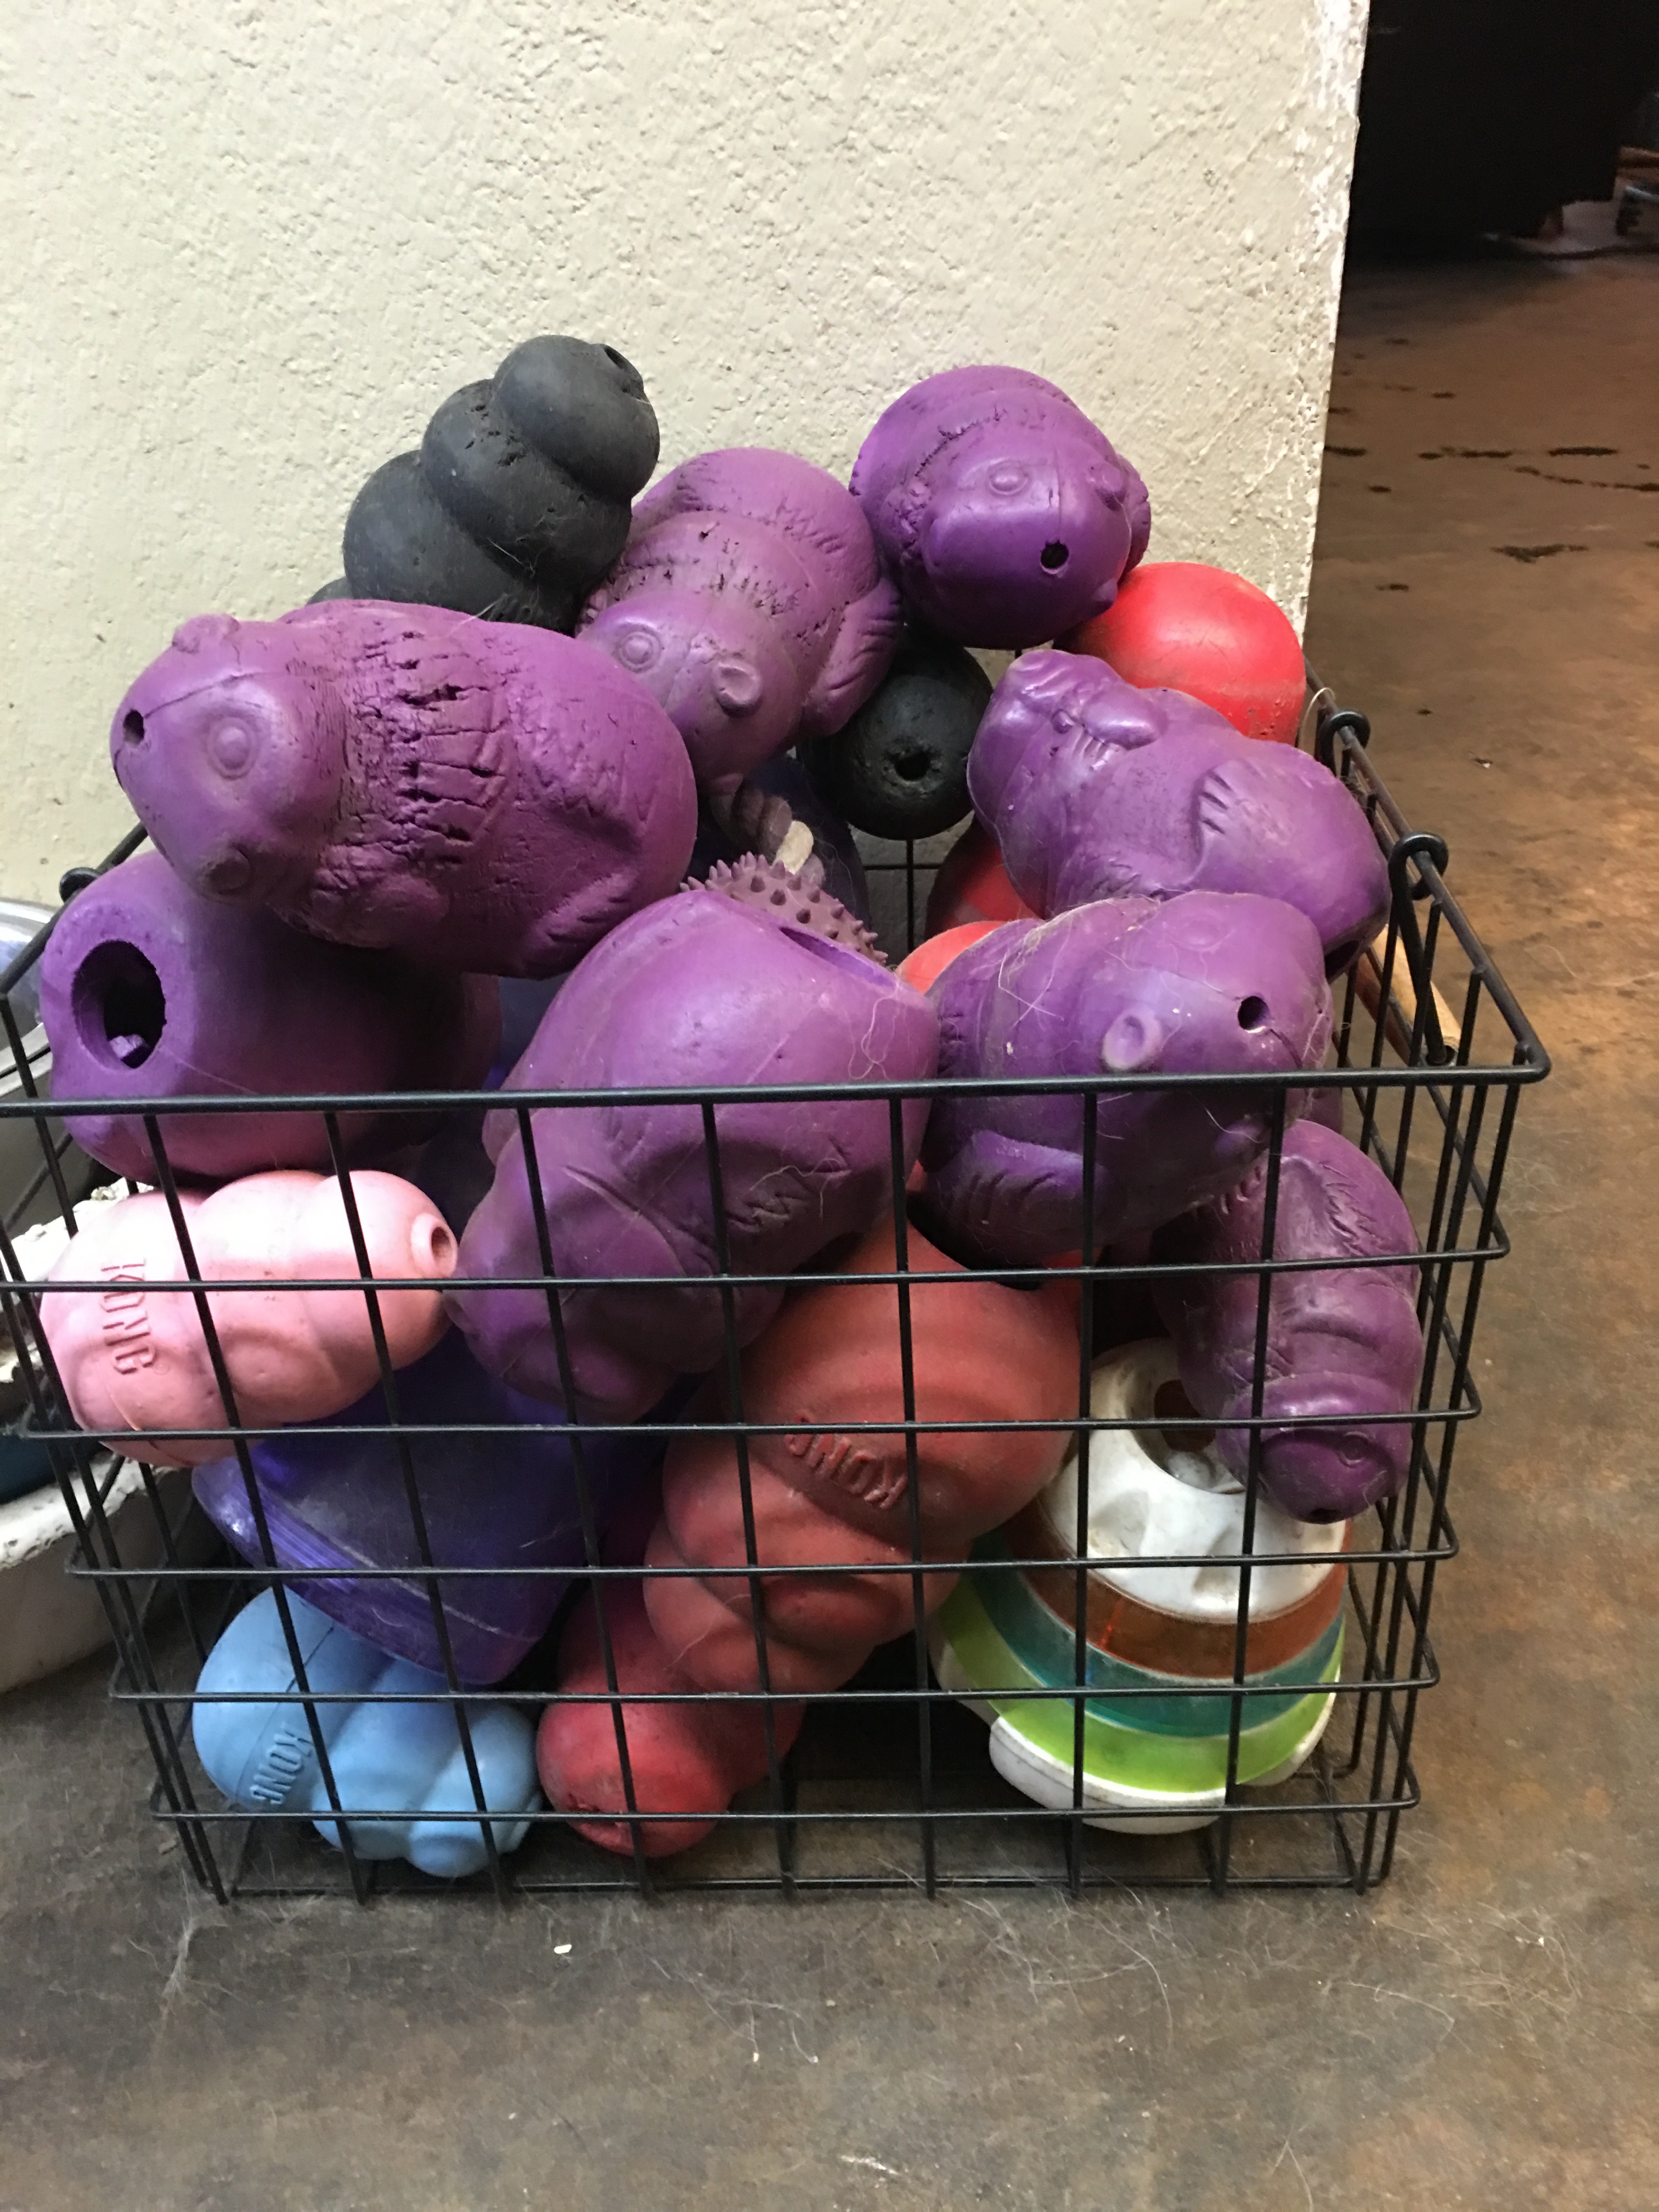
Put your empty Kongs (OK, I refer to all these things as Kongs, but these purple ones are actually Squirrel Dudes) into your cup or, in this case, my sink. This is a really fast way to make multiple Kongs, because you can NEVER have too many!
If you want to monitor how much kibble you are using here, so you can subtract it from your dogs daily ration, measure how much your toy holds.
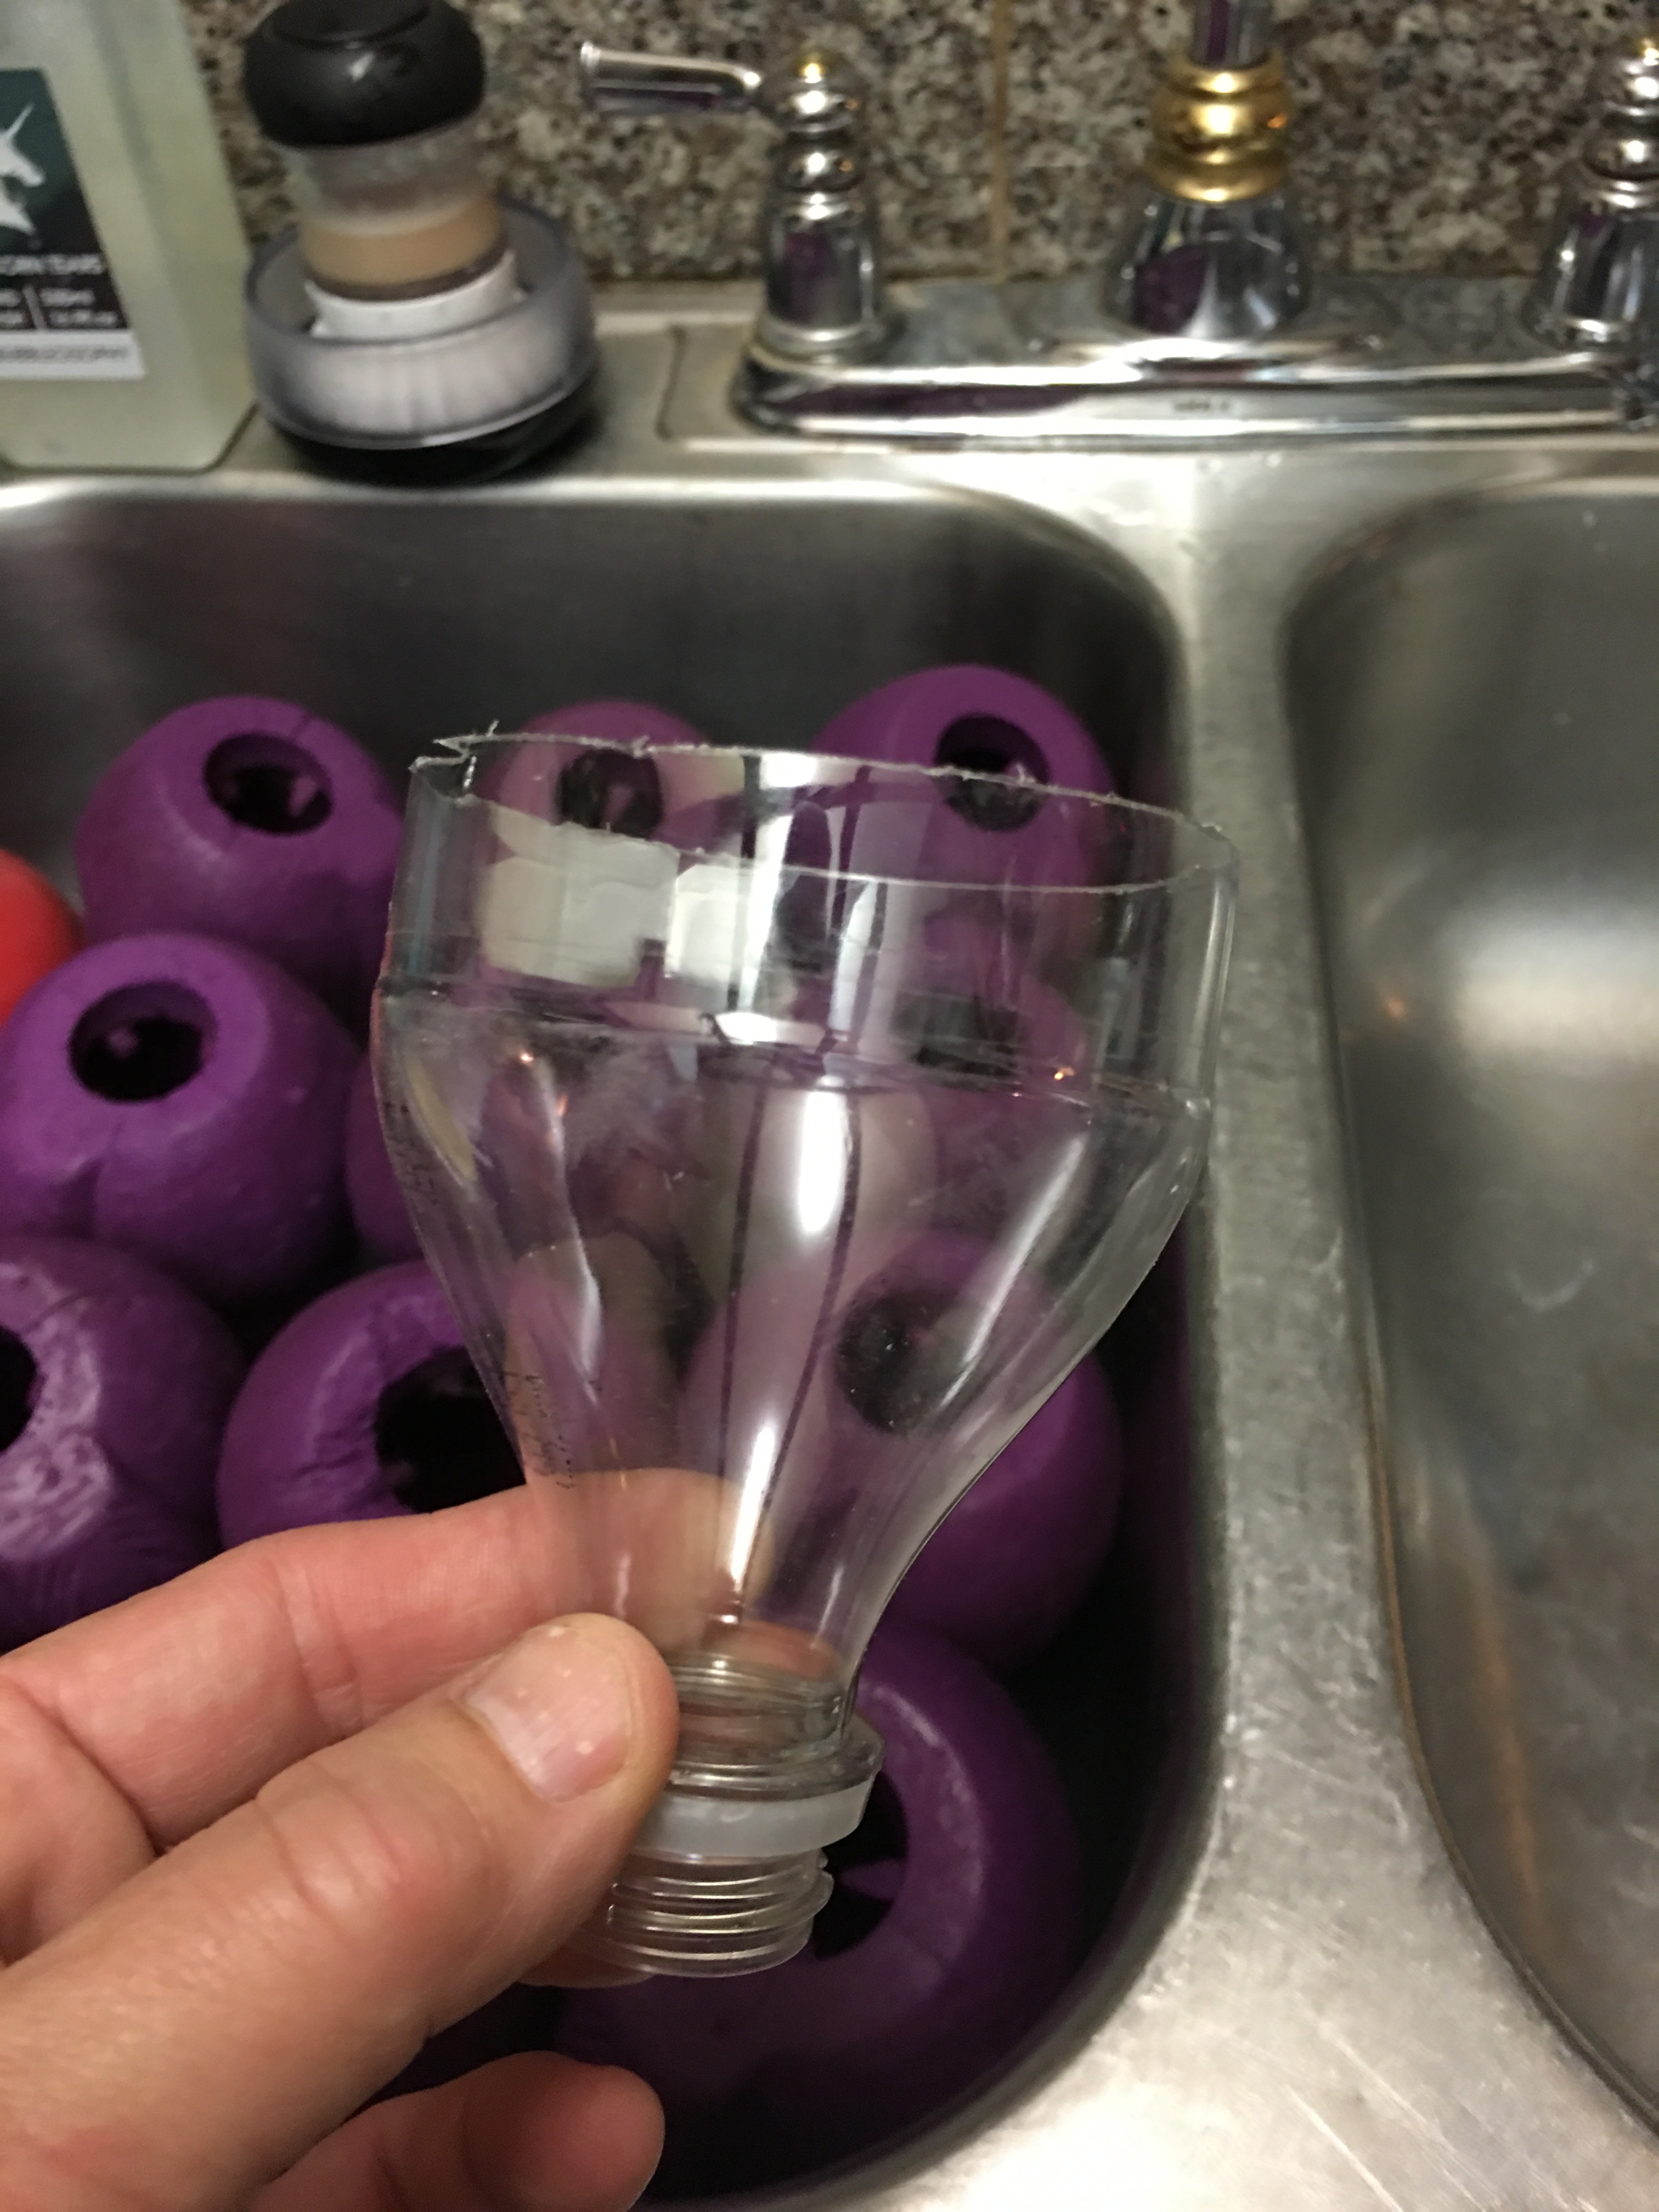
I use a funnel made from a 12 oz bottle of soda, this really helps speed this process up! Worth the $1.50 for a Coke!
Take your homemade funnel and insert the narrow end into the opening of your Kong (or SD) and slowly pour your kibble into the Kong. If you pour too fast it may clog up, just use a knife or chopstick to dislodge the clog. Kongs don’t have the projections around the opening, so kibble flows into them easily, but it can take lots of poking to get the kibble into your Squirrel Dude.
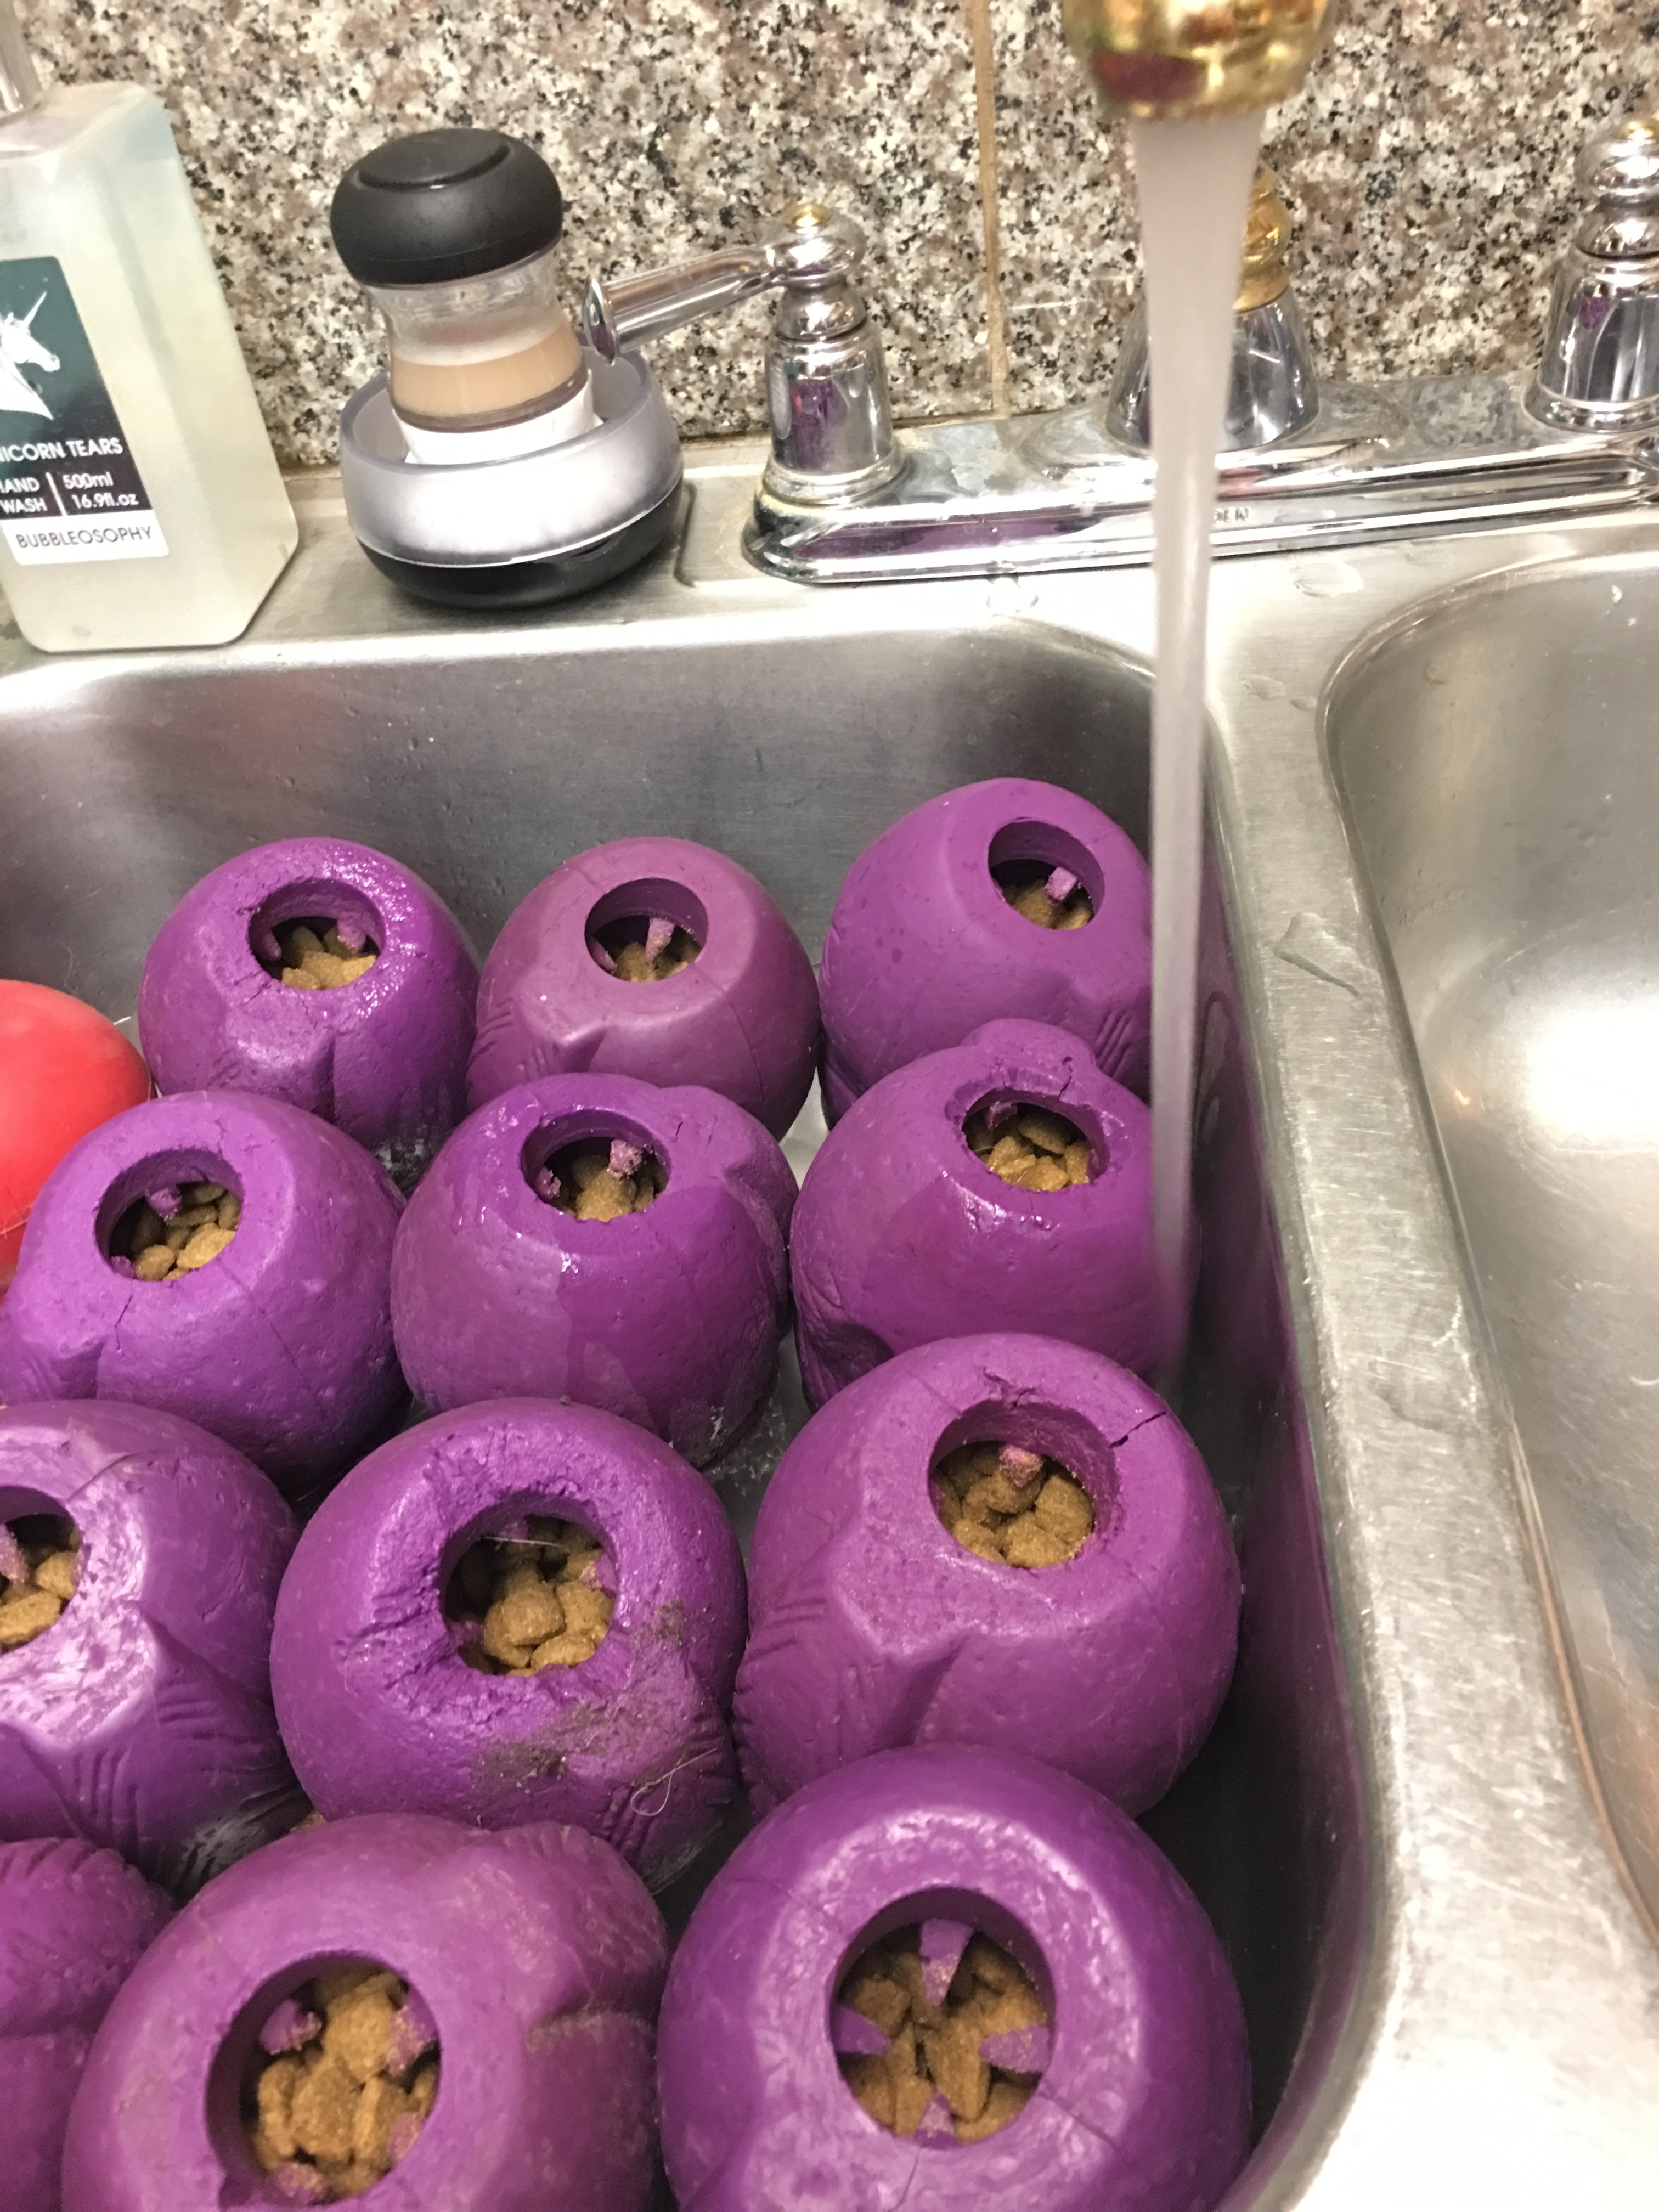
Once all your Kongs are full of kibble, and any treats you might want to drop in, fill your cup/sink, with hot water.
Optional: Use low/no sodium broth or bone broth instead of water.
The kibble will soak up the hot water and expand! When it’s fully expanded (usually takes 30 minutes to an hour) take the kong out of the water, or if you are using a sink like I am, open the drain. The water will drain away and your Kongs can drain a few minutes before either feeding fresh, or freezeing for use later.
If your dog is a hard core extractor, freeze these, if your dog is a beginner or easily discouraged, feed them fresh. If you feed them fresh let them drain longer, and be aware the stuffing will be moist.
If you like to put a hole through your kong stuffing, to prevent suction, now is the time to run a skewer or chopstick up from the small hole at the top and through the large opening. Pull out the skewer and the hole should remain, then freeze.
This is super fast, takes me less than 5 minutes to fill 12 toys!
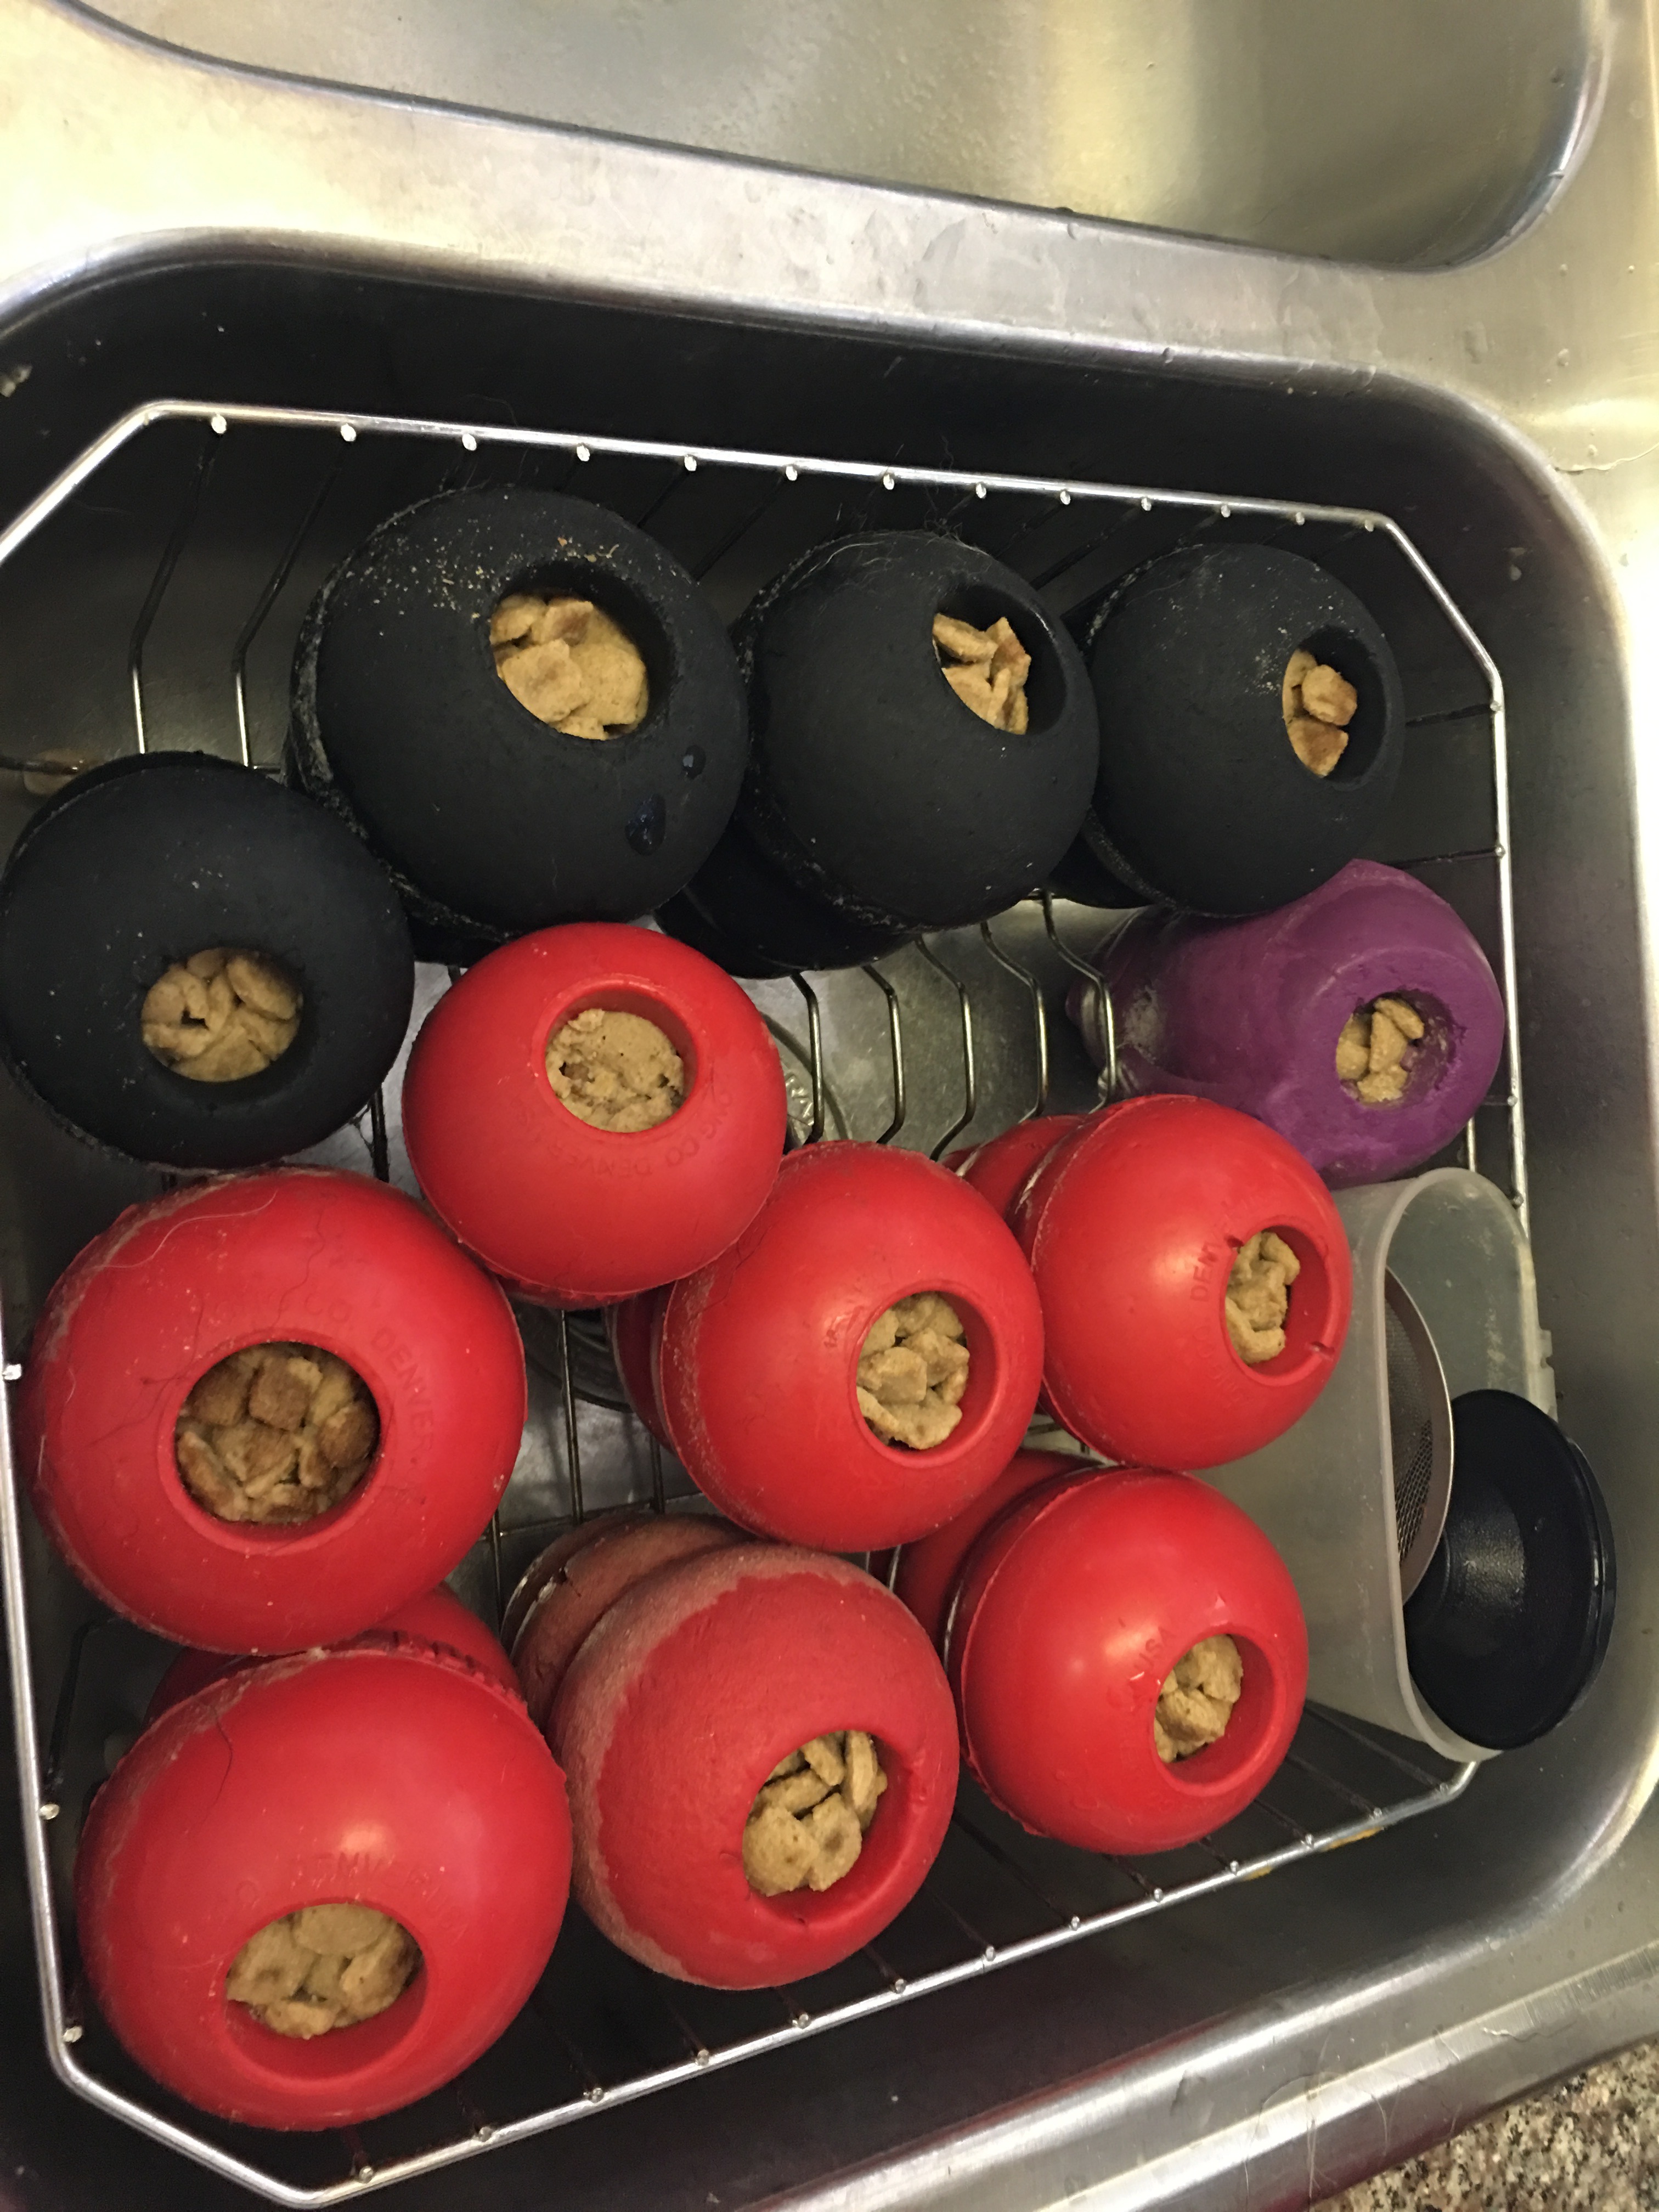
Here is the same thing with all Kongs. The Kongs stand up better if there is a rack to support them. This is a regular sink sized dish drying rack.
I make kibble Kongs every day because we feed part of our dog’s daily meals from these toys, making kibble kongs is a fast and easy way to keep stuffed toys in your freezer for use whenever needed or wanted.
Tip: You can drop bit of different things into these kongs when you are filling them, I often use:
Cheese shreds or cubes.
Small dog treats
Ham cubes or other bits of meat.
A few kibbles of dry cat food
A bit of novel kibble.
But honestly, my dogs love these no matter what!
2. Sandwich Kongs.
These are a super fast and easy way to stuff toys!
You will need:
1. Whatever toy you are stuffing (Kong, Squirrel Dude, Tux)
2. Healthy whole grain bread (read ingredients, avoid artificial sweeteners, raisins, onions, or anything else not safe for dogs to eat).
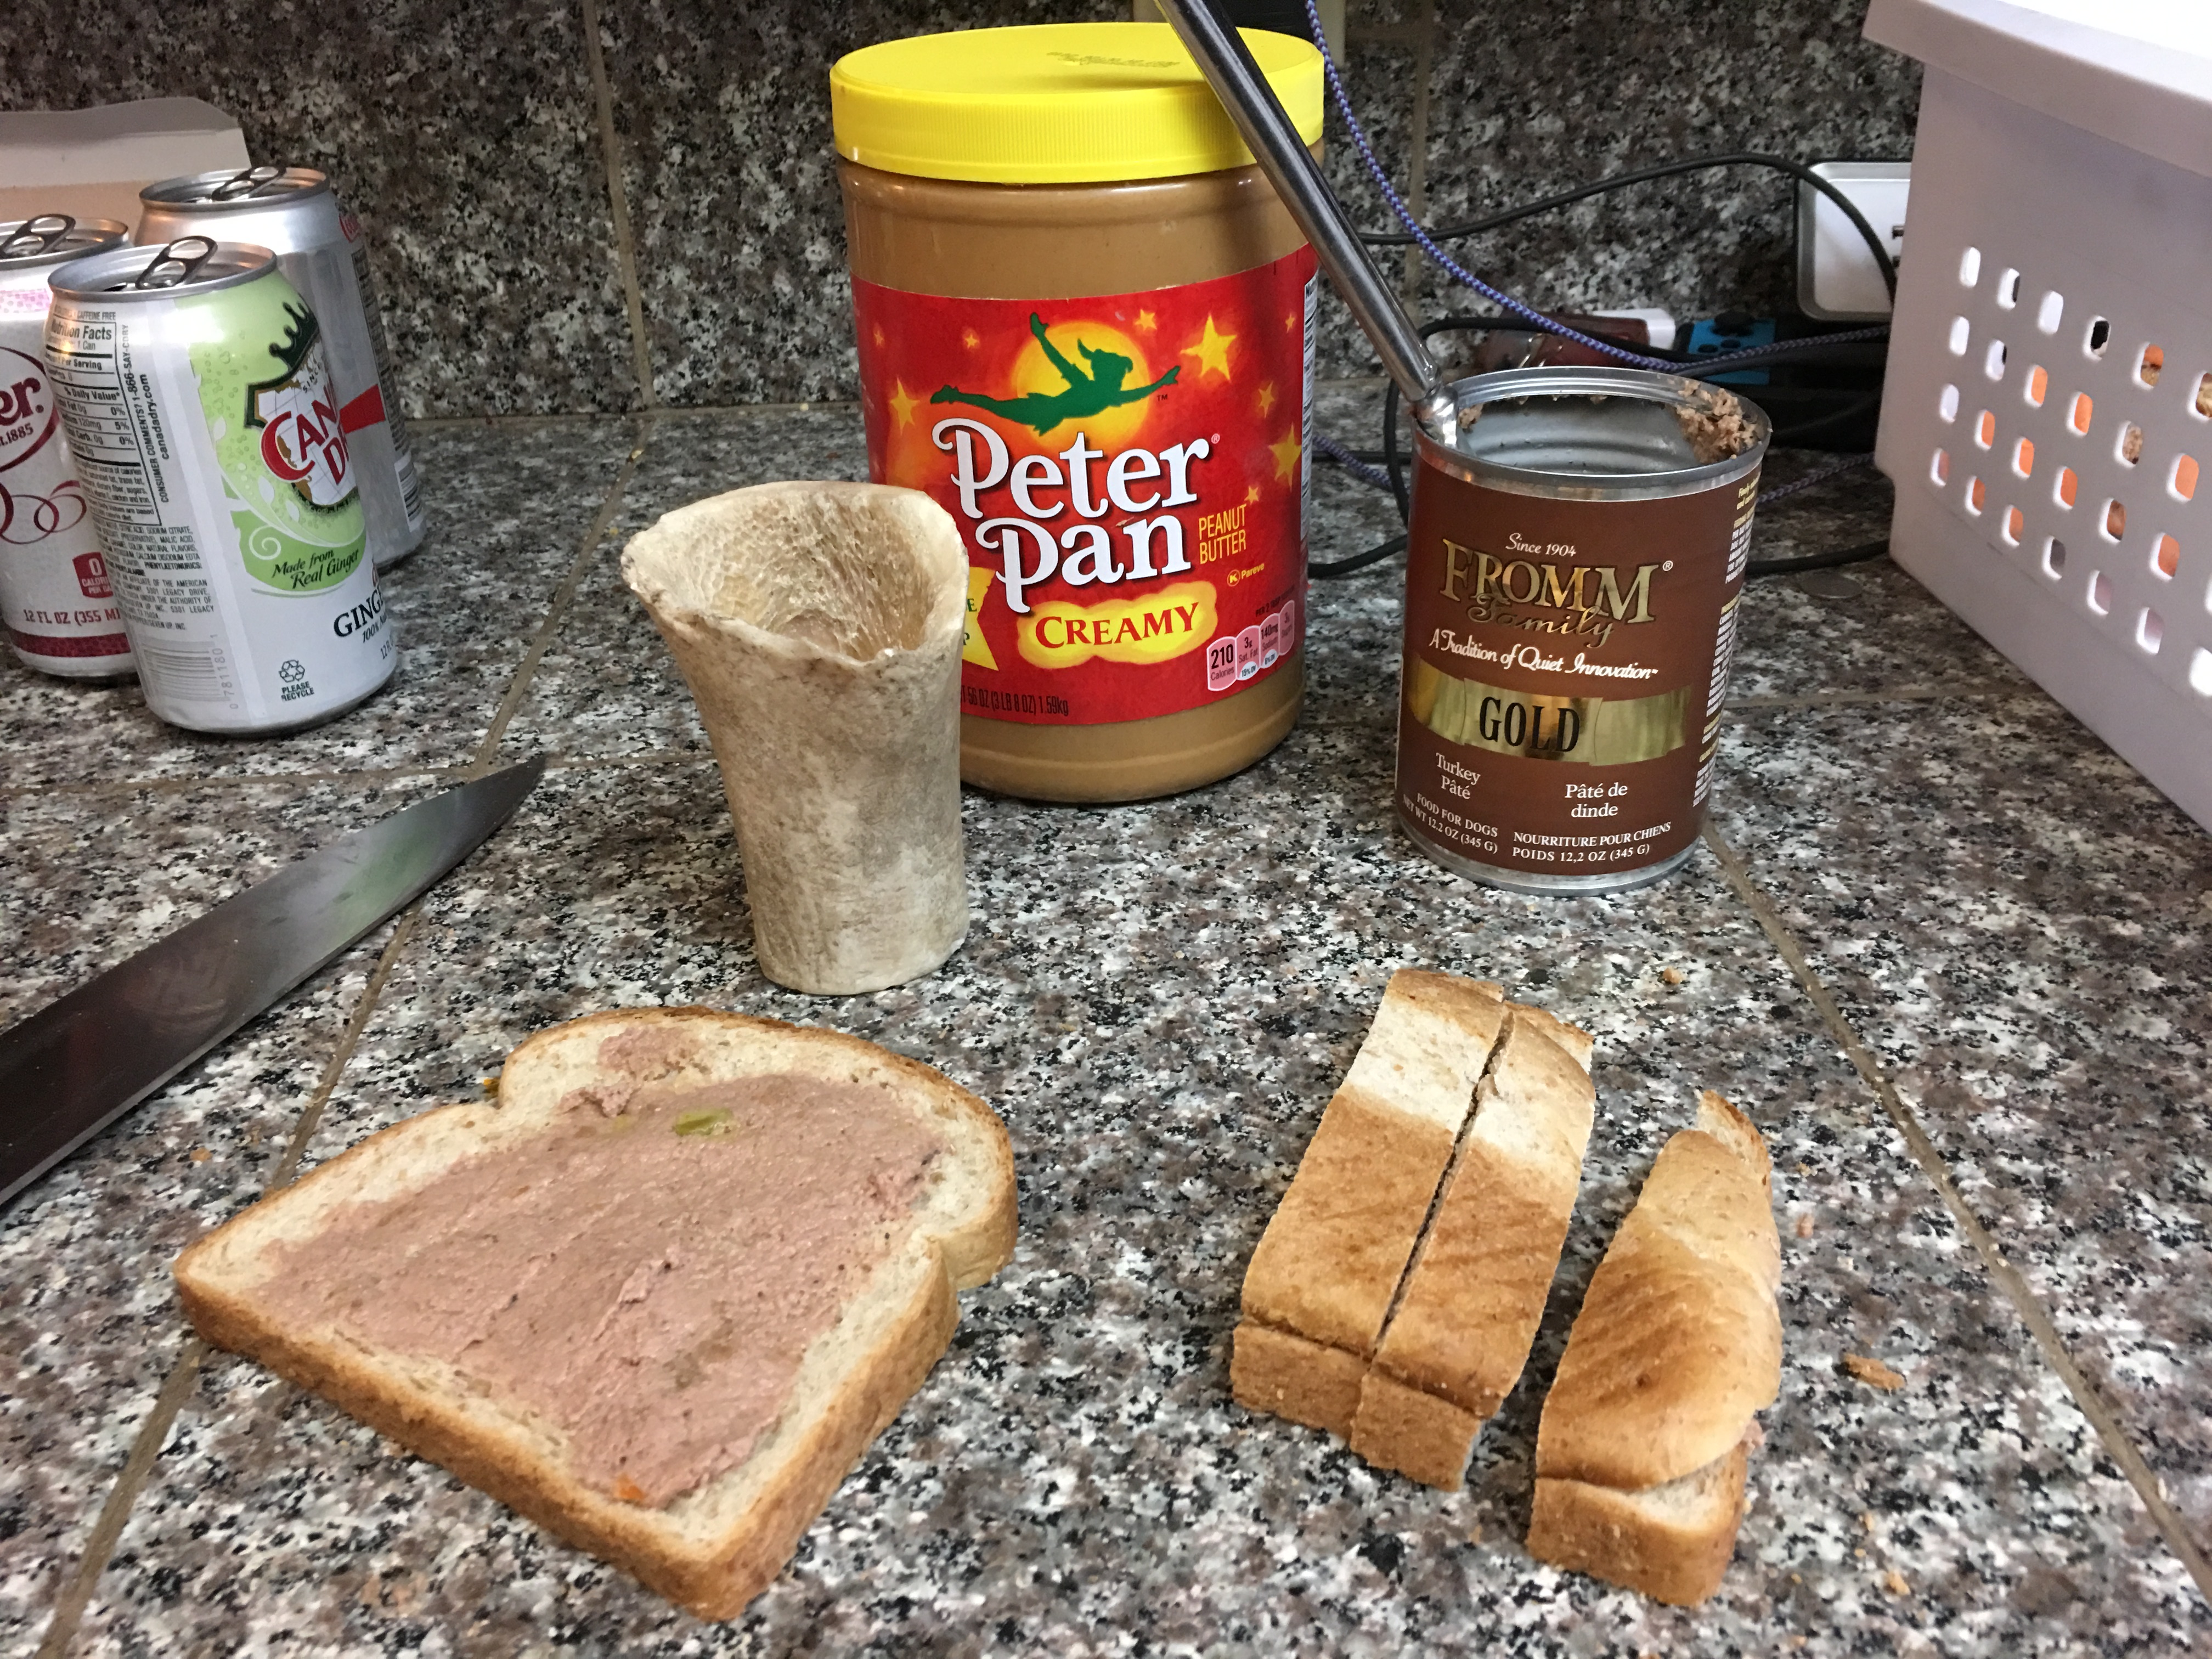
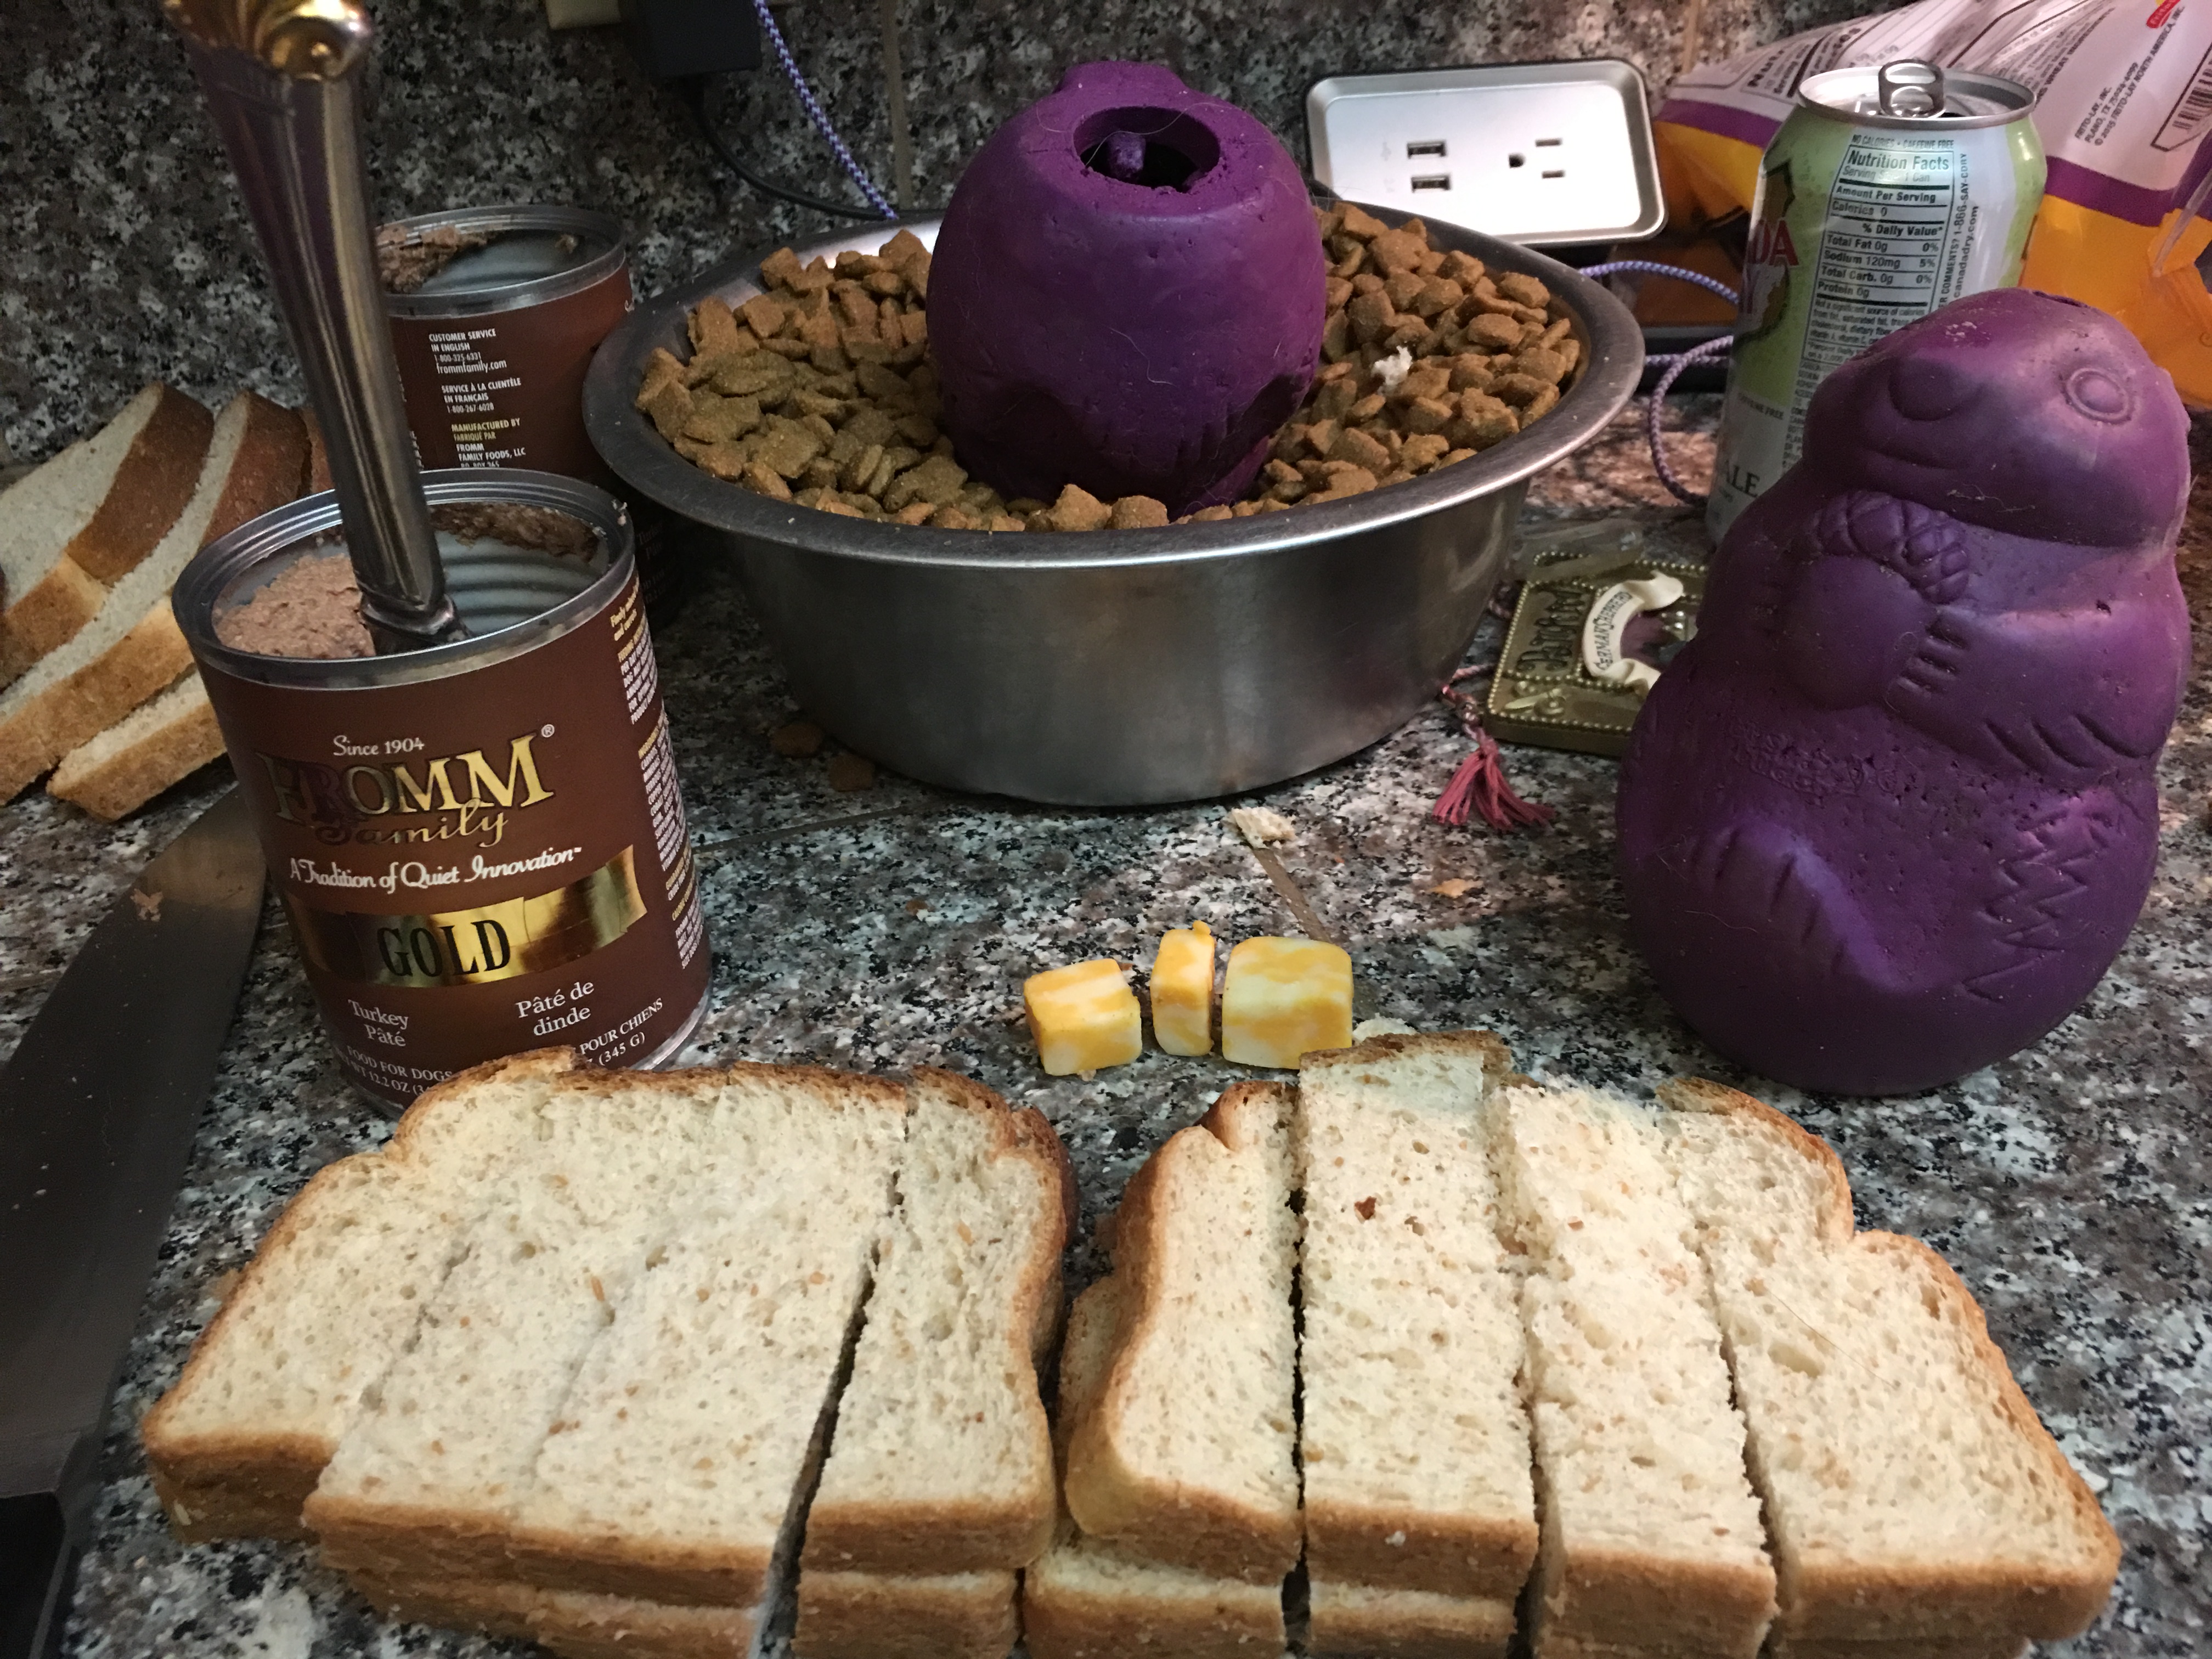
3. A spread (I use: canned Pate style dog/cat food, peanut butter, cottage cheese, baby food First Meats).
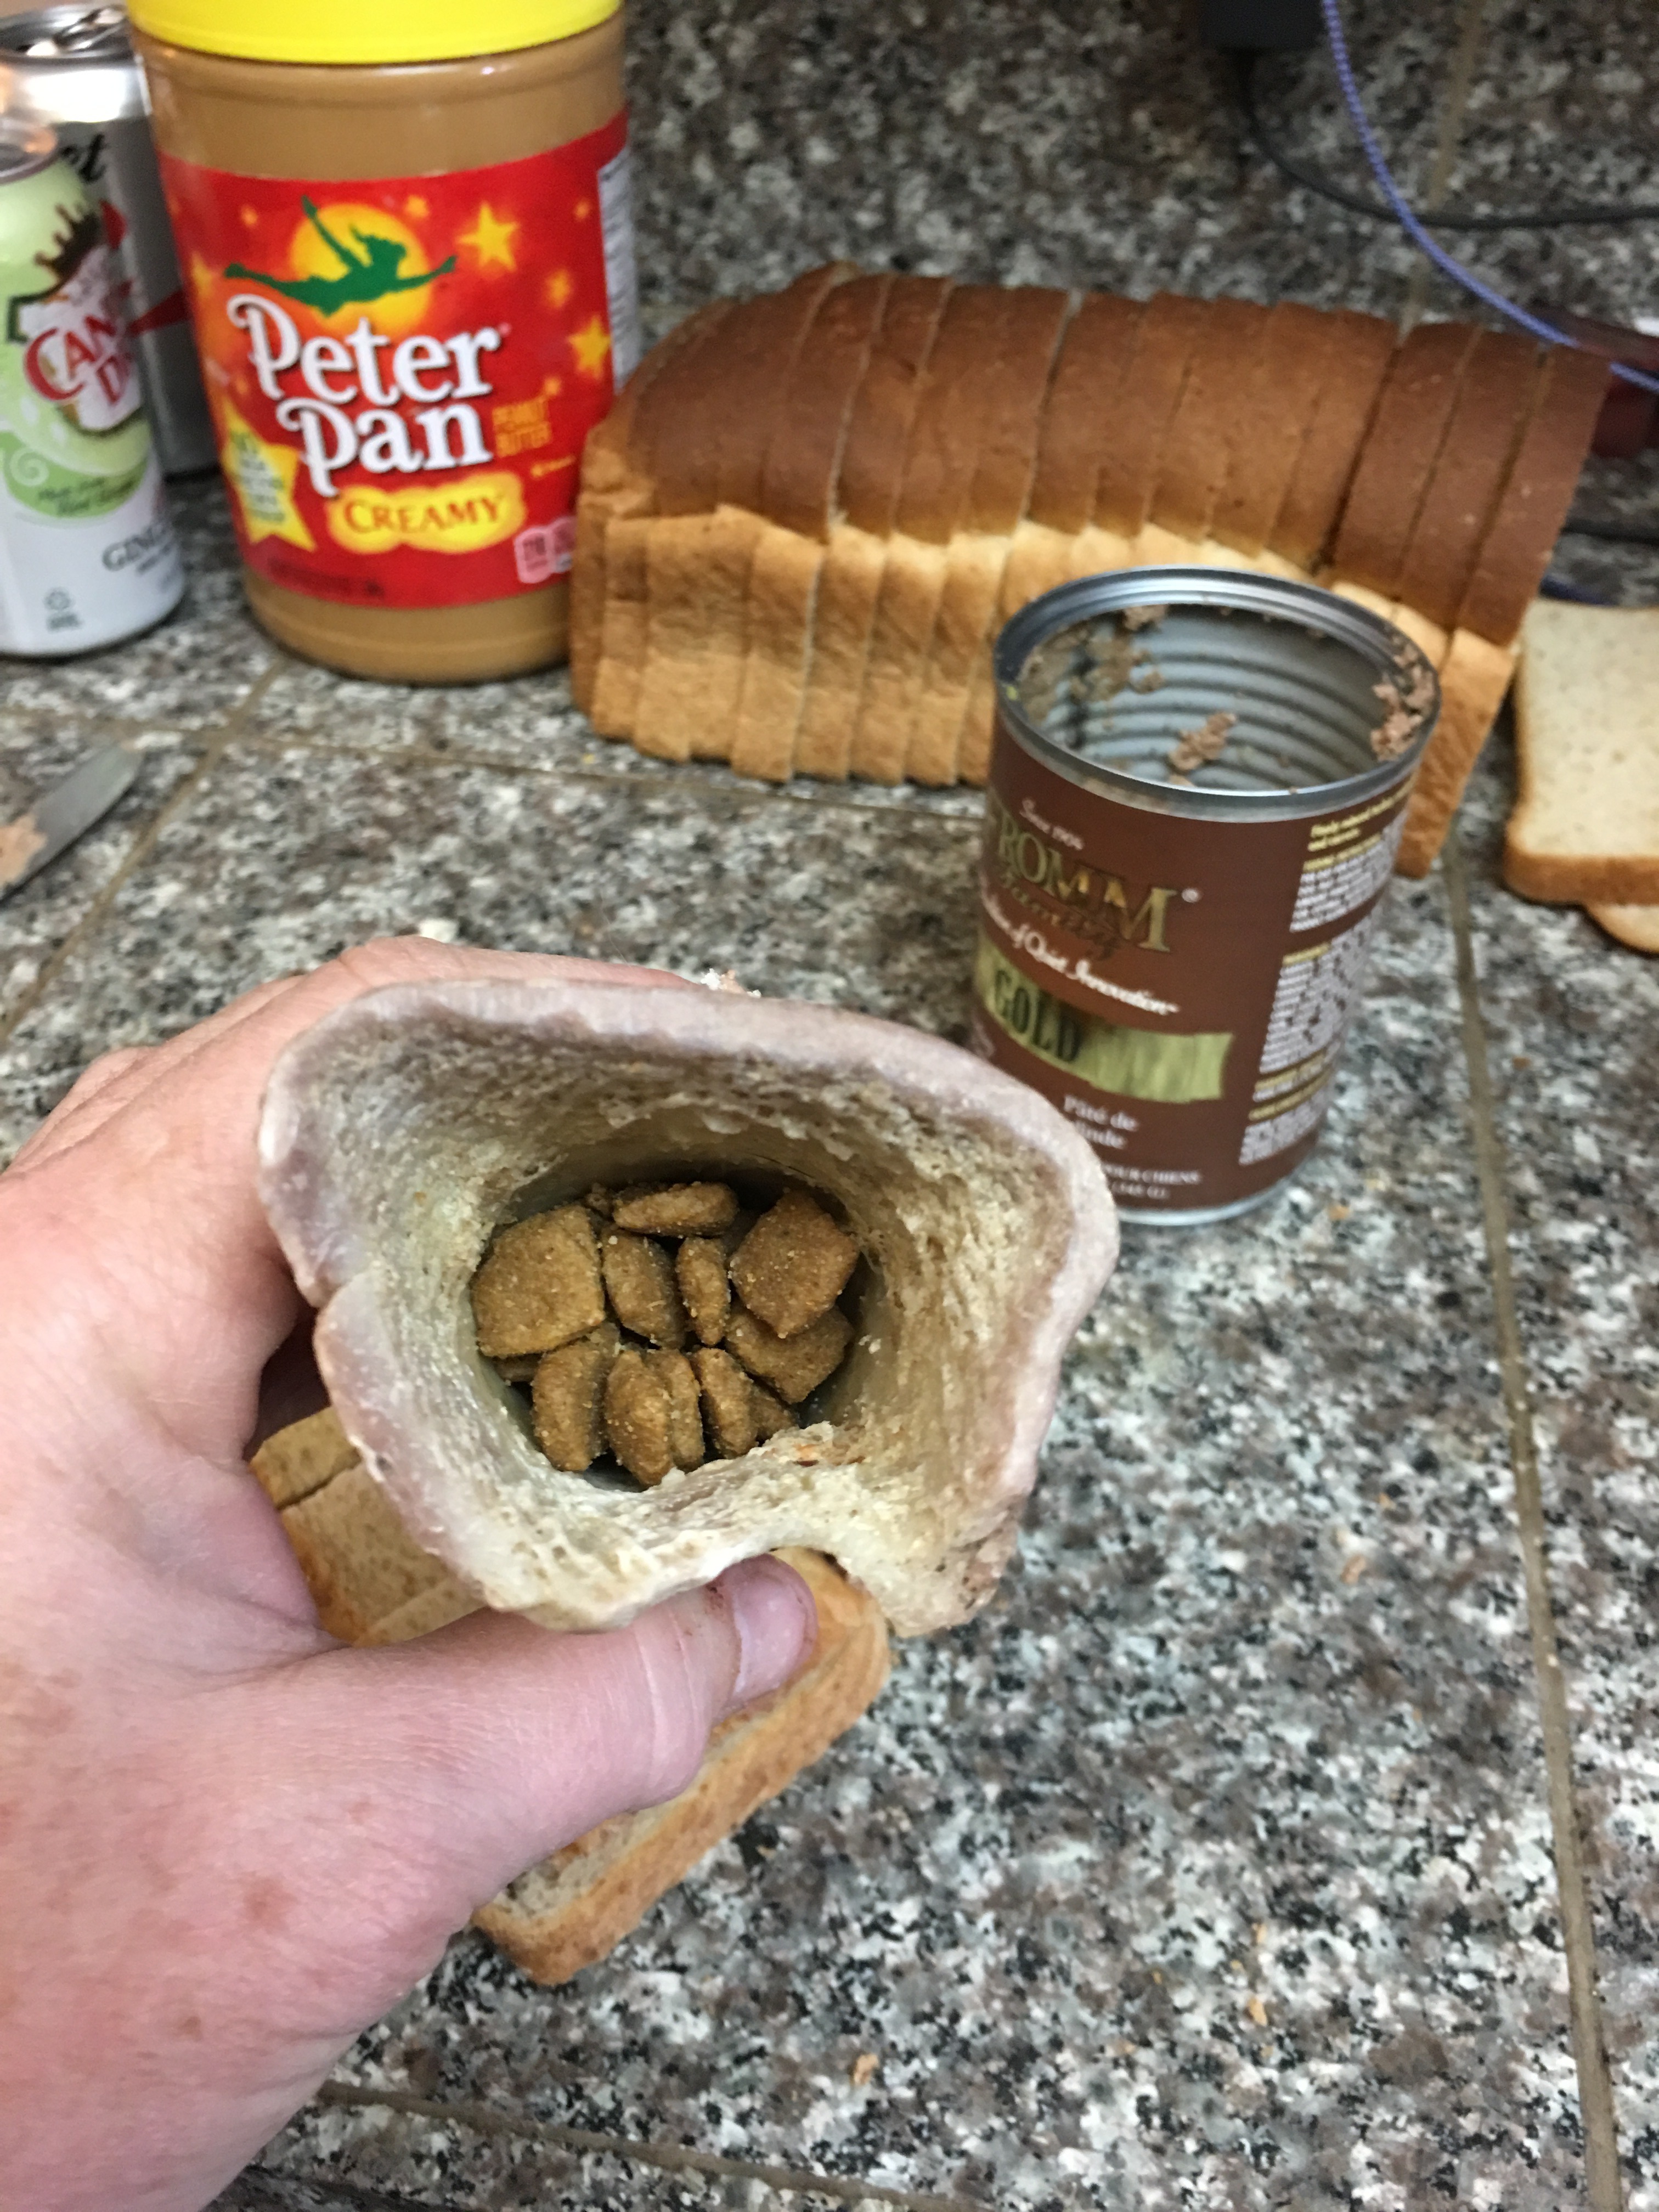
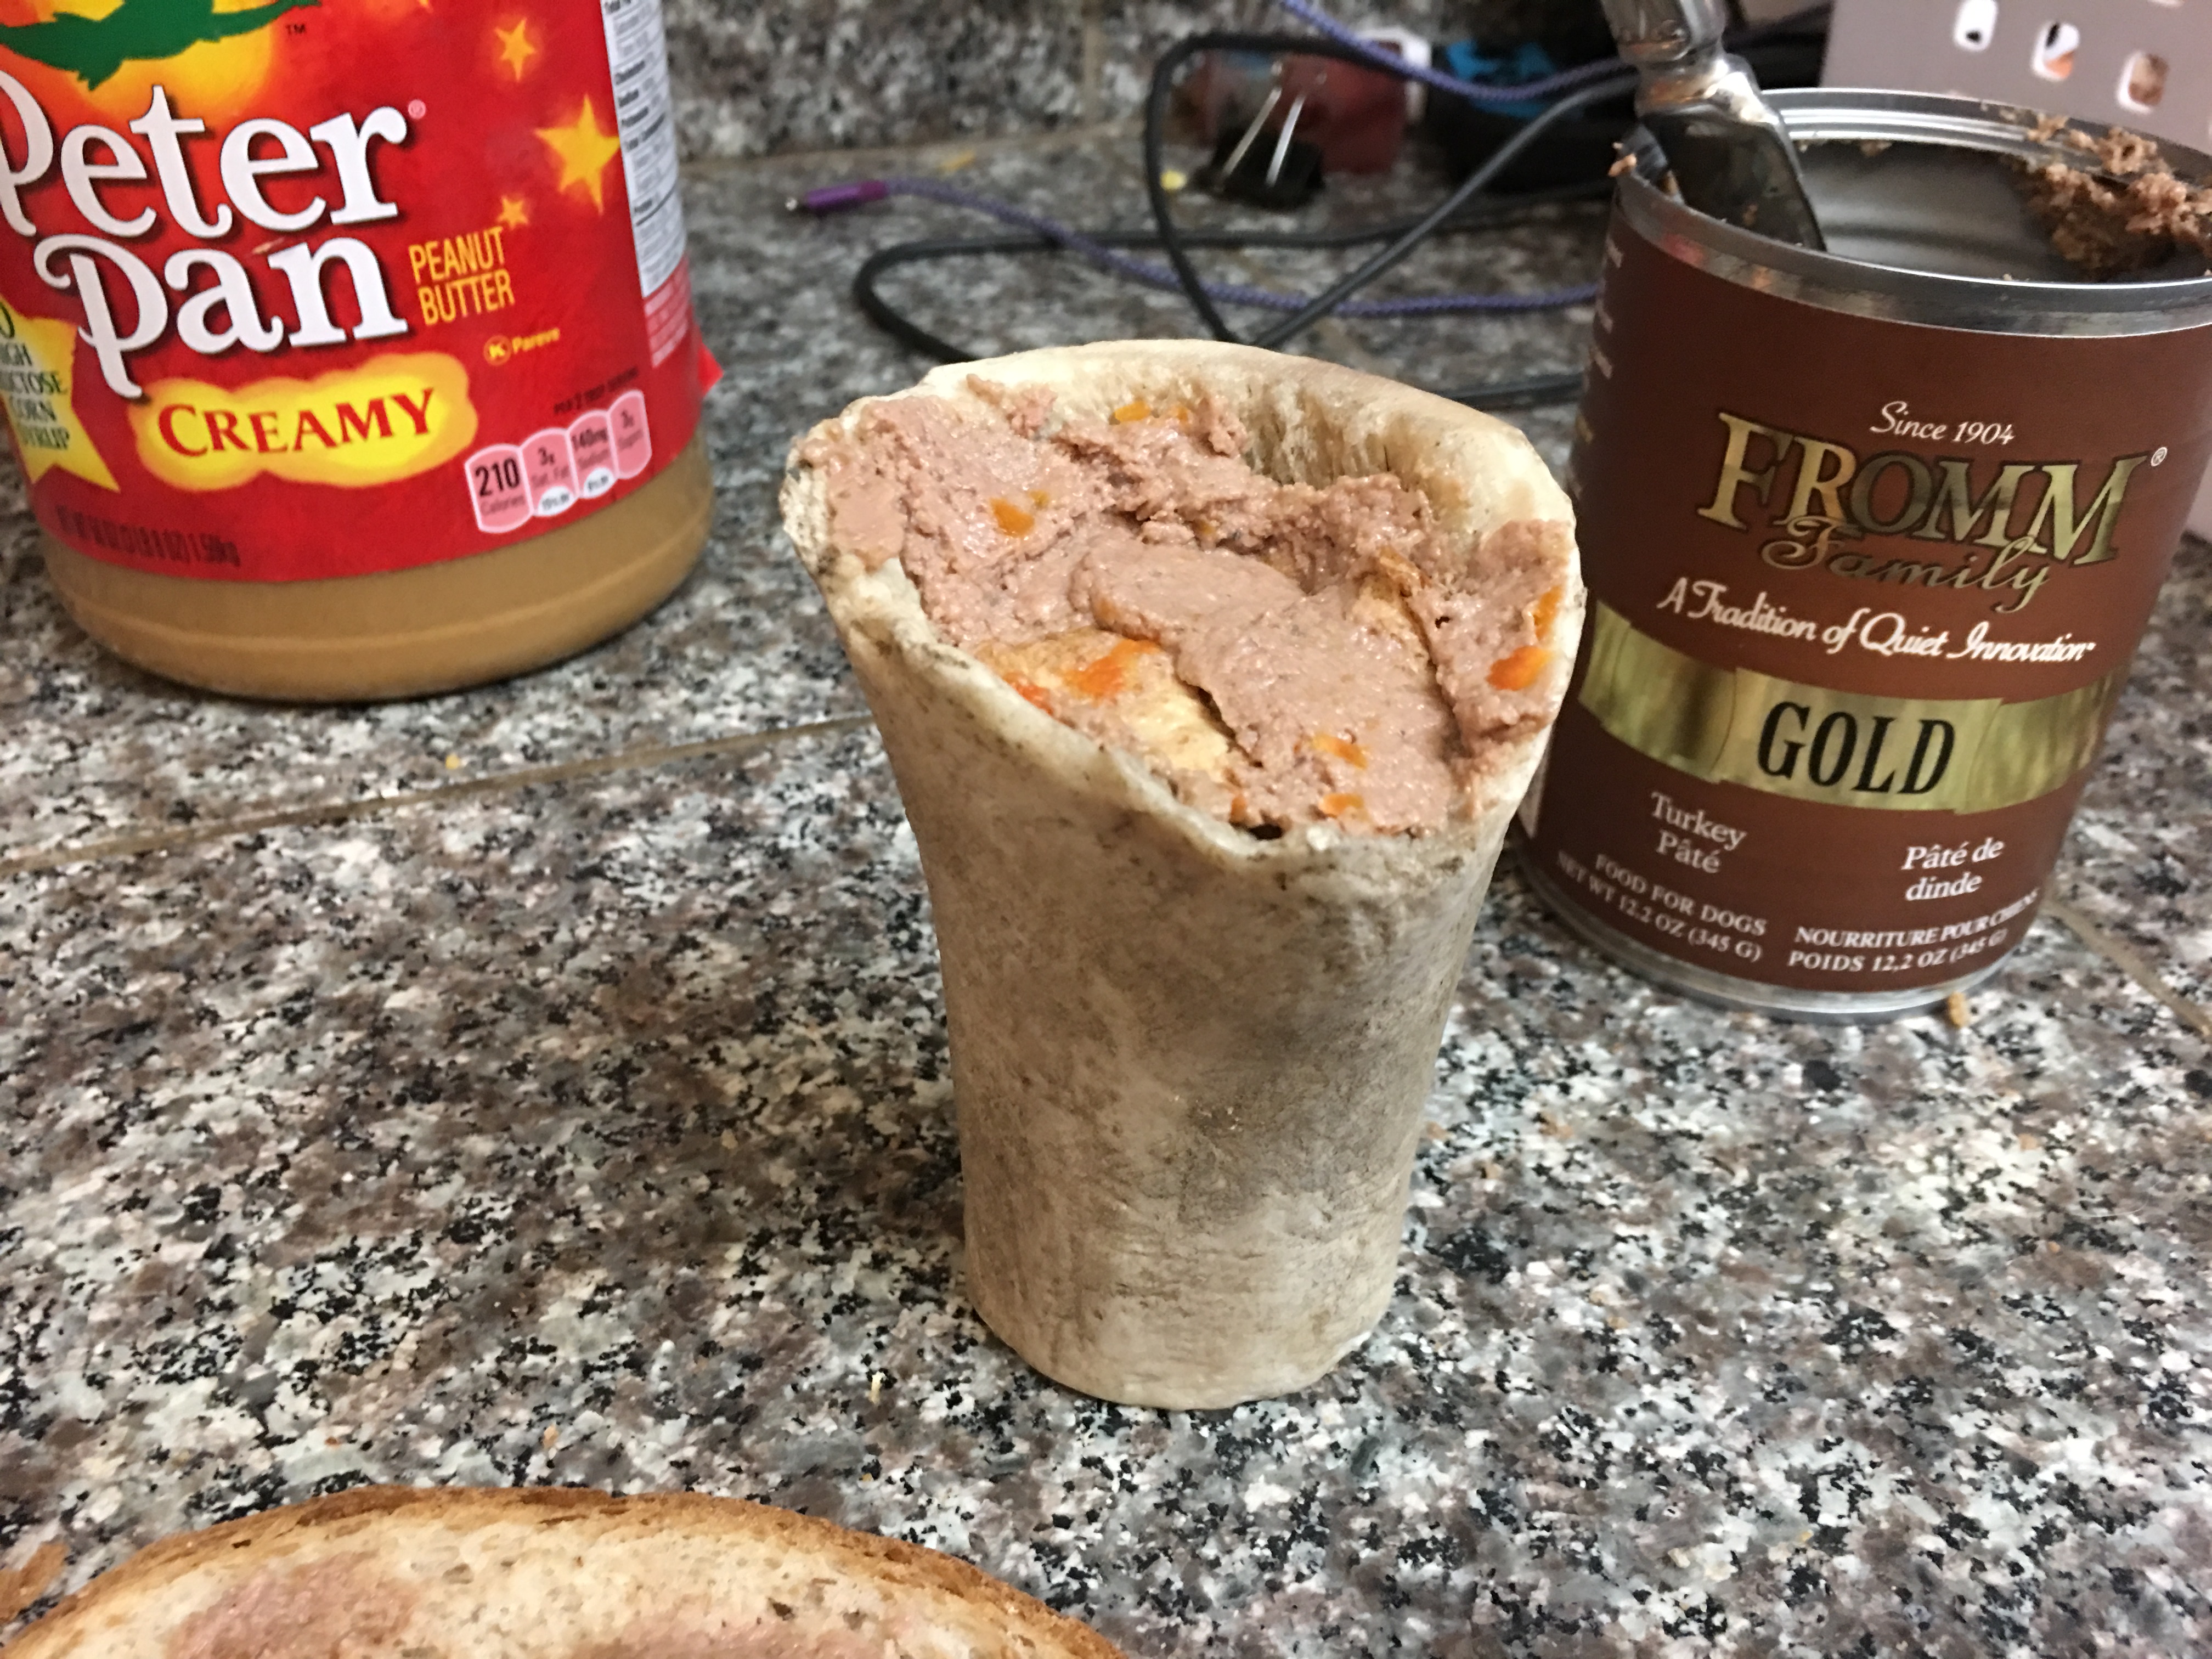
I’m using canned Fromm Gold and peanut butter to stuff these items.
1. Spread your filling on slices of bread just like making a sandwich.
2. Cut the bread into strips.
3. Stuff into your toy or bone!
If I’m stuffing the sandwich slices into something like these Squirrel Dudes, I put a bit of kibble in first, this makes it easier to clean out later. You can use up to half kibble if you wanted. I also put a cheese cube in, just for fun.
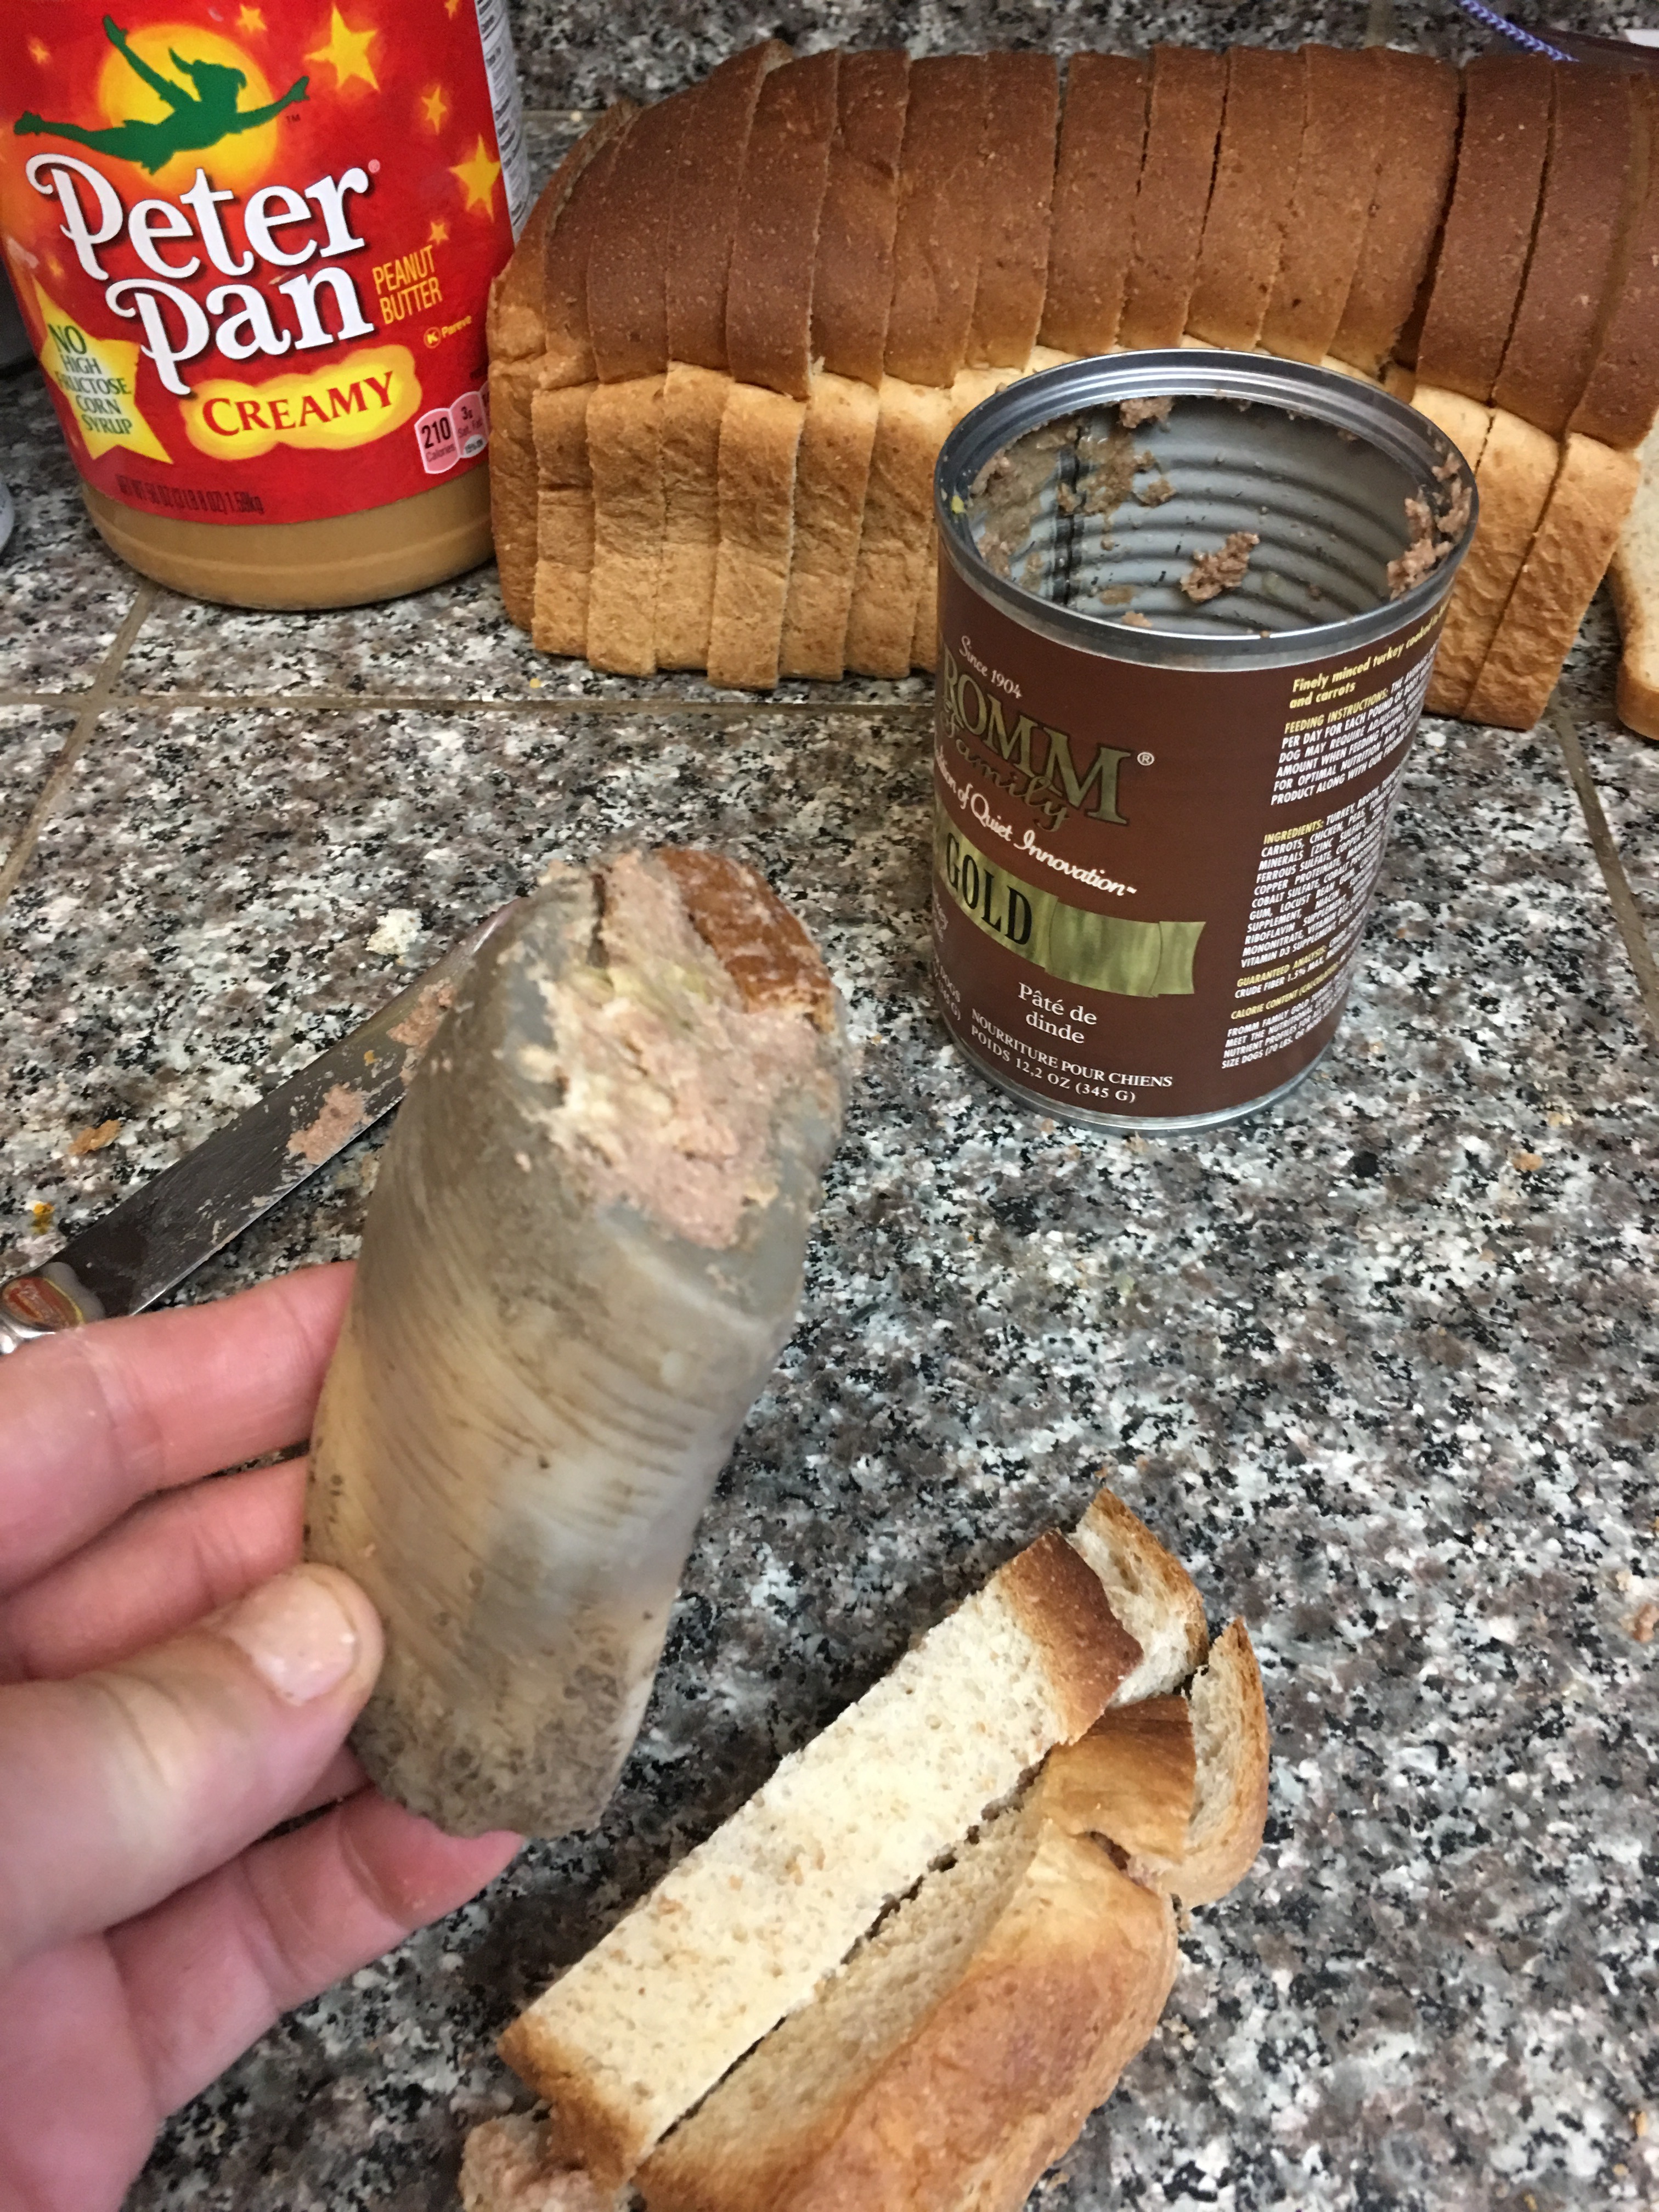
If you are stuffing the sandwich into a shank bone, stuff one end and then put some kibble in the middle, the middle is hard for most dogs to get to and it’s hard to clean out, the kibble in the middle means the dog can unstuff the end, find the kibble and then unstuff the other end. Easier to clean and more fun for the dog.
All finished and ready for feeding or freezing.
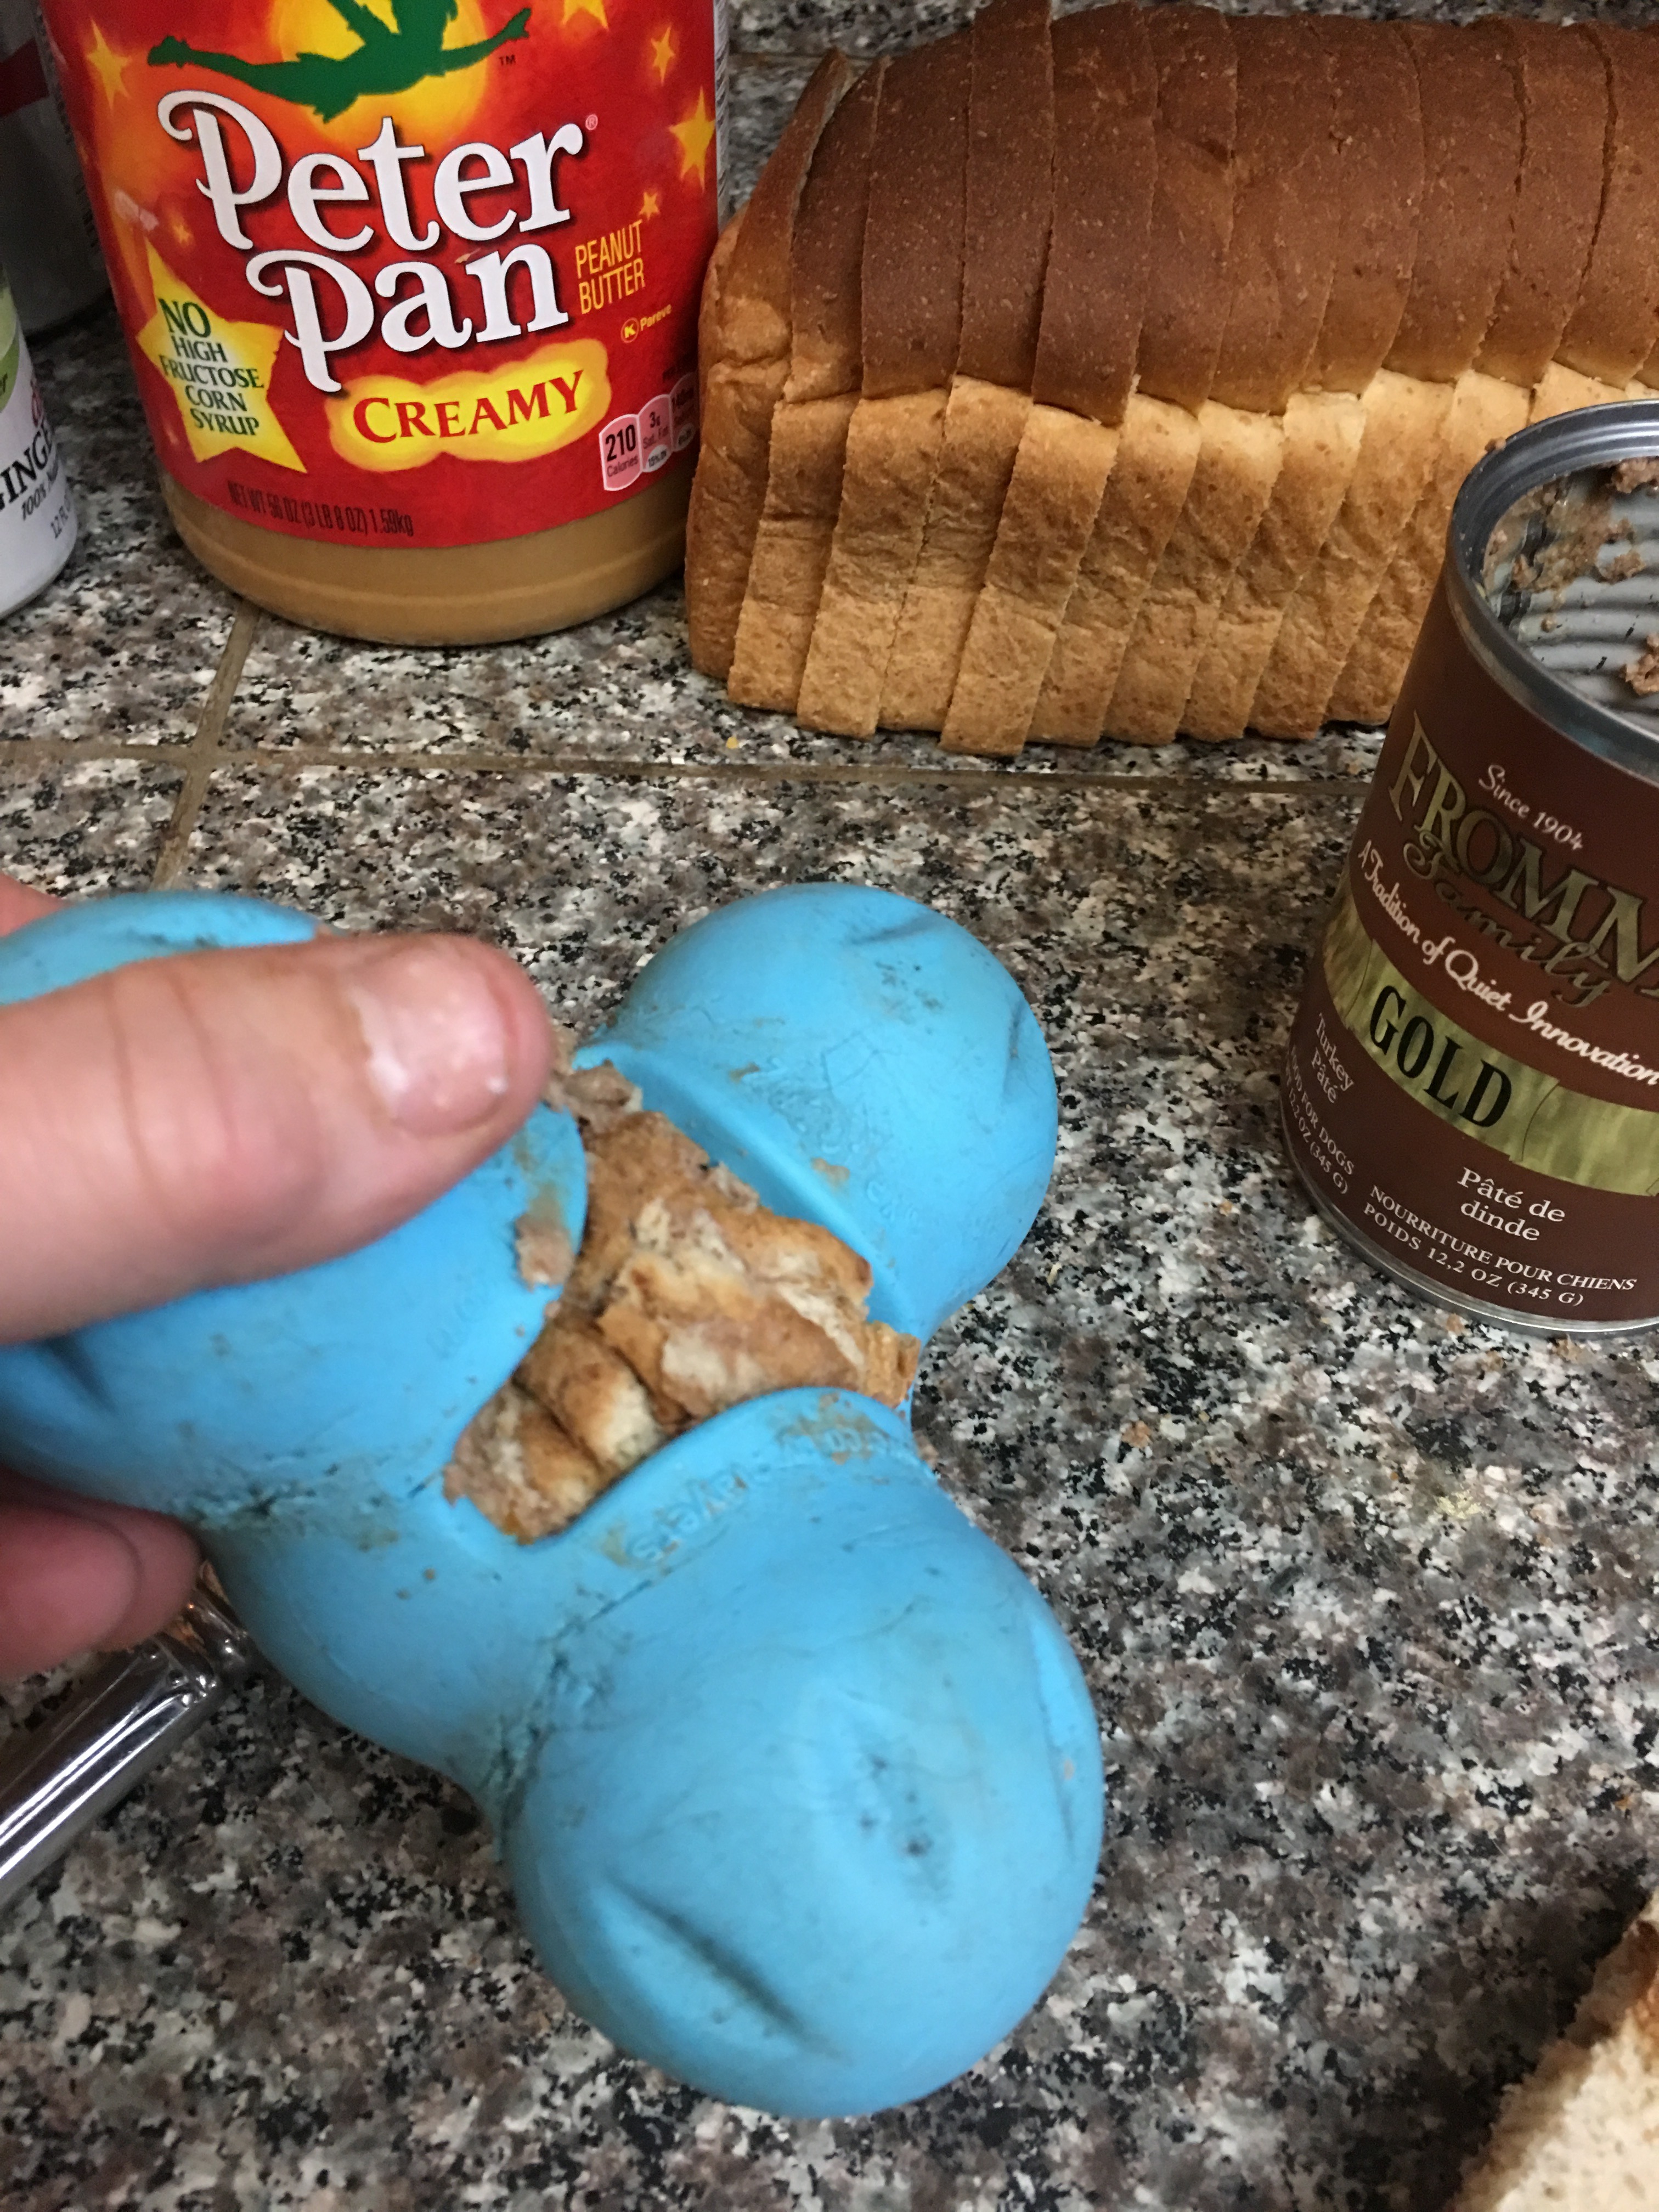
I also like to stuff this mixture into my West Paws Tux.
This toy is surprisingly difficult to unstuff!
Seriously, sandwich stuffing is super fast and easy to make with items you likely have on hand. These can be fed fresh or frozen.
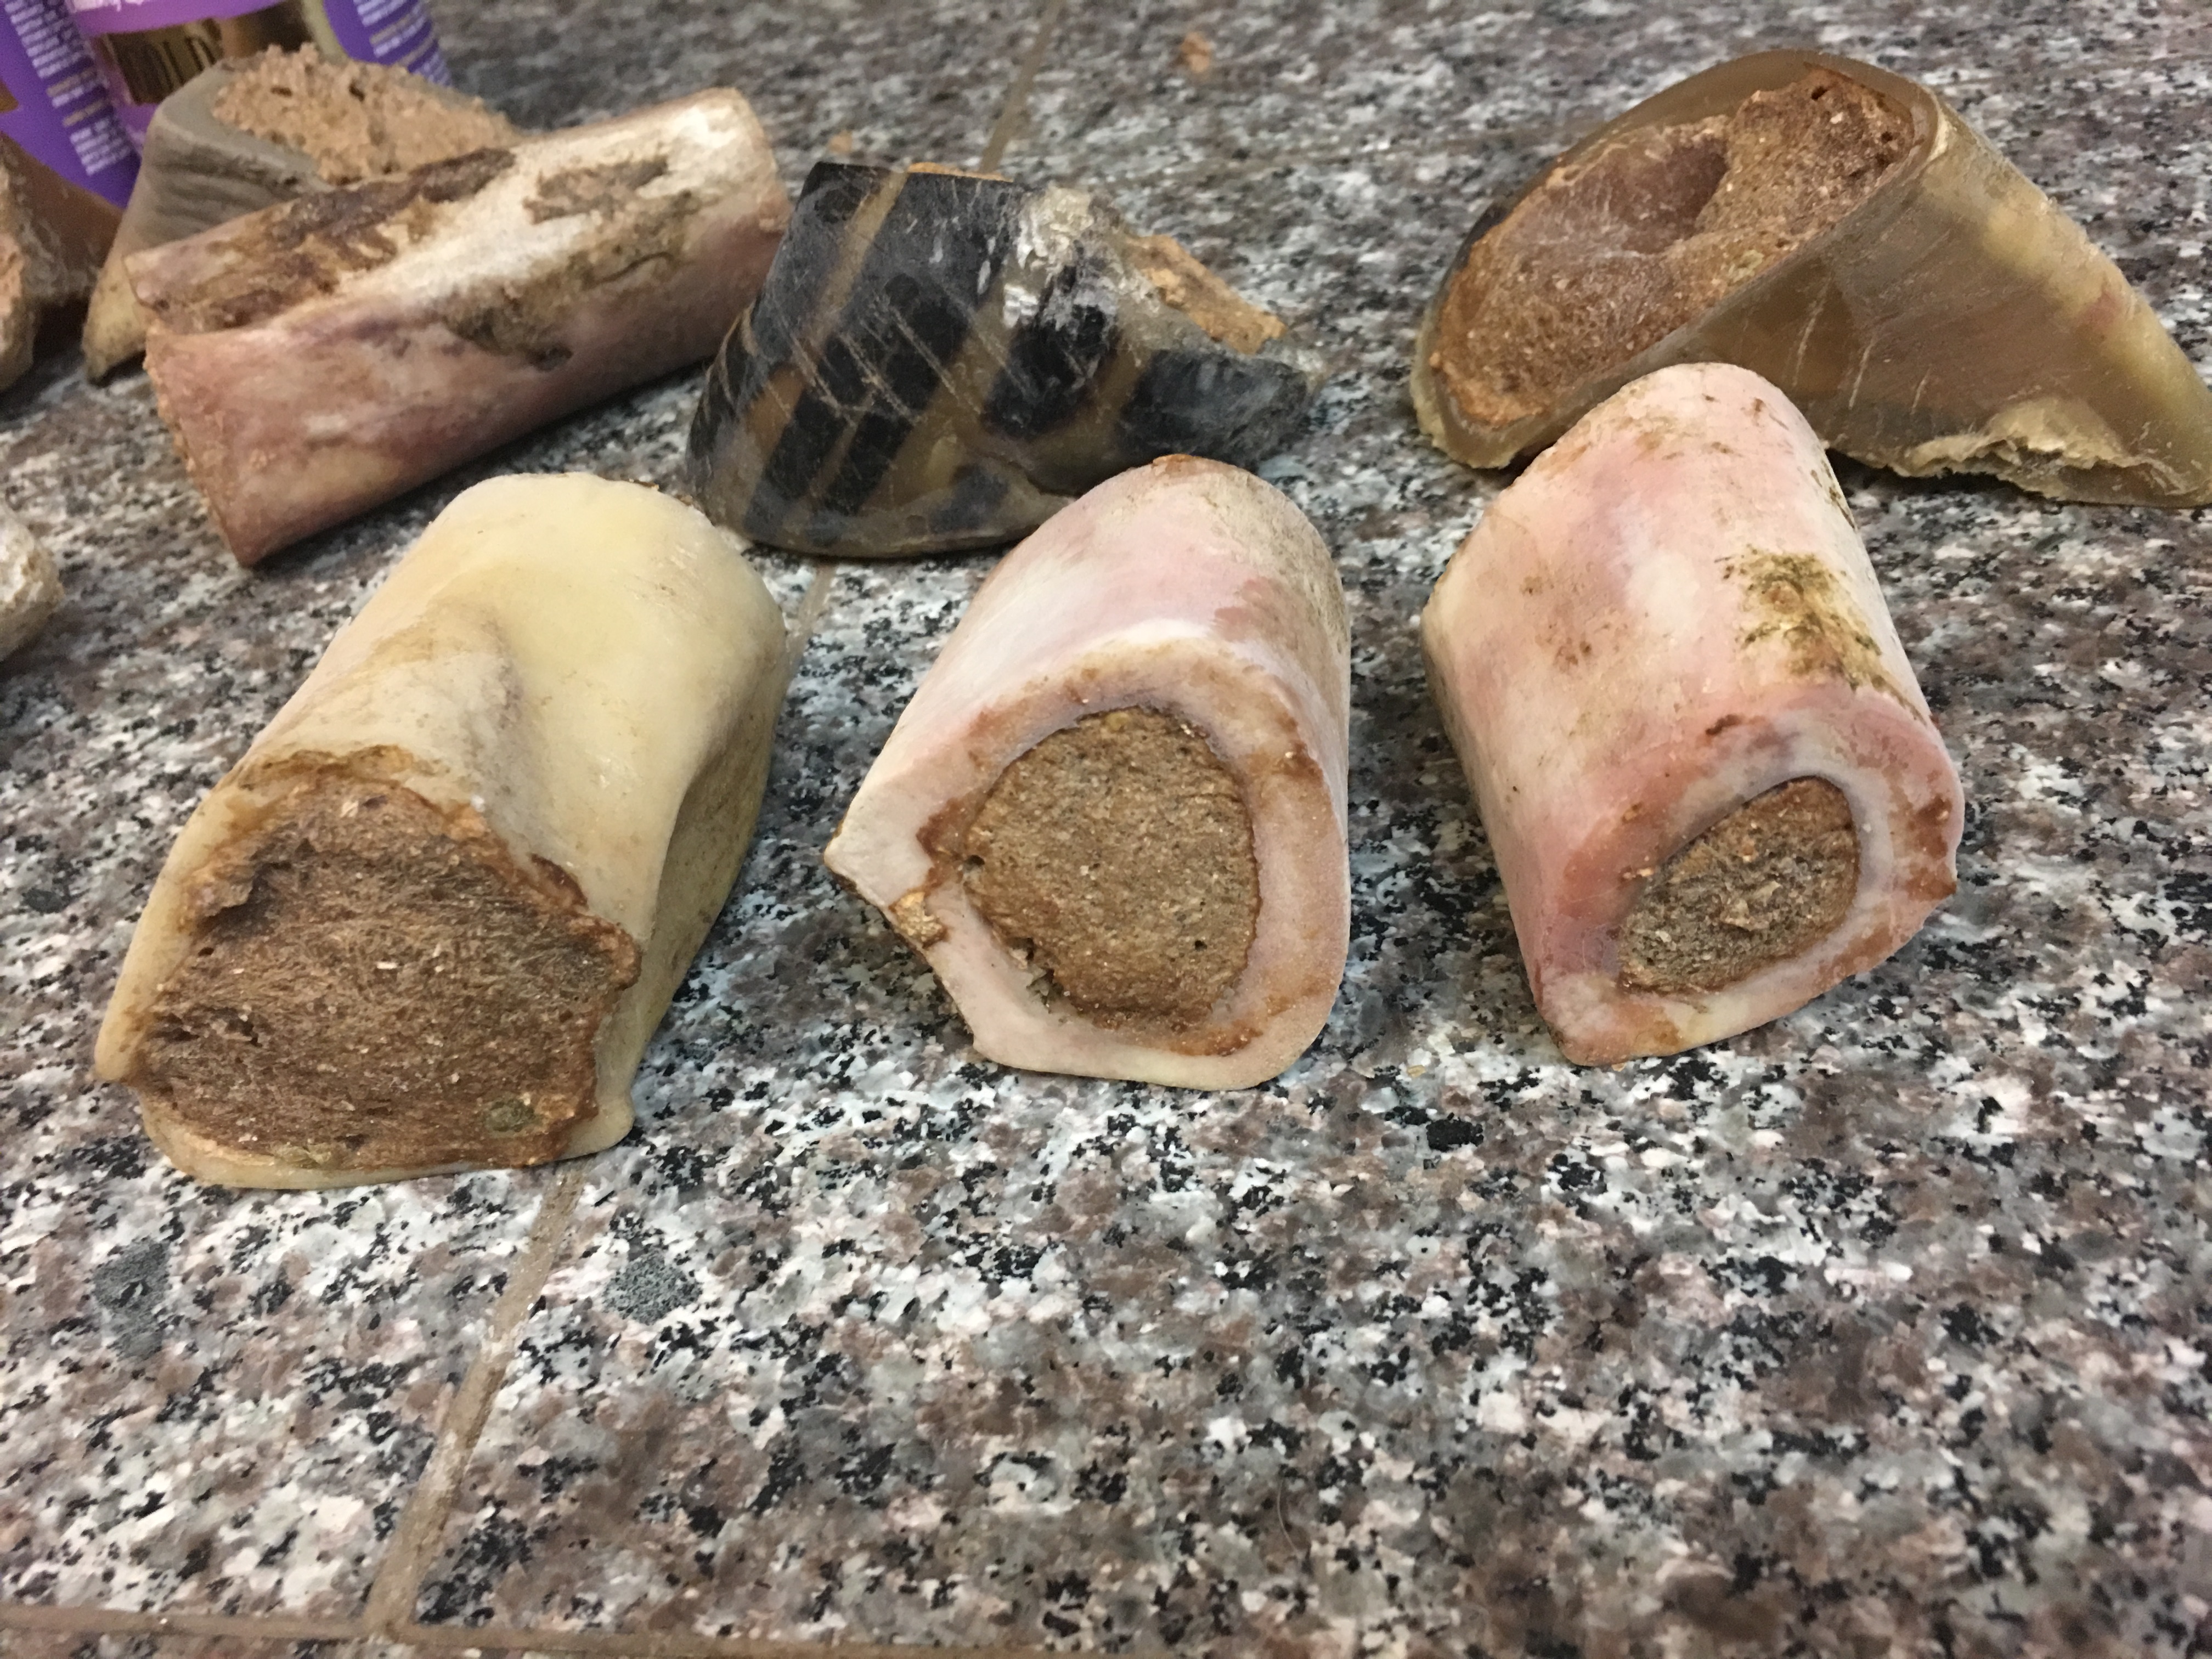
3. Canned Kongs!
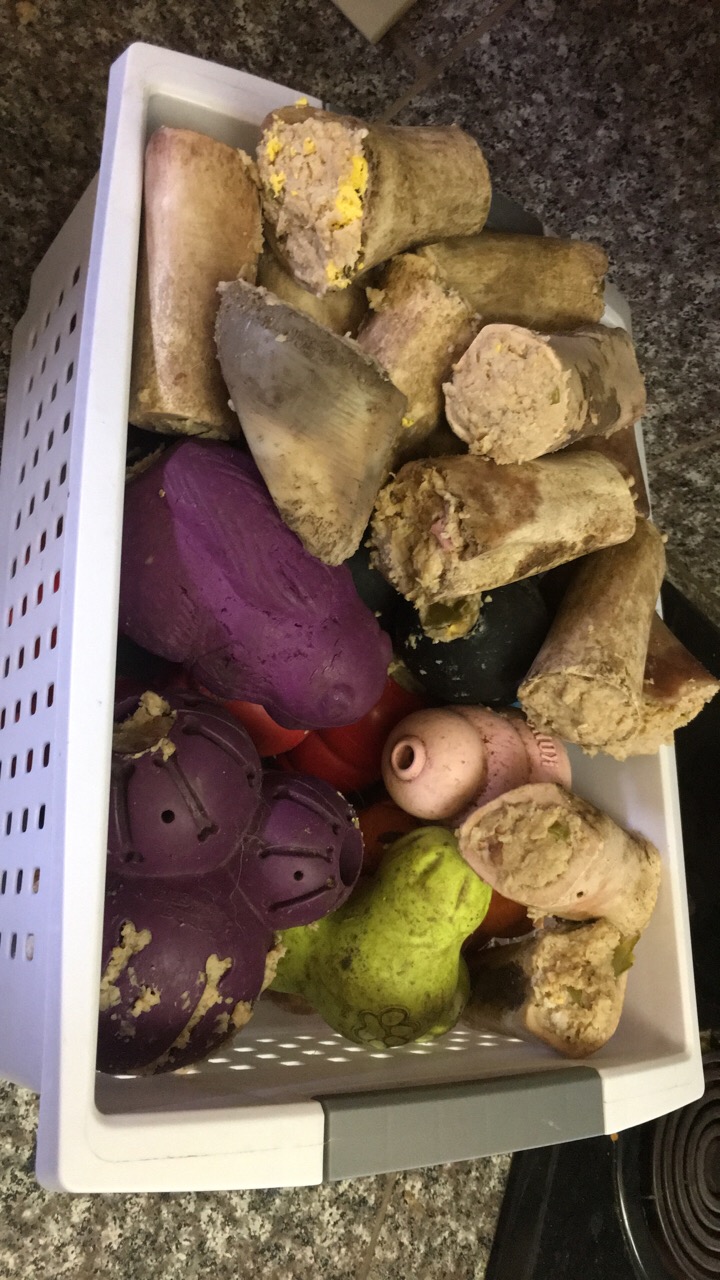
As long as we are talking about canned dog food, one of the easiest stuffing hacks is just stuffing your bone or Kong with canned dog food. I’ve stuffed these hooves and bones with canned dog food right from the can. You can mix the canned food with some kibble too. Just stuff it in your item, and freeze, I find the canned food too messy for feeding fresh. Fast, easy!
This is easy for dogs to get out, perfect for puppies or dogs who are new to working for their food this way.
Hooves and Shank bones stuffed with canned dog food.
Now, with these ideas you are ready! Now, get to stuffing and enrich your dogs life!
Finally, remember, monitor your dog, don’t feed your things it can’t tolerate or is allergic to, don’t feed your dog things that are not safe, like raisins, grapes, or some artificial sweeteners. Basically, use your due diligence. These are all foods my dogs tolerate, my dogs have robust and health gut and so these things never cause them problems. If you are unsure about your dog, start with a small amount and see.
I always make kong stuffing out of my Thanksgiving leftovers. I use whatever safe and appropriate items we have and the dogs get to celebrate along with us.
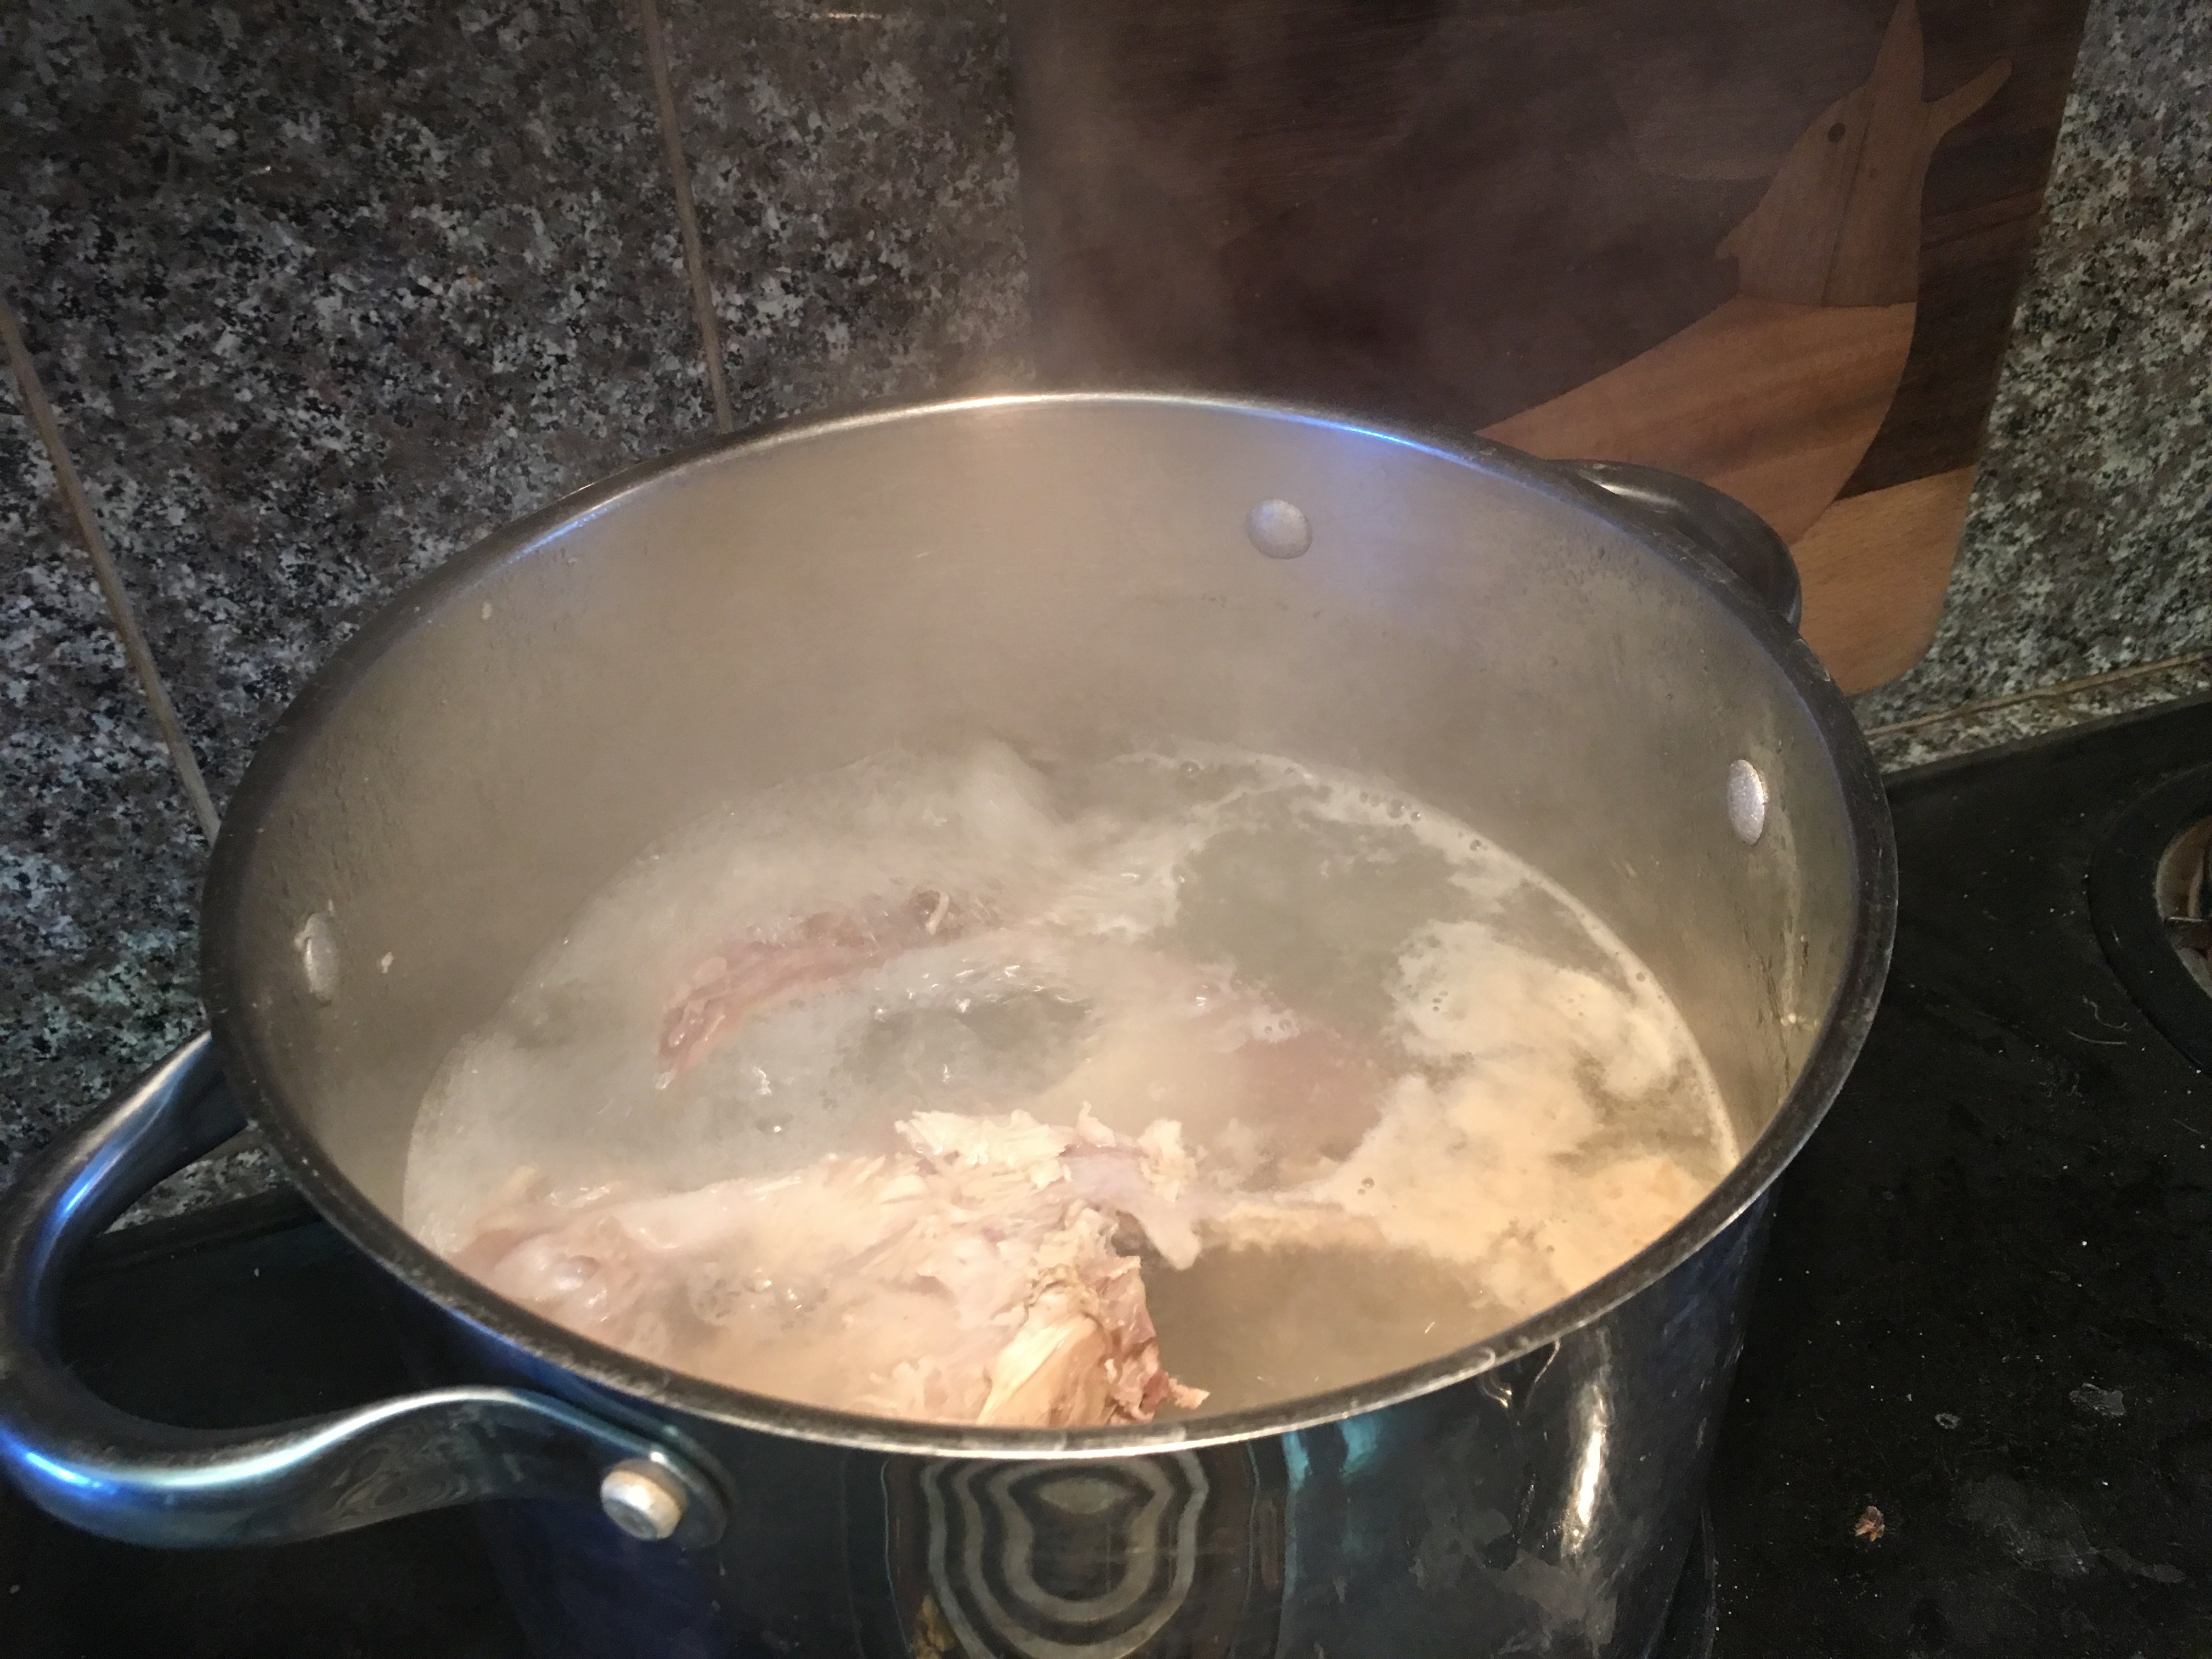
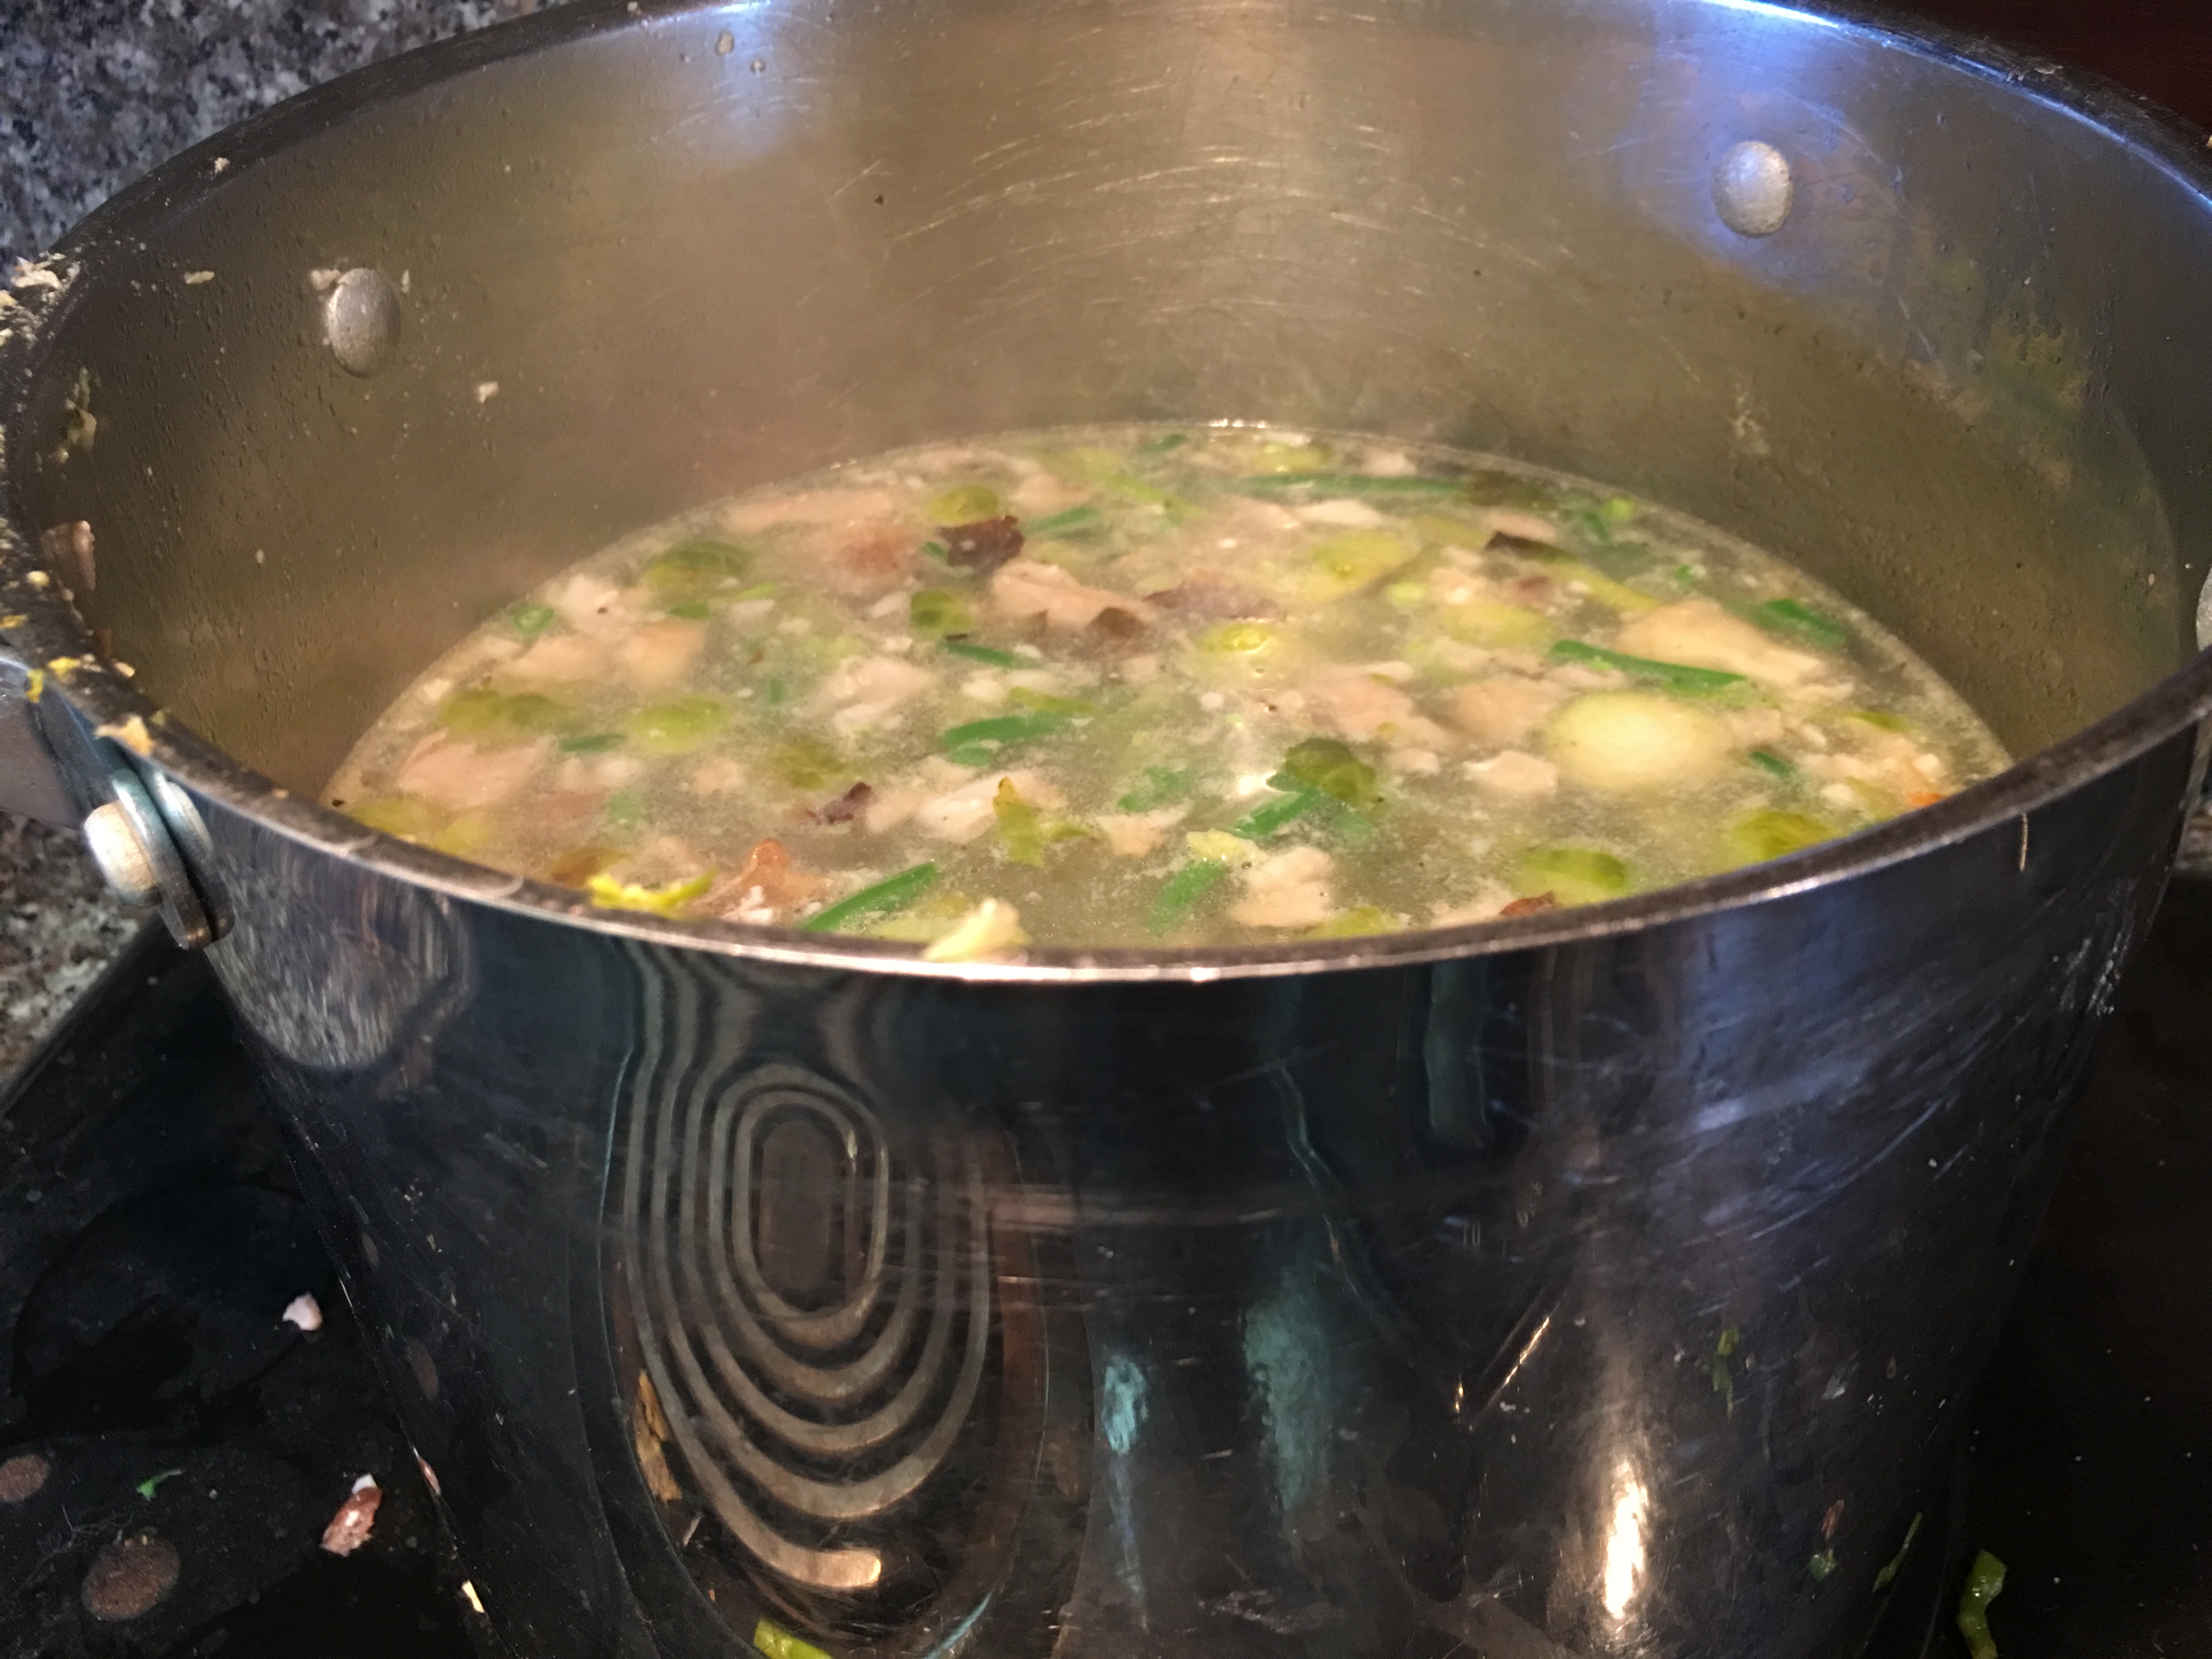
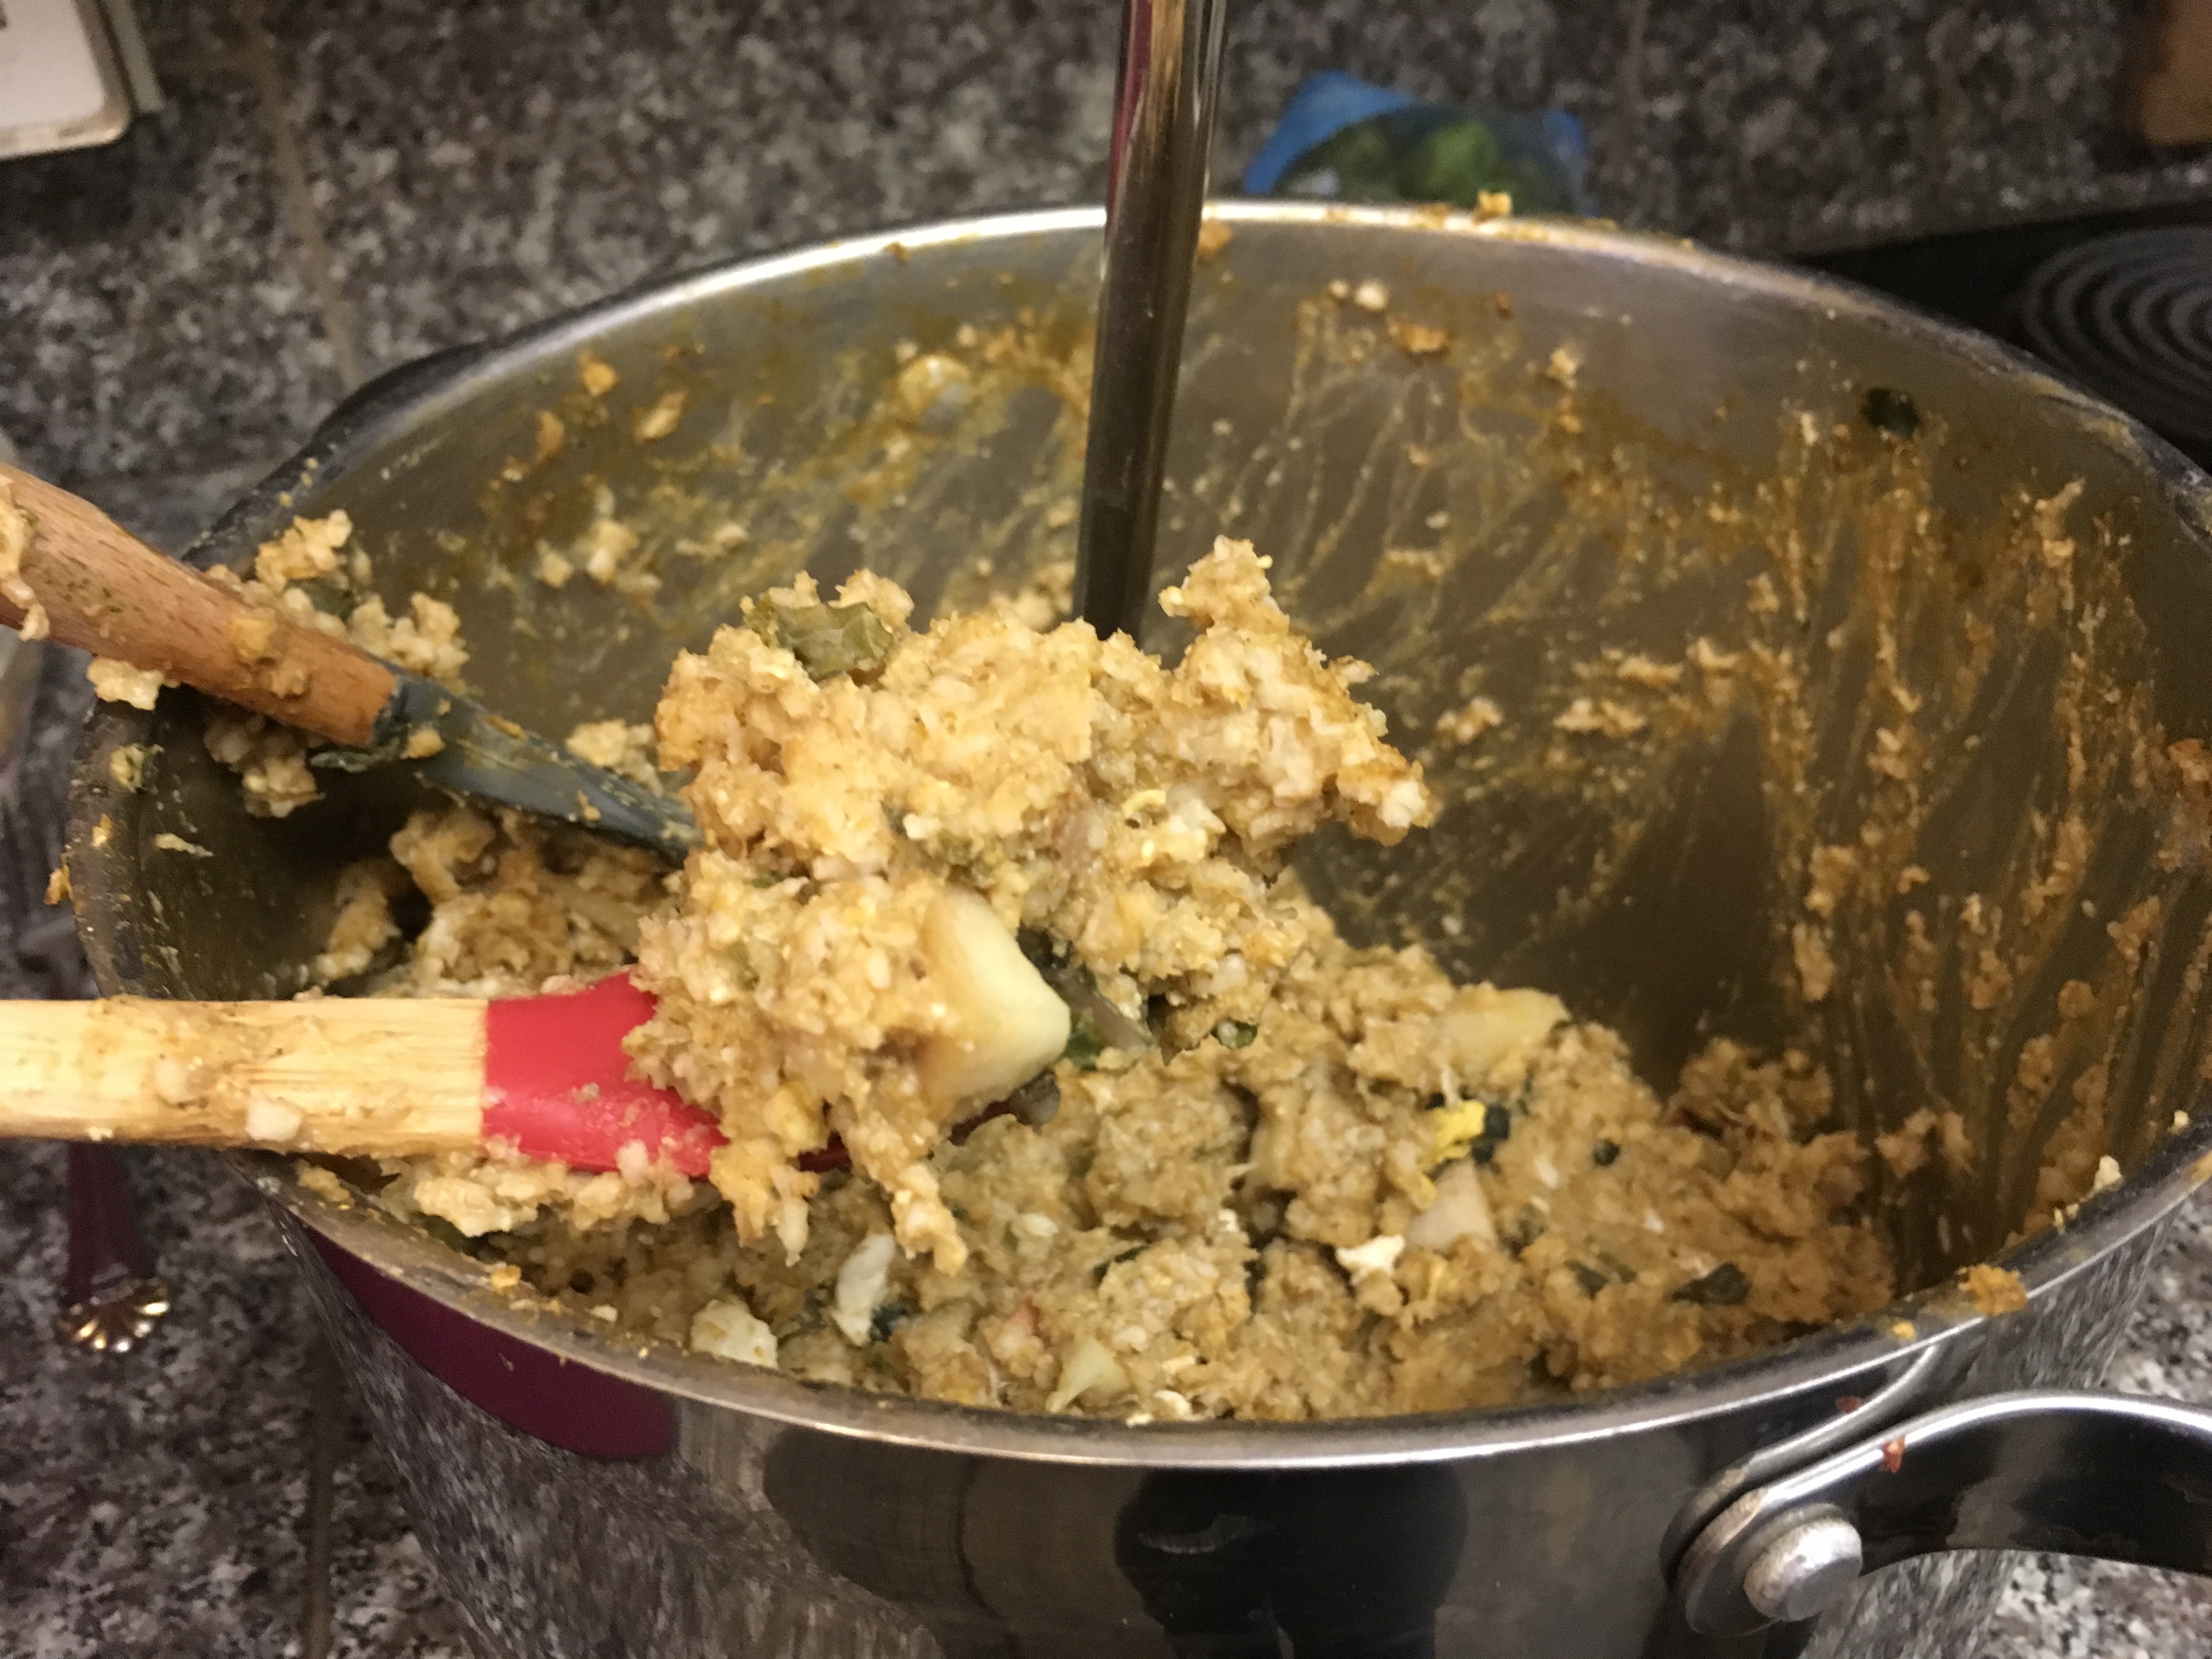
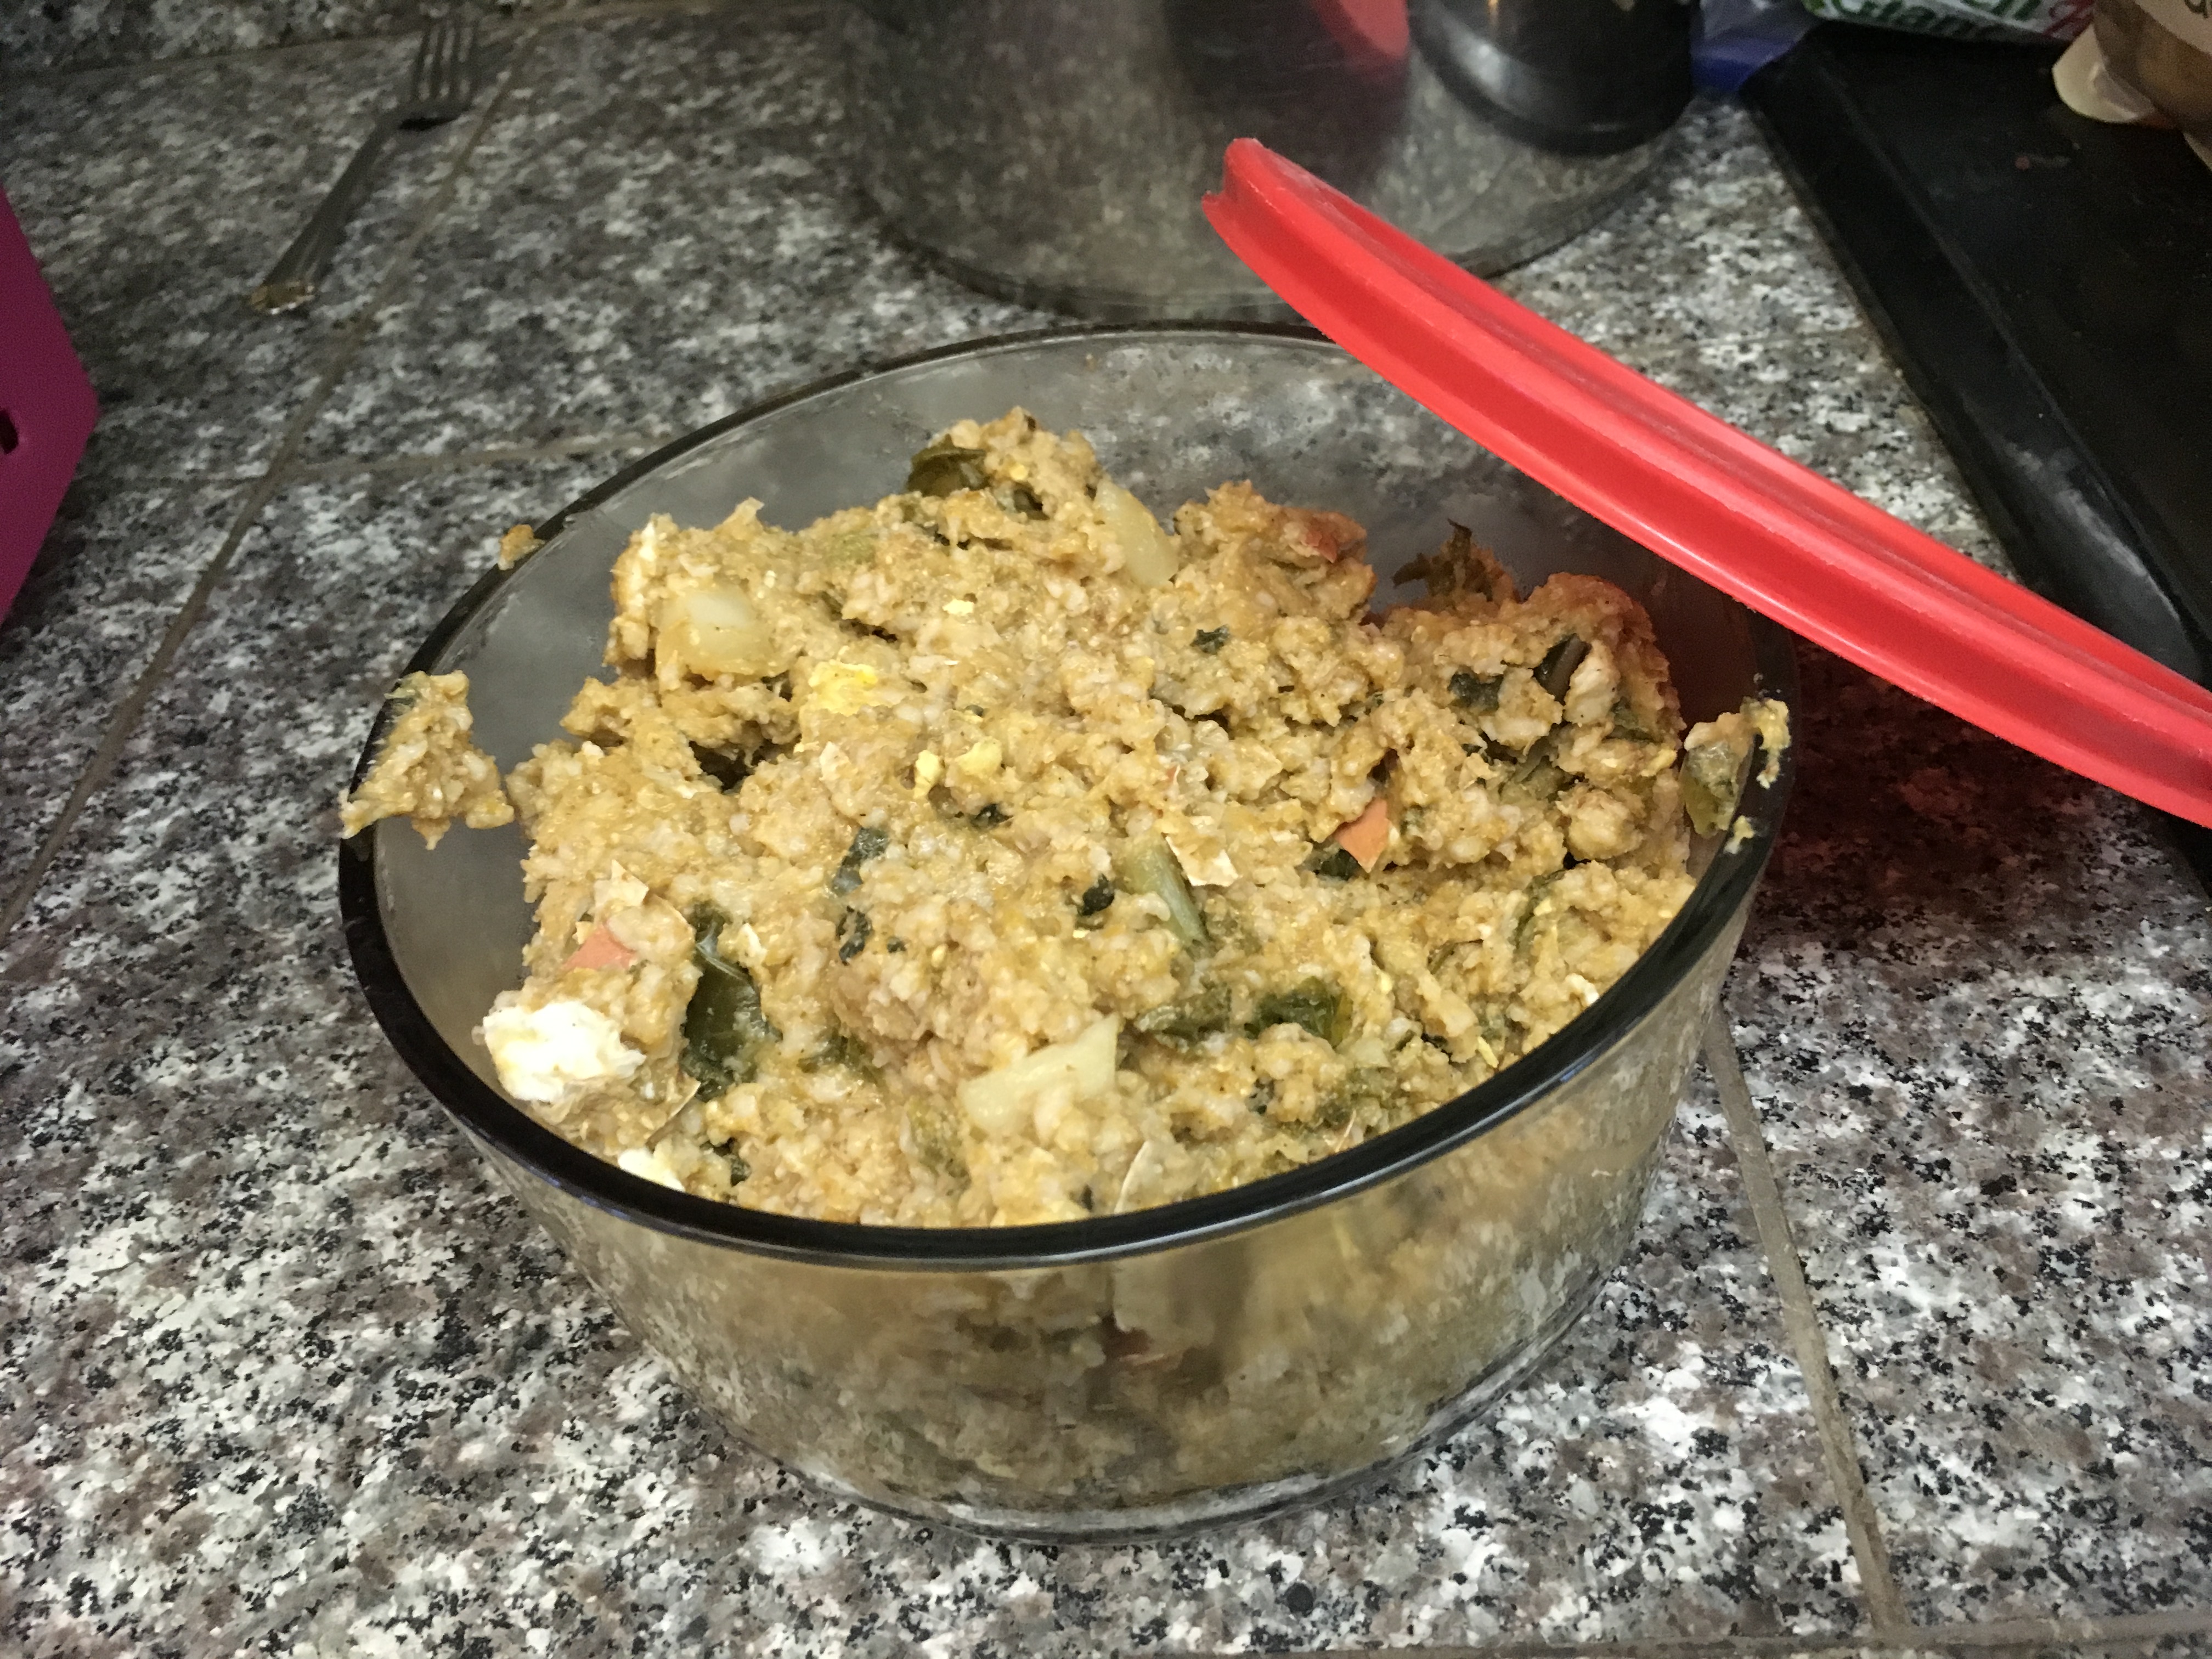
1. The Turkey carcass. I strip off all the meat and connective tissue and boil the carcass (I use an 8 quart stockpot) in enough water to cover plus fresh apple cider vinegar (I used 1/4 cup to 10 cups water). Boil as long as suits you, the vinegar will help release minerals from the bones, these minerals are very healthy for your dog, so the longer you boil the healthier the broth.
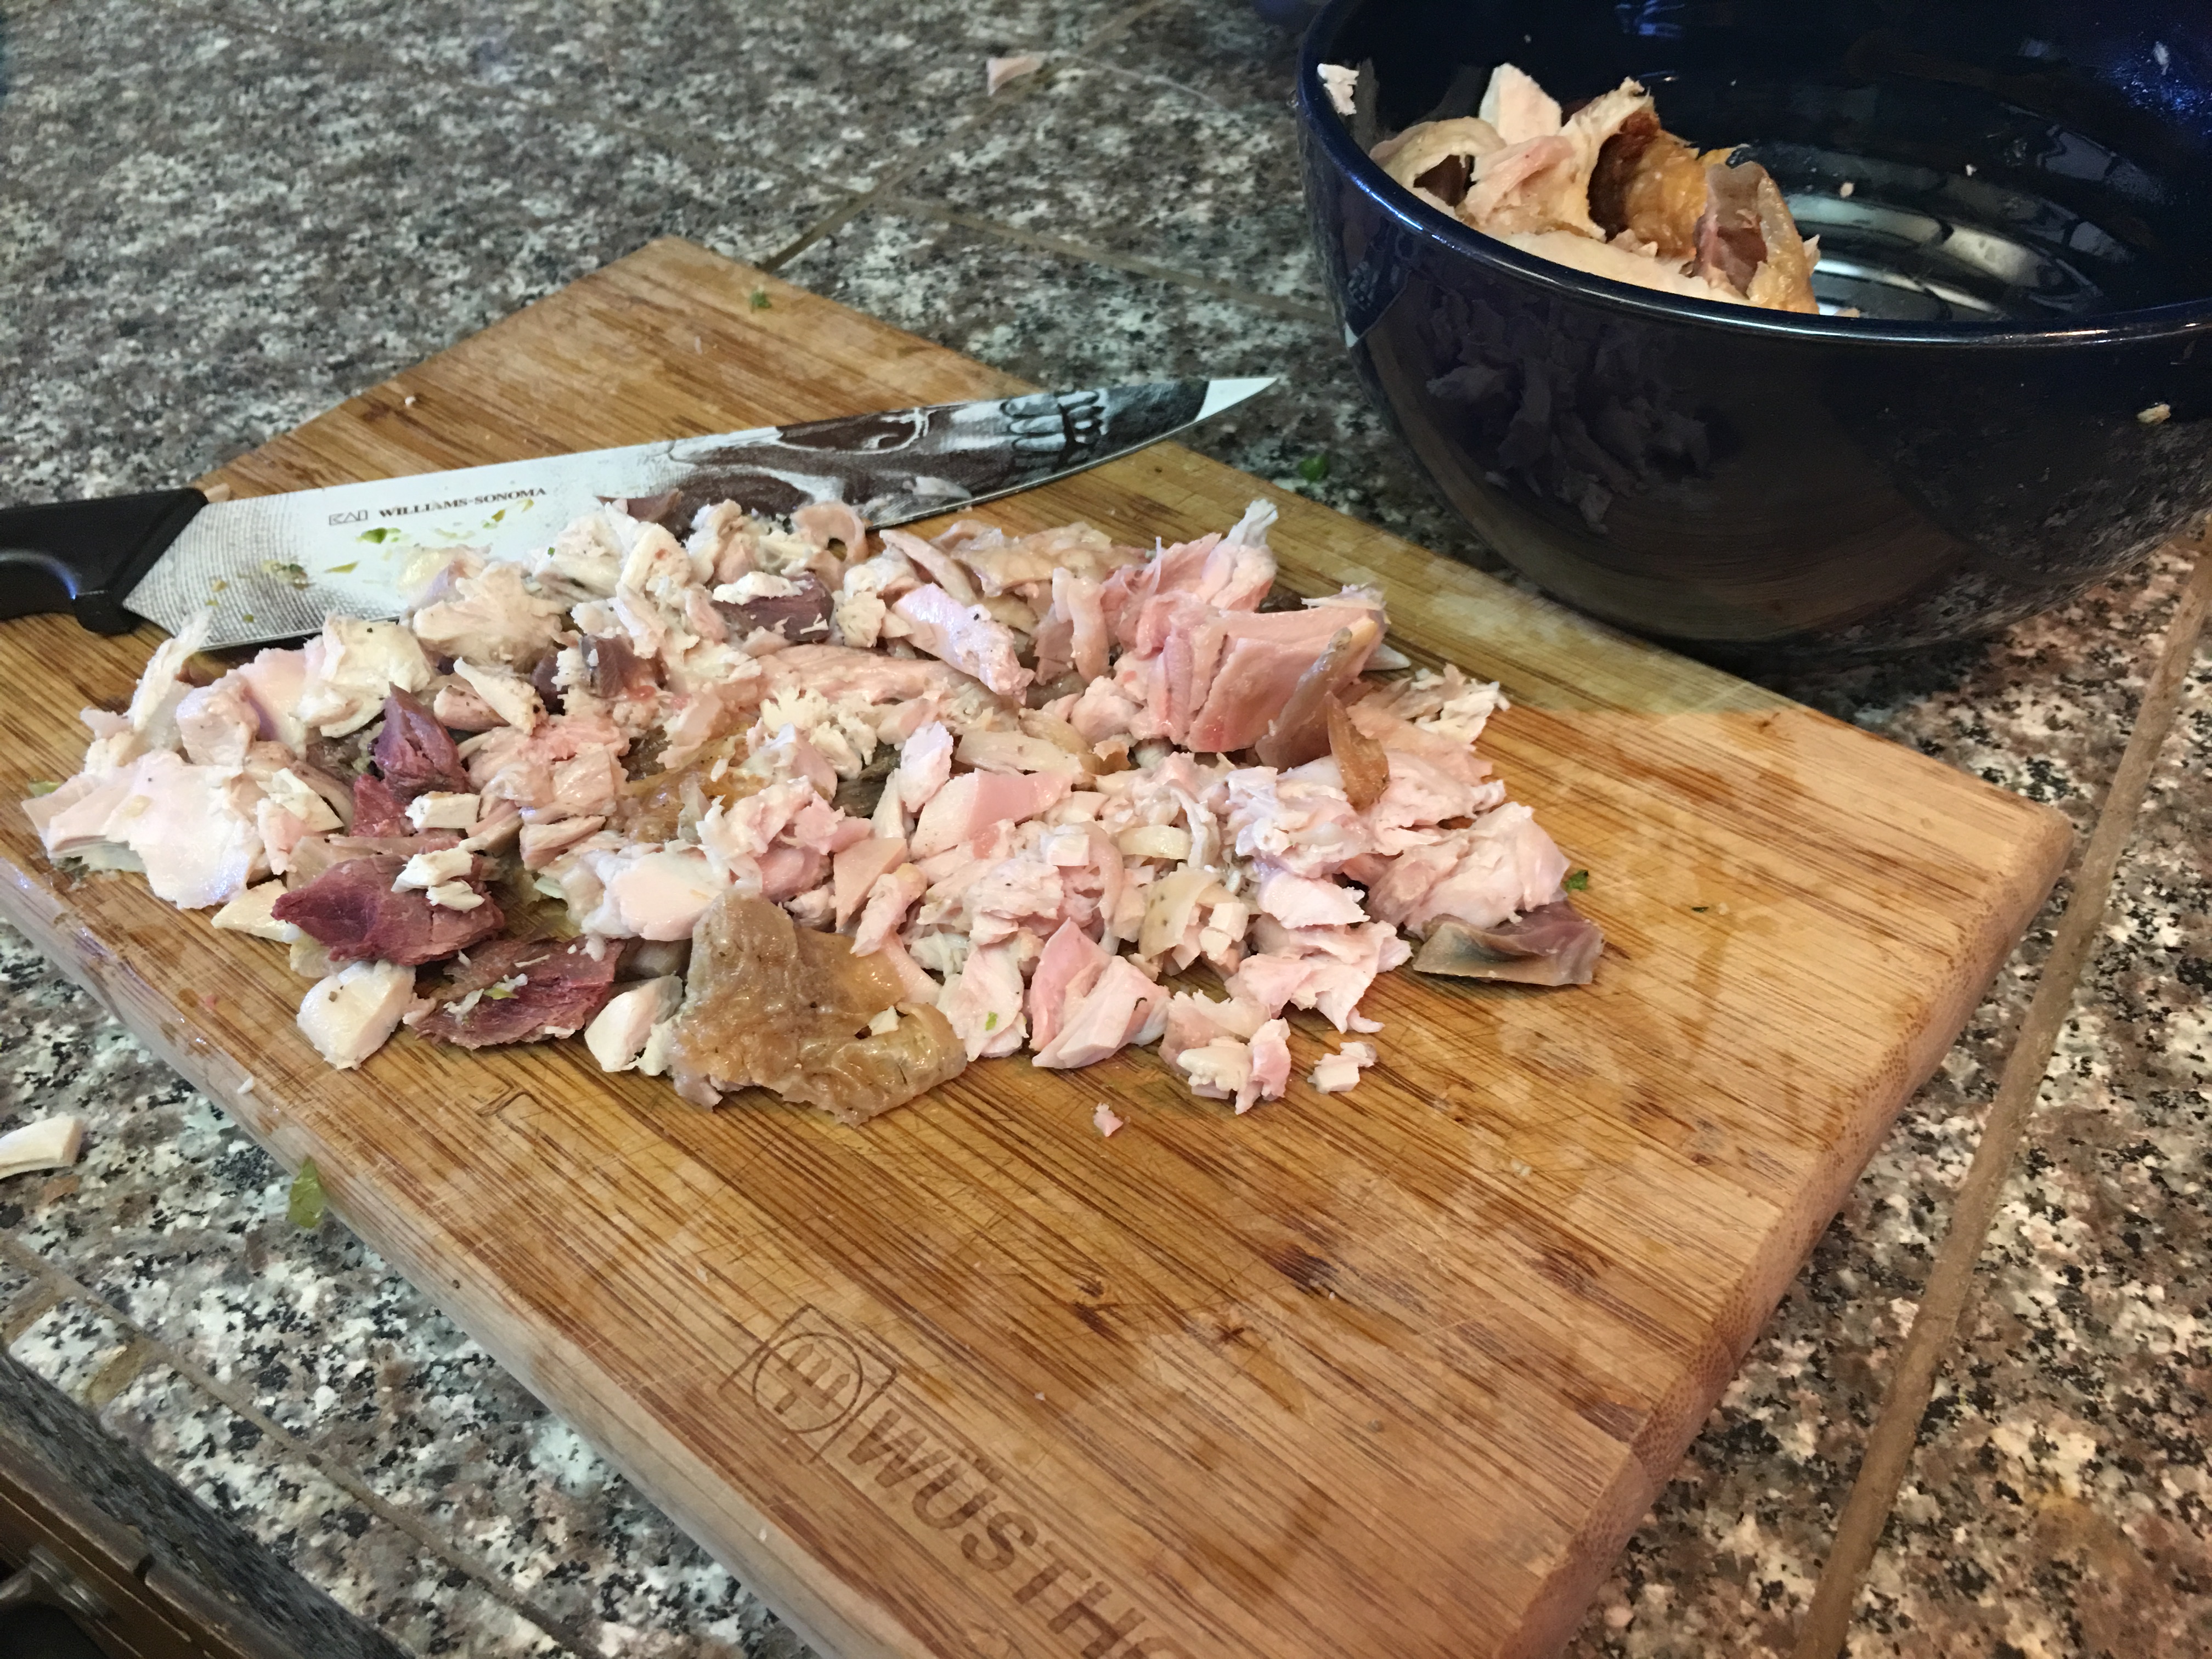
Chop any meat you are not going to save for yourself. The greater the proportion of meat to oatmeal the richer your finished product, so keep your dogs preferences in mind. If your dog has trouble with digestion, leave the skin out, I’ve used all the skin because my dogs have amazing digestion and I know they won’t have any trouble digesting the fat.
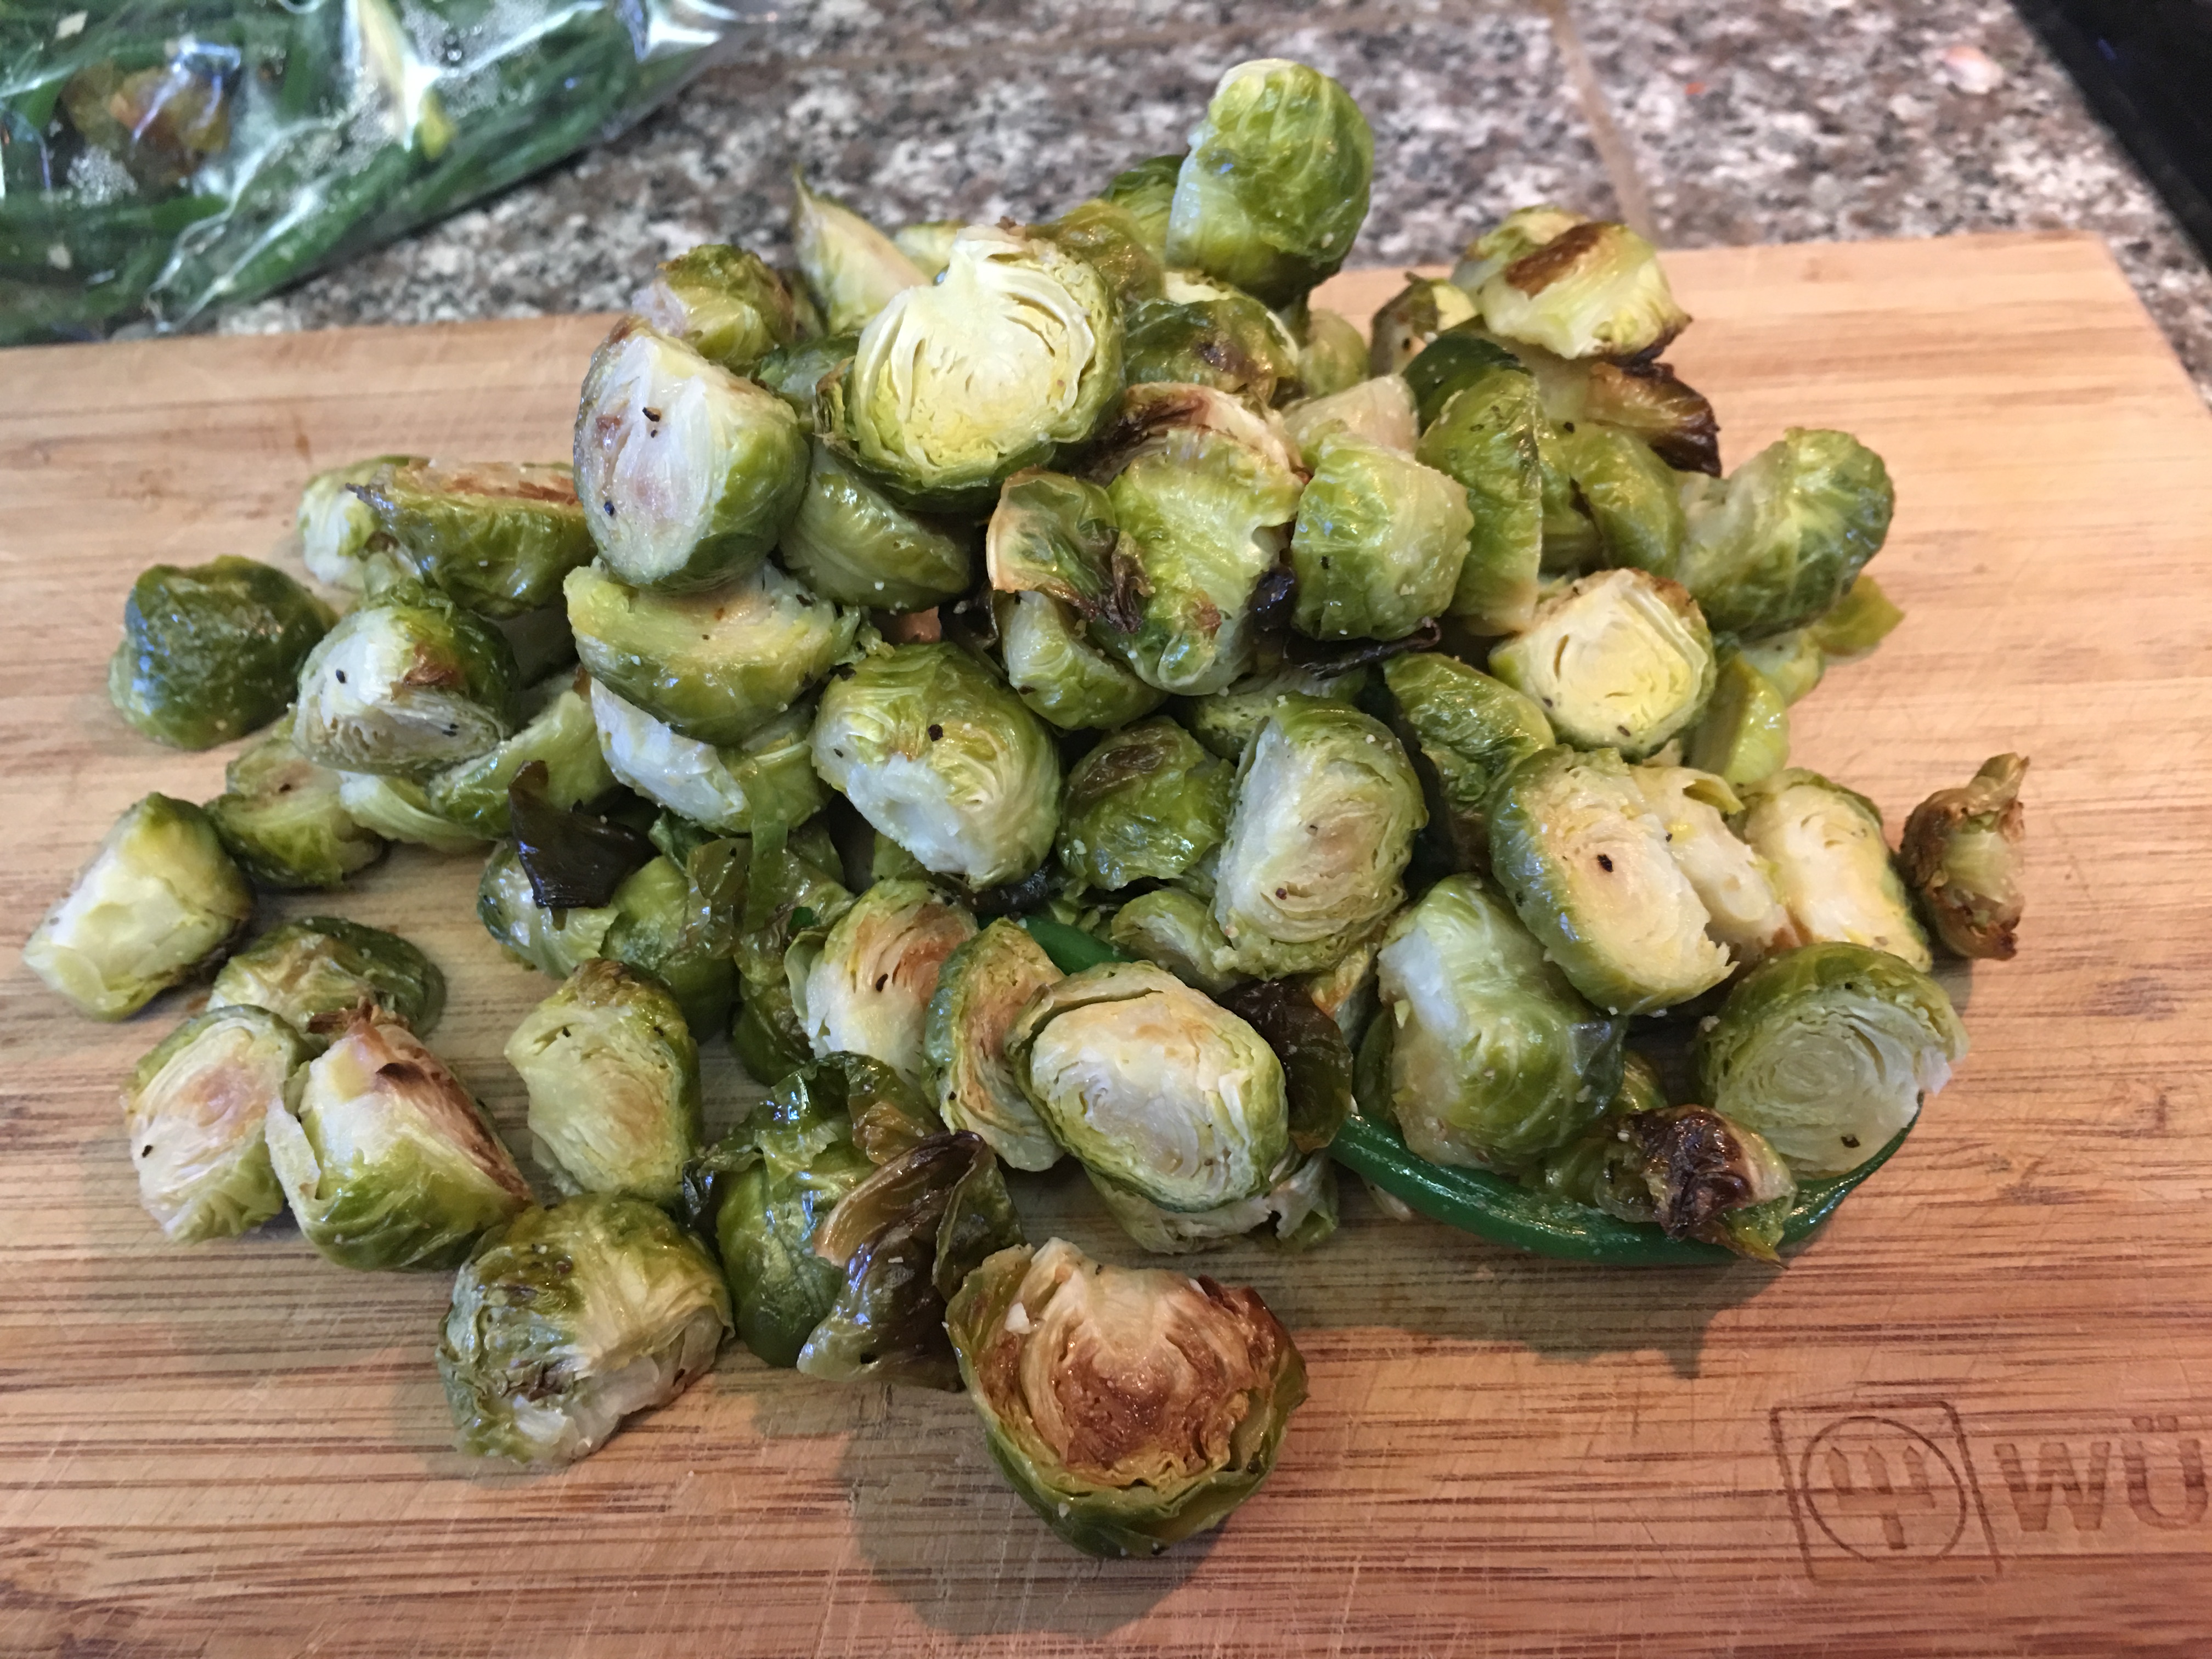
I made extra veggies, I have both cooked green beans and Brussels sprouts. The sprouts I’ve well cooked, otherwise they are difficult for dogs to digest. Since my veggies are cooked, I do not boil them with the carcass You can use whatever veggie you want, don’t have any, try mixing in a bag of fresh leafy greens when the end product is hot but done cooking.
Green Beans! Lightly cooked.
Well cooked Brussels sprouts.
Remove the turkey bones by running your stock through a strainer, be sure to get all tiny bones too! Then add the chopped meat and veg back to the simmer stock. Turn off heat! The rest is done without any heat.
Tip: be sure to finely chop the meat and veg, otherwise it’s hard to get into the kong and hard for your dog to get out.
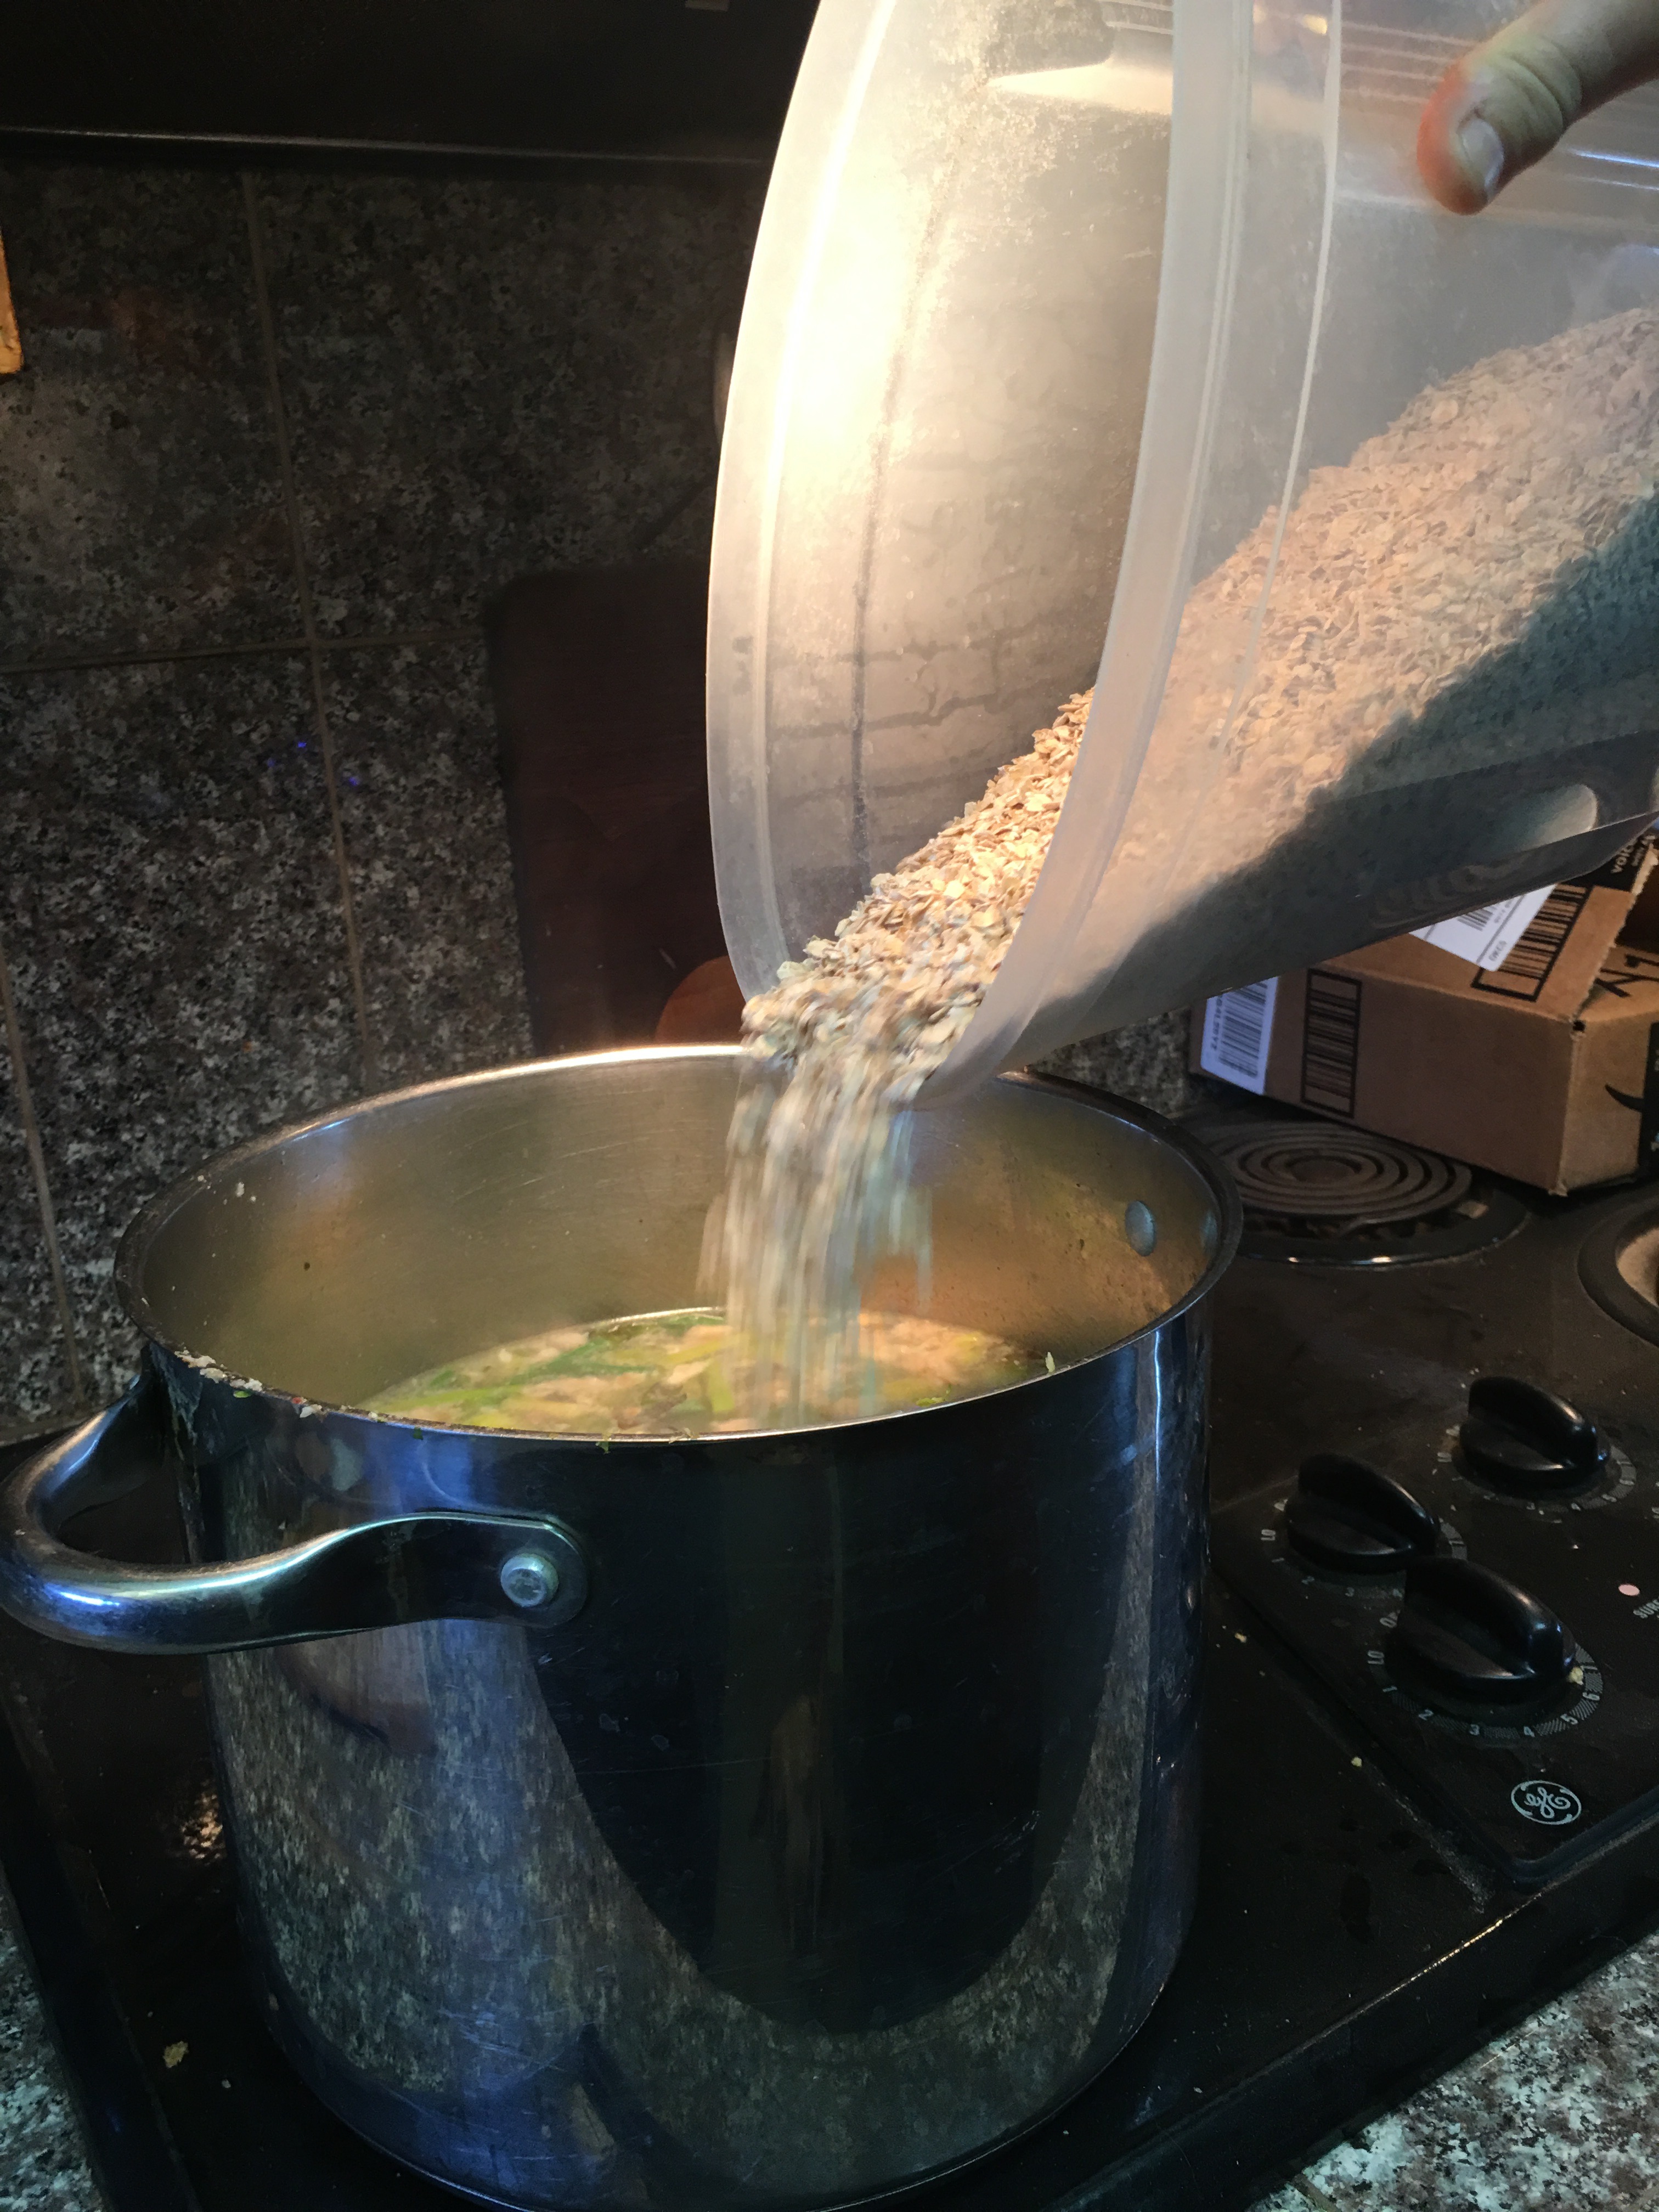
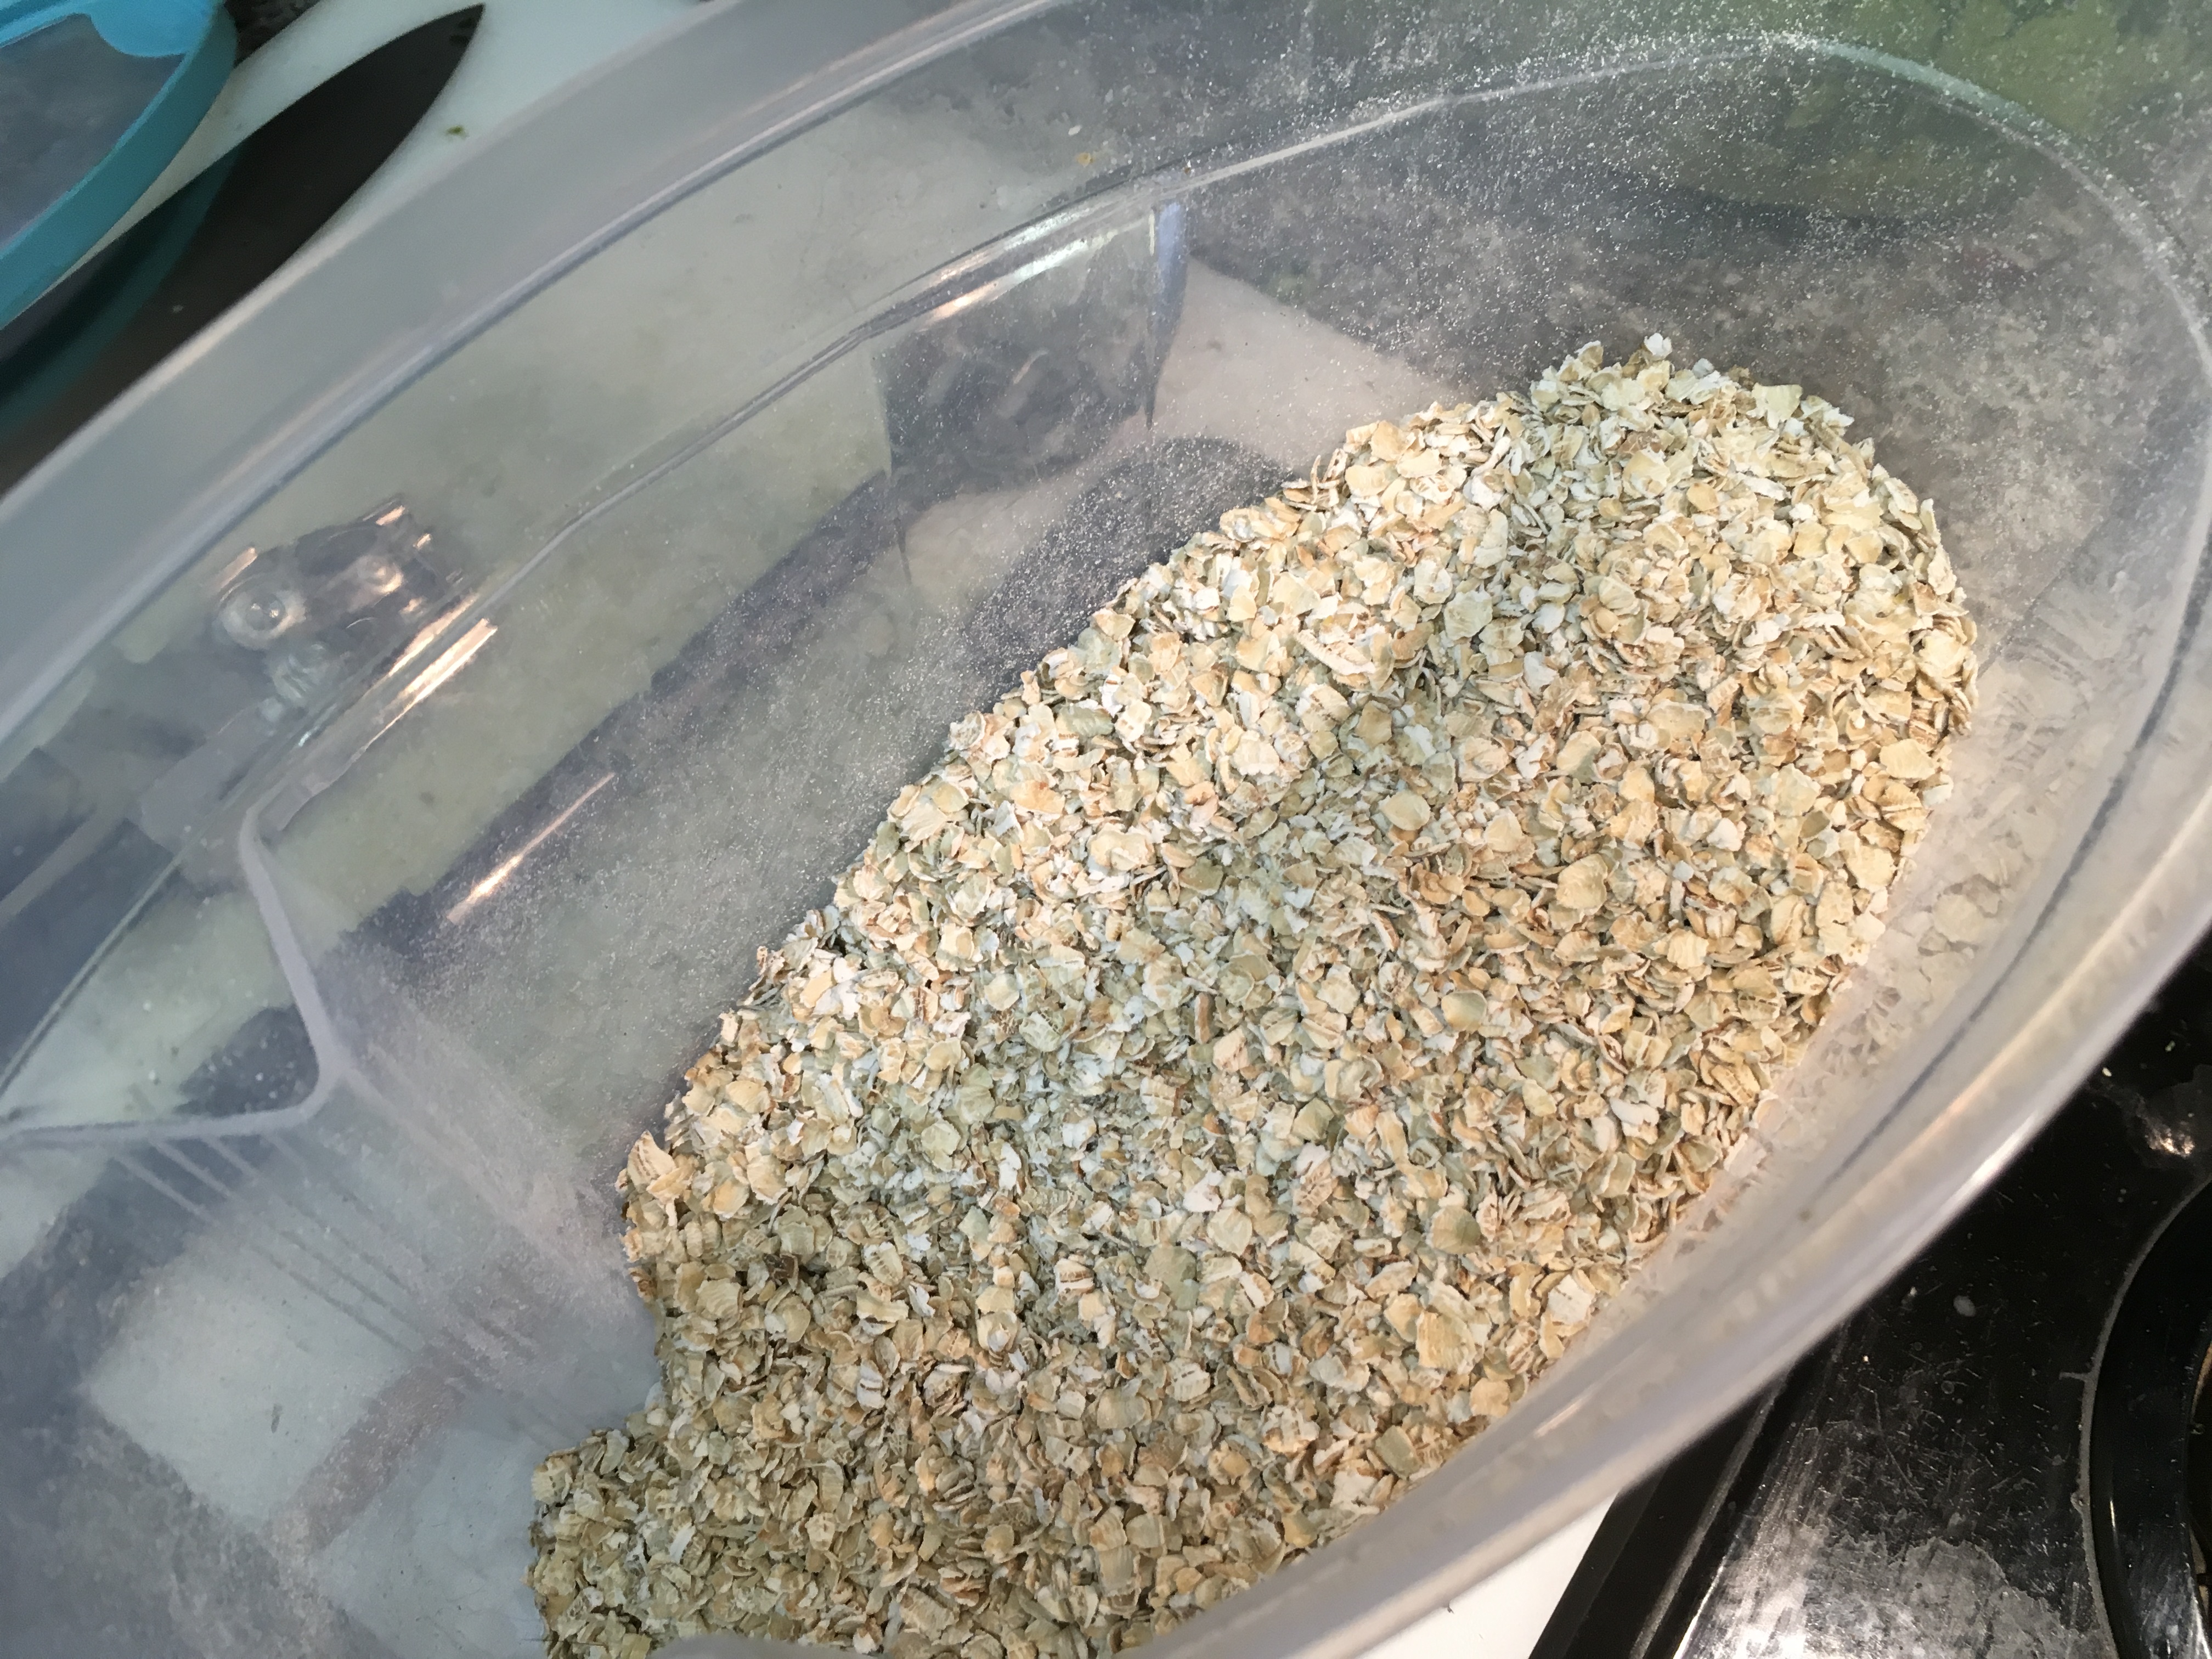
I’m using Old Fashioned oatmeal, just keep adding until your mixture gets thick.
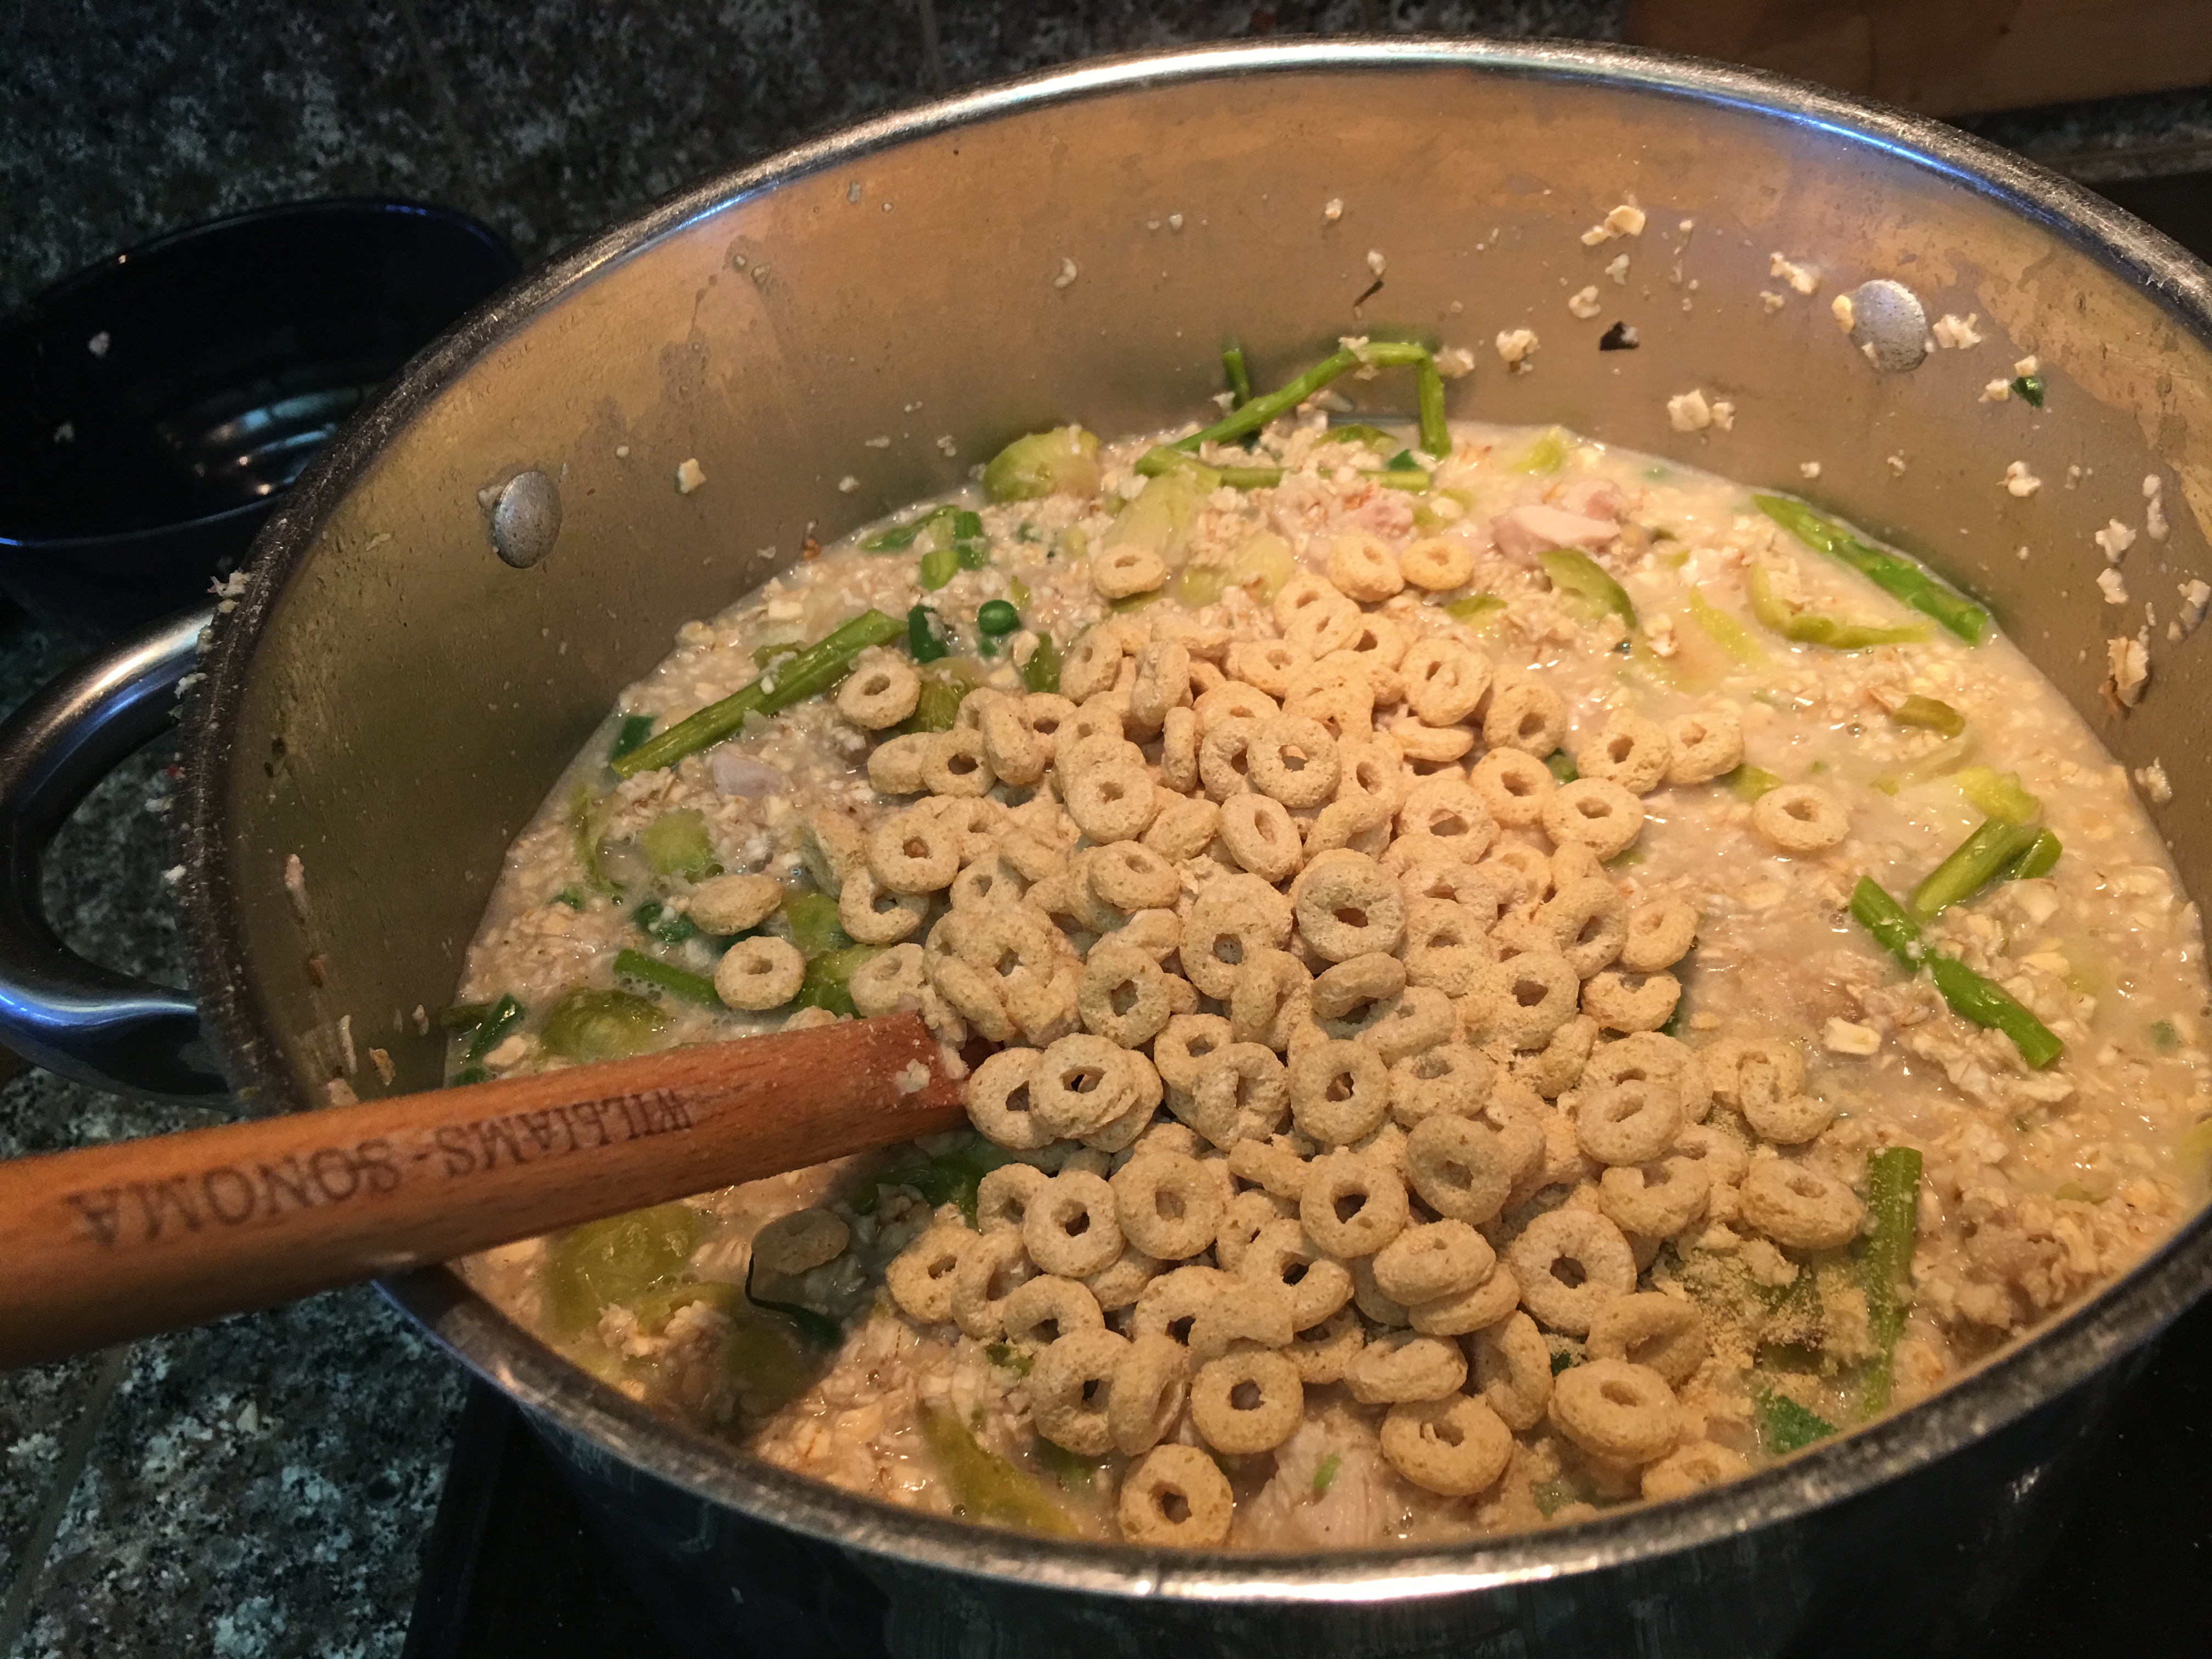
I also had some stale Cheerios, so those go in too.
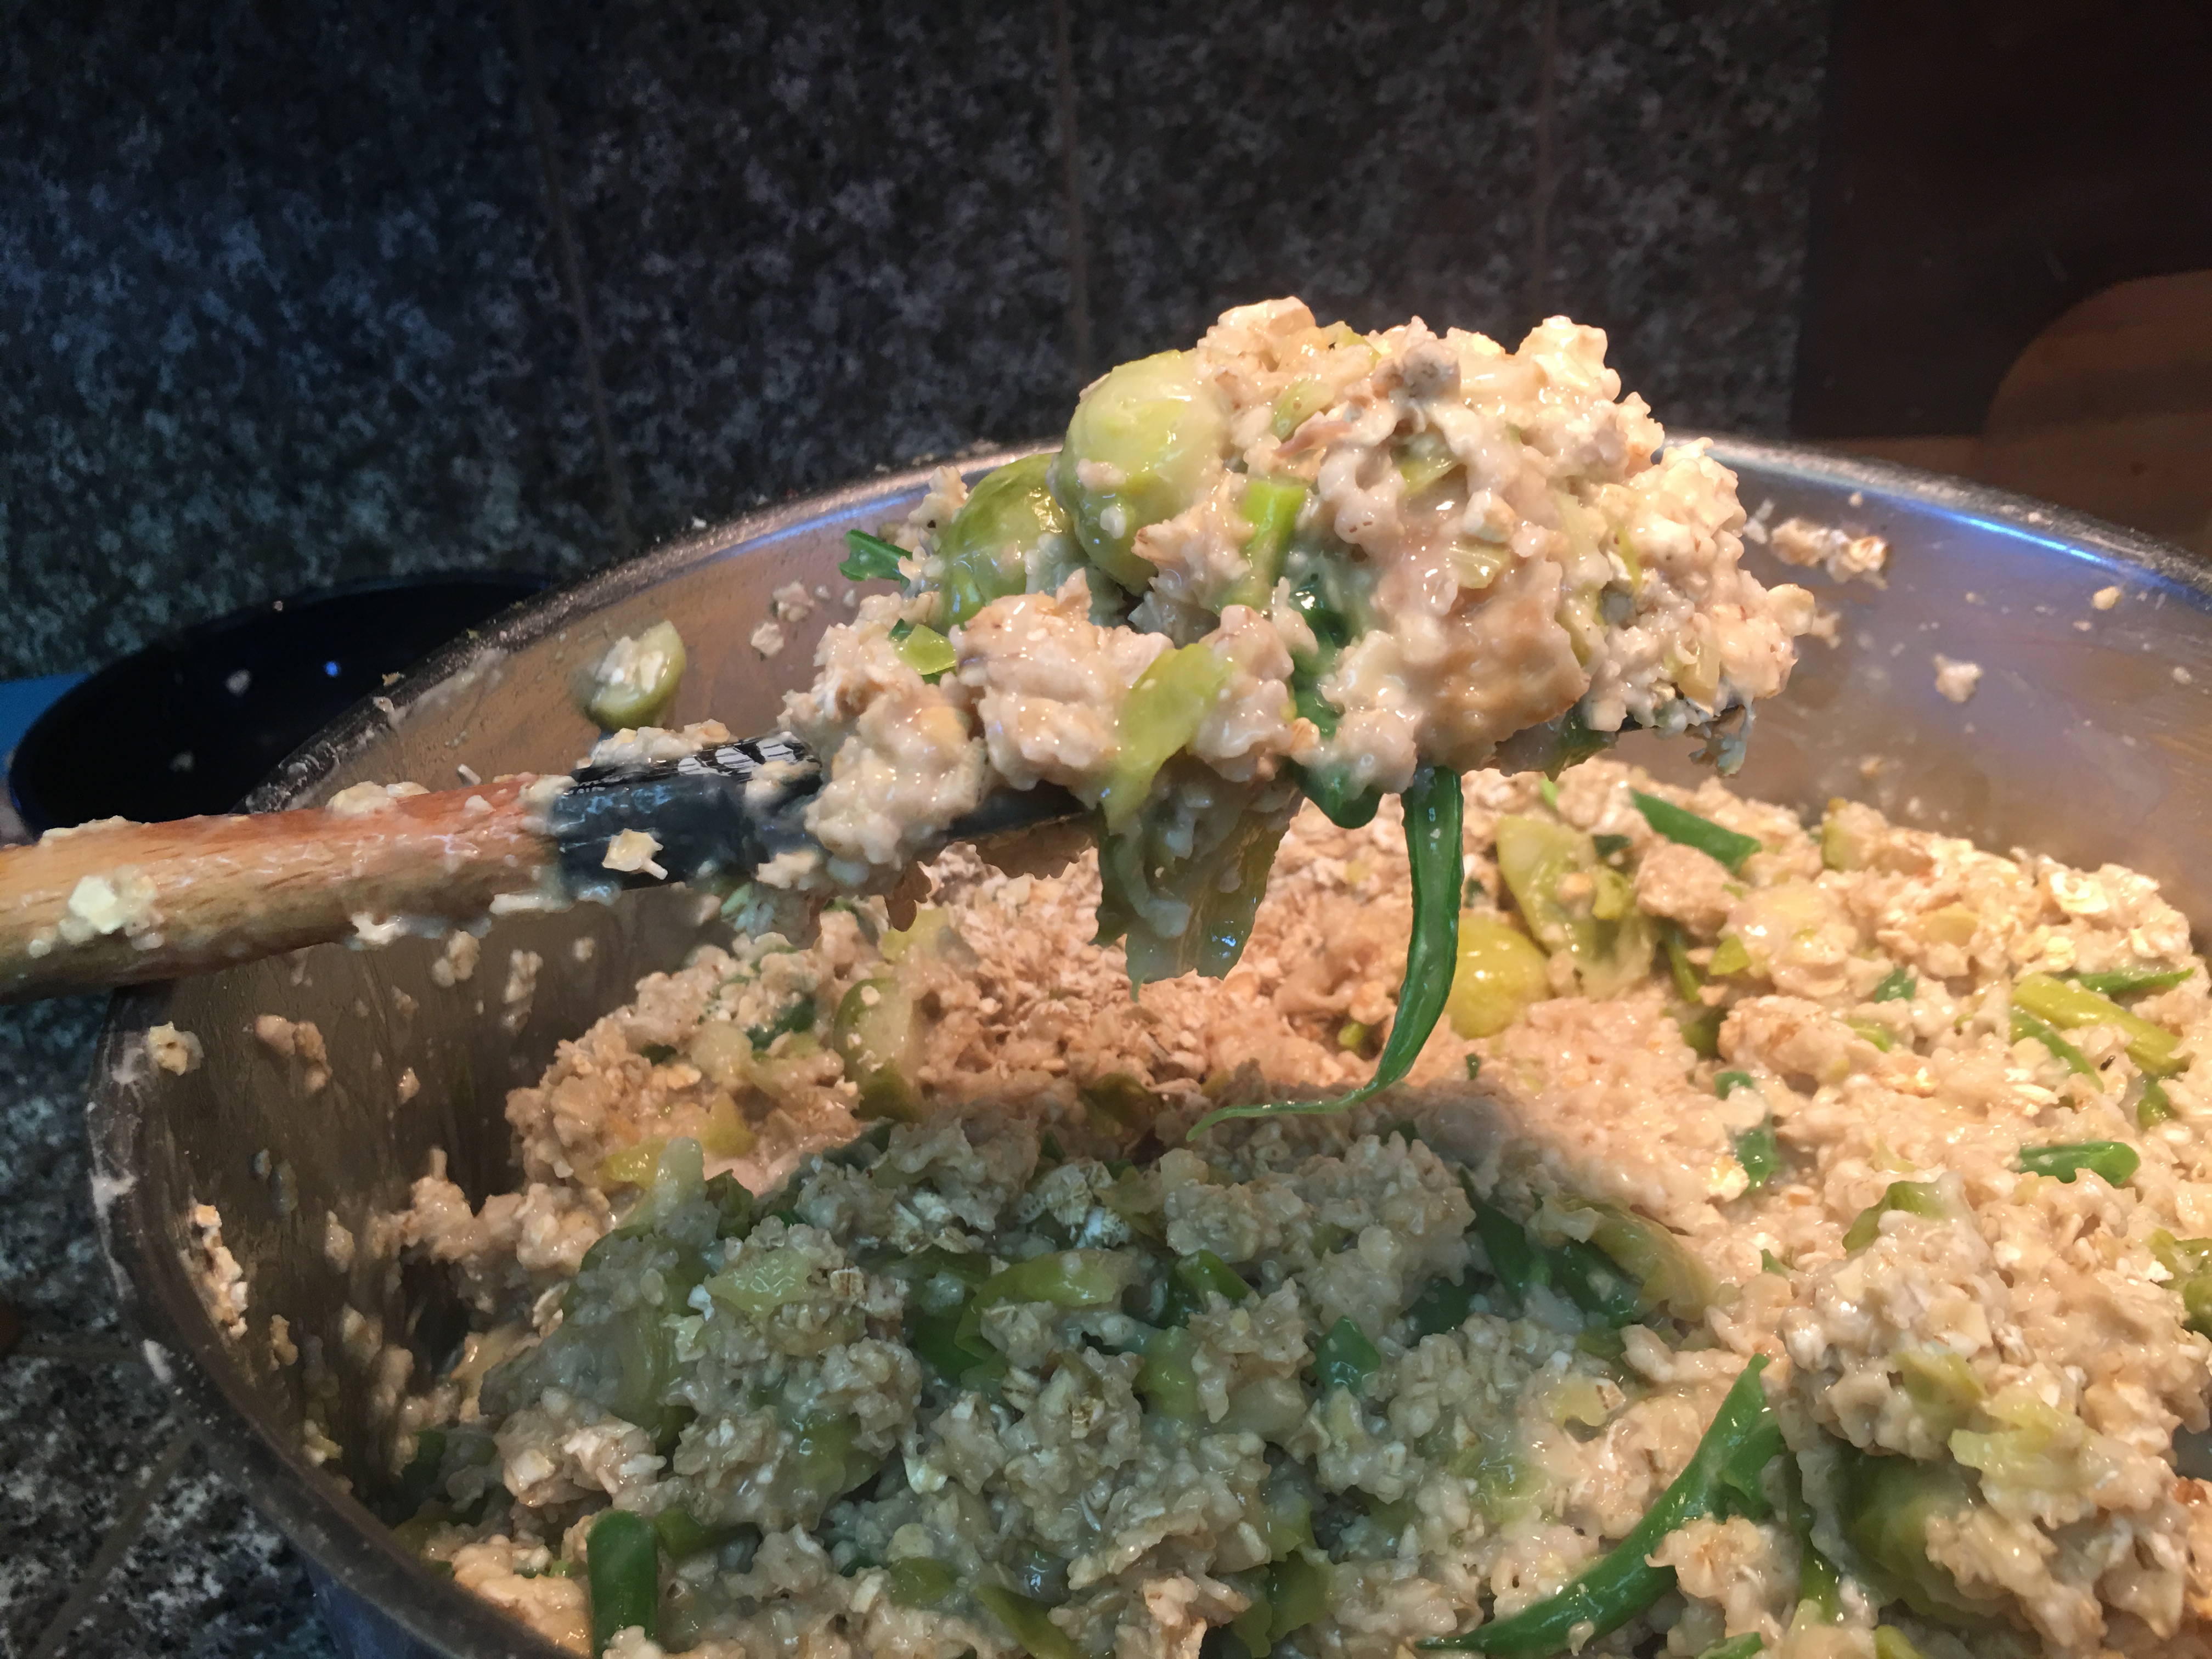
Keep adding oats until your mixture is thick and pastey. Let this mixture cool until you can easily handle it.
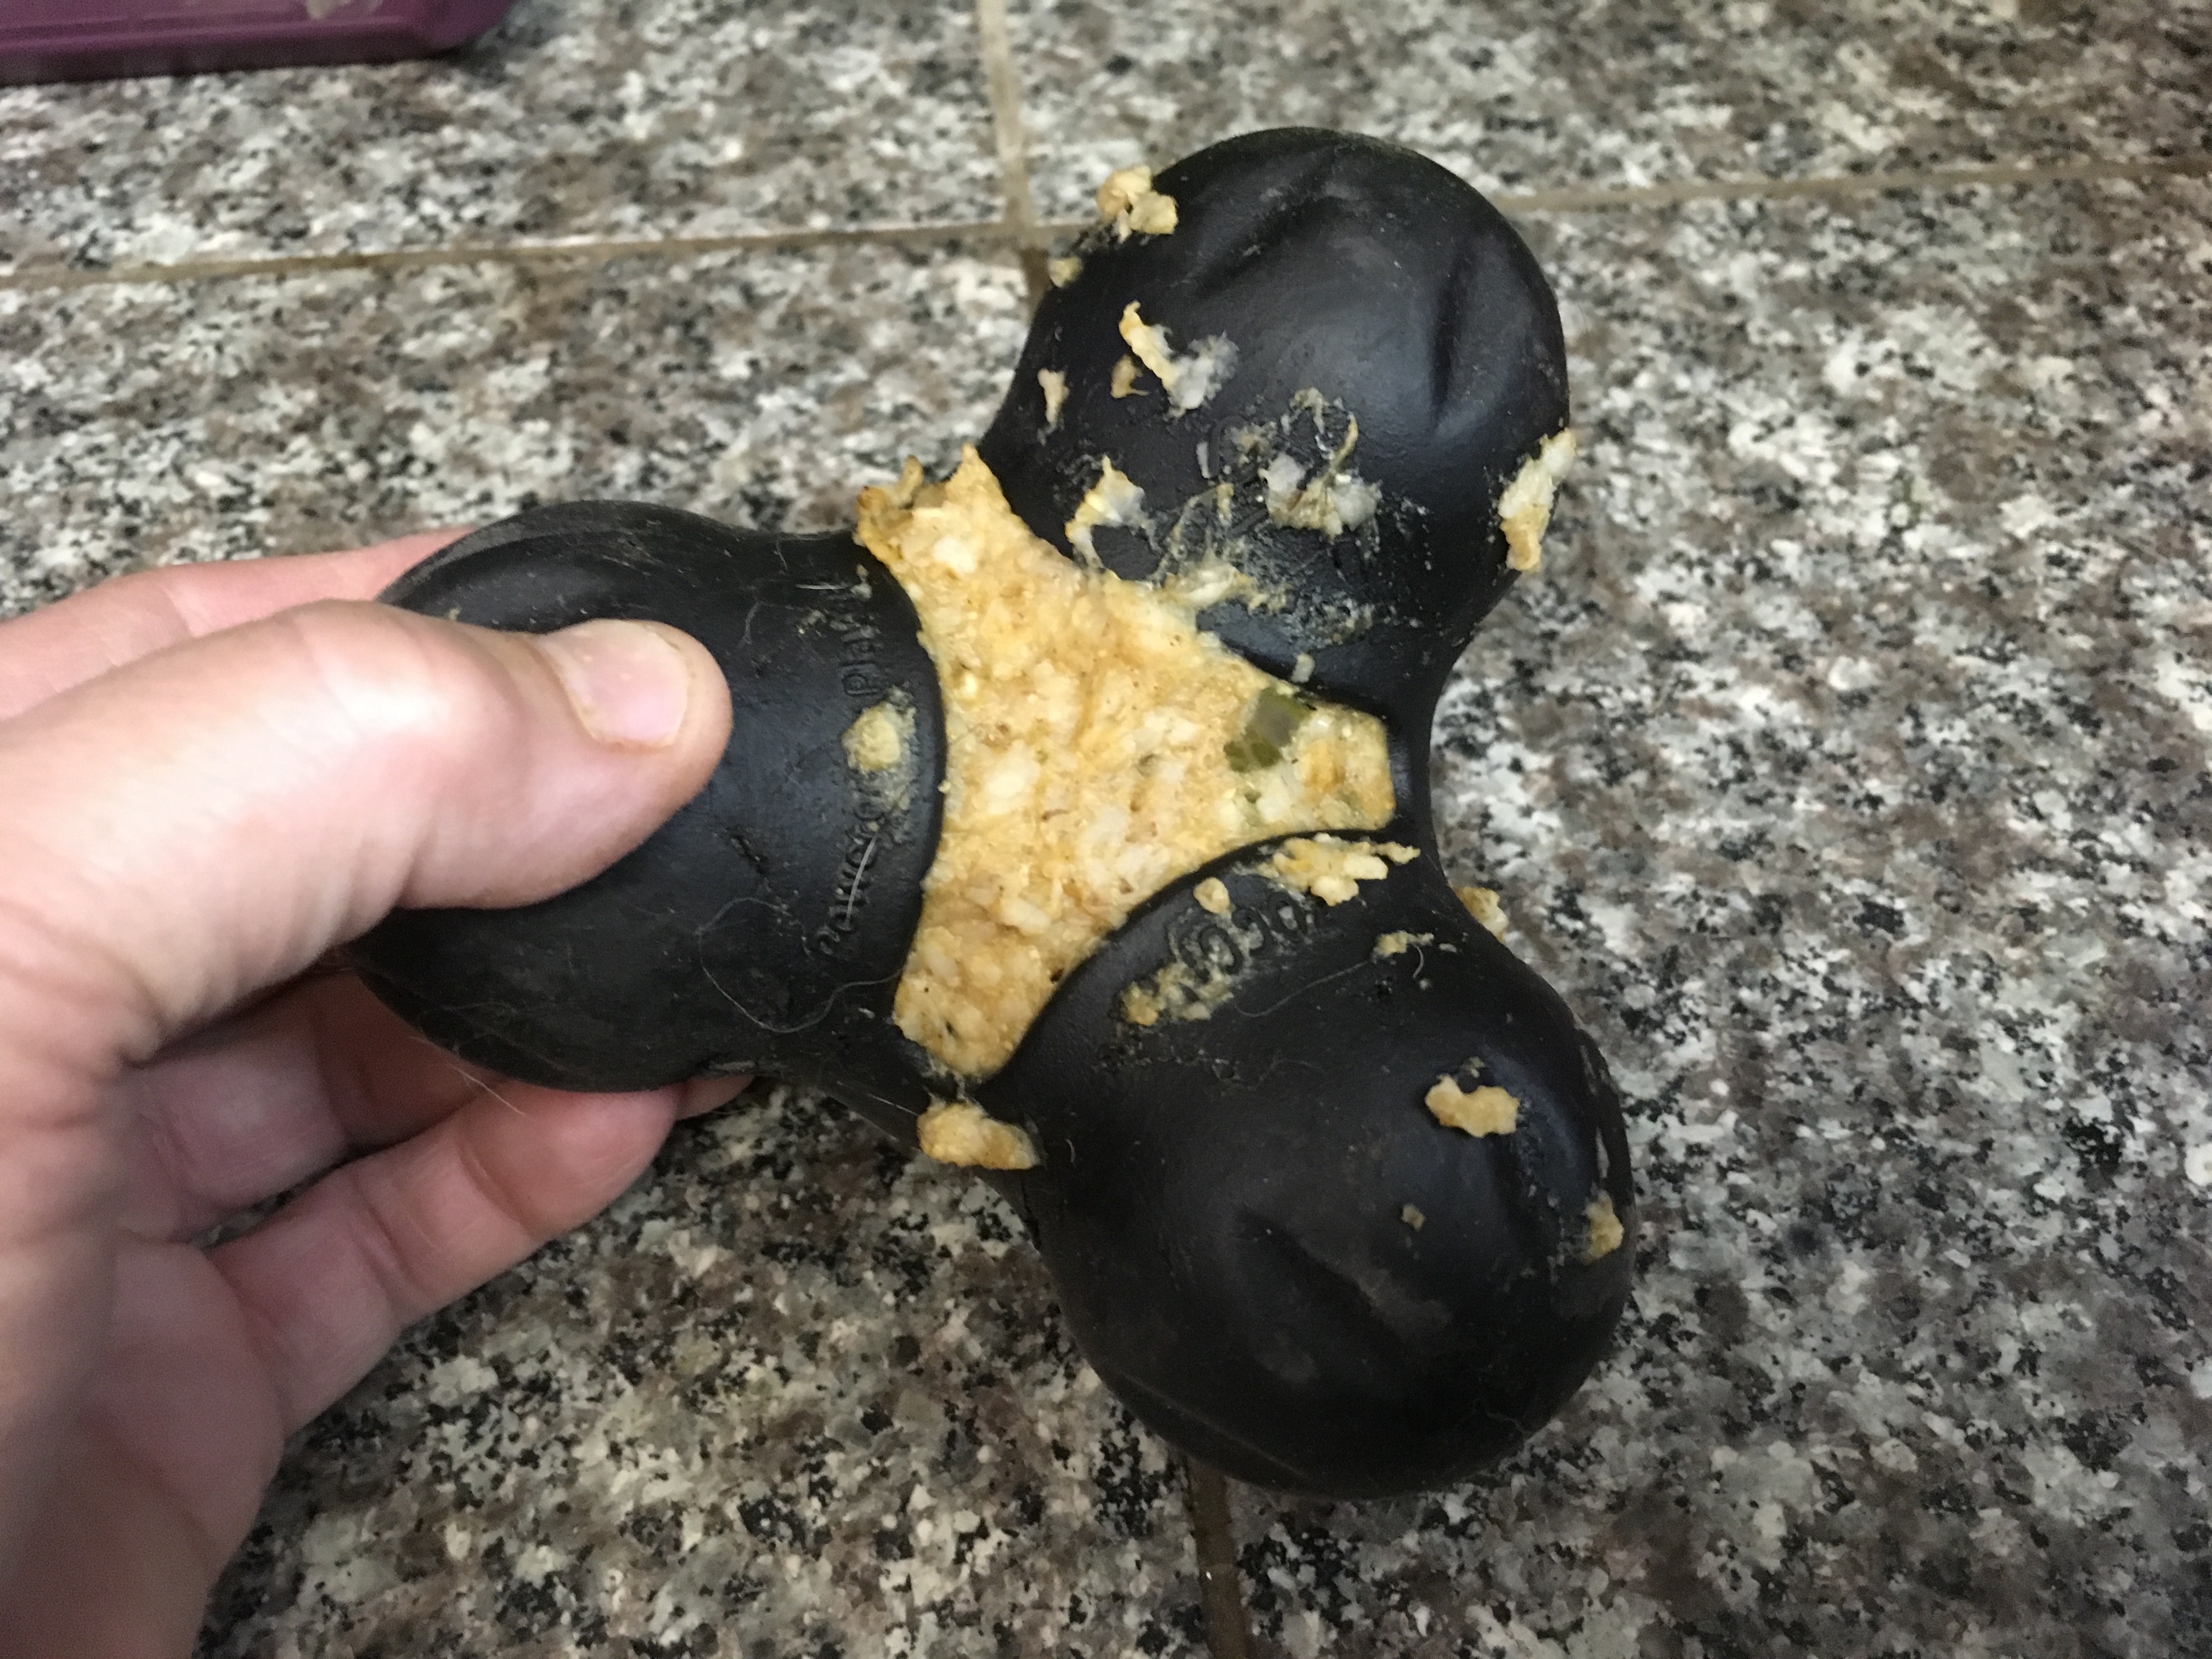
Then start stuffing!
This makes a thick and sticky mixture that is HARD for dogs to remove, excellent for expert level de-stuffers! If your dog isn’t yet level expert at de-stuffing, try stuffing cows hooves (puppies and beginners), hollow shank bones (intermediate), Kongs (intermediate), West Paws Tux (advanced) and Squirrel Dudes (advanced). This mixture is also suitable for lick mats, and slow feeder bowls. Offered fresh is easier than if you stuff and offer the item frozen.
Tip: If you are worried about suction forming in the toy when the dog is licking it, at this stage and before freezing, run the stuffing through with a skewer, chop stick, or straw, the hole should run through the toy, and will remain after you remove the skewer.
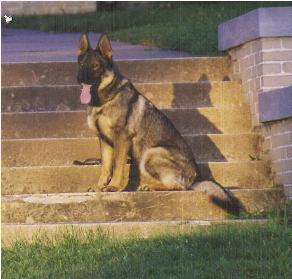
Zahara sneaking a bone, in the totally obvious way that GSs are known for.
As October approaches the world starts craving all things Pumpkin Spice!
Each October I make a batch of Pumpkin Spice stuffing mixture, but pumpkin is so healthy for dogs that you can add it to any stuffing recipe.
As with all my stuffing recipes, please note, I make huge quantities and stuff every Kong, Squirrel Dude, bone, hoof, and West Paw Zogoflex Tux that I have in the house and I just judge everything by eye, so please adjust amounts to suit your preferences.
This is an oatmeal based recipe and as such it’s sticky, sticky stuffing are more DIFFICULT for your dog to extract, taking more time and effort. If your dog is new to enrichment see the bottom of the recipe for ways to make this activity easier or more difficult based on your dogs skill and drive level.
Stuffing:
Oatmeal, either Old Fashioned, Steel Cut, or Instant, UNFLAVORED without sugar, or flavor added. I’m using Quaker Instant Oatmeal because I found it on sale, I usually use Old Fashioned Oats.
Canned Pumpkin, or any cooked and mashed squash.
Eggs: The entire egg, shell and all.
Coconut Oil or Olive Oil (optional) some dogs cannot tolerate supplemental oil, others can. Know your dog.
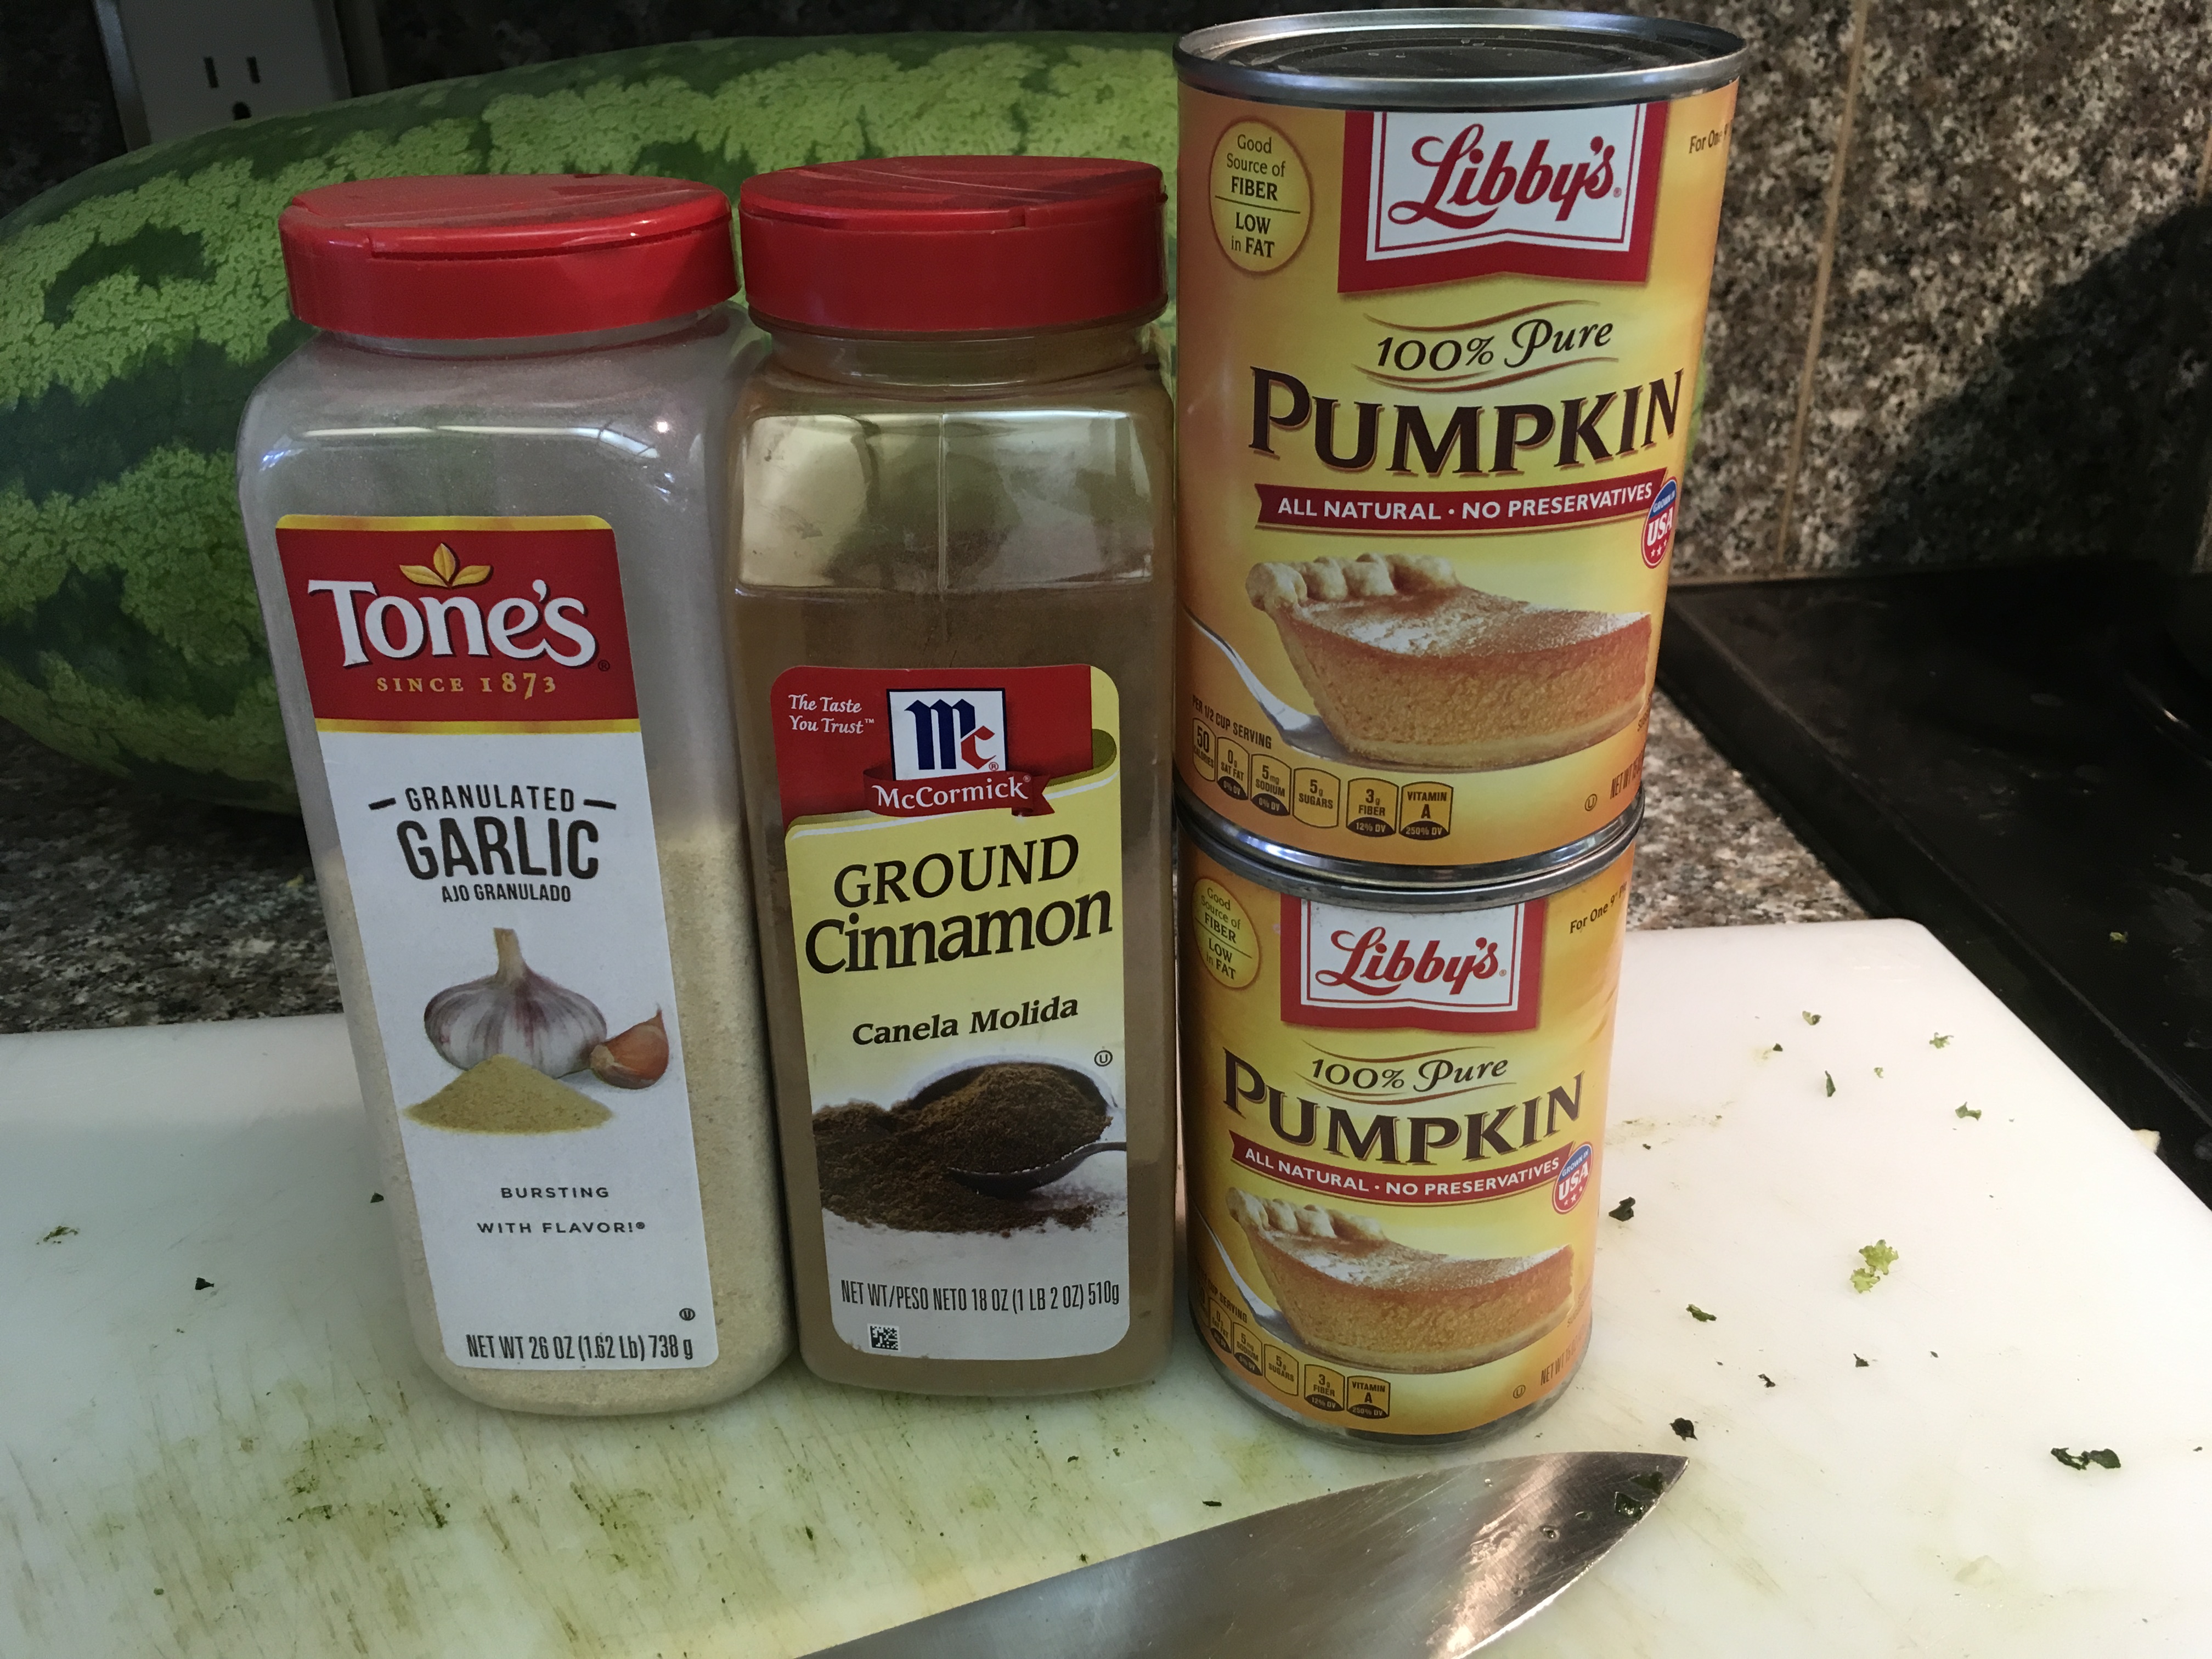
Spice: Granulated Garlic and Ground Cinnamon.
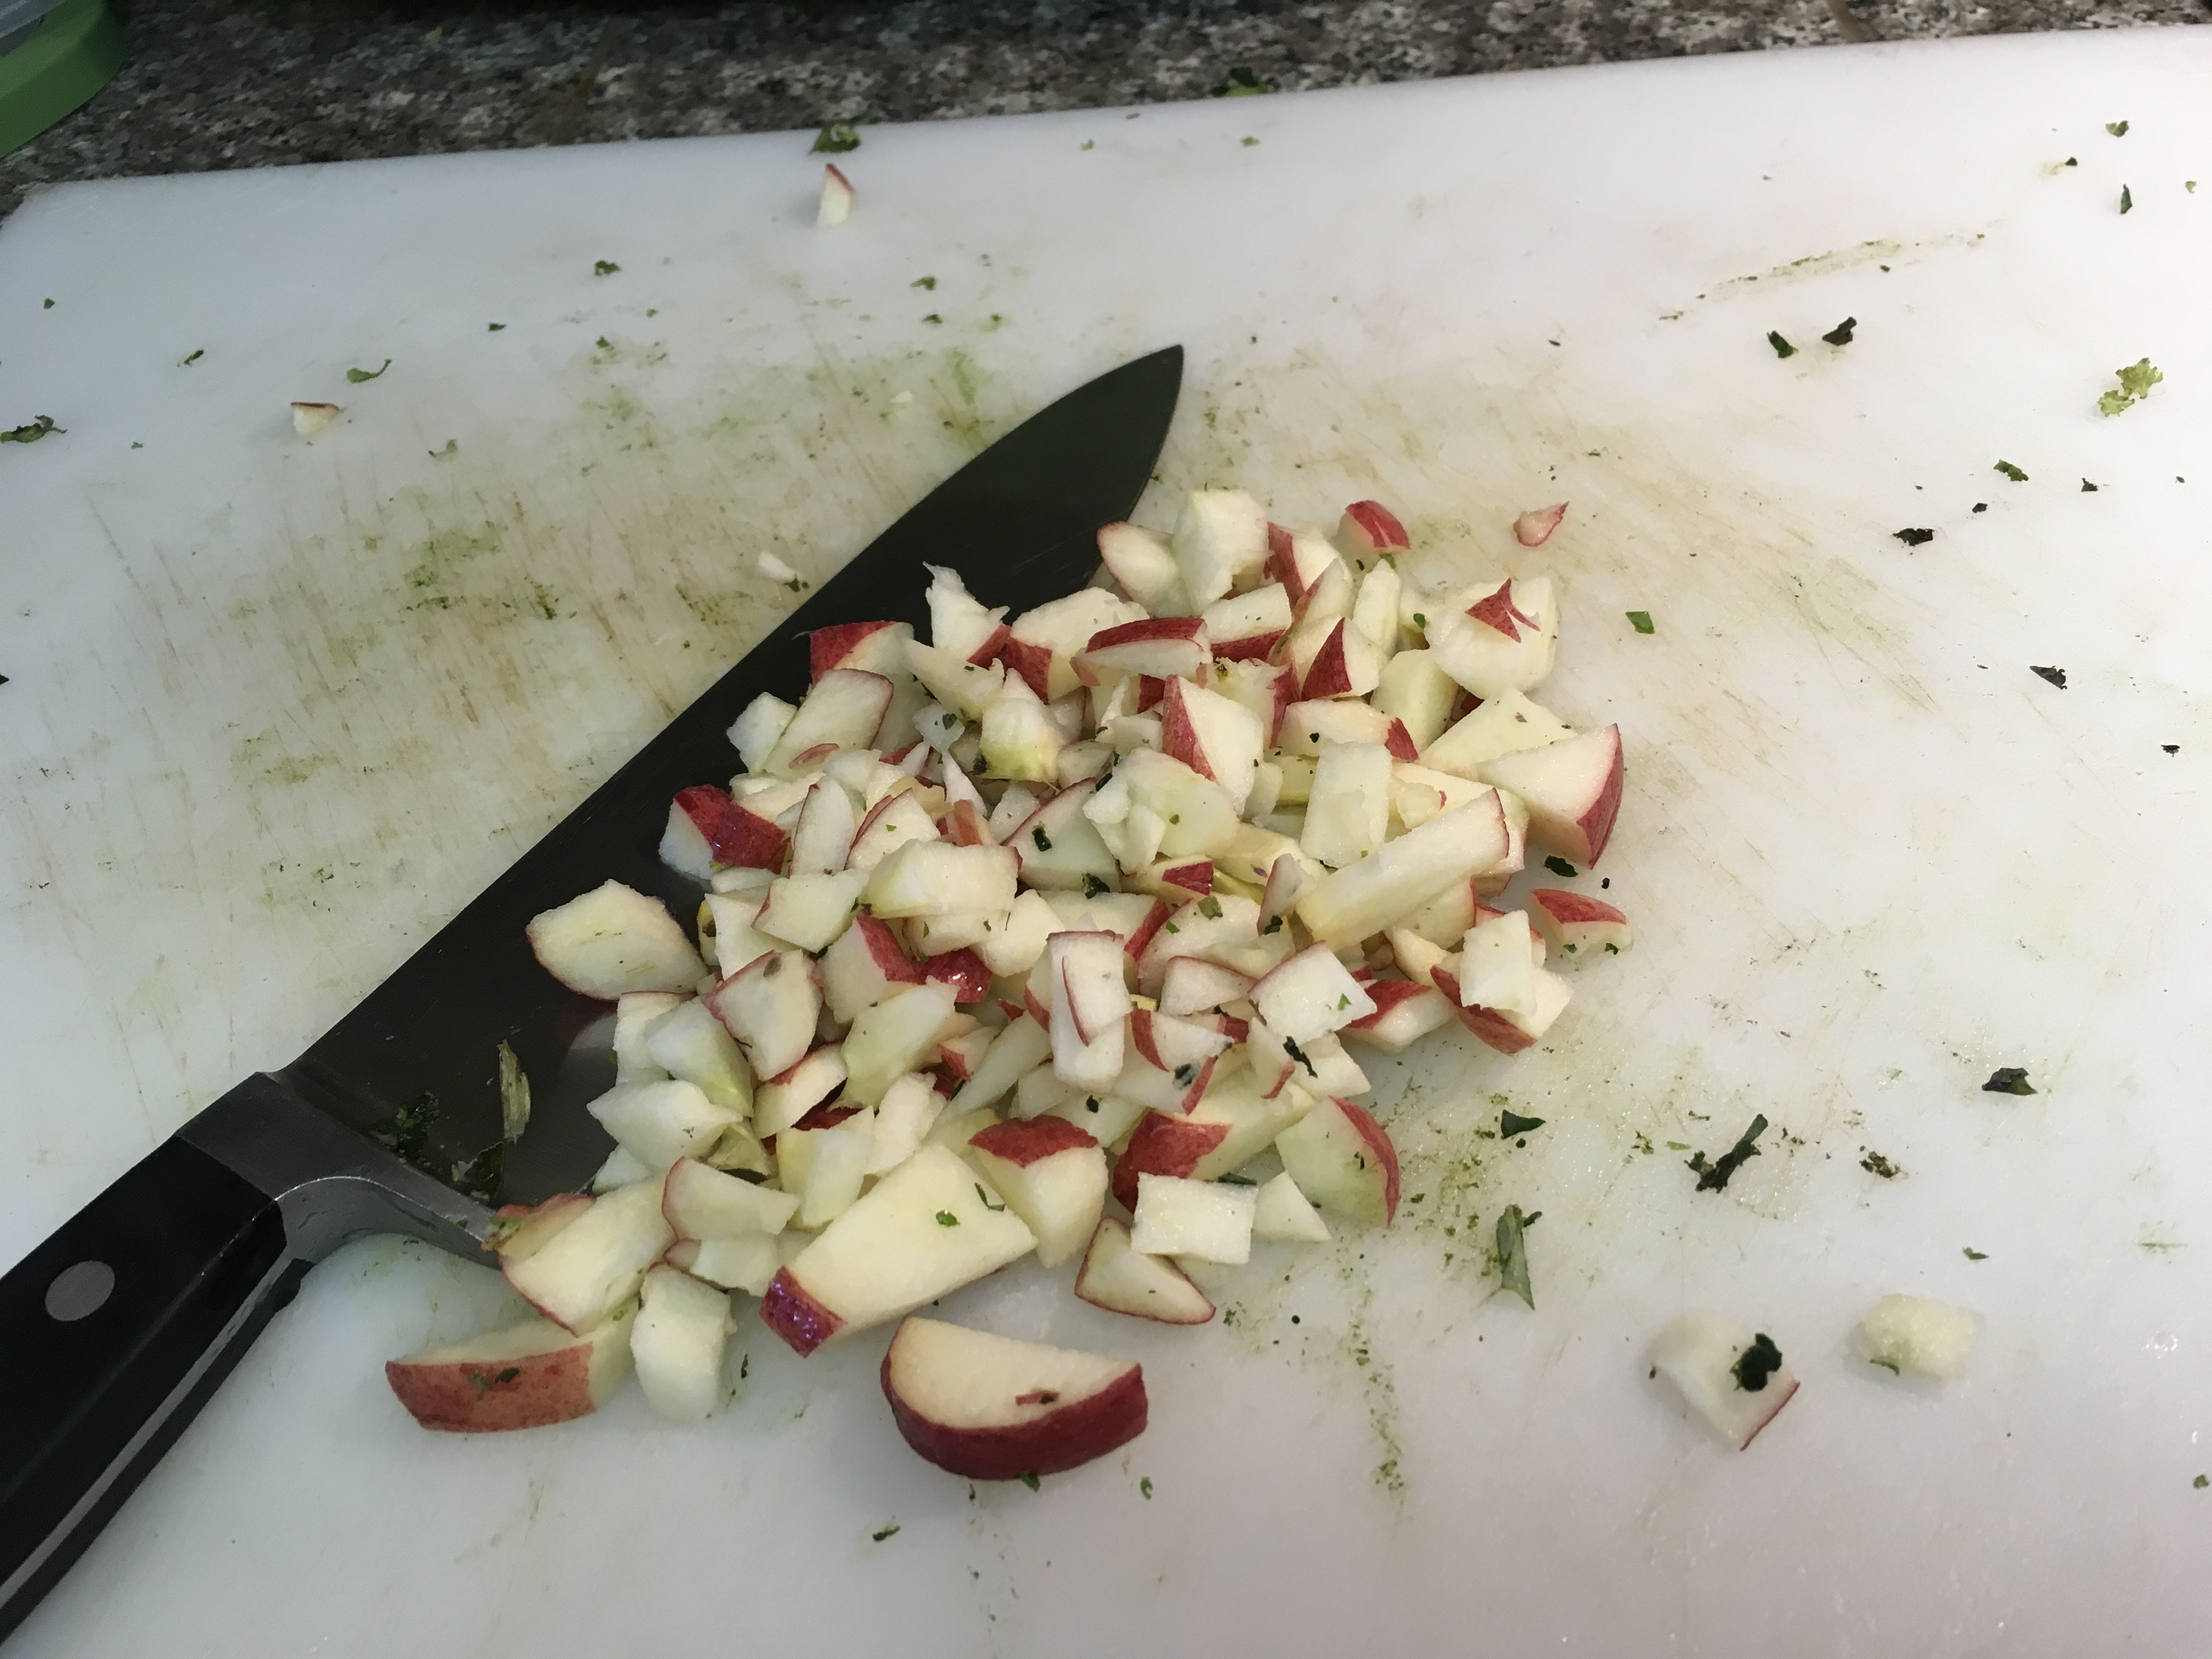
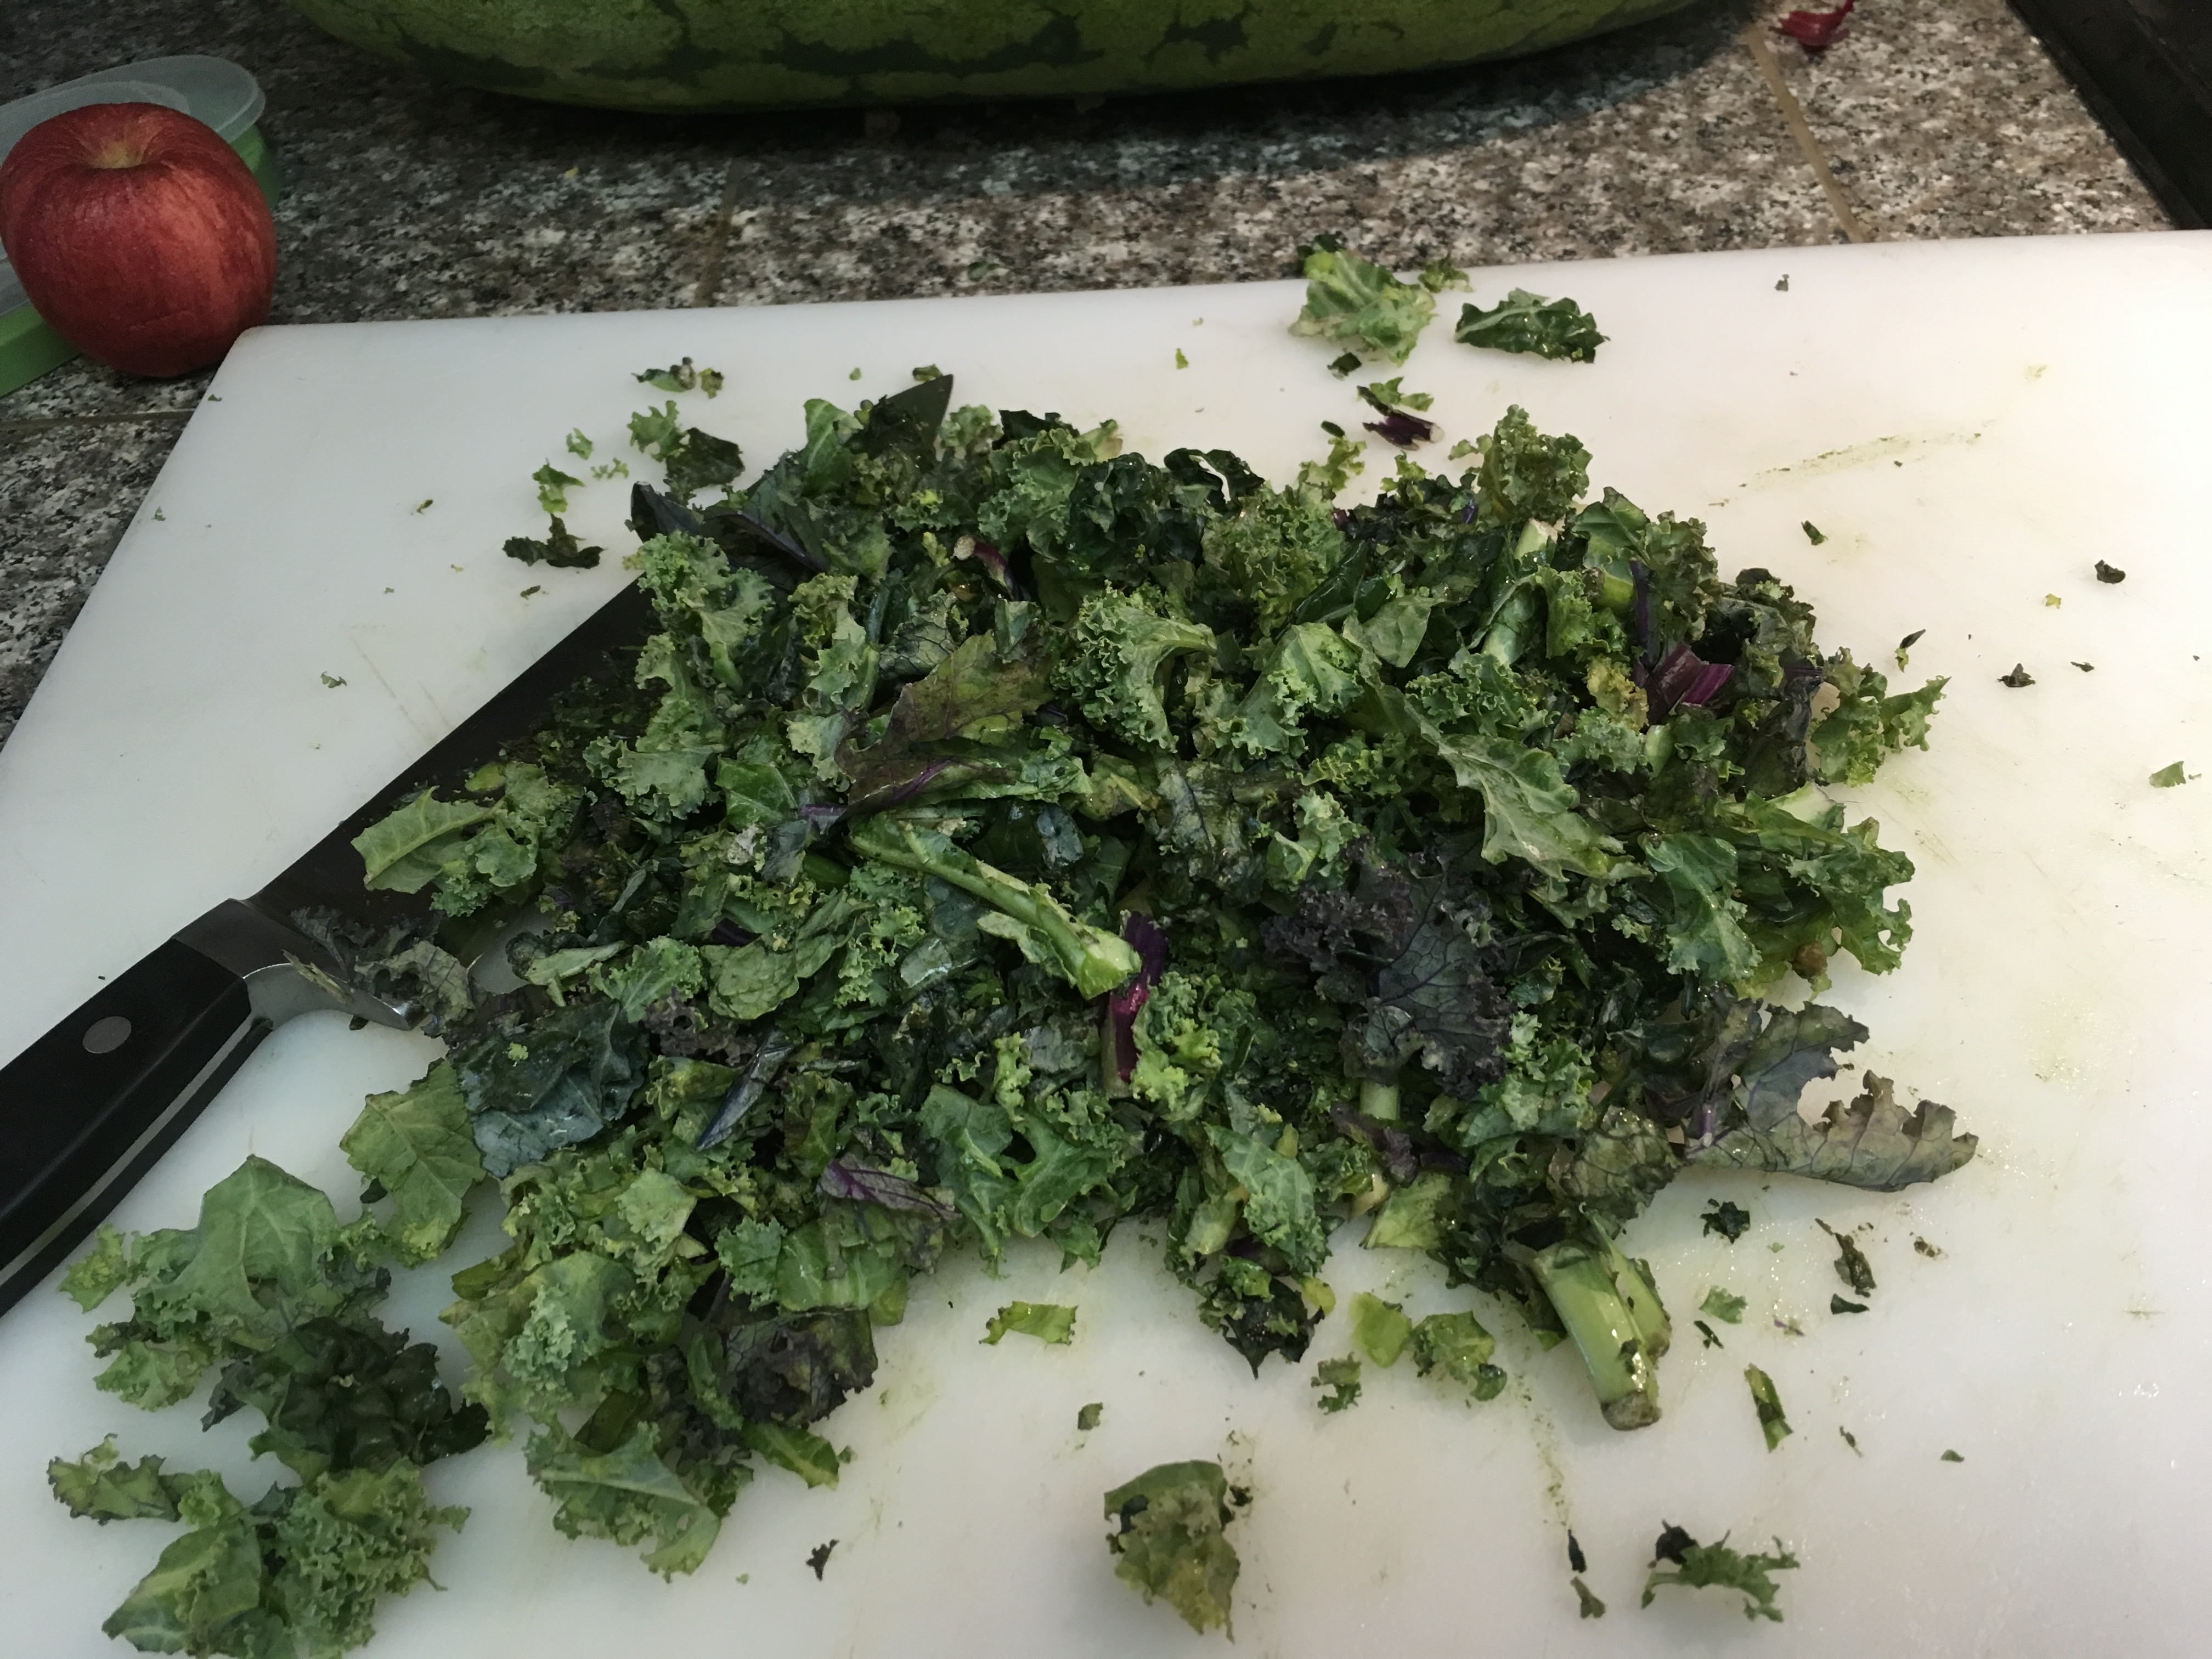
Veg: Whatever you have! I used apple and rainbow kale, coarsly chopped.
Optional but Awesome:
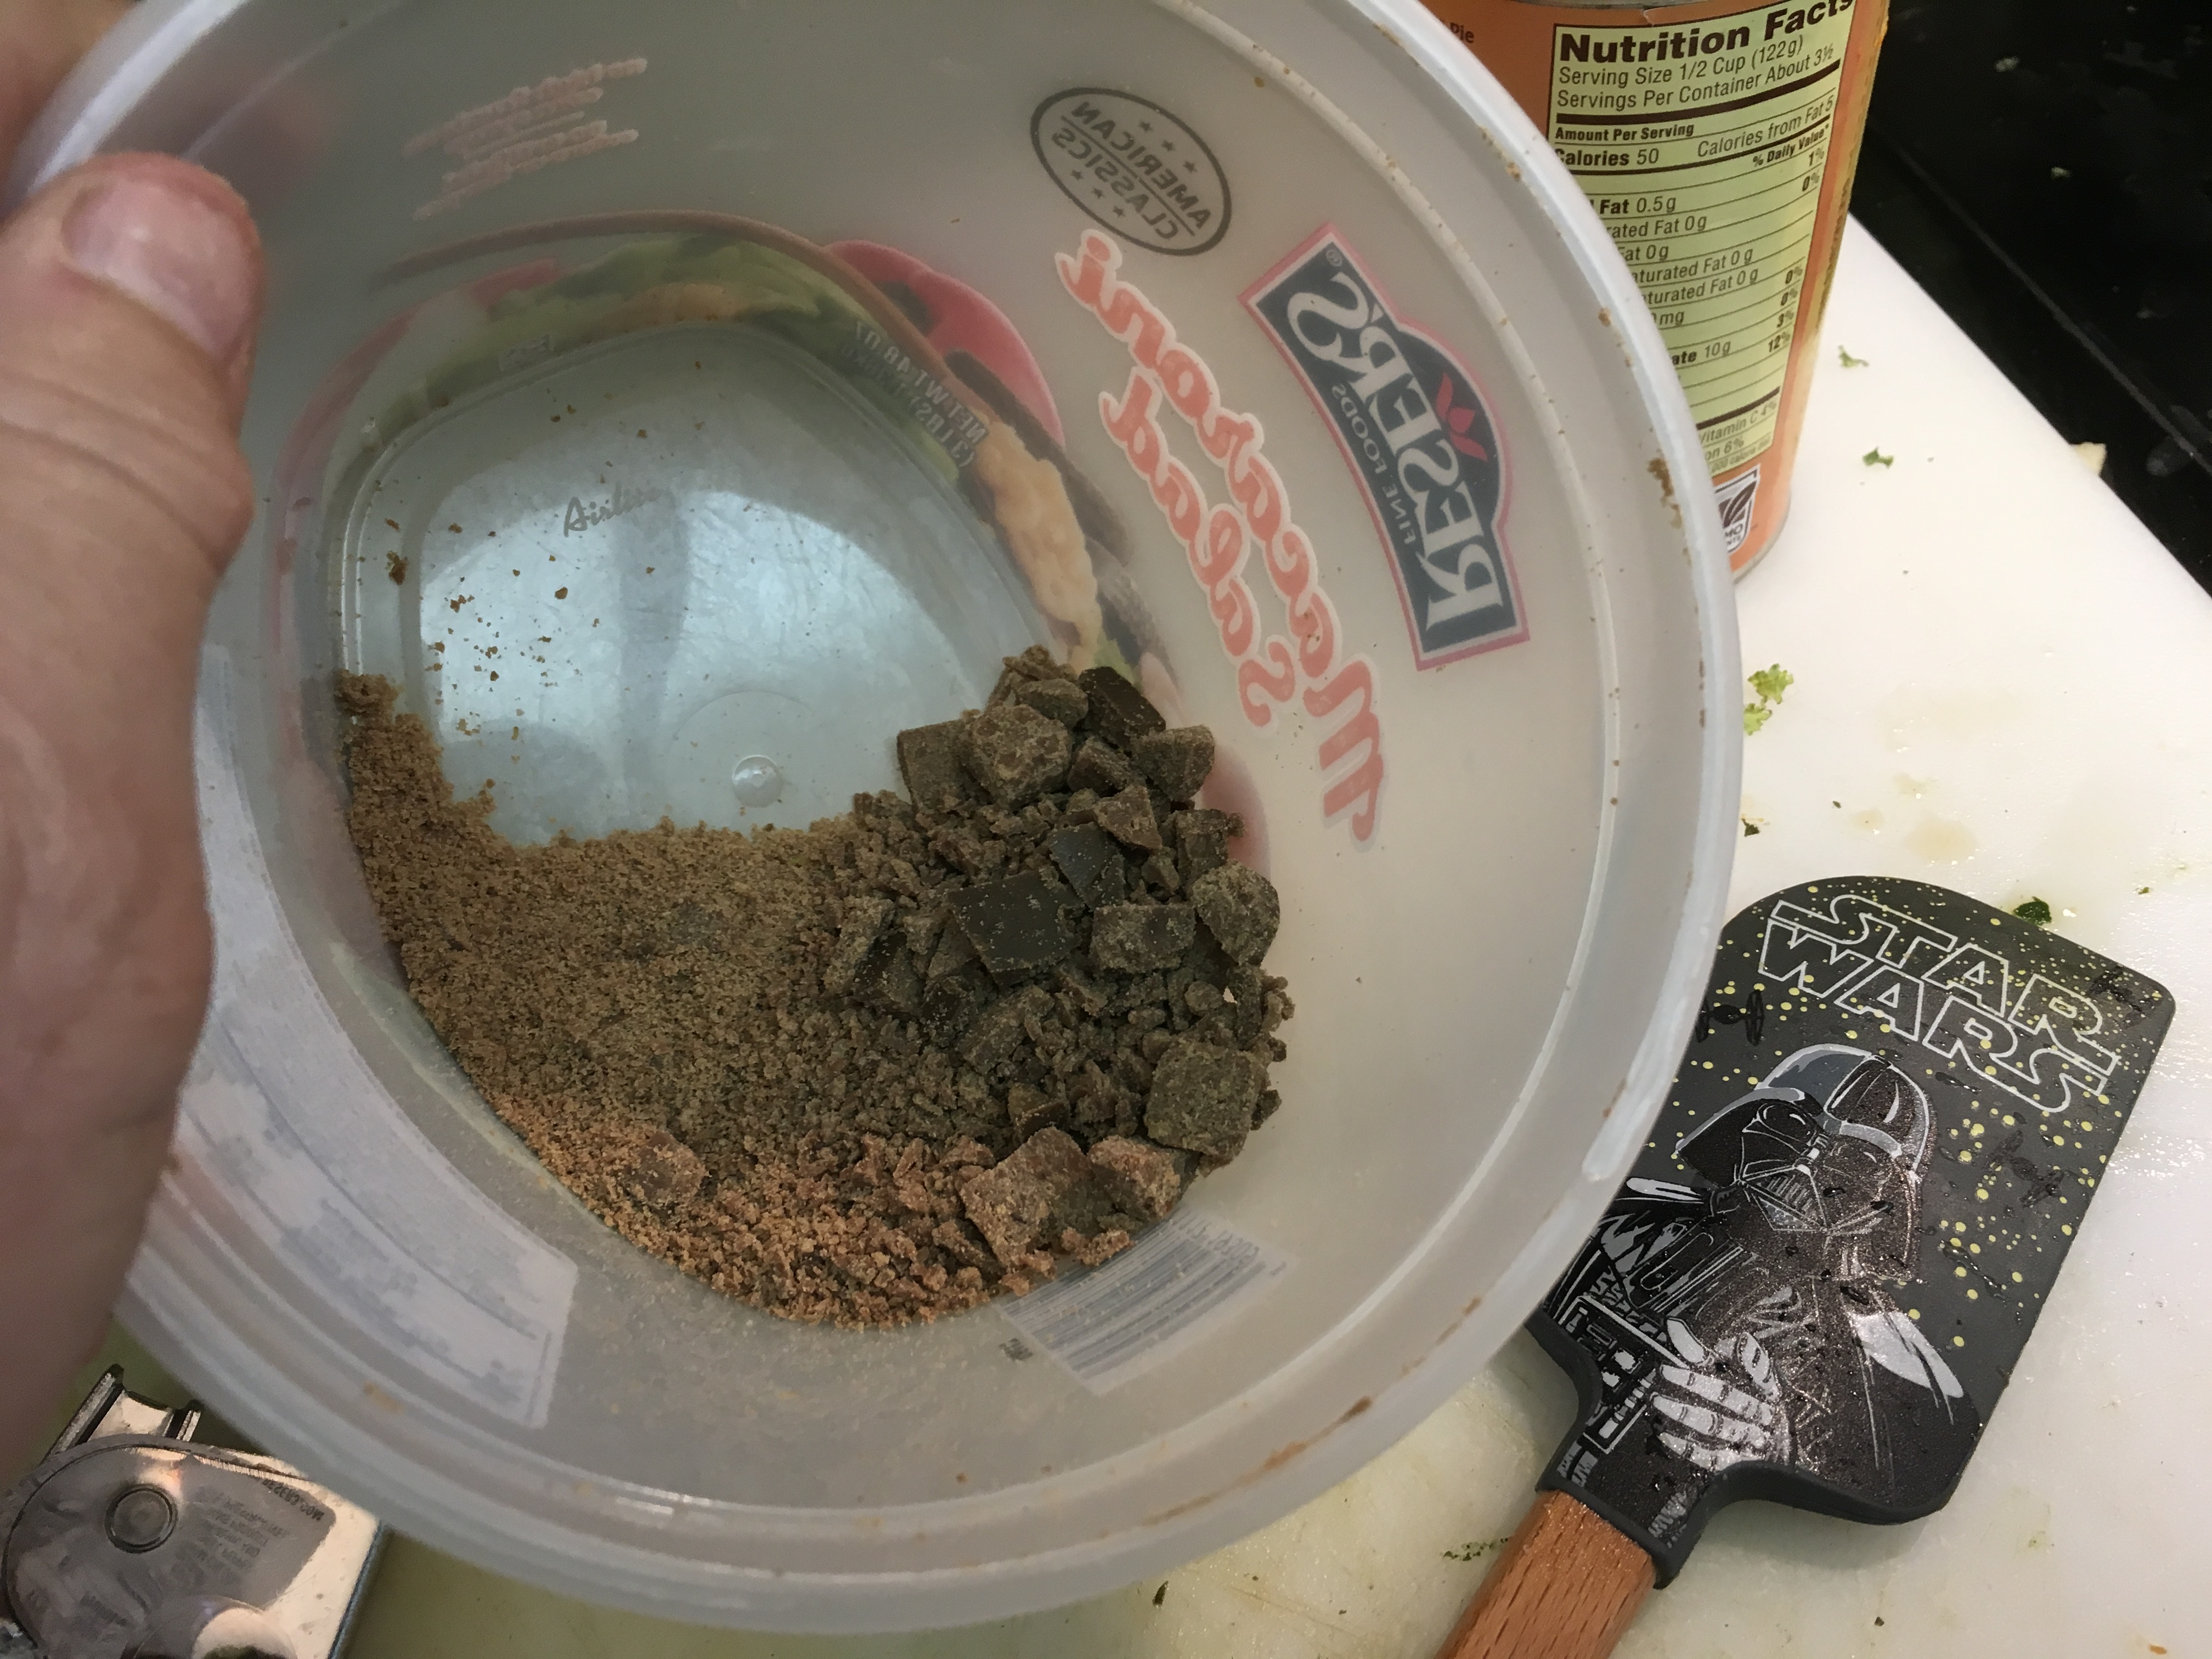
I ALWAYS save the fine dust that is left over in treat packages, biscuit boxes, or when I chop up rolled dog treats (Natural Balance and Redbarn Rolls leave TONS of crumbs!) and instead of throwing these yummy bits away I save them in a plastic tub in the fridge. When I made this recipe I happened to have crumbs from chopping up Natural Balance Rolls into treats and so I poured that in this recipe.
Quantities: I make a huge batch and here is the recipe for that, followed by a smaller recipe for a single GS sized dog with 7 stuffable dispensers (Kongs, Squirrel Dudes etc).
Combine in a 8 quart stock pot or larger:
1 large tube of Oats (42 oz)
1 dozen eggs, shell and all.
1/4 Cup Granulated Garlic (NOT Garlic Salt)
1 TBS Ground Cinnamon (No more!)
2 Cans Pumpkin Purée or 3 Cups Mashed Squash
4 Cups Vegetable (I used Rainbow Kale and Apple) coarsely chopped. Only use dog safe fruits and veggies!
Optional: Treat dust (I had 1 Cups worth, oil, I used 1/4 Cup Coconut Oil).
Small Batch:
1 Small Tube of Oatmeal
4 Eggs
1 TBS Granulated Garlic
1 tsp Ground Cinnamon (no more)
1 can Pumpkin Purée or 1.5 Cups Mashed Squash
2 Cups Veggie/Fruit.
Optional: Treat Dust or 1 tsp oil.
Make it!
I seriously eye ball this recipe because I’m going for a particular texture (sticky and clumpy) and not regular people eating oatmeal texture!
In your 8 quart stockpot over medium heat, add the amount of water recommended on the Oatmeal package (I start with 2 cups water per 1 cup uncooked oats, adding more water if needed).
Bring the water to a simmer and add all your veggies and fruit, cook lightly (dogs can’t digest plant matter unless it’s lightly cooked or puréed).
To simmering water/veggie mixture add eggs and stir to break eggs up as much/little as desired. Cook until just set, about 2 minutes.
Add canned Pumpkin or mashed squash, stir to combine and heat through and return to a low boil.
Reduce heat to medium/low, you want the mixture to just barely boil, enough to cook the oatmeal.
Quickly stir to mix all ingredients, the mixture should thicken up rather quickly, so combine while you can.
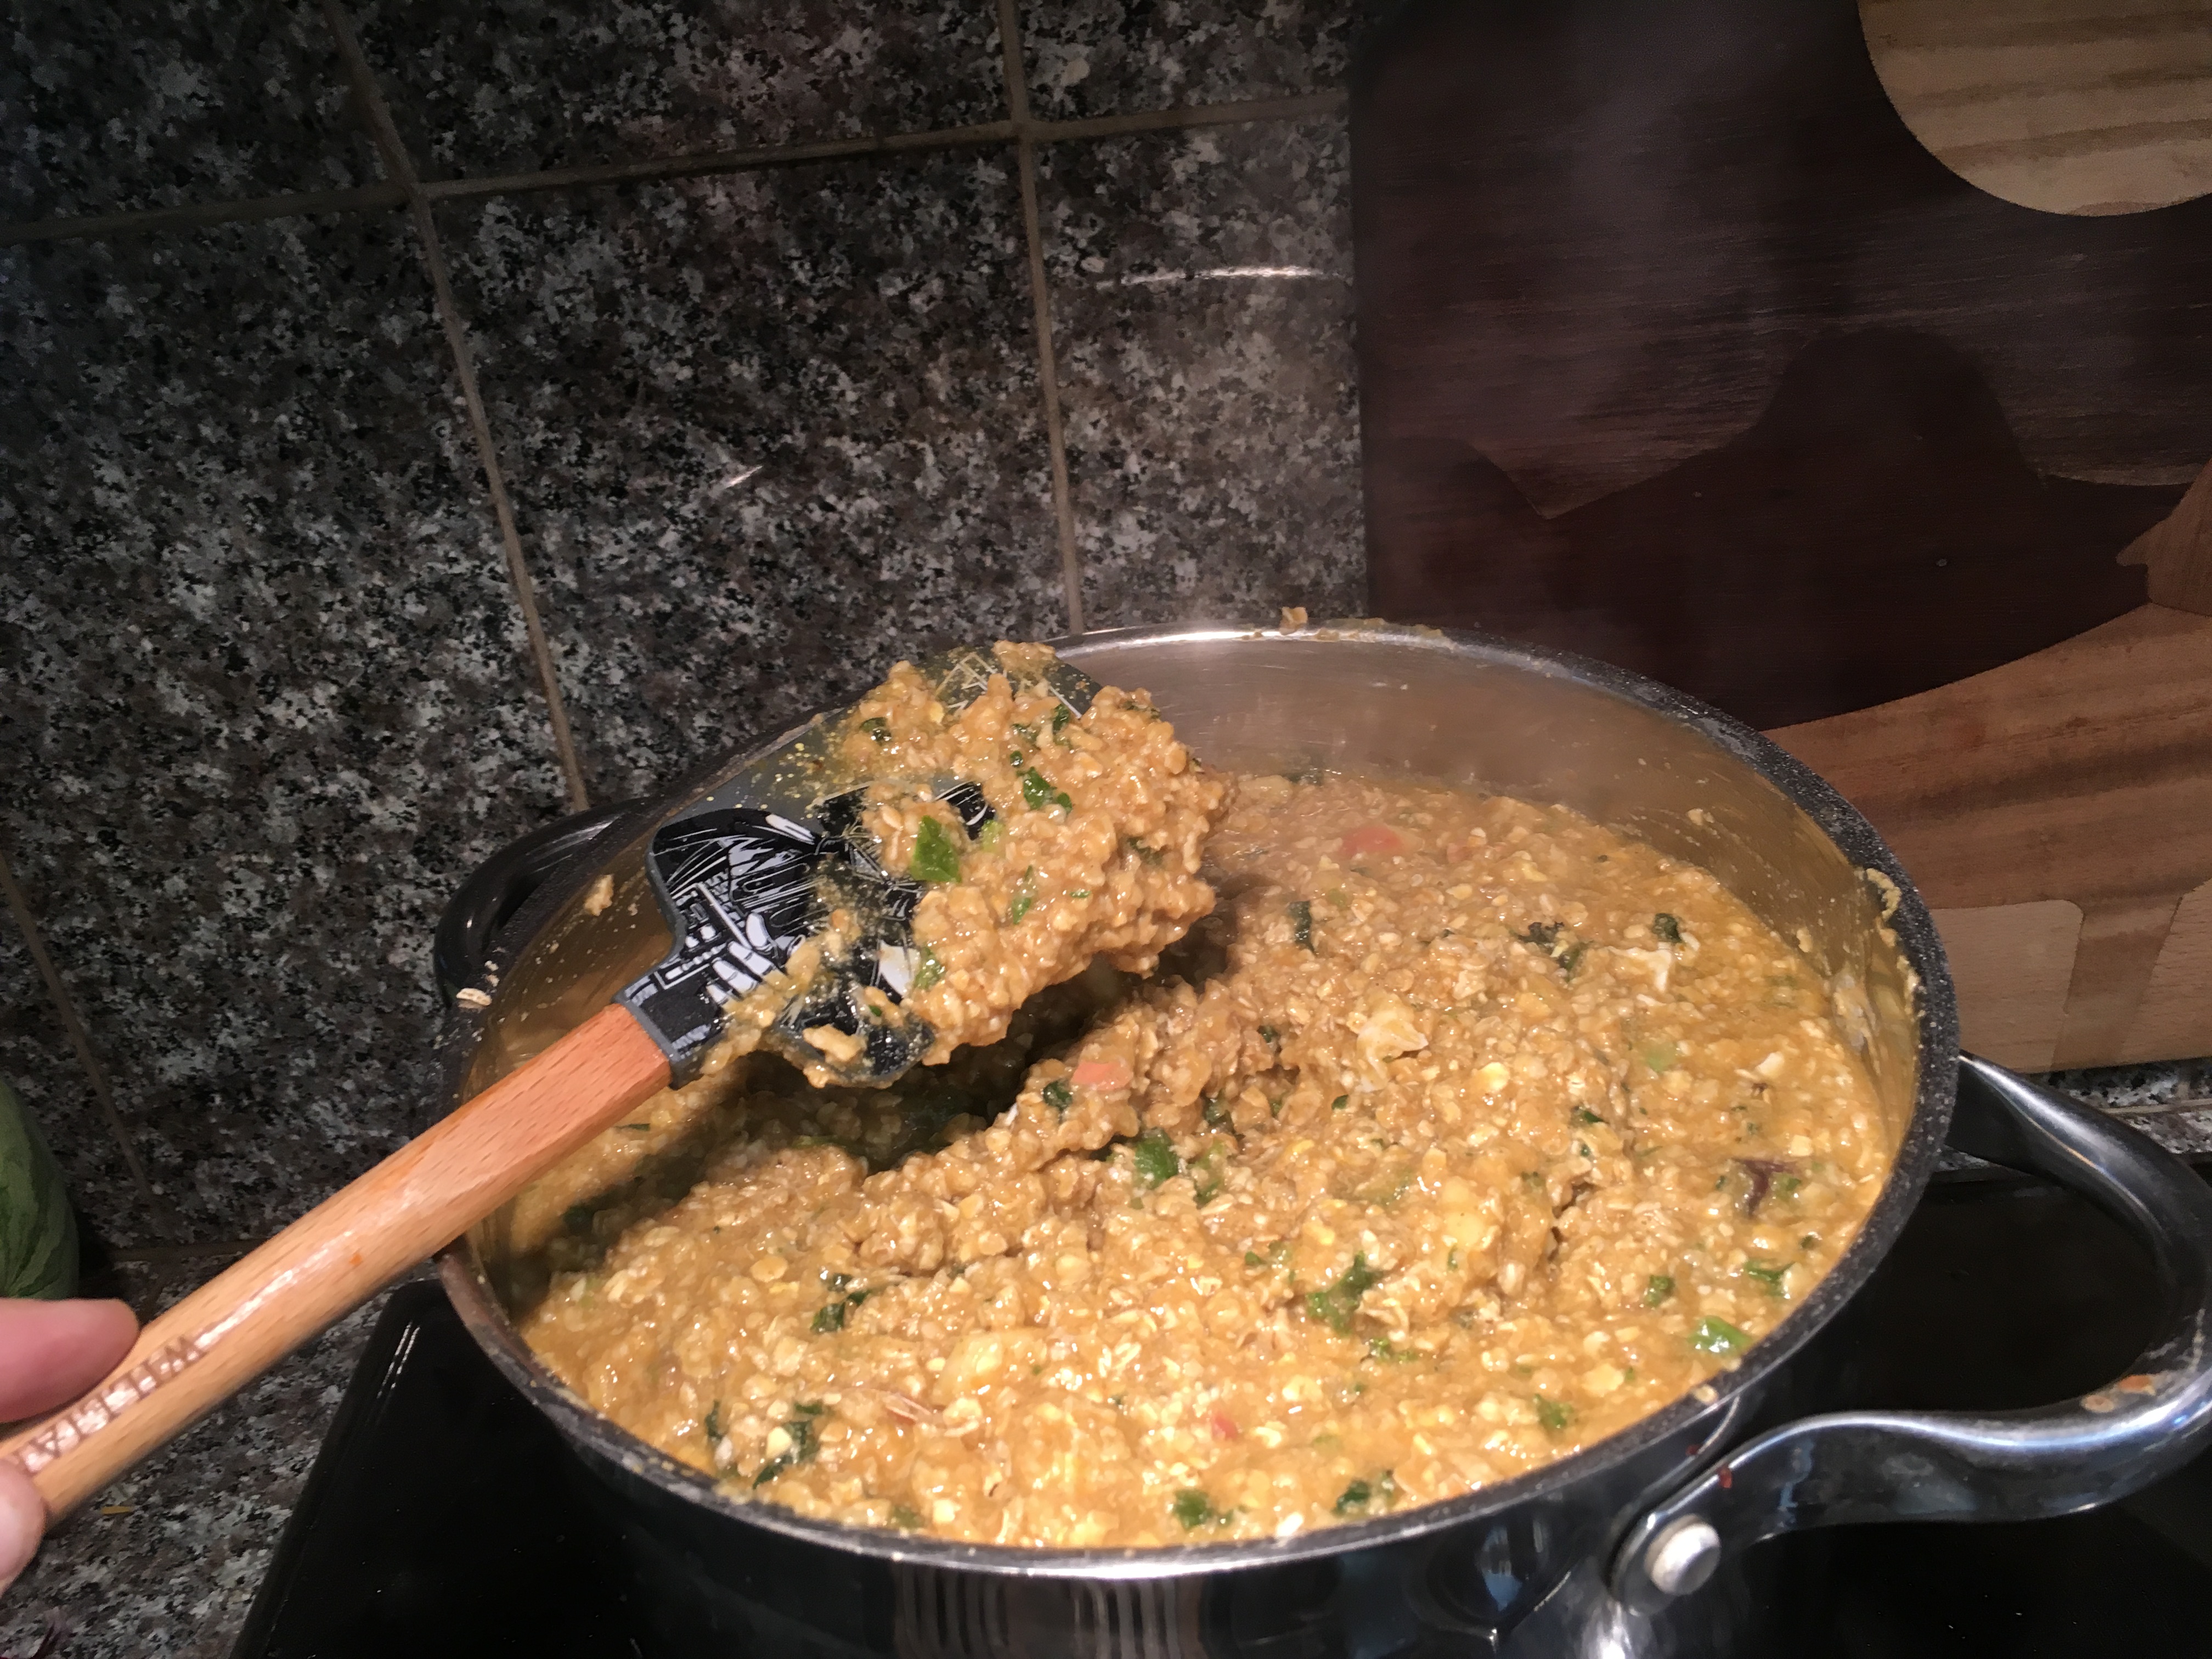
Once well combined, and the oats cooked, remove from heat and allow to stand until cool enough to handle with your hands. Mixture should thicken considerably upon cooling.
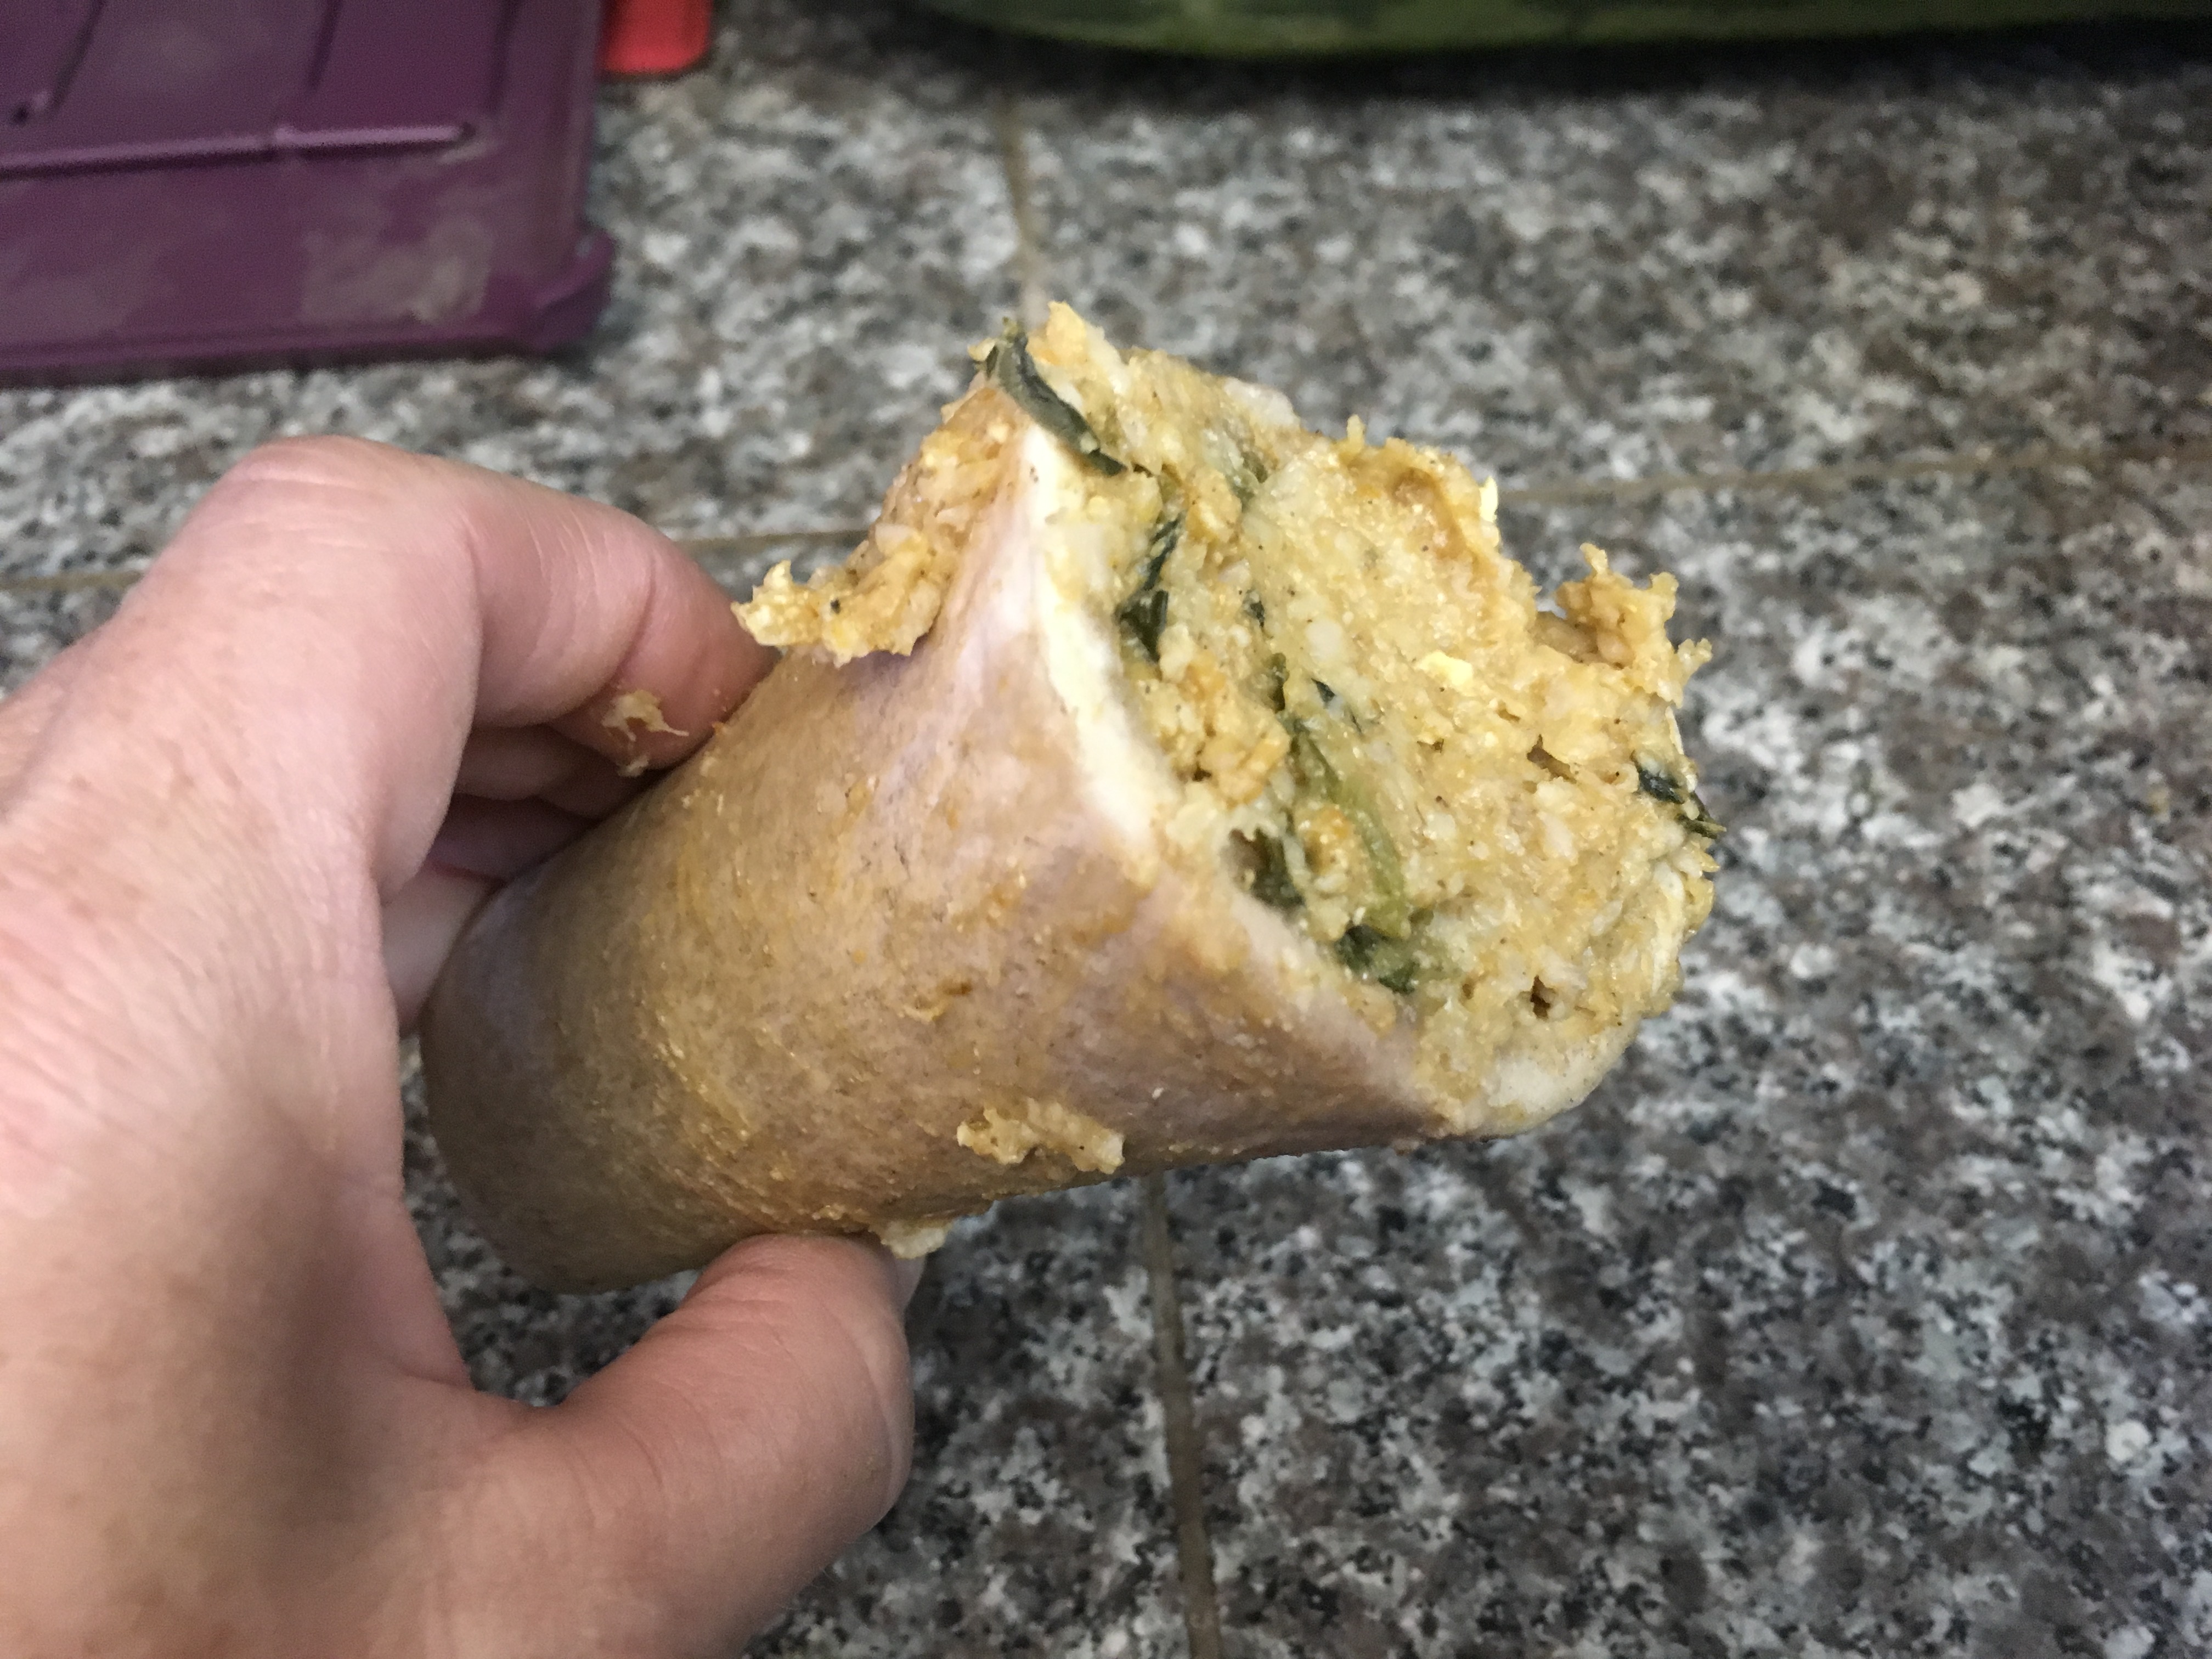
Once the mixture is cool enough to handle it should be really thick and gummy, almost like cookie dough consistency. It sticks to EVERYTHING! This makes it really challenging to get out of a Kong.
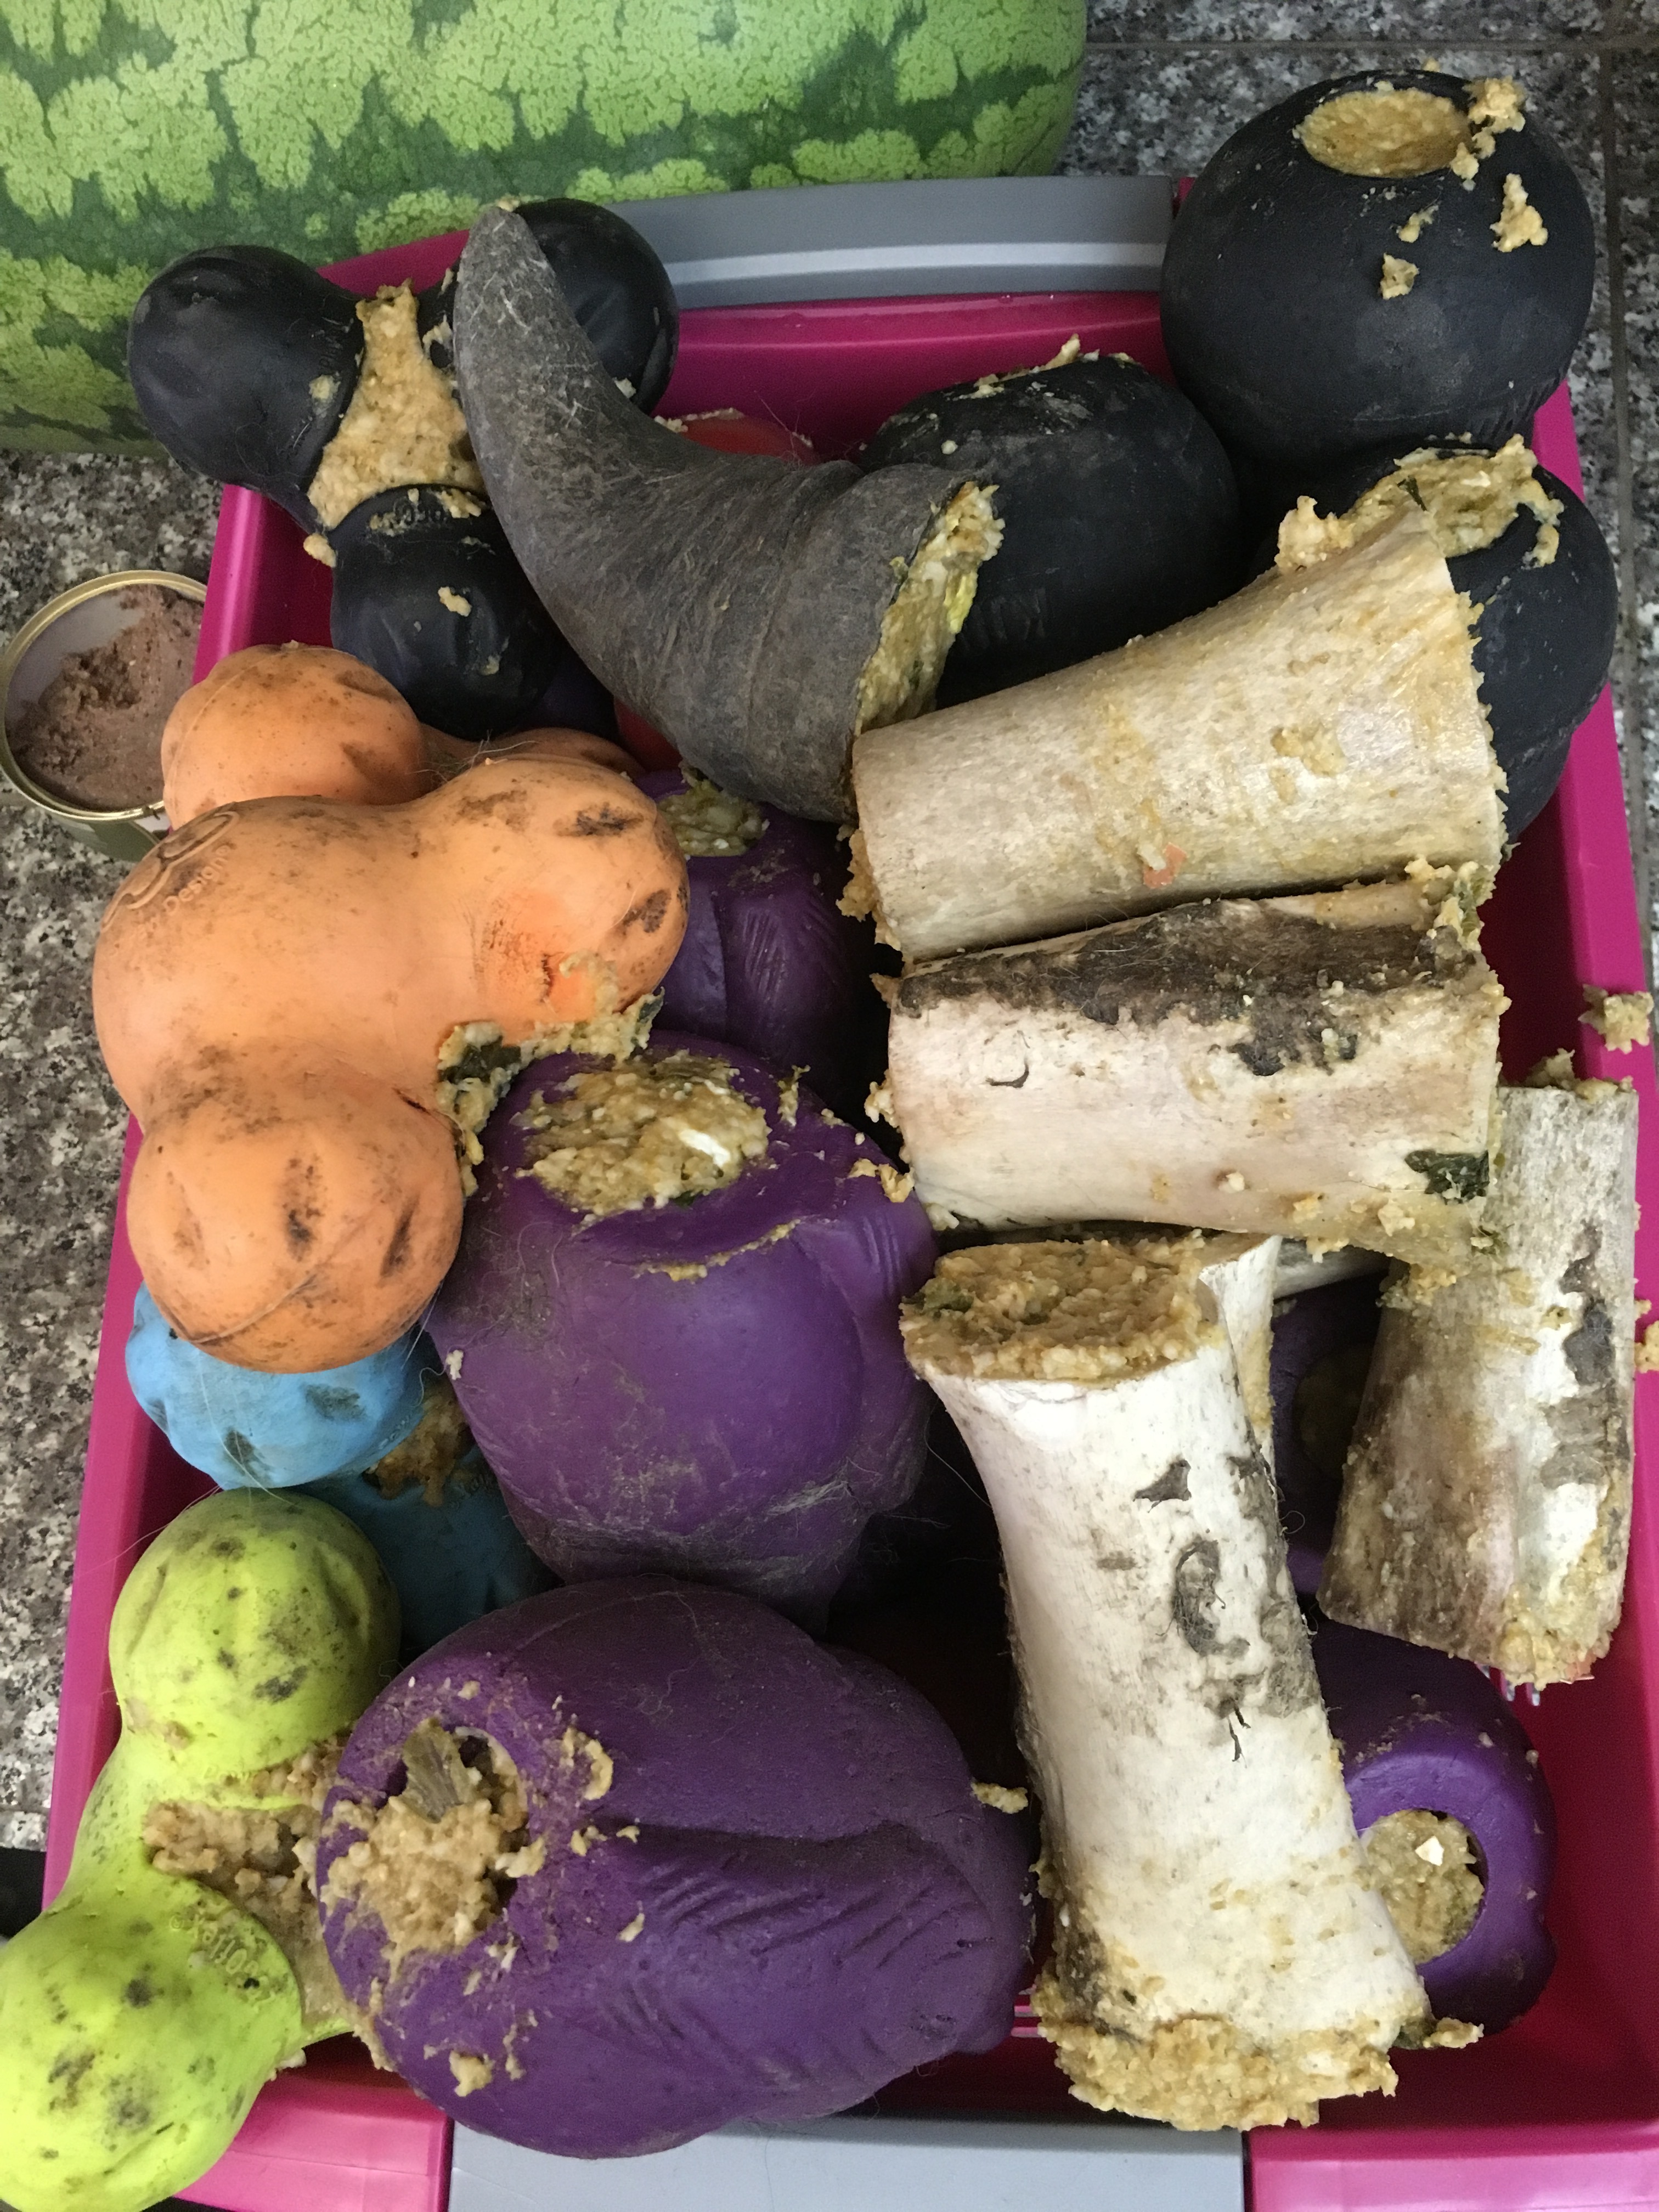
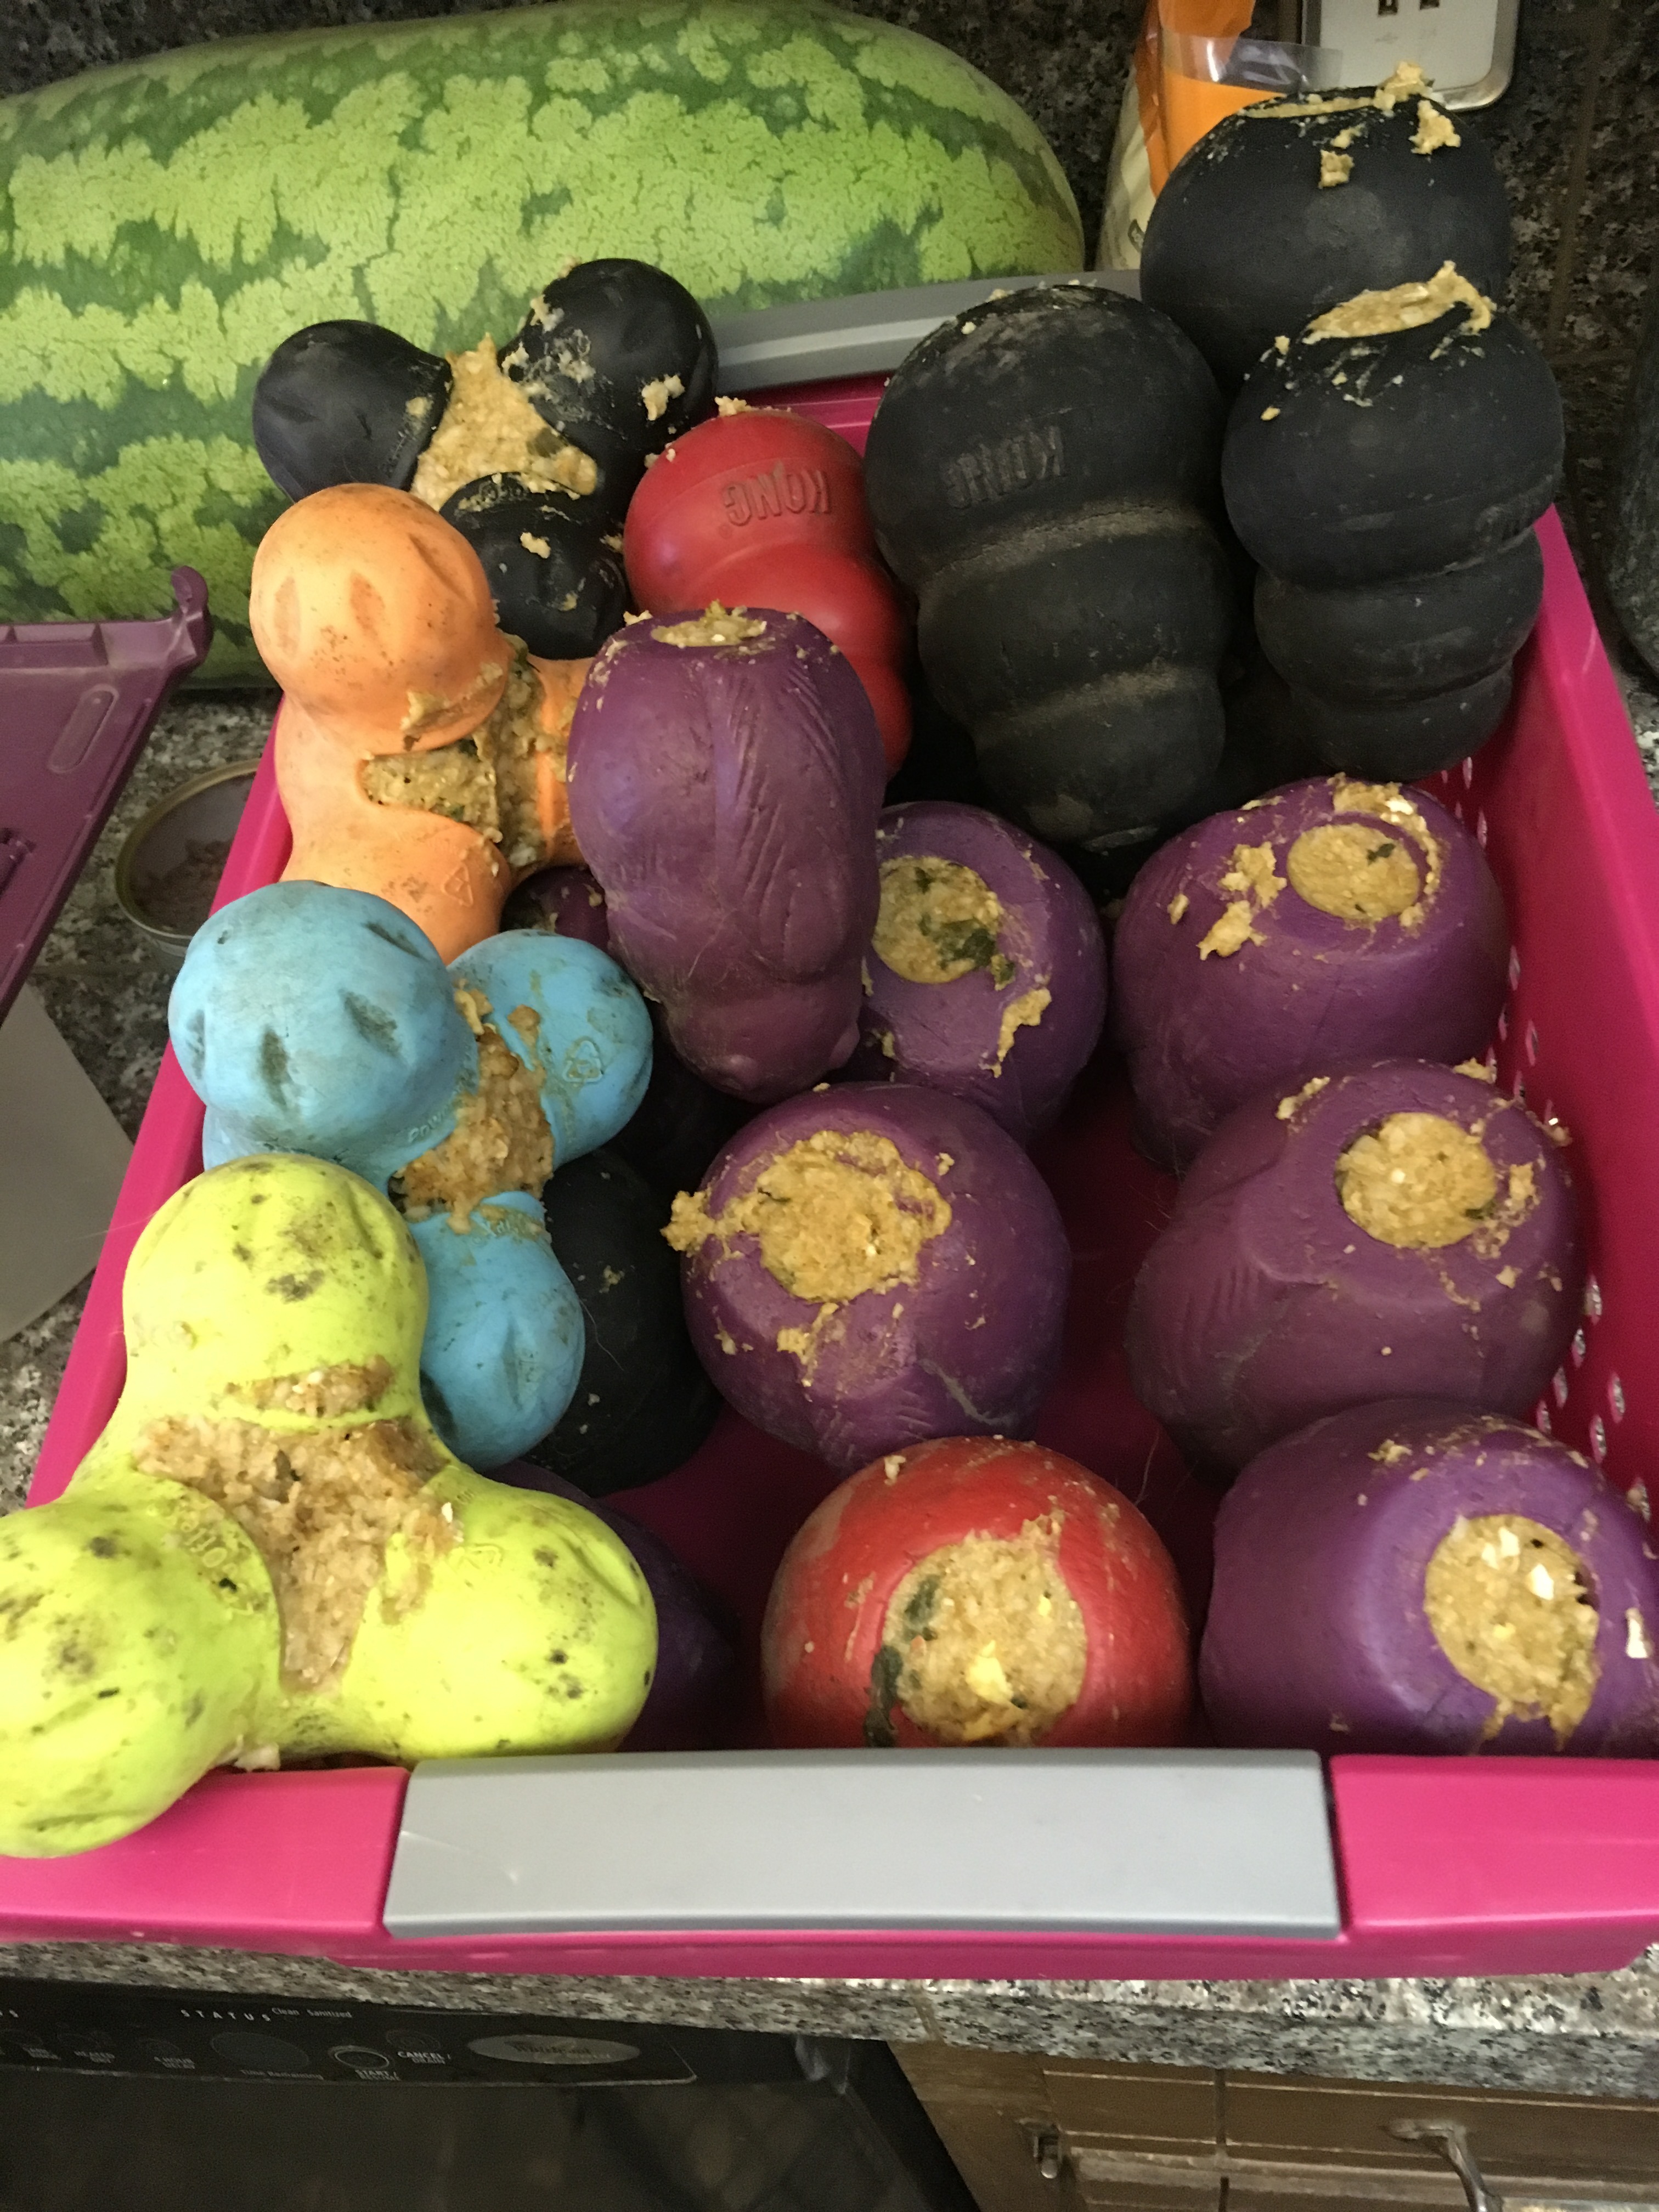
Stuff, Stuff, Stuff! I stuff this into Kongs, Squirrel Dudes, cows hooves (for puppies/seniors only), Tux, and short shank bones. You could also stuff this into a lick mat or slow feeder bowl.
Above: West Paws Tux
Below: Short Shank Bone.
Tux, Kongs, and Squirrel Dudes.
Save the extra! This mixture is sticky enough that I also save some back and use this like a Pill Pocket, to wrap around pills so the dogs will eat them.
I also use it like canned food, to mix in with dry food at meal times.
It freezes well too, and can be used as a stuffing after being thawed.
The large recipe stuffs about 30 different items. The small recipe will stuff about 10, depending of course on the volume of the item being stuffed.
Remember, you can adjust the recipe to suit your needs!
Dogs benefit greatly from relaxing activities such as food dispensers, you can use this Relaxing Activity to balance Arousing activities such as fetch, tug, agility, or obedience to help your dog relax.
Tip: Making it easier. This stuffing, like all oatmeal based stuffings, is very sticky and difficult to extract. This is perfect if you have a Kong Level Expert dog, you know, the kind who can clean out a Kong in under 30 minutes. But this filling might be discouraging to a beginner dog or a lower drive dog. To make this stuffing easier to extract from the toy you can:
1. Fill the Kong half way full with kibble before stuffing.
2. Coat the inside of the Kong with butter, coconut, or olive oil.
3. Fill a slow feed bowl, or lick mat instead of a Kong or Squirrel Dude.
4. Feed it fresh instead of frozen.
Momma’s dogs need new bones! This blog contains affiliate links, so we can earn a small amount of money while you pay nothing extra!
This is the third level of stuffed pacifier toy we use. Please see the first and second levels before introducing this step to your dog. Your dog will thank you!
Supplies
Kong, Squirrel Dude, or Busy Time
Base Kibble (your dog’s regular food)
Novel Kibble (not your dog’s regular food)
Freeze-dried treats, powdered, optional
Sink drying rack, OR large bowl
Wide mouth funnel, optional
Chopstick, optional
You can manipulate the ratios to your dog’s liking. My dogs love their base kibble and enjoy pacifiers with just their base kibble. But I usually mix about half of the base kibble with a novel kibble, which is any brand of dry food they don’t eat for their normal meals.
If your dog is picky, you can add some pea-sized dog treats, or powder some freeze-dried dog treats to mix in with the kibble.
Directions
Prepare your kibble – I’m using all novel kibble. You can also use your base kibble, a mixture of base kibble plus novel kibble, and/or mix powdered freeze dried treats with your kibble.
Arrange your toys in a sink or large bowl. Bowl must be deep enough to almost cover each toy.
Pour kibble into each toy. I use a funnel and chopstick to get the kibble in neatly.
Add hot tap water until nearly to the top of the toys.
Let sit at least 30 minutes, or until kibble is fully saturated. This will depend on the individual kibble and may take some experimenting.
For toys soaking in a bowl, carefully pour most of the water out, then remove toys to a sink rack or dry bowl. For sink soaking toys, pick up the rack and set in the dry side of the sink, or on a cookie sheet. Drain for at least 5 minutes.
Either put in fridge for beginners, or freezer for more advanced dogs.
We want the first time we offer our dog this type of pacifier to be easy, so I typically give them unfrozen the first time. My dog has already learned the skills of how to manipulate two “easier” pacifiers from our previous lessons by licking or physically manipulating food toys, so typically dogs will generalize these skills to this new type of pacifier. Once they have succeeded, I freeze these so they last longer.
When to use pacifiers
So, we’ve put all this work into teaching our dogs to use pacifiers… What will we use this skill for, exactly? Well, lots of things!
During crate training practice
When caregivers need the puppy to be quiet (phone or video calls)
During car rides (if the puppy isn’t prone to carsickness)
When the puppy is prone to being destructive or hyper
When company comes over
Ideally, you will introduce pacifiers during confinement (crates or play pens). This will prevent any mess on your rugs, lost toys under furniture, and any squabbles between dogs. This will also give your dog a positive feeling about being confined.
You will want to also match the interest of the stuffing to the interest of the distraction. For example, if I want to put a young dog in her crate while I have company, I will choose all novel kibble with freeze dried liver powder mixed in. The distraction (my company) is high, so I match the interest level of the stuffing by making the stuffing very exciting (all novel kibble plus liver).
Momma’s dogs need new bones! This blog contains affiliate links, so we can earn a small amount of money while you pay nothing extra!
You don’t have to spend much time at dog training clubs to notice that every trainer sports at least 1 equipment tote. Trainers set themselves and their dogs up for success by being prepared. You can tell they take their training very seriously! Raising any puppy is serious business, there are long term ramifications of NOT being prepared and NOT taking your puppy’s socialization seriously.
We send every puppy home with a tote bag. The reason isn’t just to hold all your supplies! We hope you will use this bag to set yourself (and your puppy) up for success!
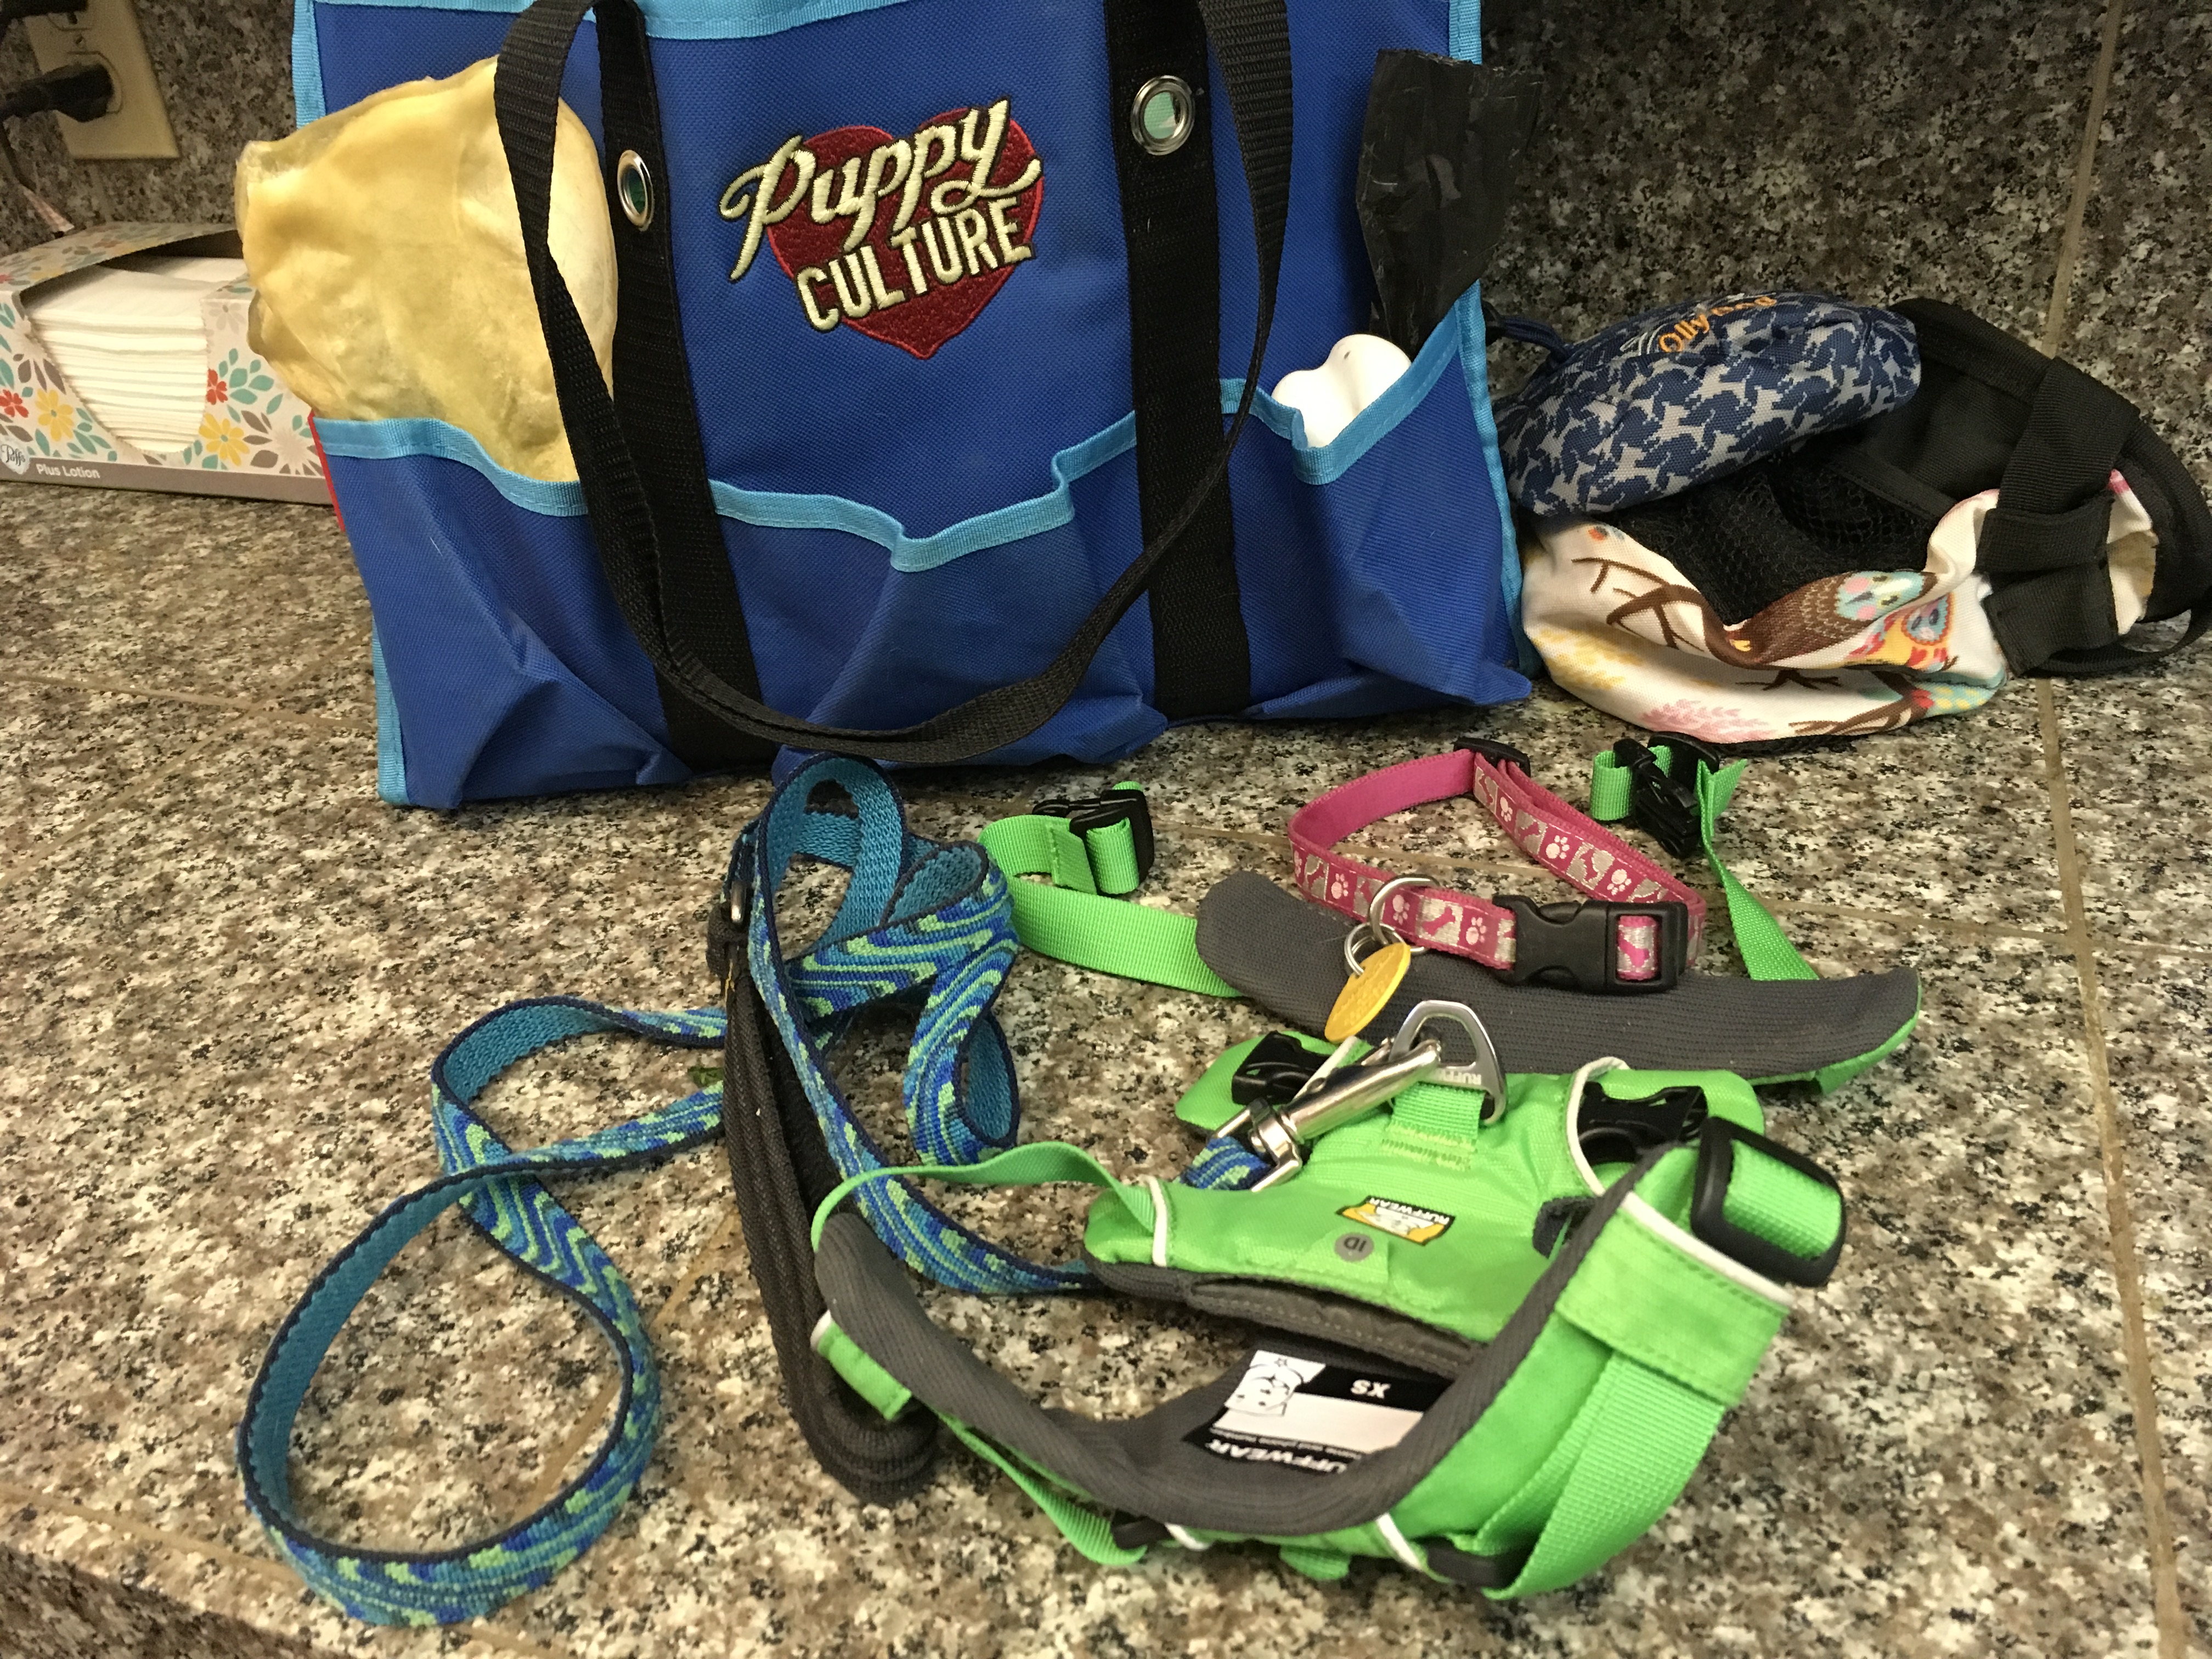
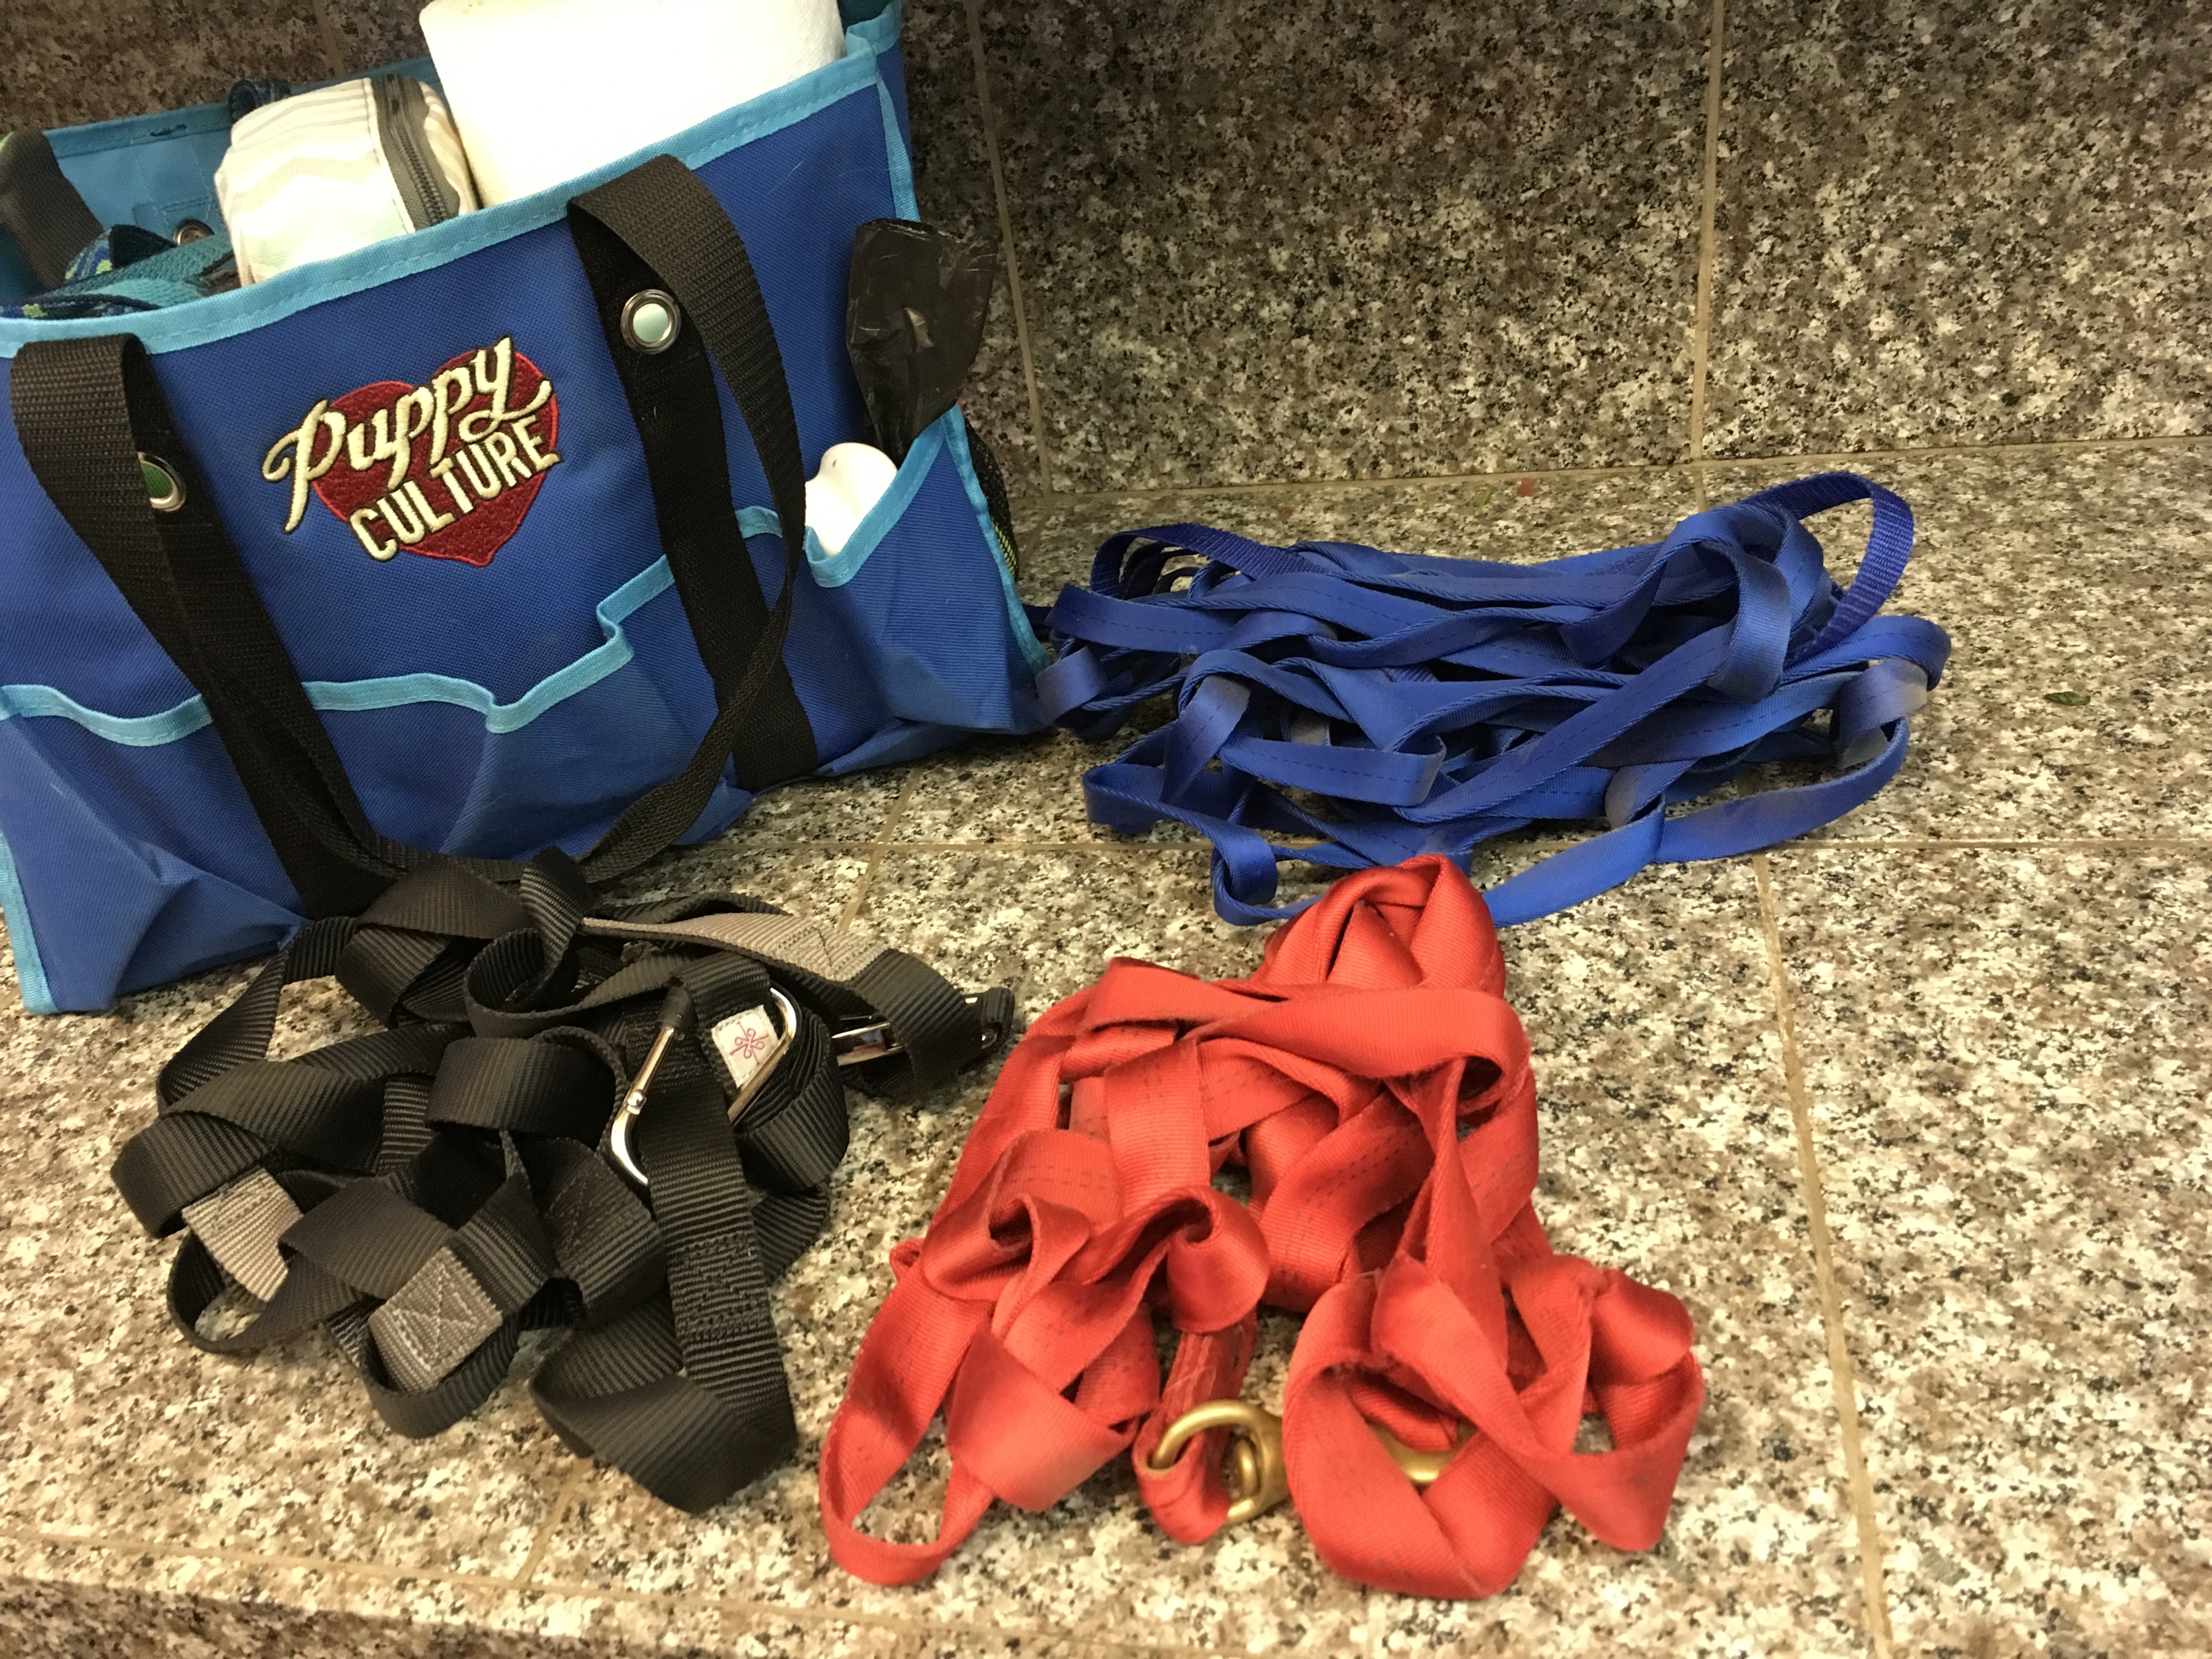
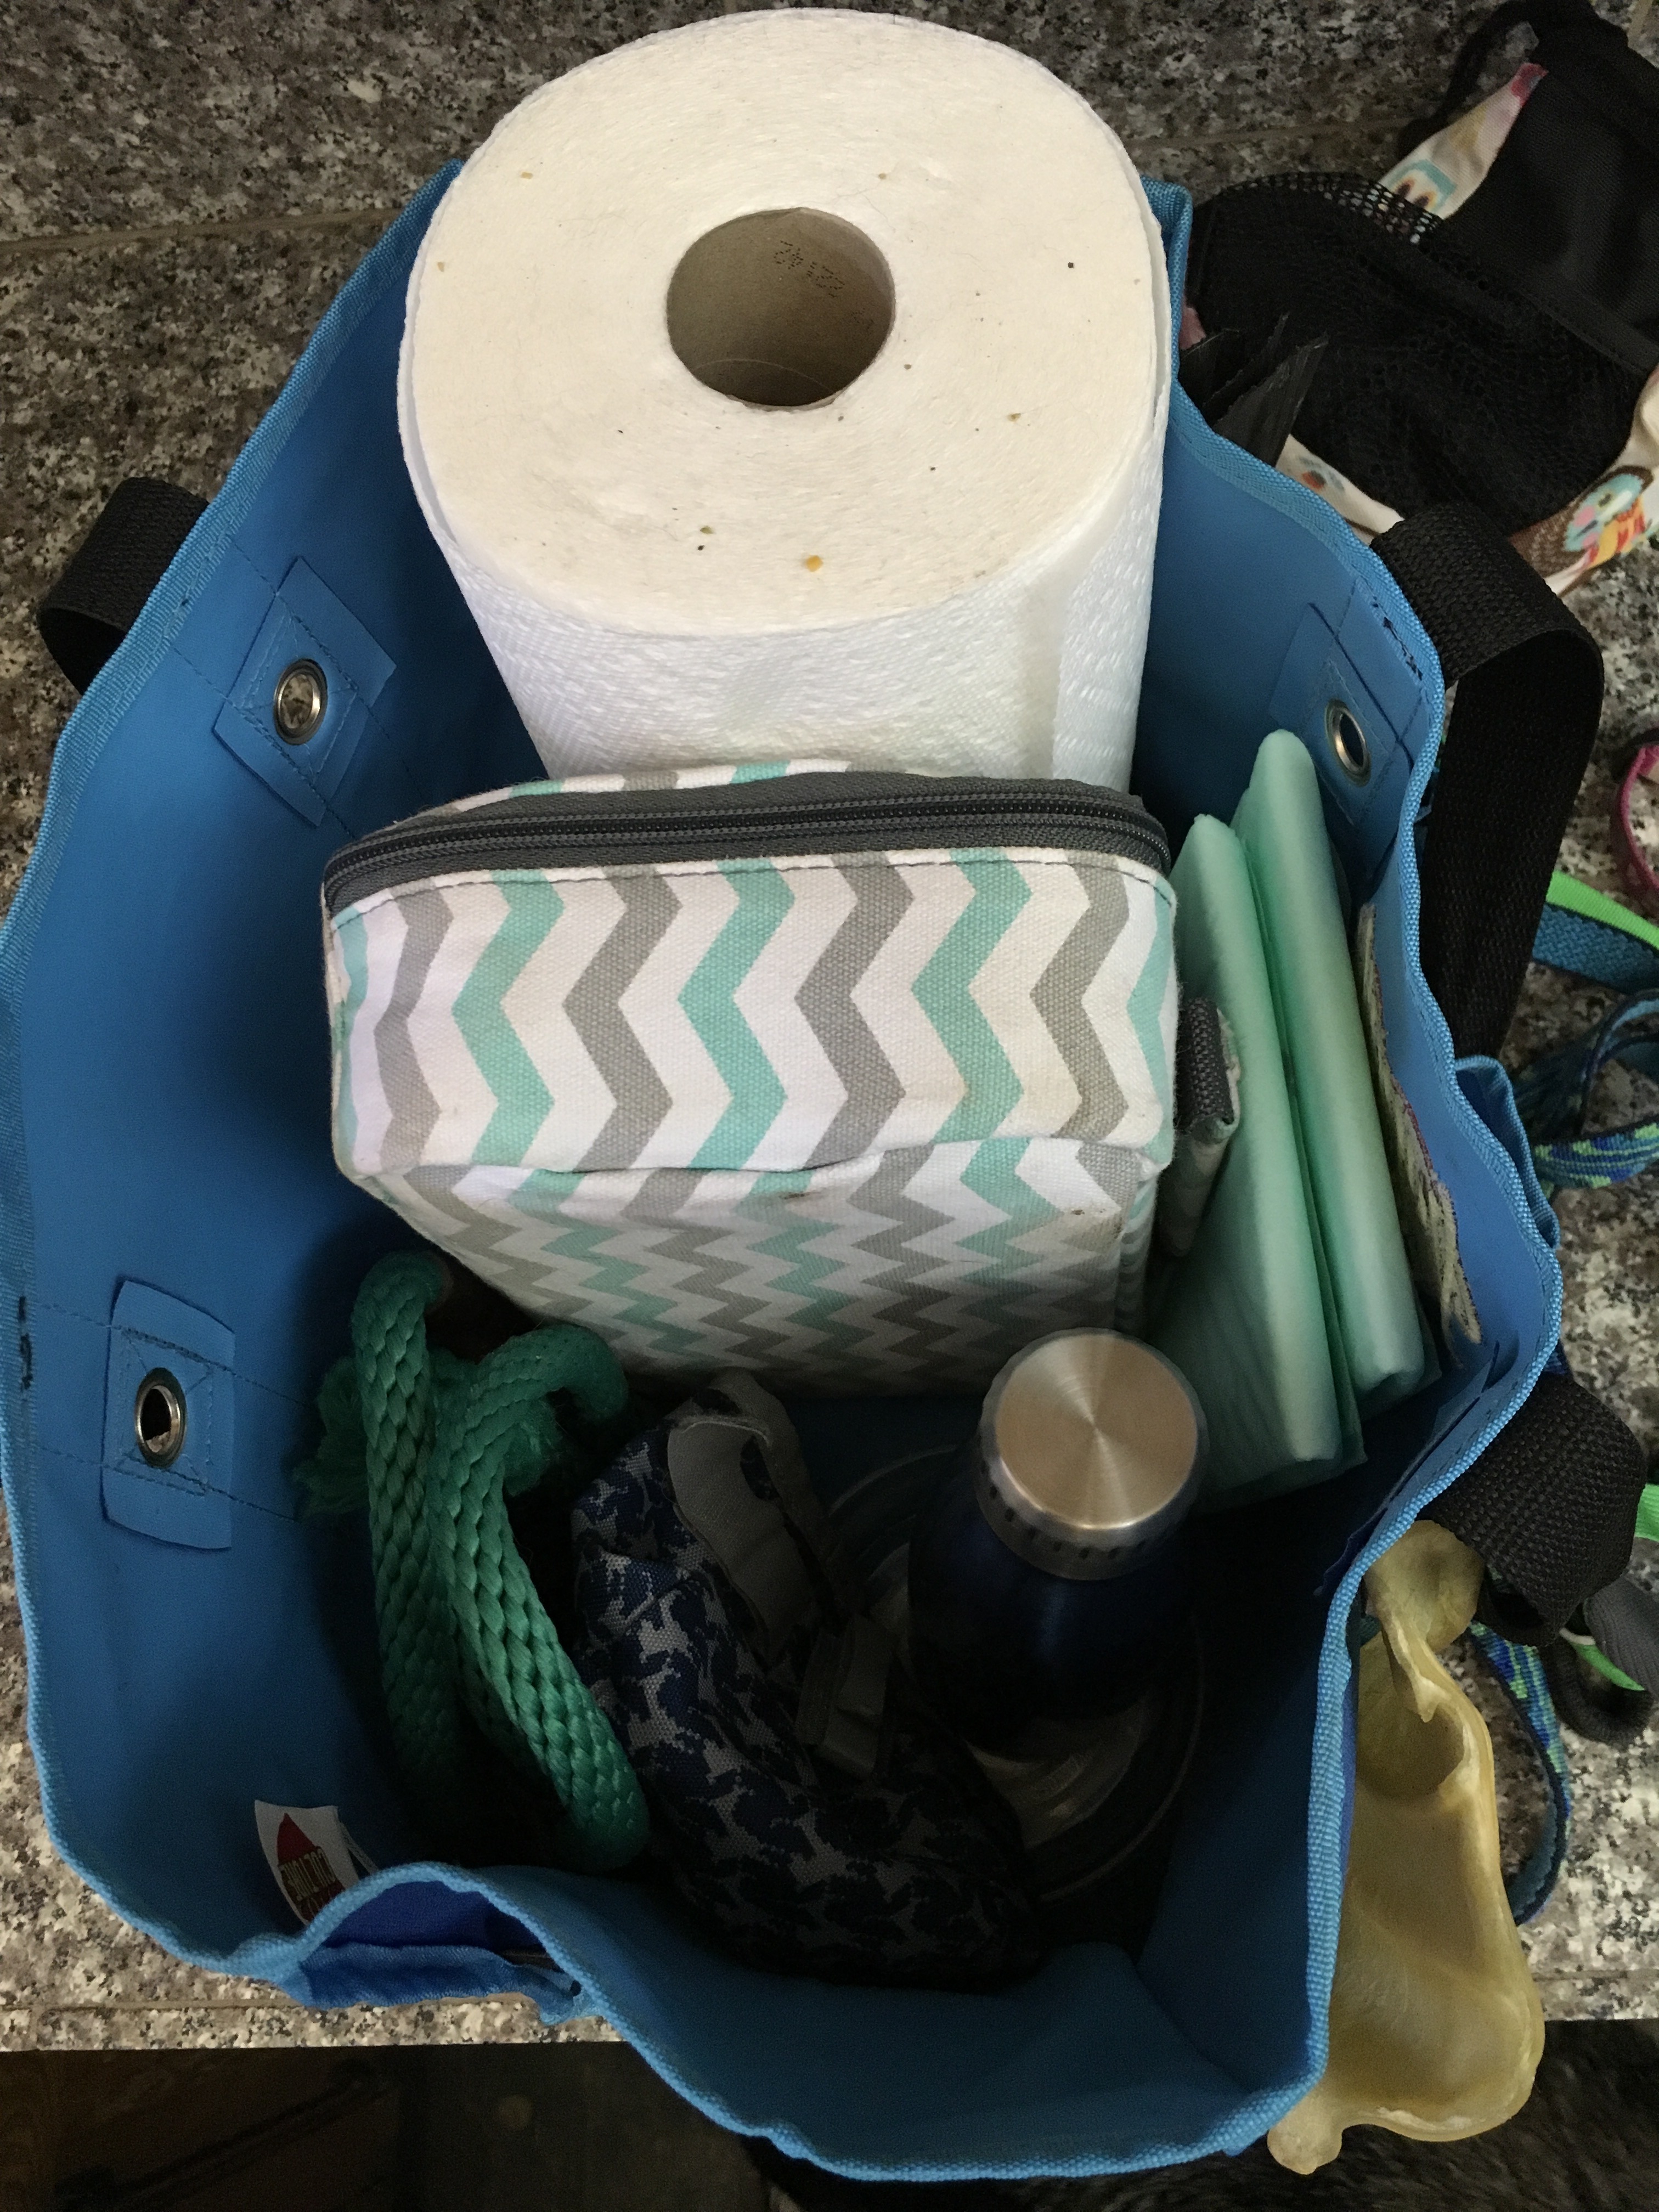
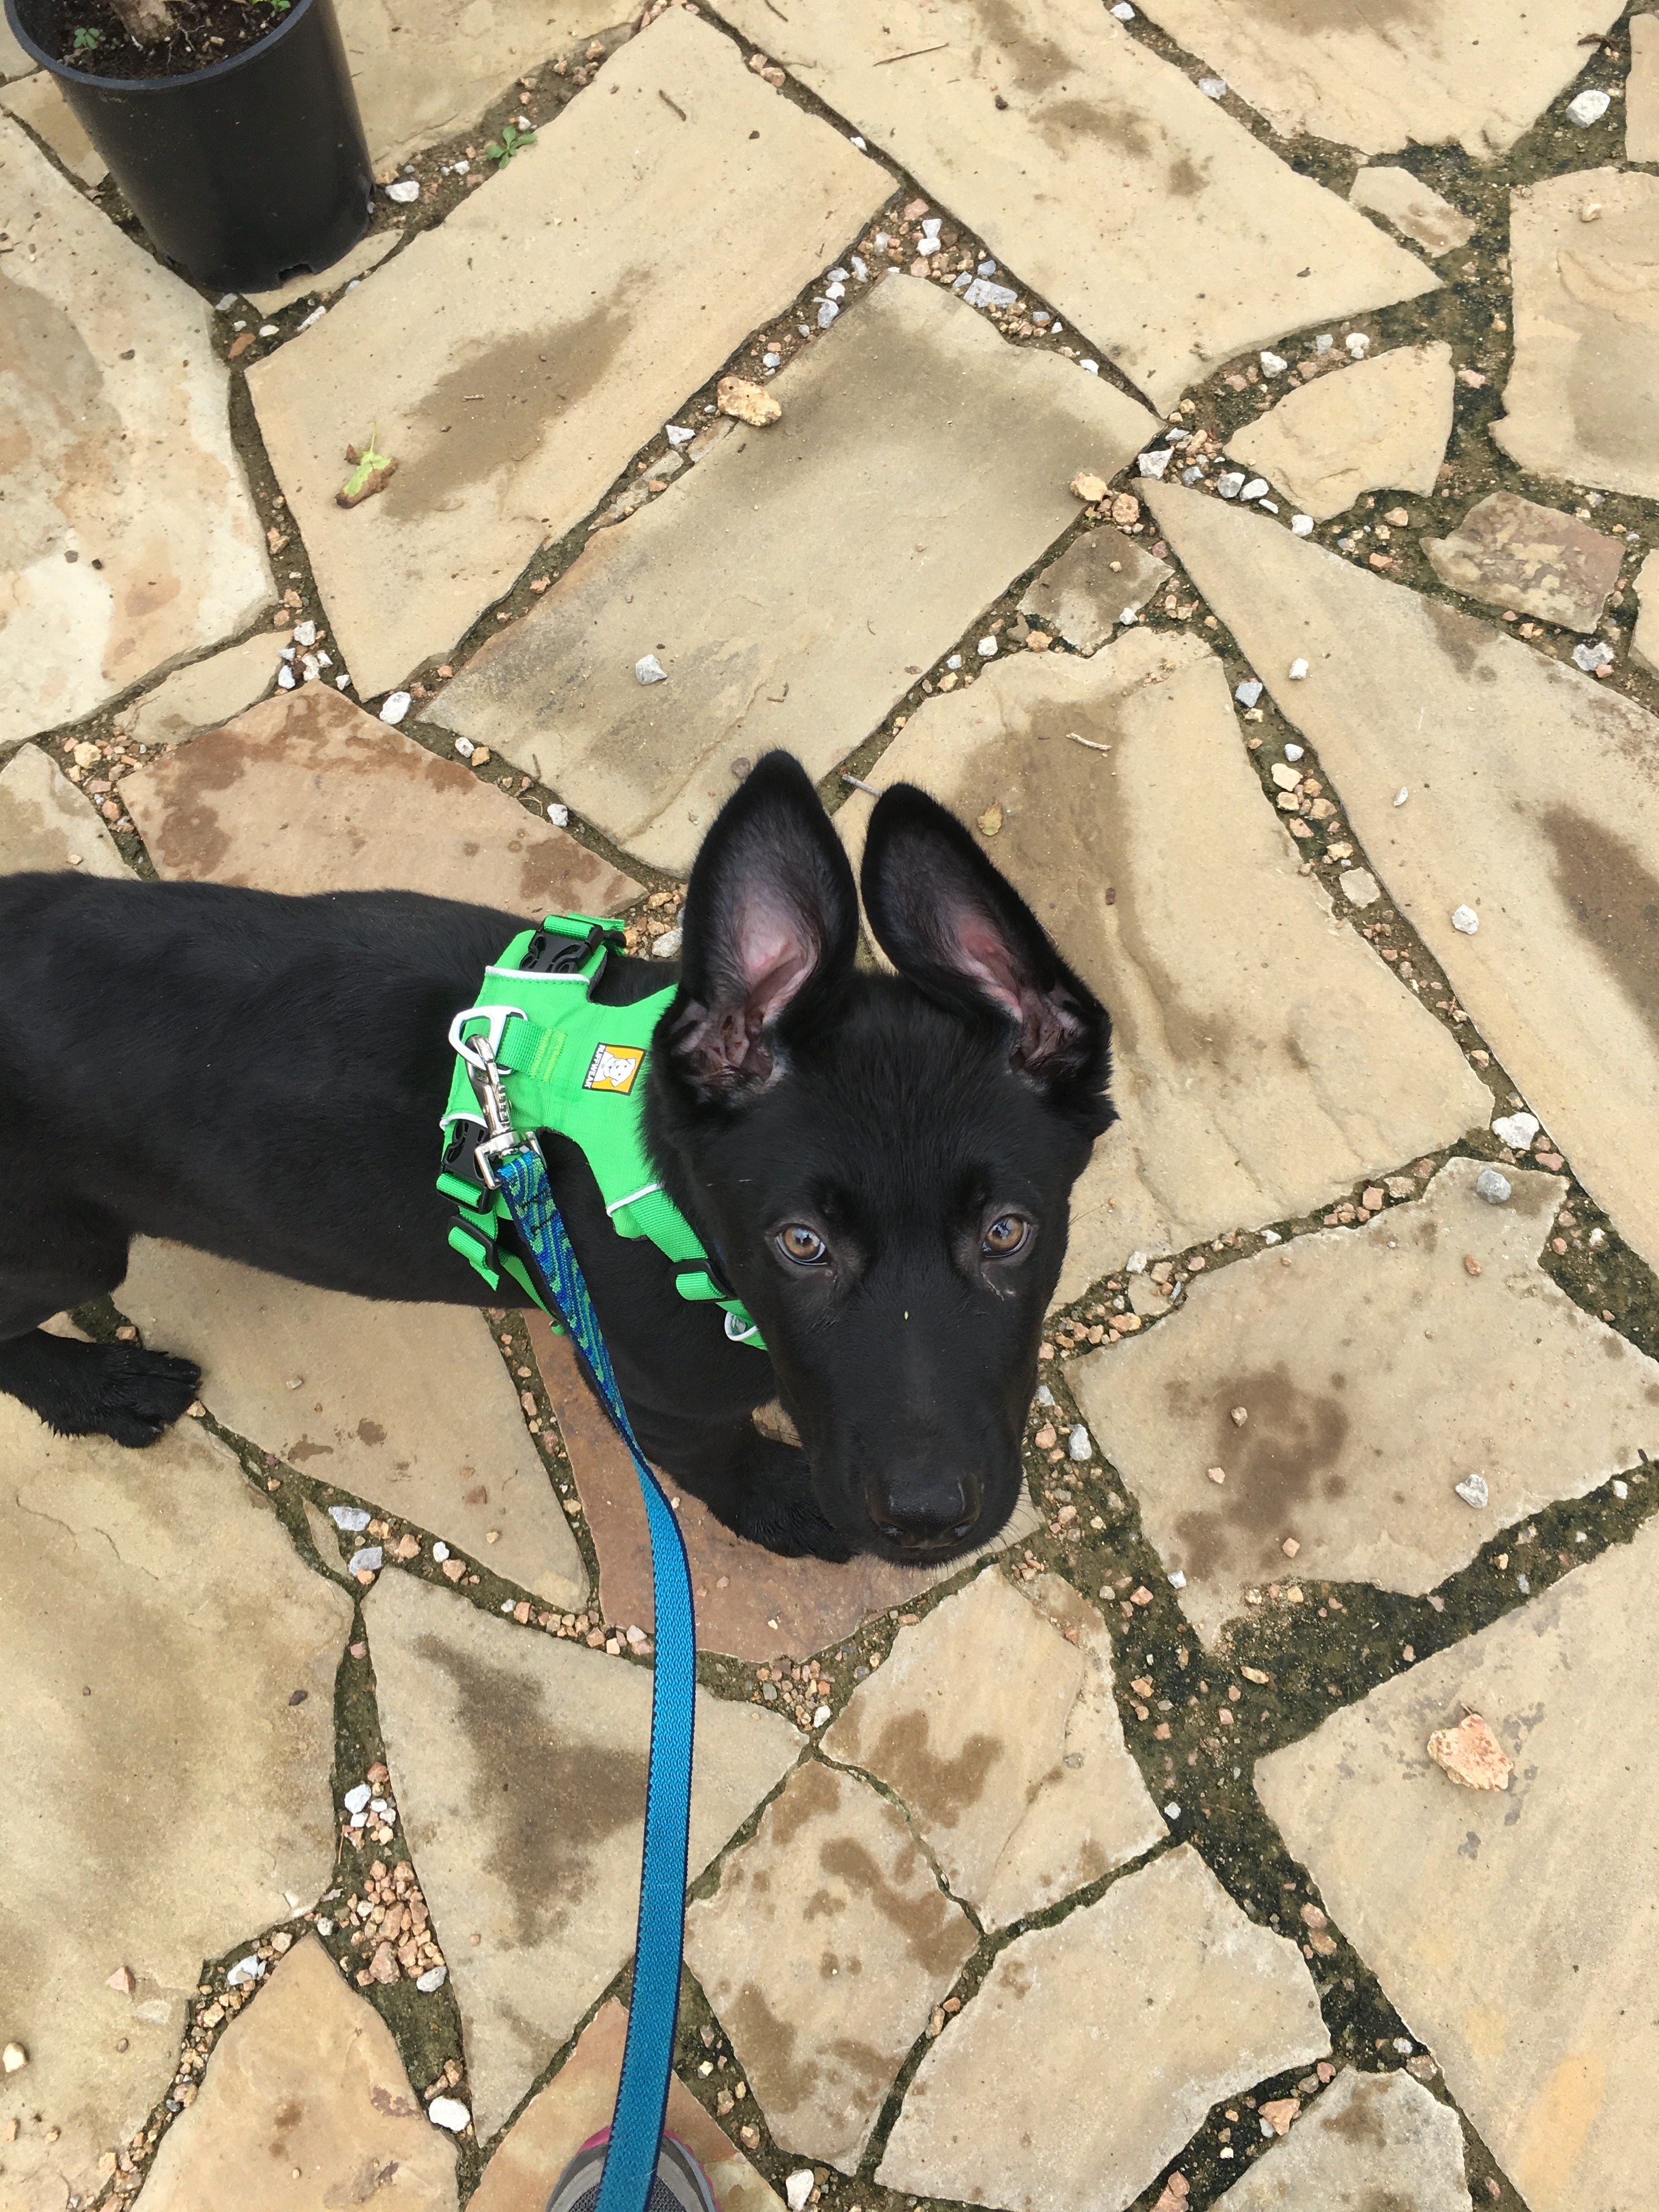
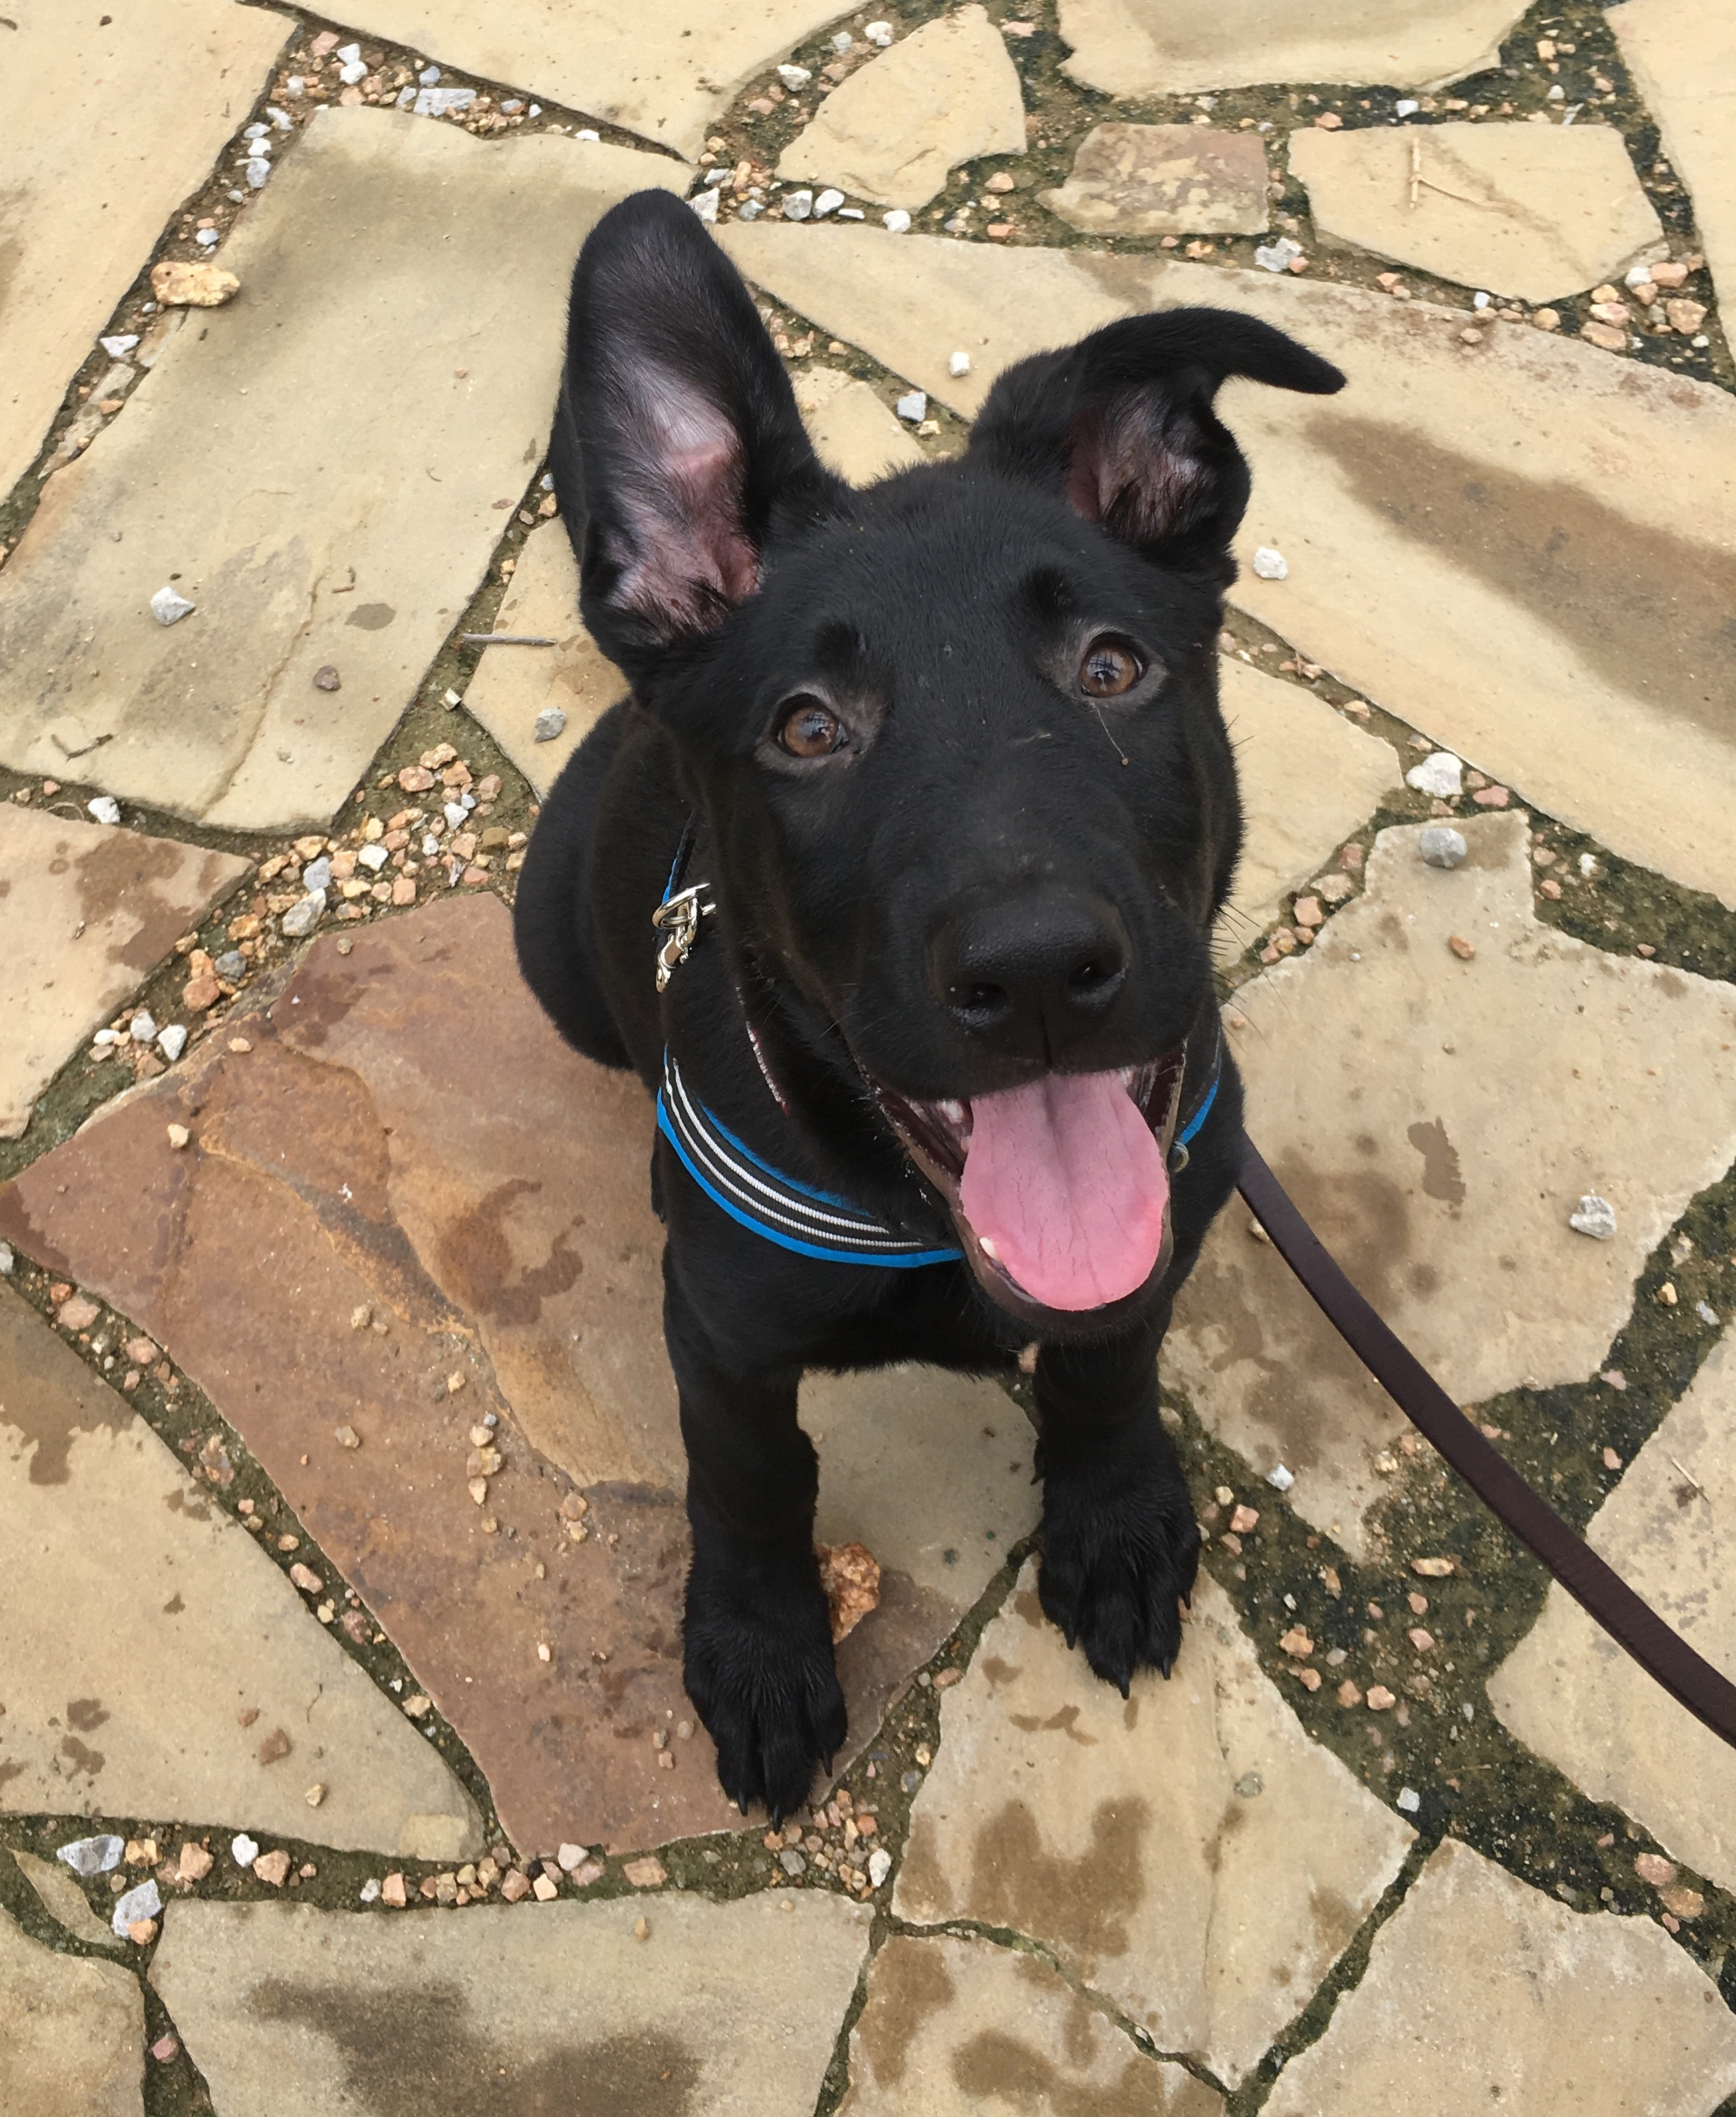
Here’s my present boobler puppy, Funneigh, and her tote bag. I thought you might like to see what we take along EVERY time we take our puppy out for training and socialization.
We have two of these totes, a gray one and a blue one, love the quality and functionality of them.
I love my Puppy Culture tote bag. It holds tons without ever feeling bulky, it’s easy to get things in and out of, and it’s made from durable materials so it will hold up to lots of toting! It’s got six side pockets and two mesh side pockets. Wowza!
What do I bring when I take my puppy out and about for a basic socialization exposure?
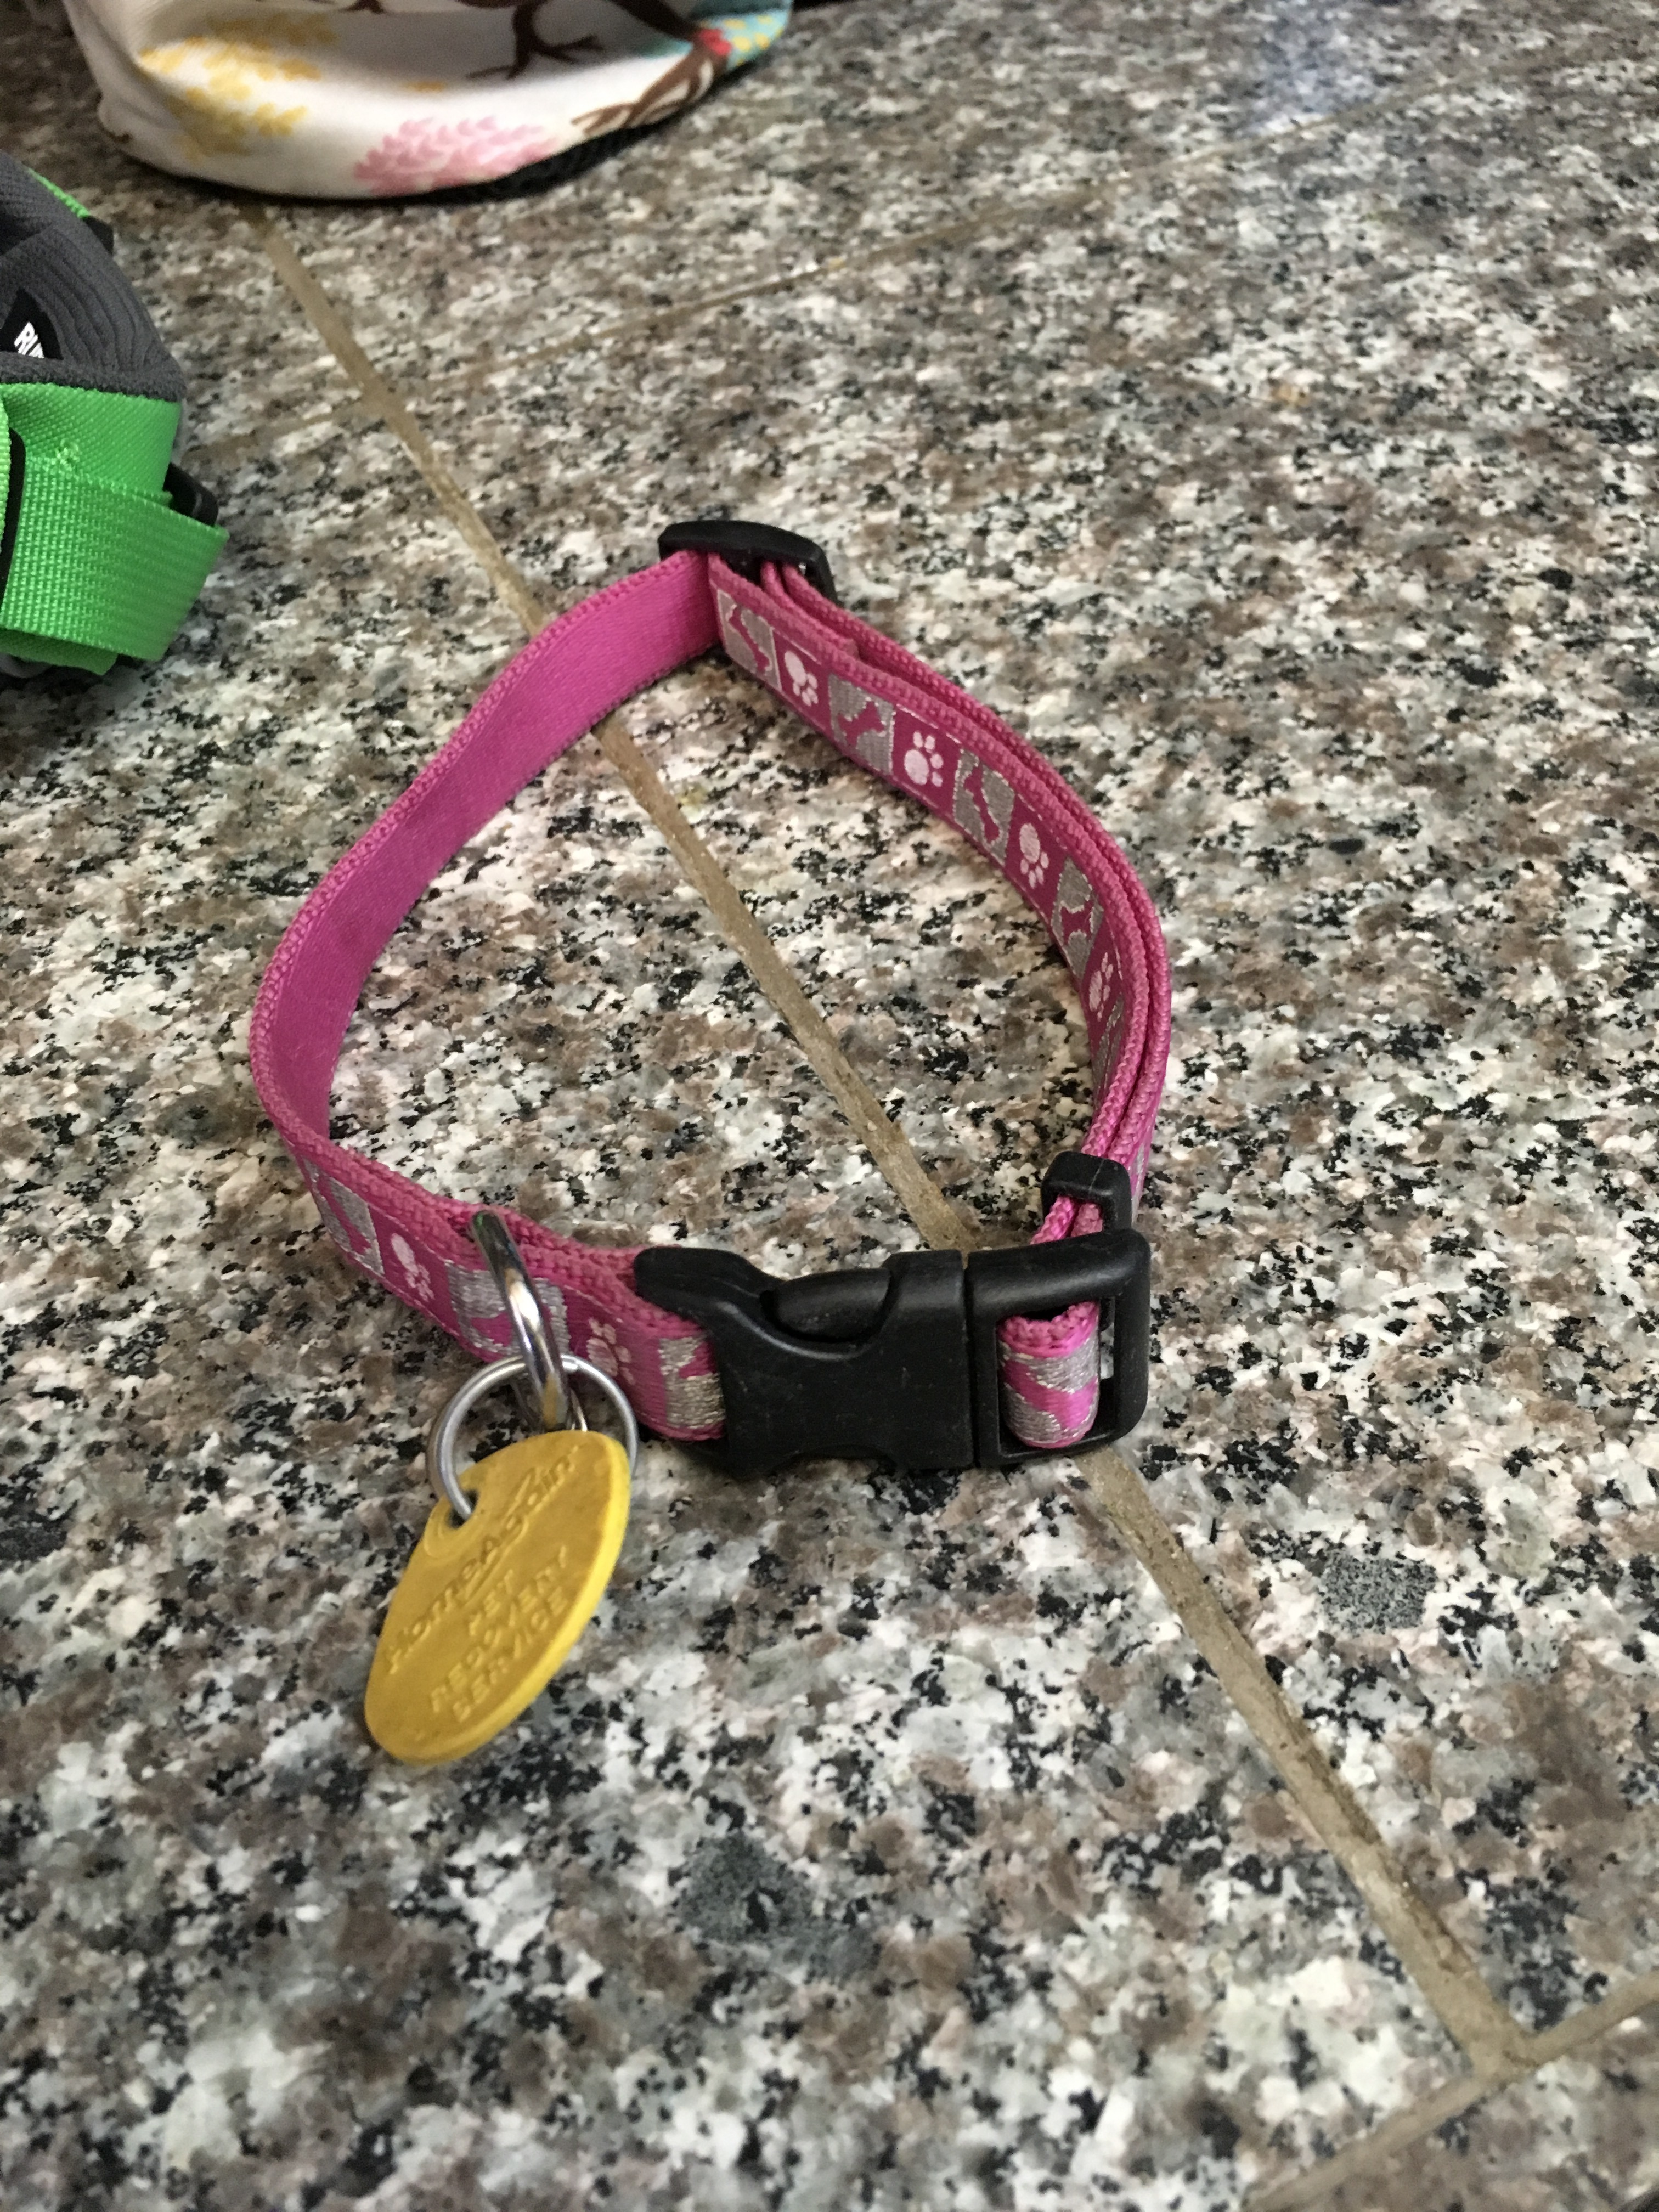
Buckle collar with ID. We don’t hook the leash to the collar with the ID.
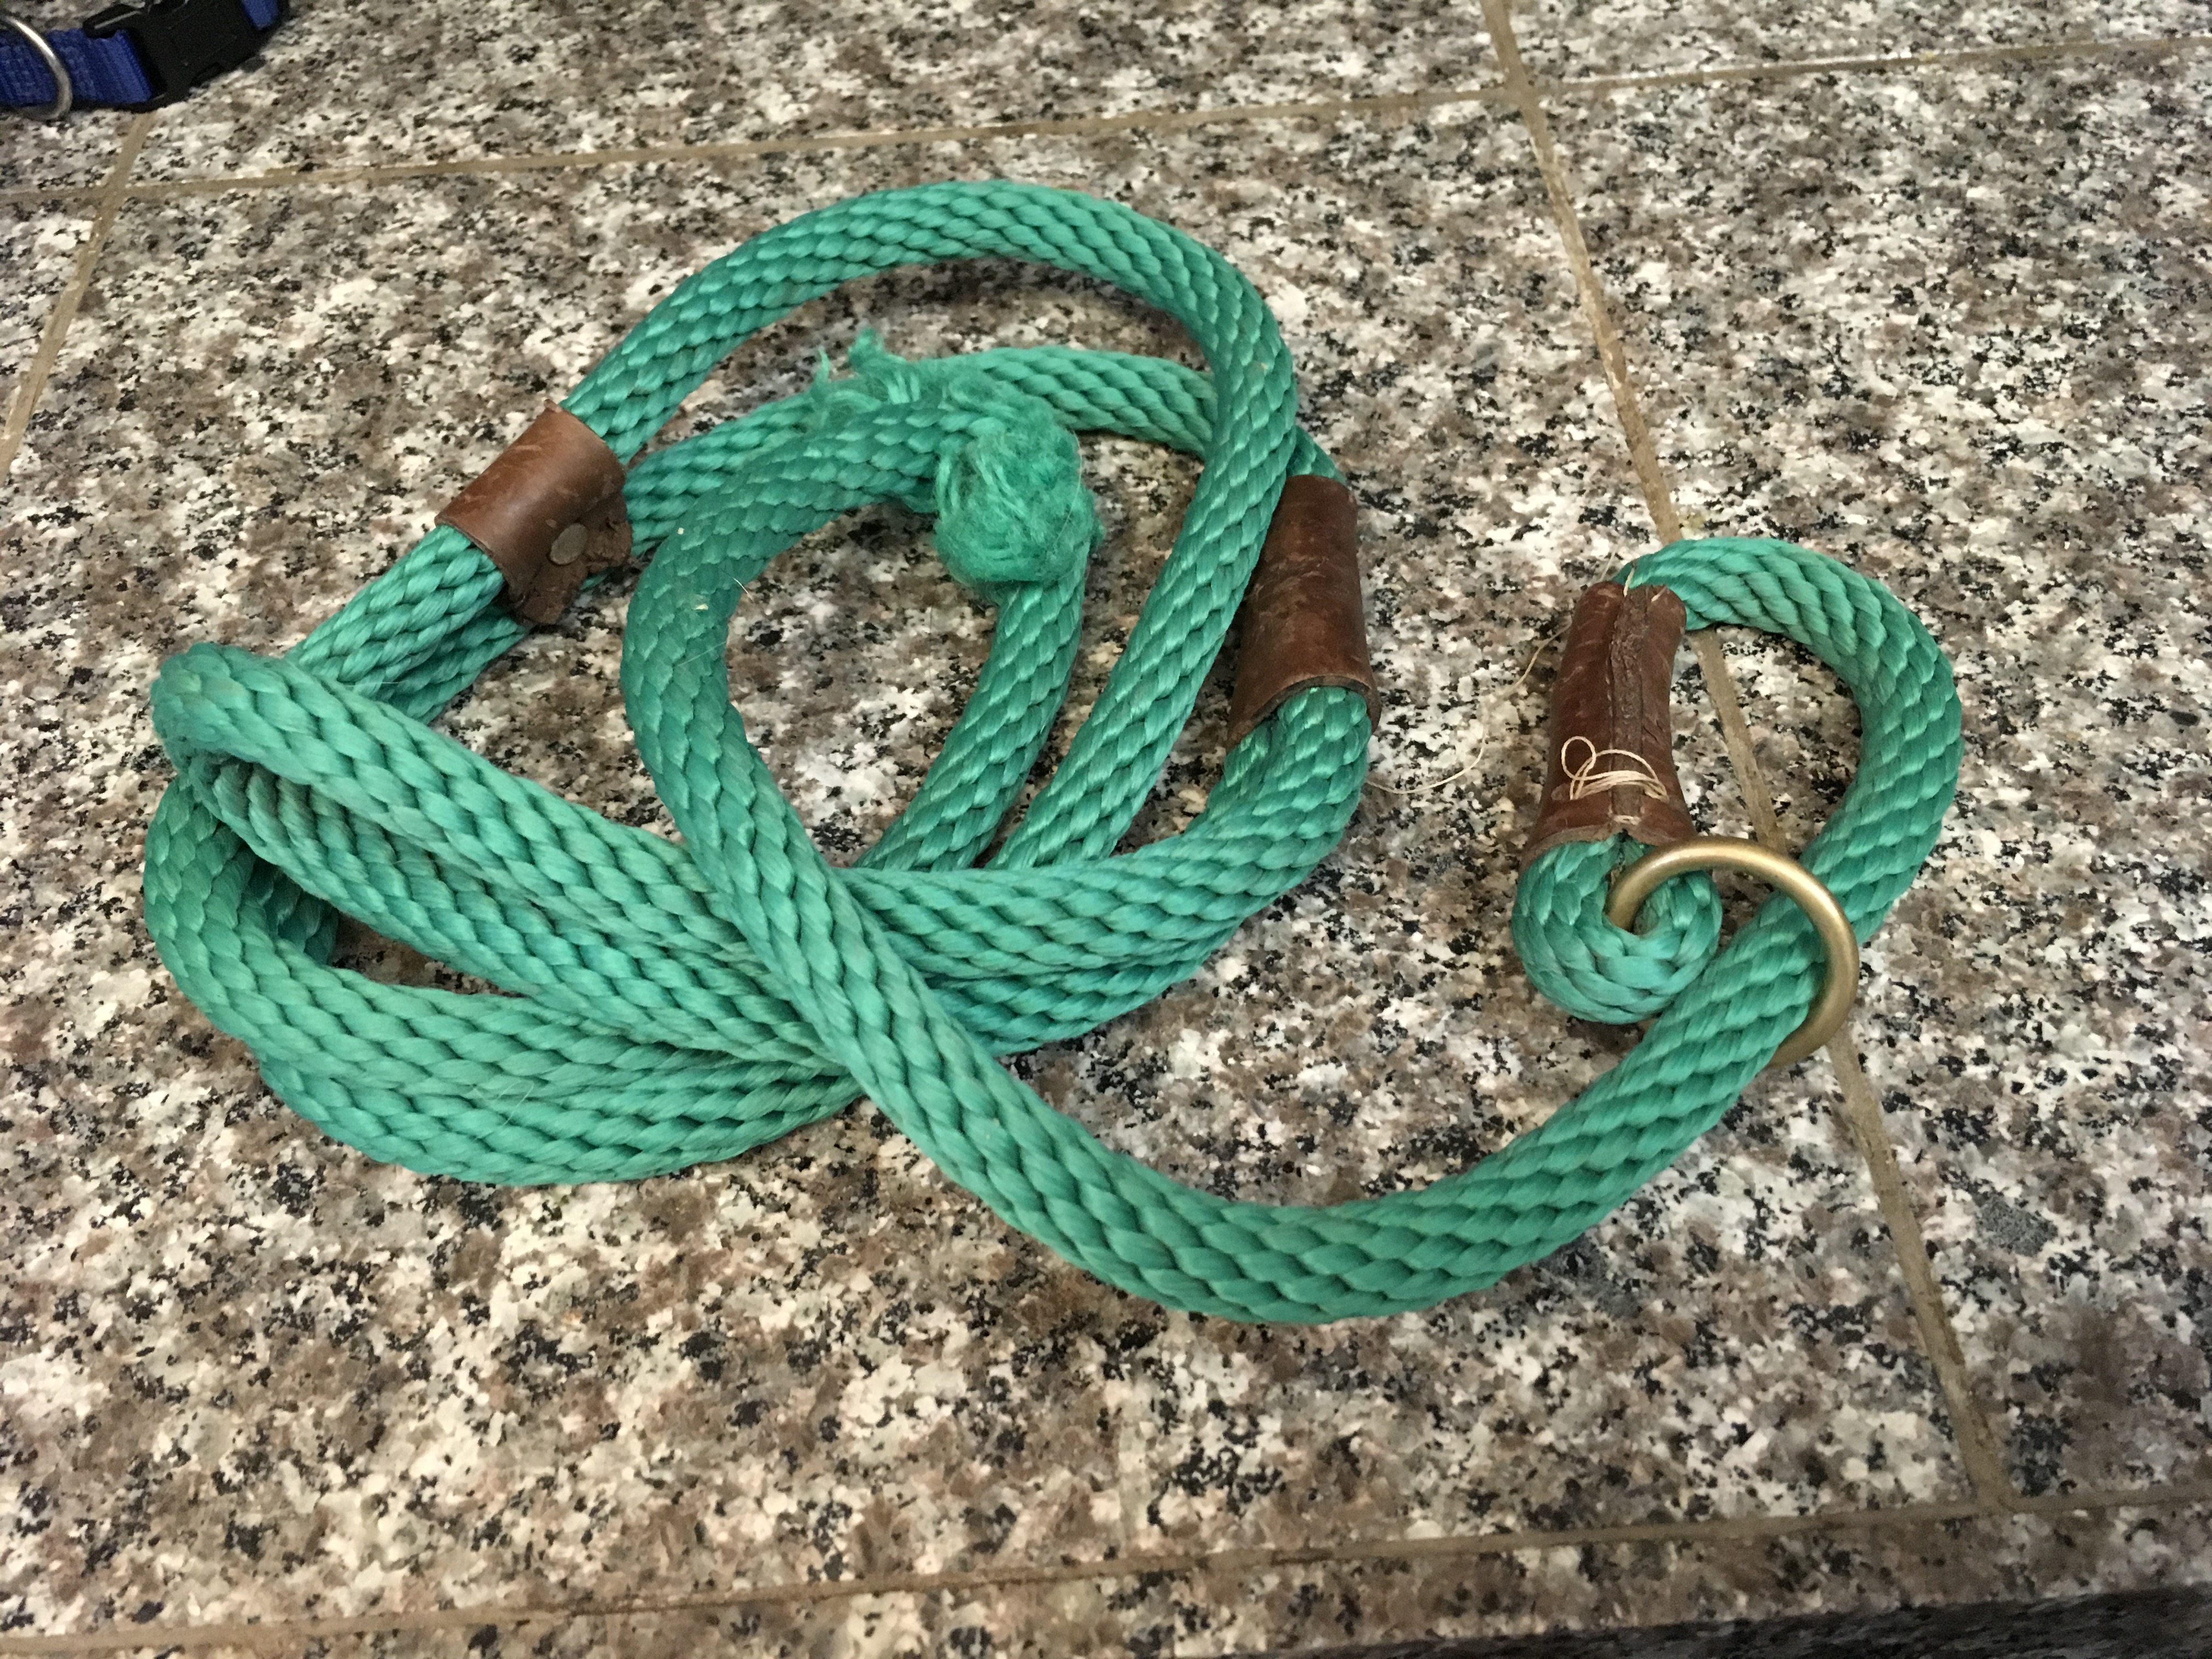
An emergency slip lead.
My leash, harness and collar, all ready for Funneigh.
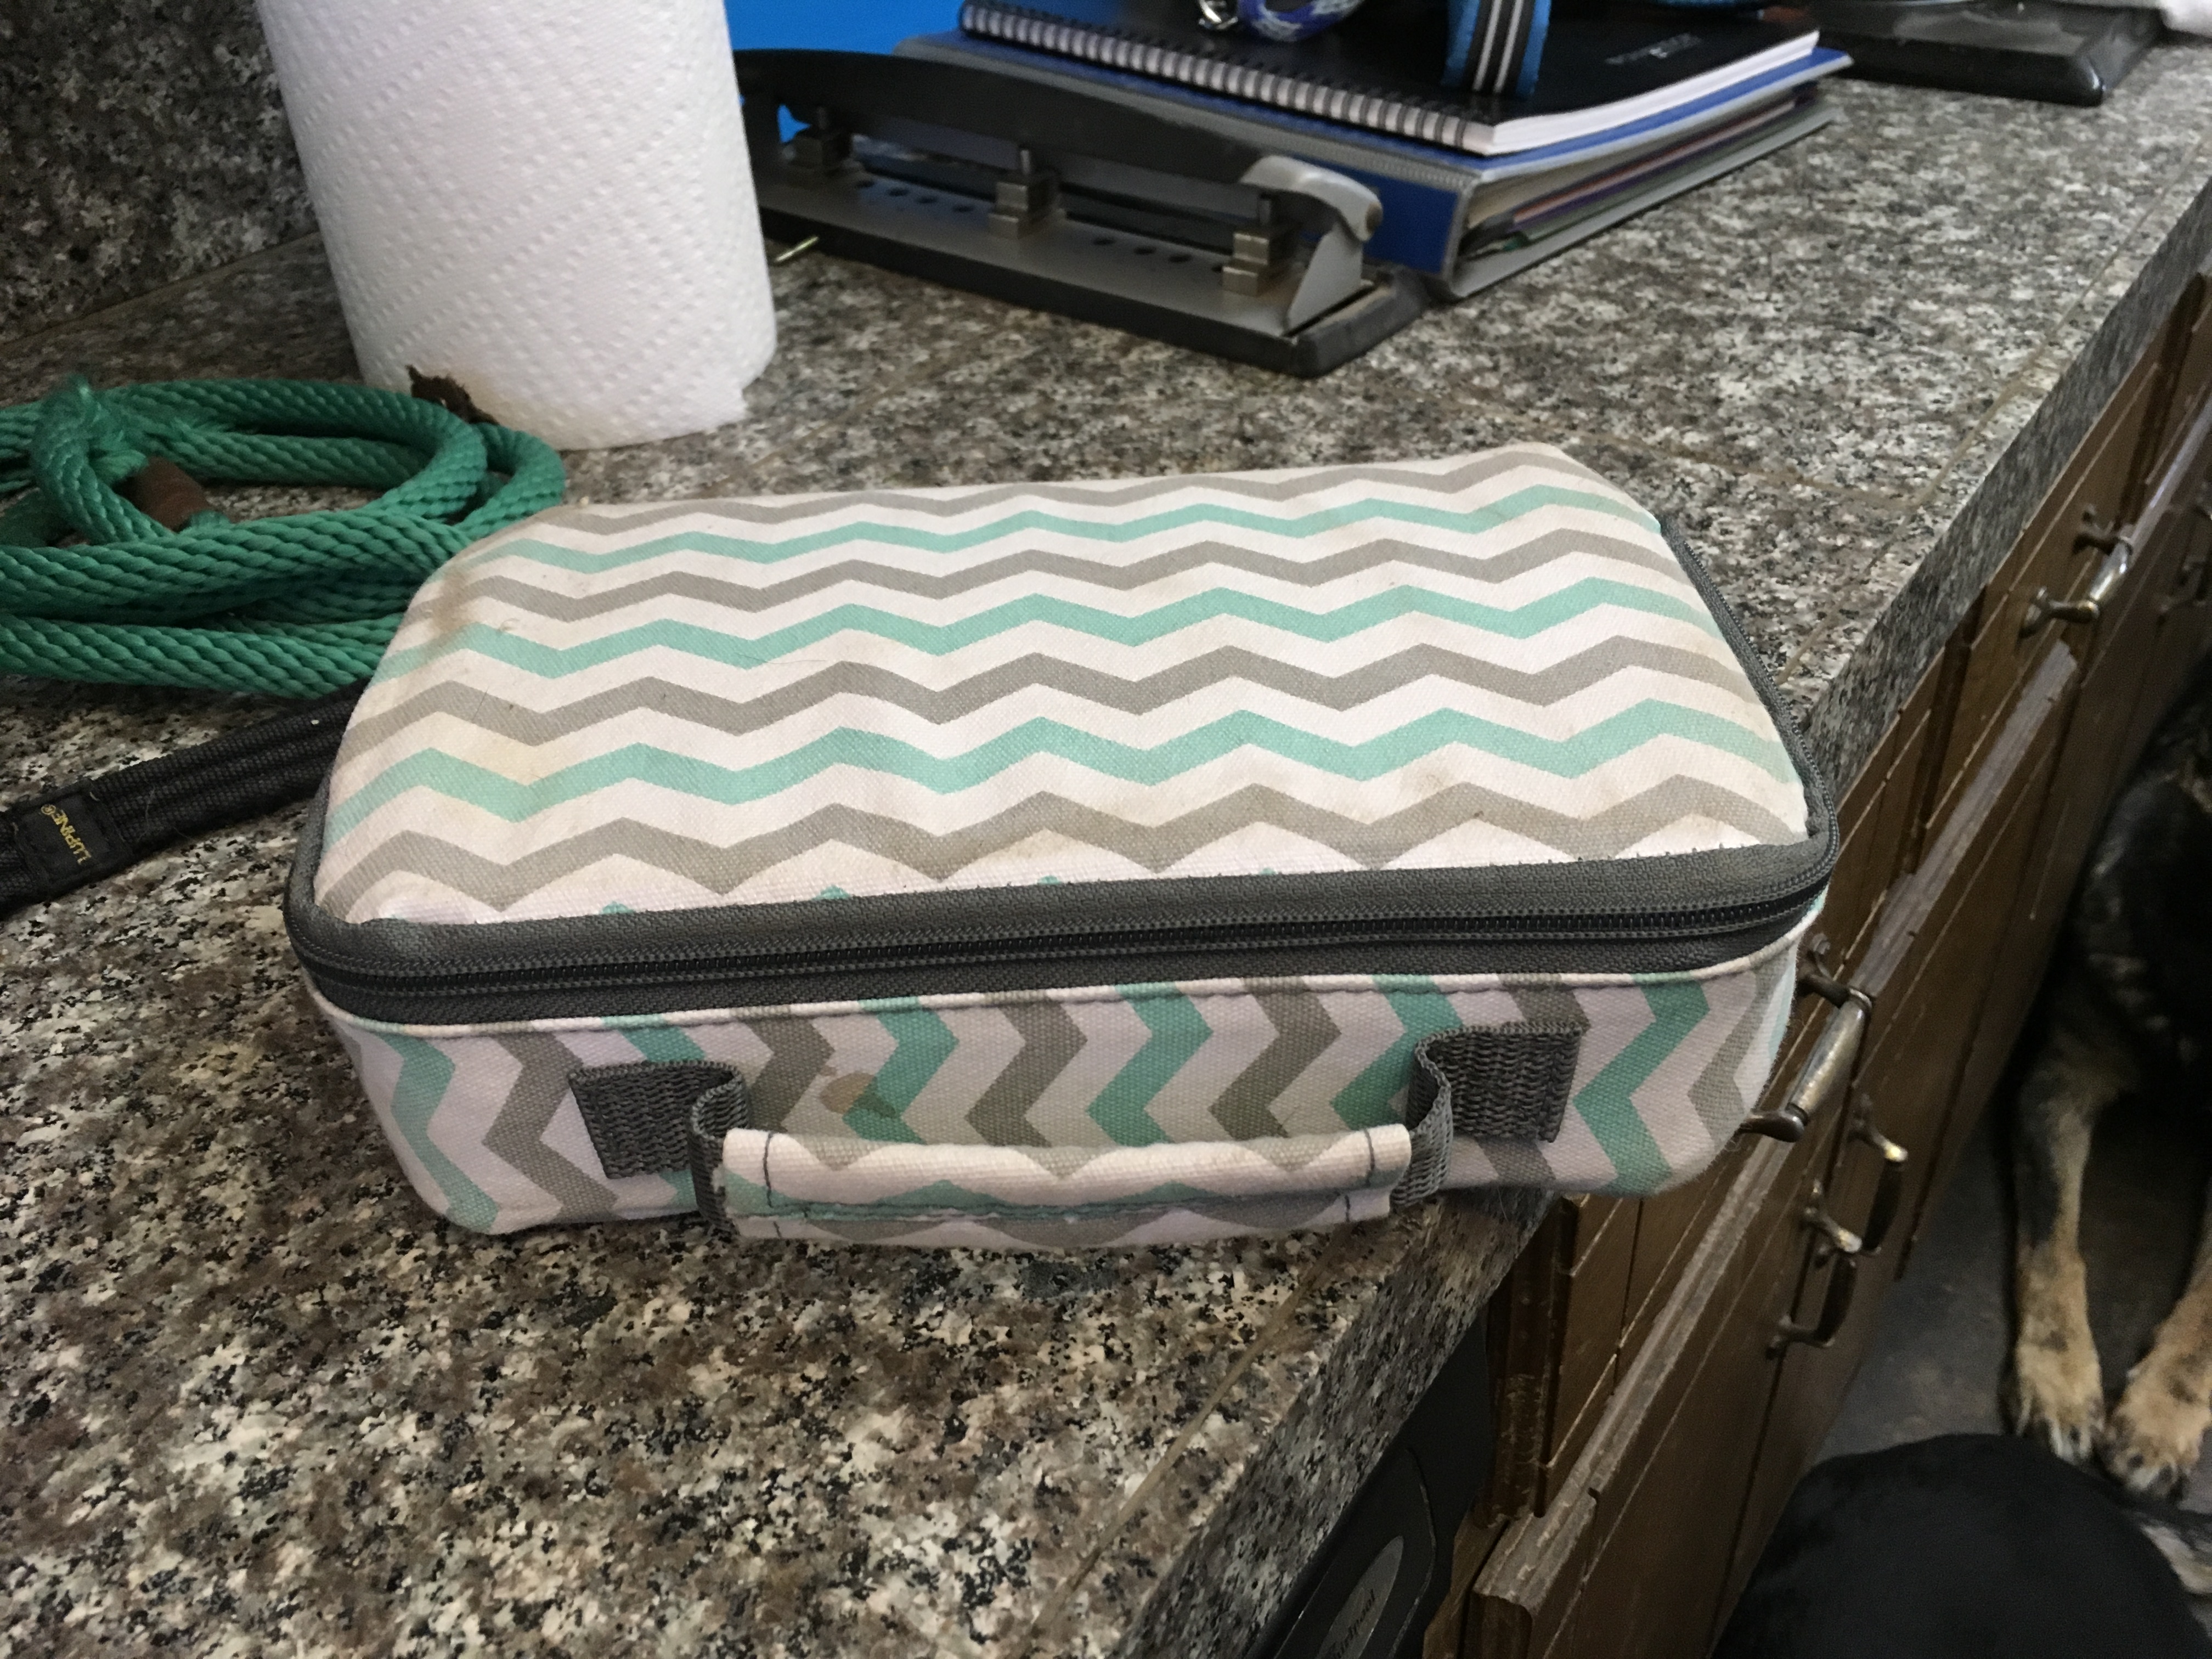
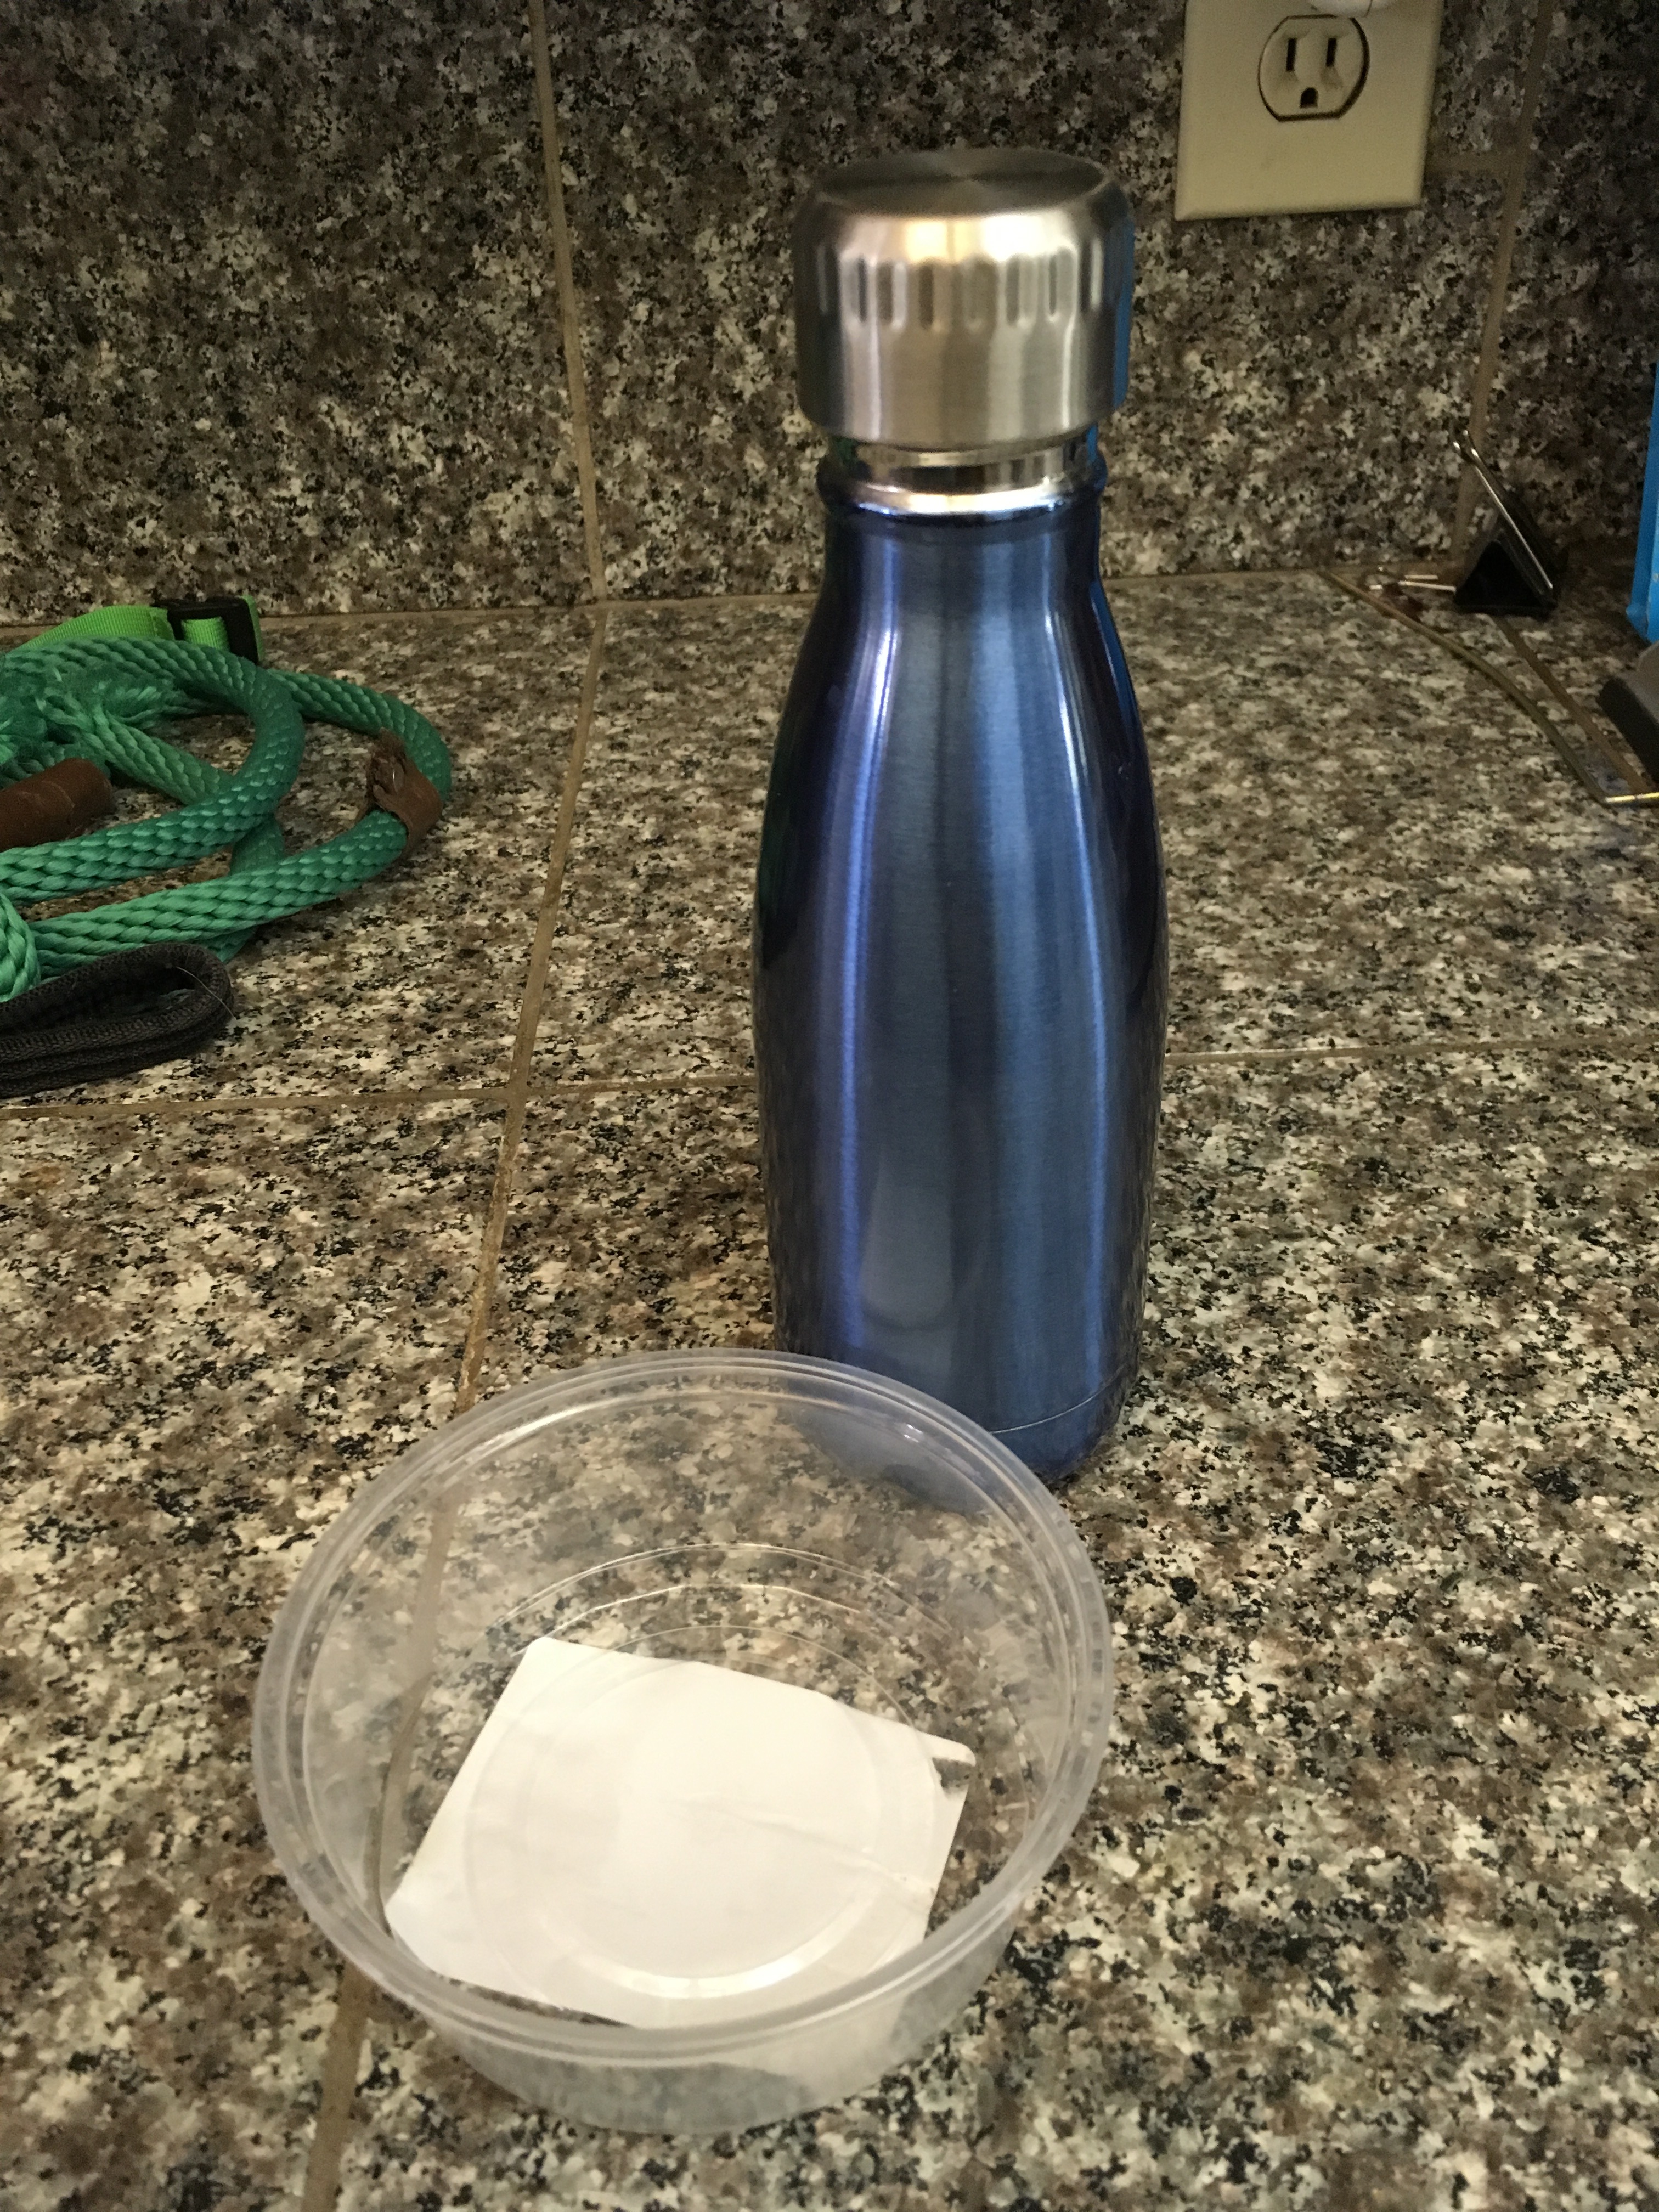
Bait: I NEVER leave the house without bait. This great Bento box holds three different values: Highest is salmon cubes, then meatball, then a trail mix of different treats. The top has a cold pack! Super handy.
Bento box all closed up and ready for travel. I like this because i can grab just this if I’m really in a hurry.
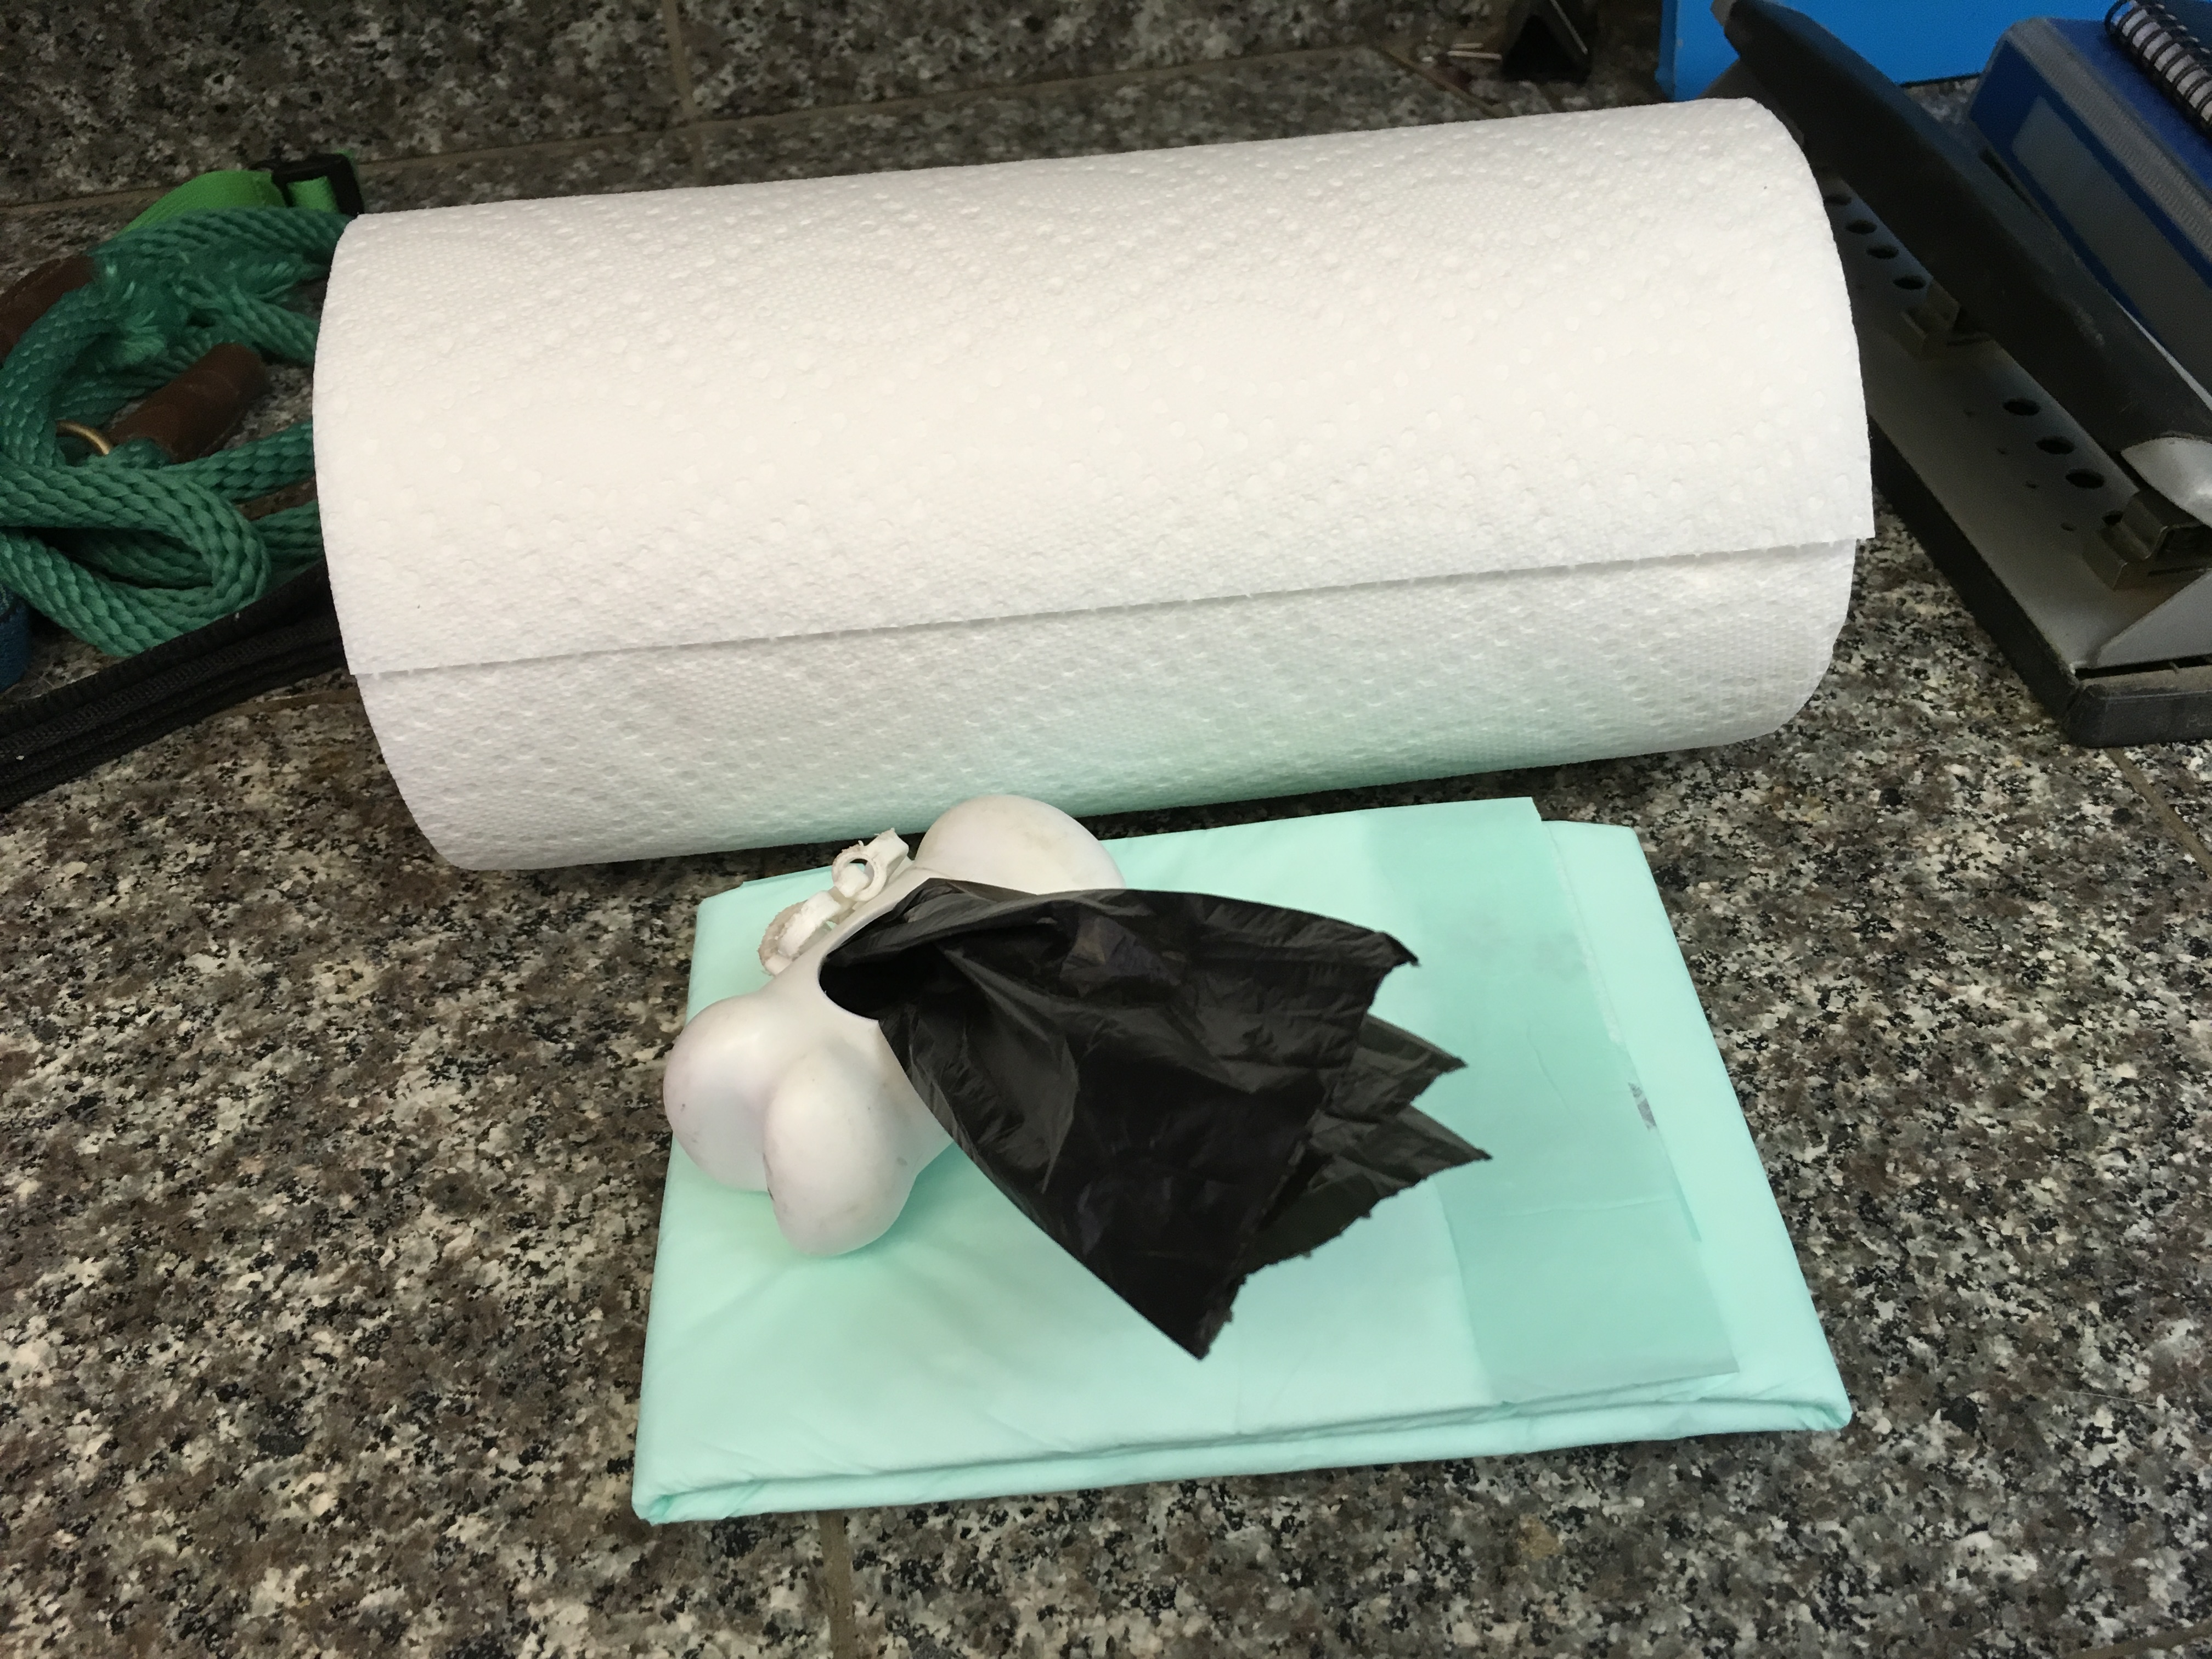
Clean up supplies: papertowels, puppy pads, and waste bags.
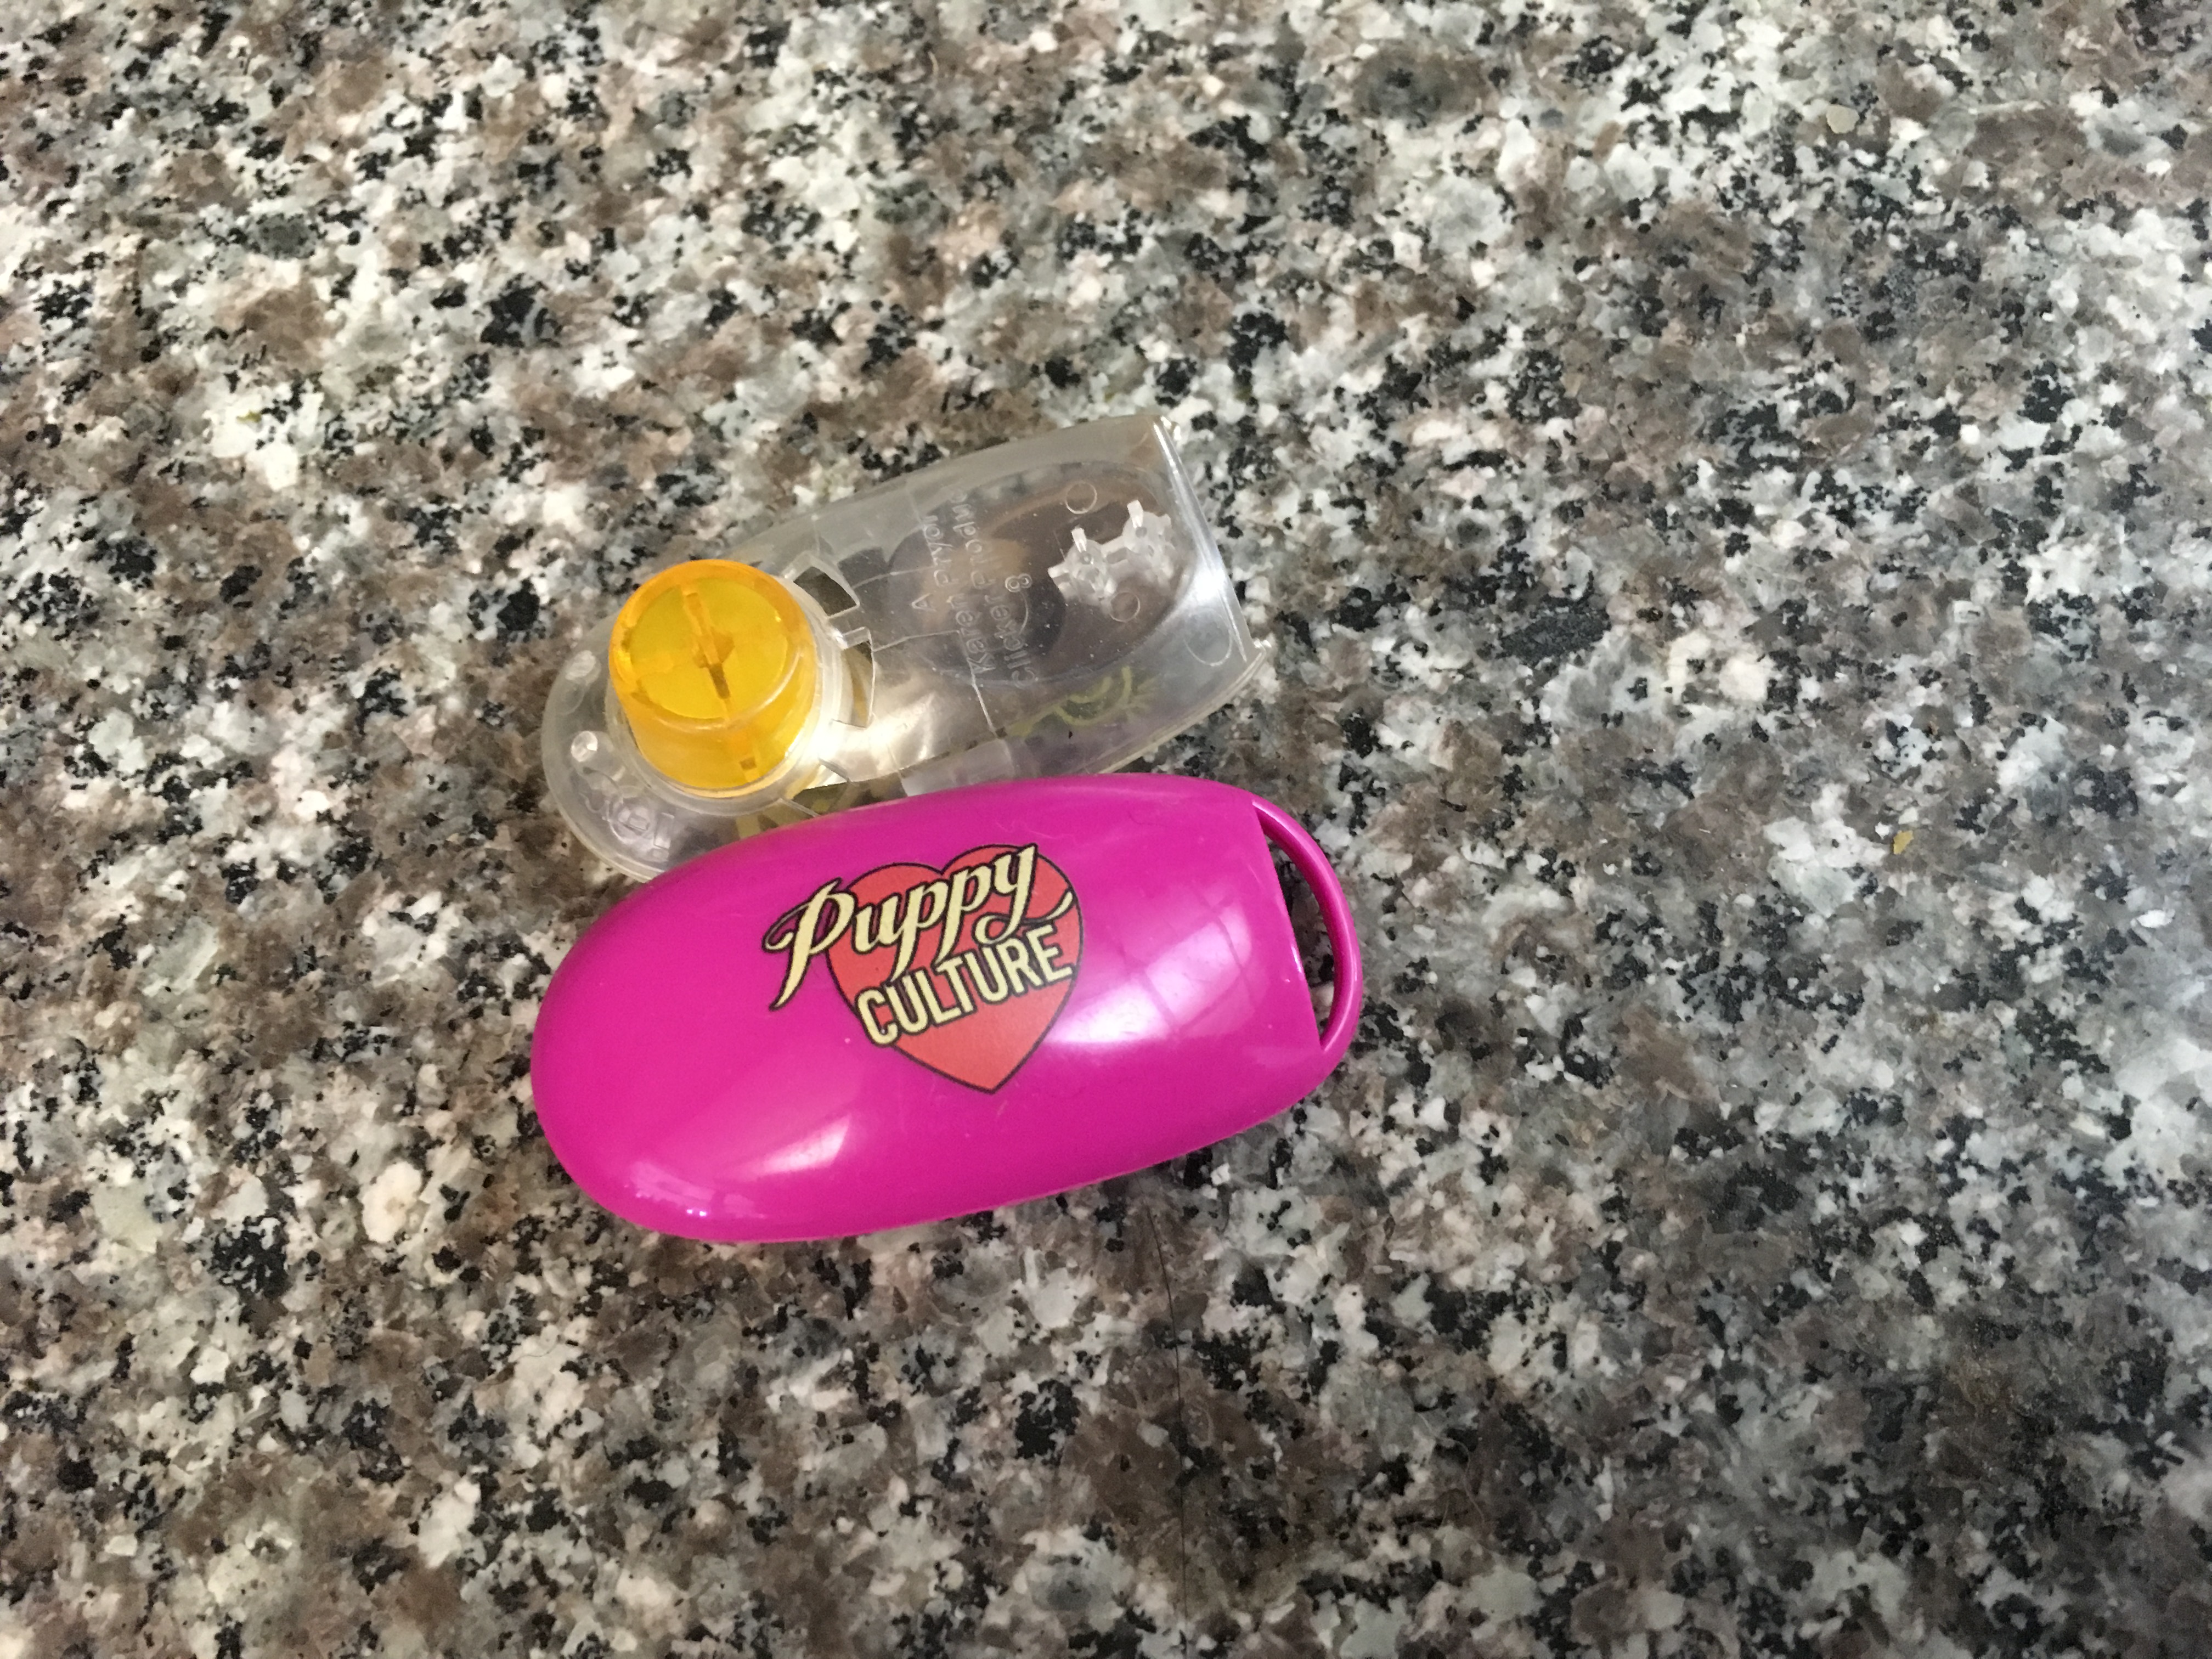
of COURSE, a clicker or two.
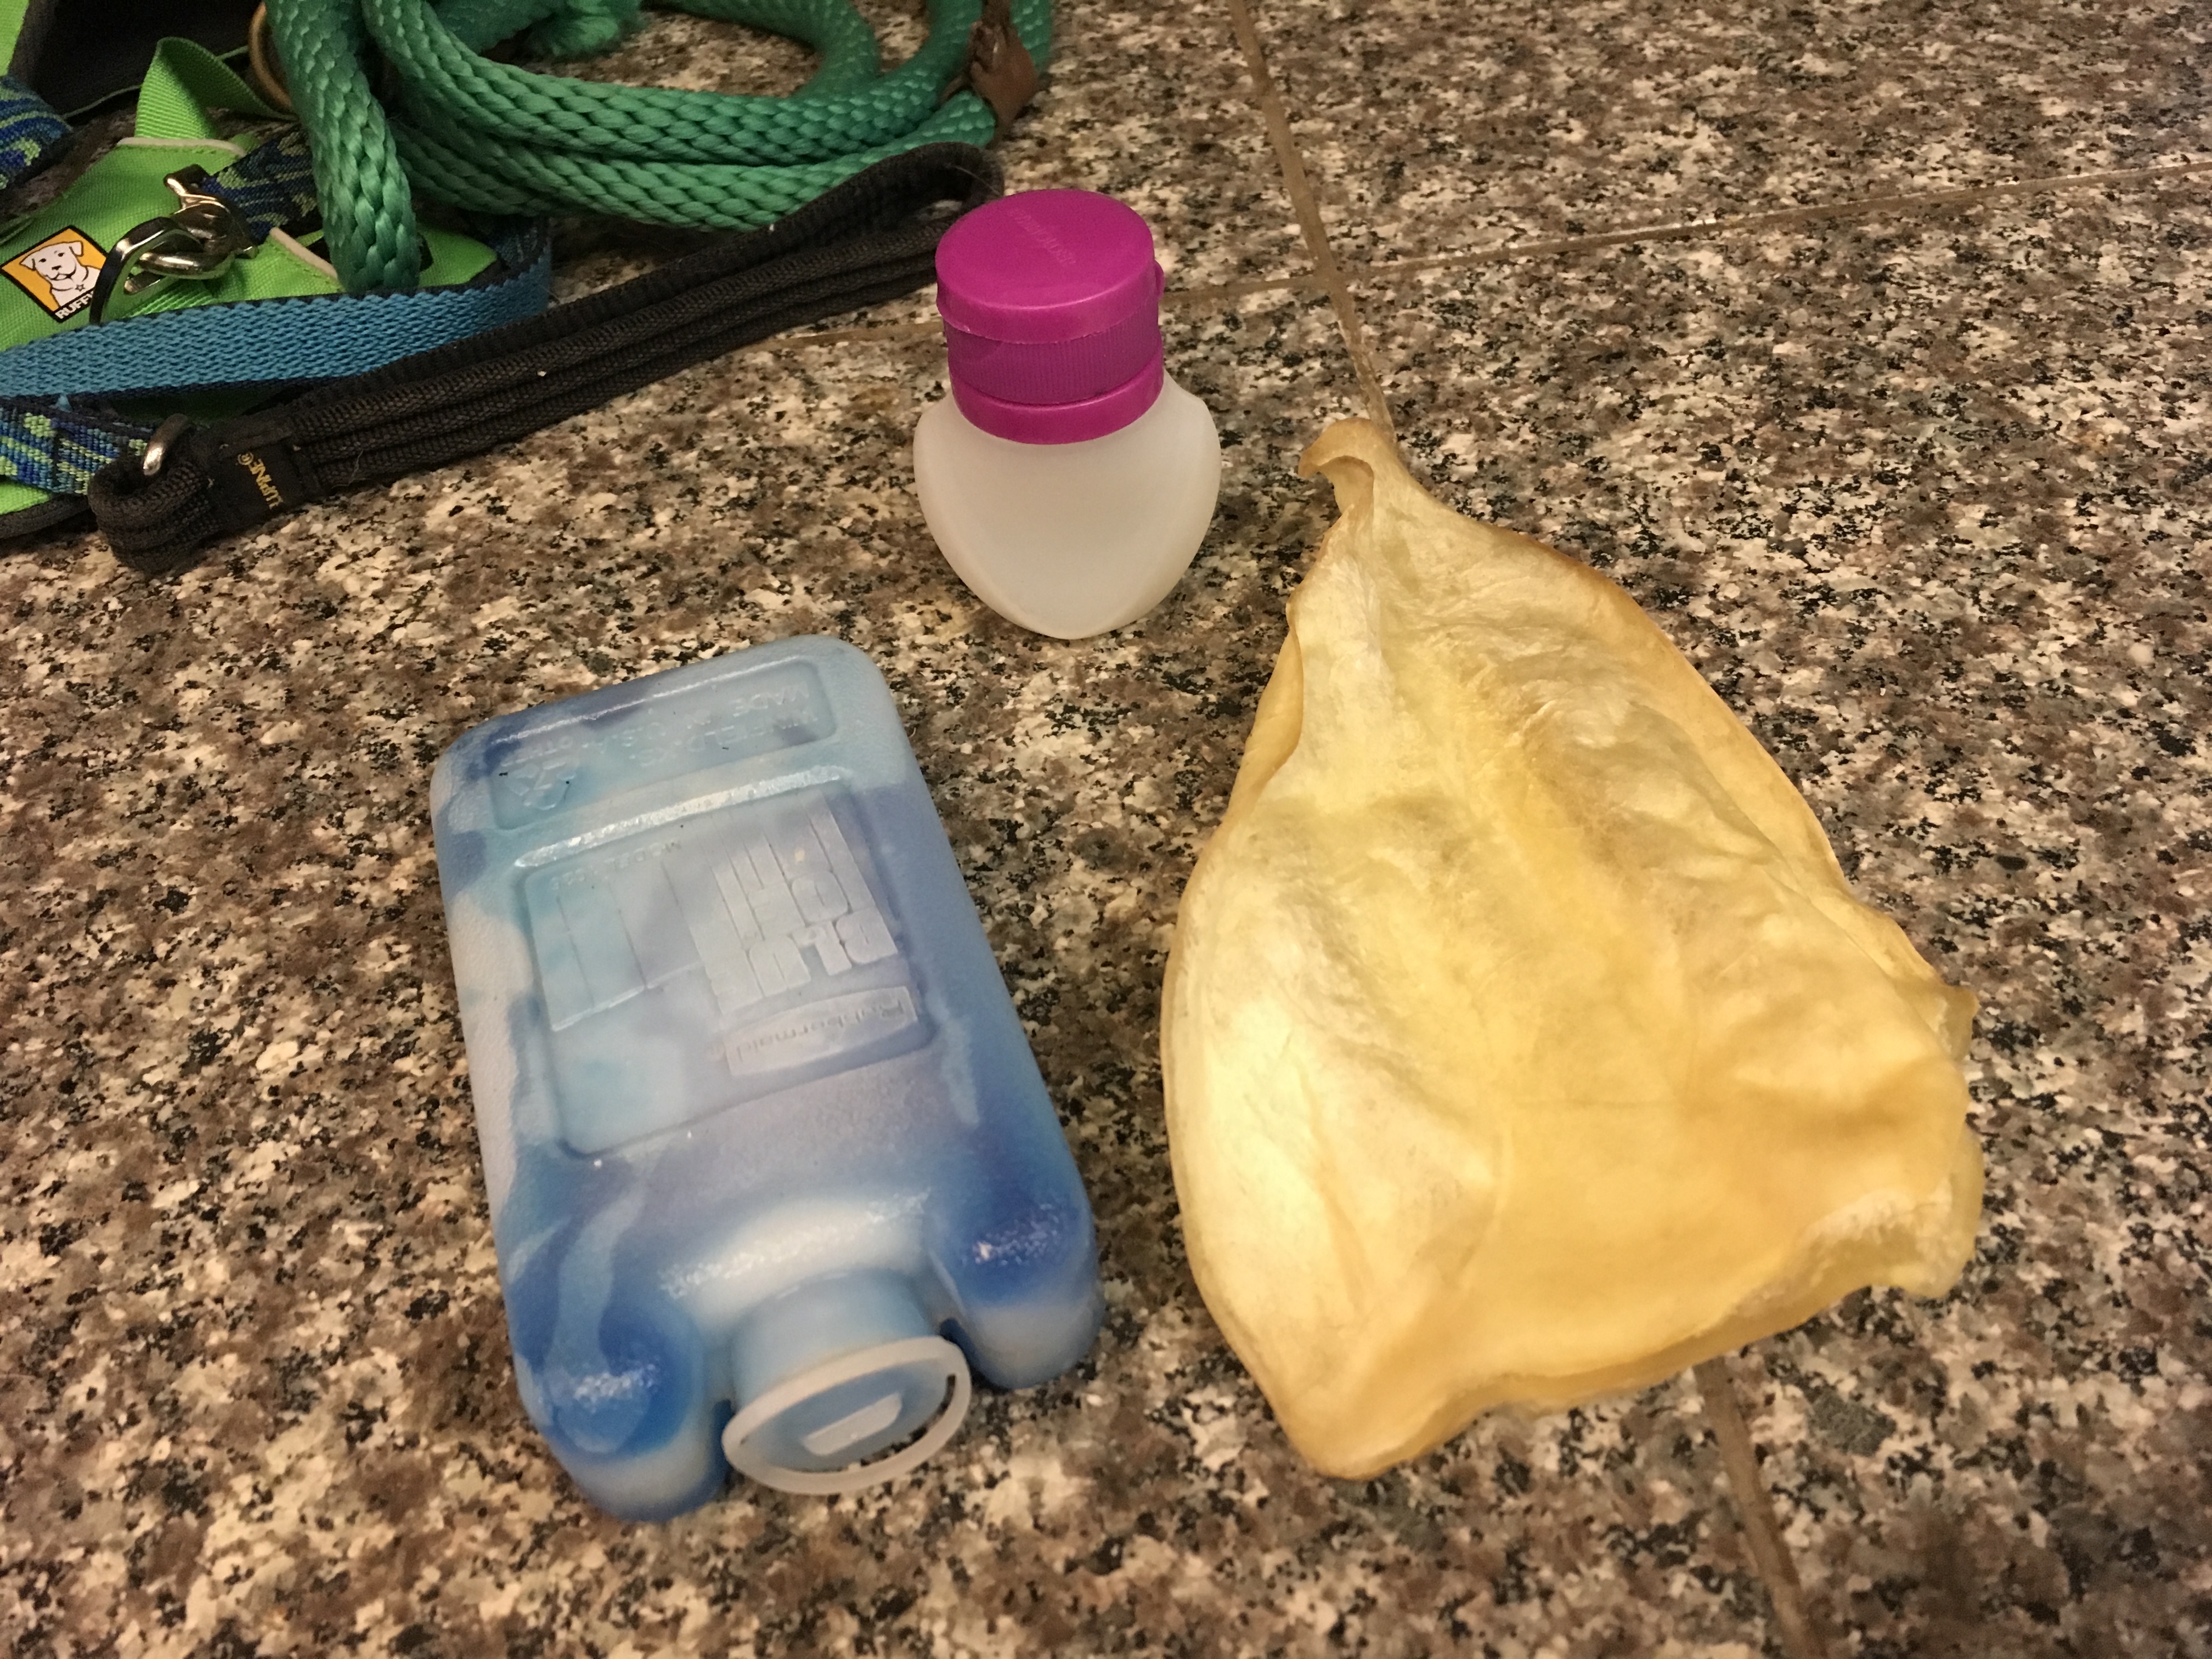
Water from home, plus a small water bowl.
Optionals: For classes I take a chew for “down time” , a food tube, and an extra cold pack.
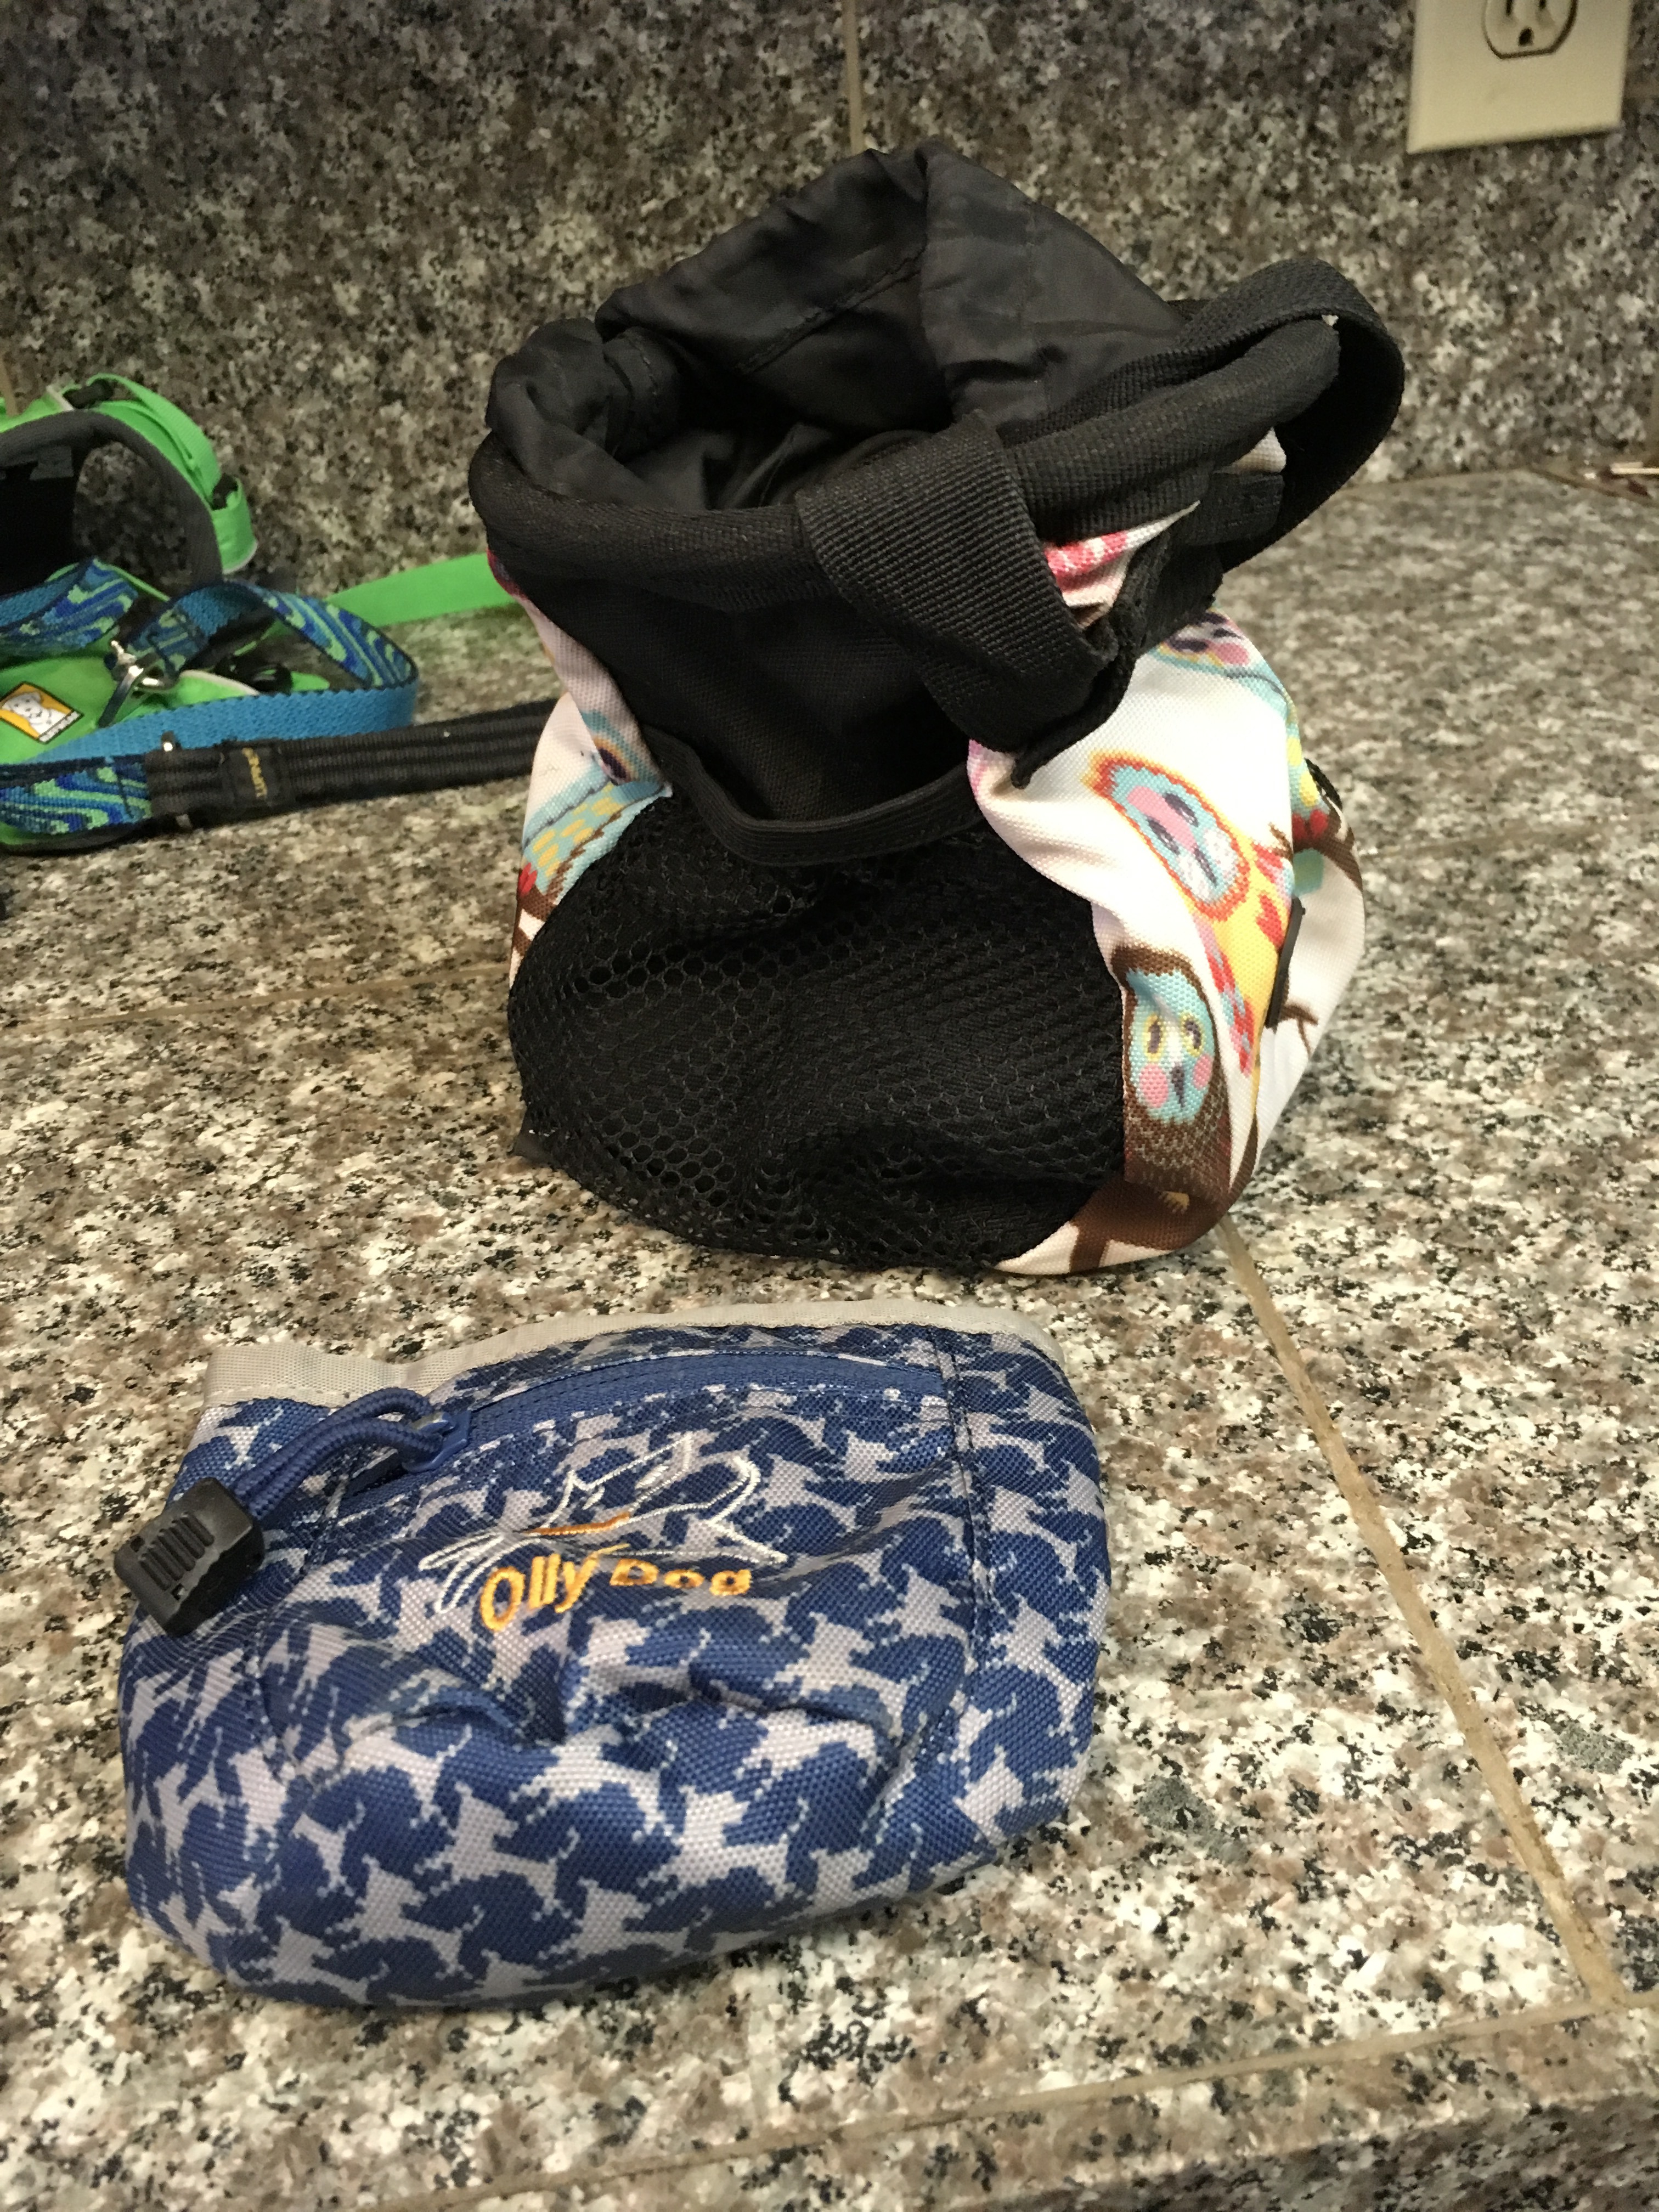
Bait bag: I often use my pockets, but if you prefer not to do that, bring a bait bag.
Optionals: Long line. If I’m going to a wide open park to walk or train, I always bring a long line. These are all 15 feet nylon.
Want to really do it right? Include a notebook (a small notebook was sent home in your puppy pack!) with your training and socialization goals for that day.
All packed up and ready!
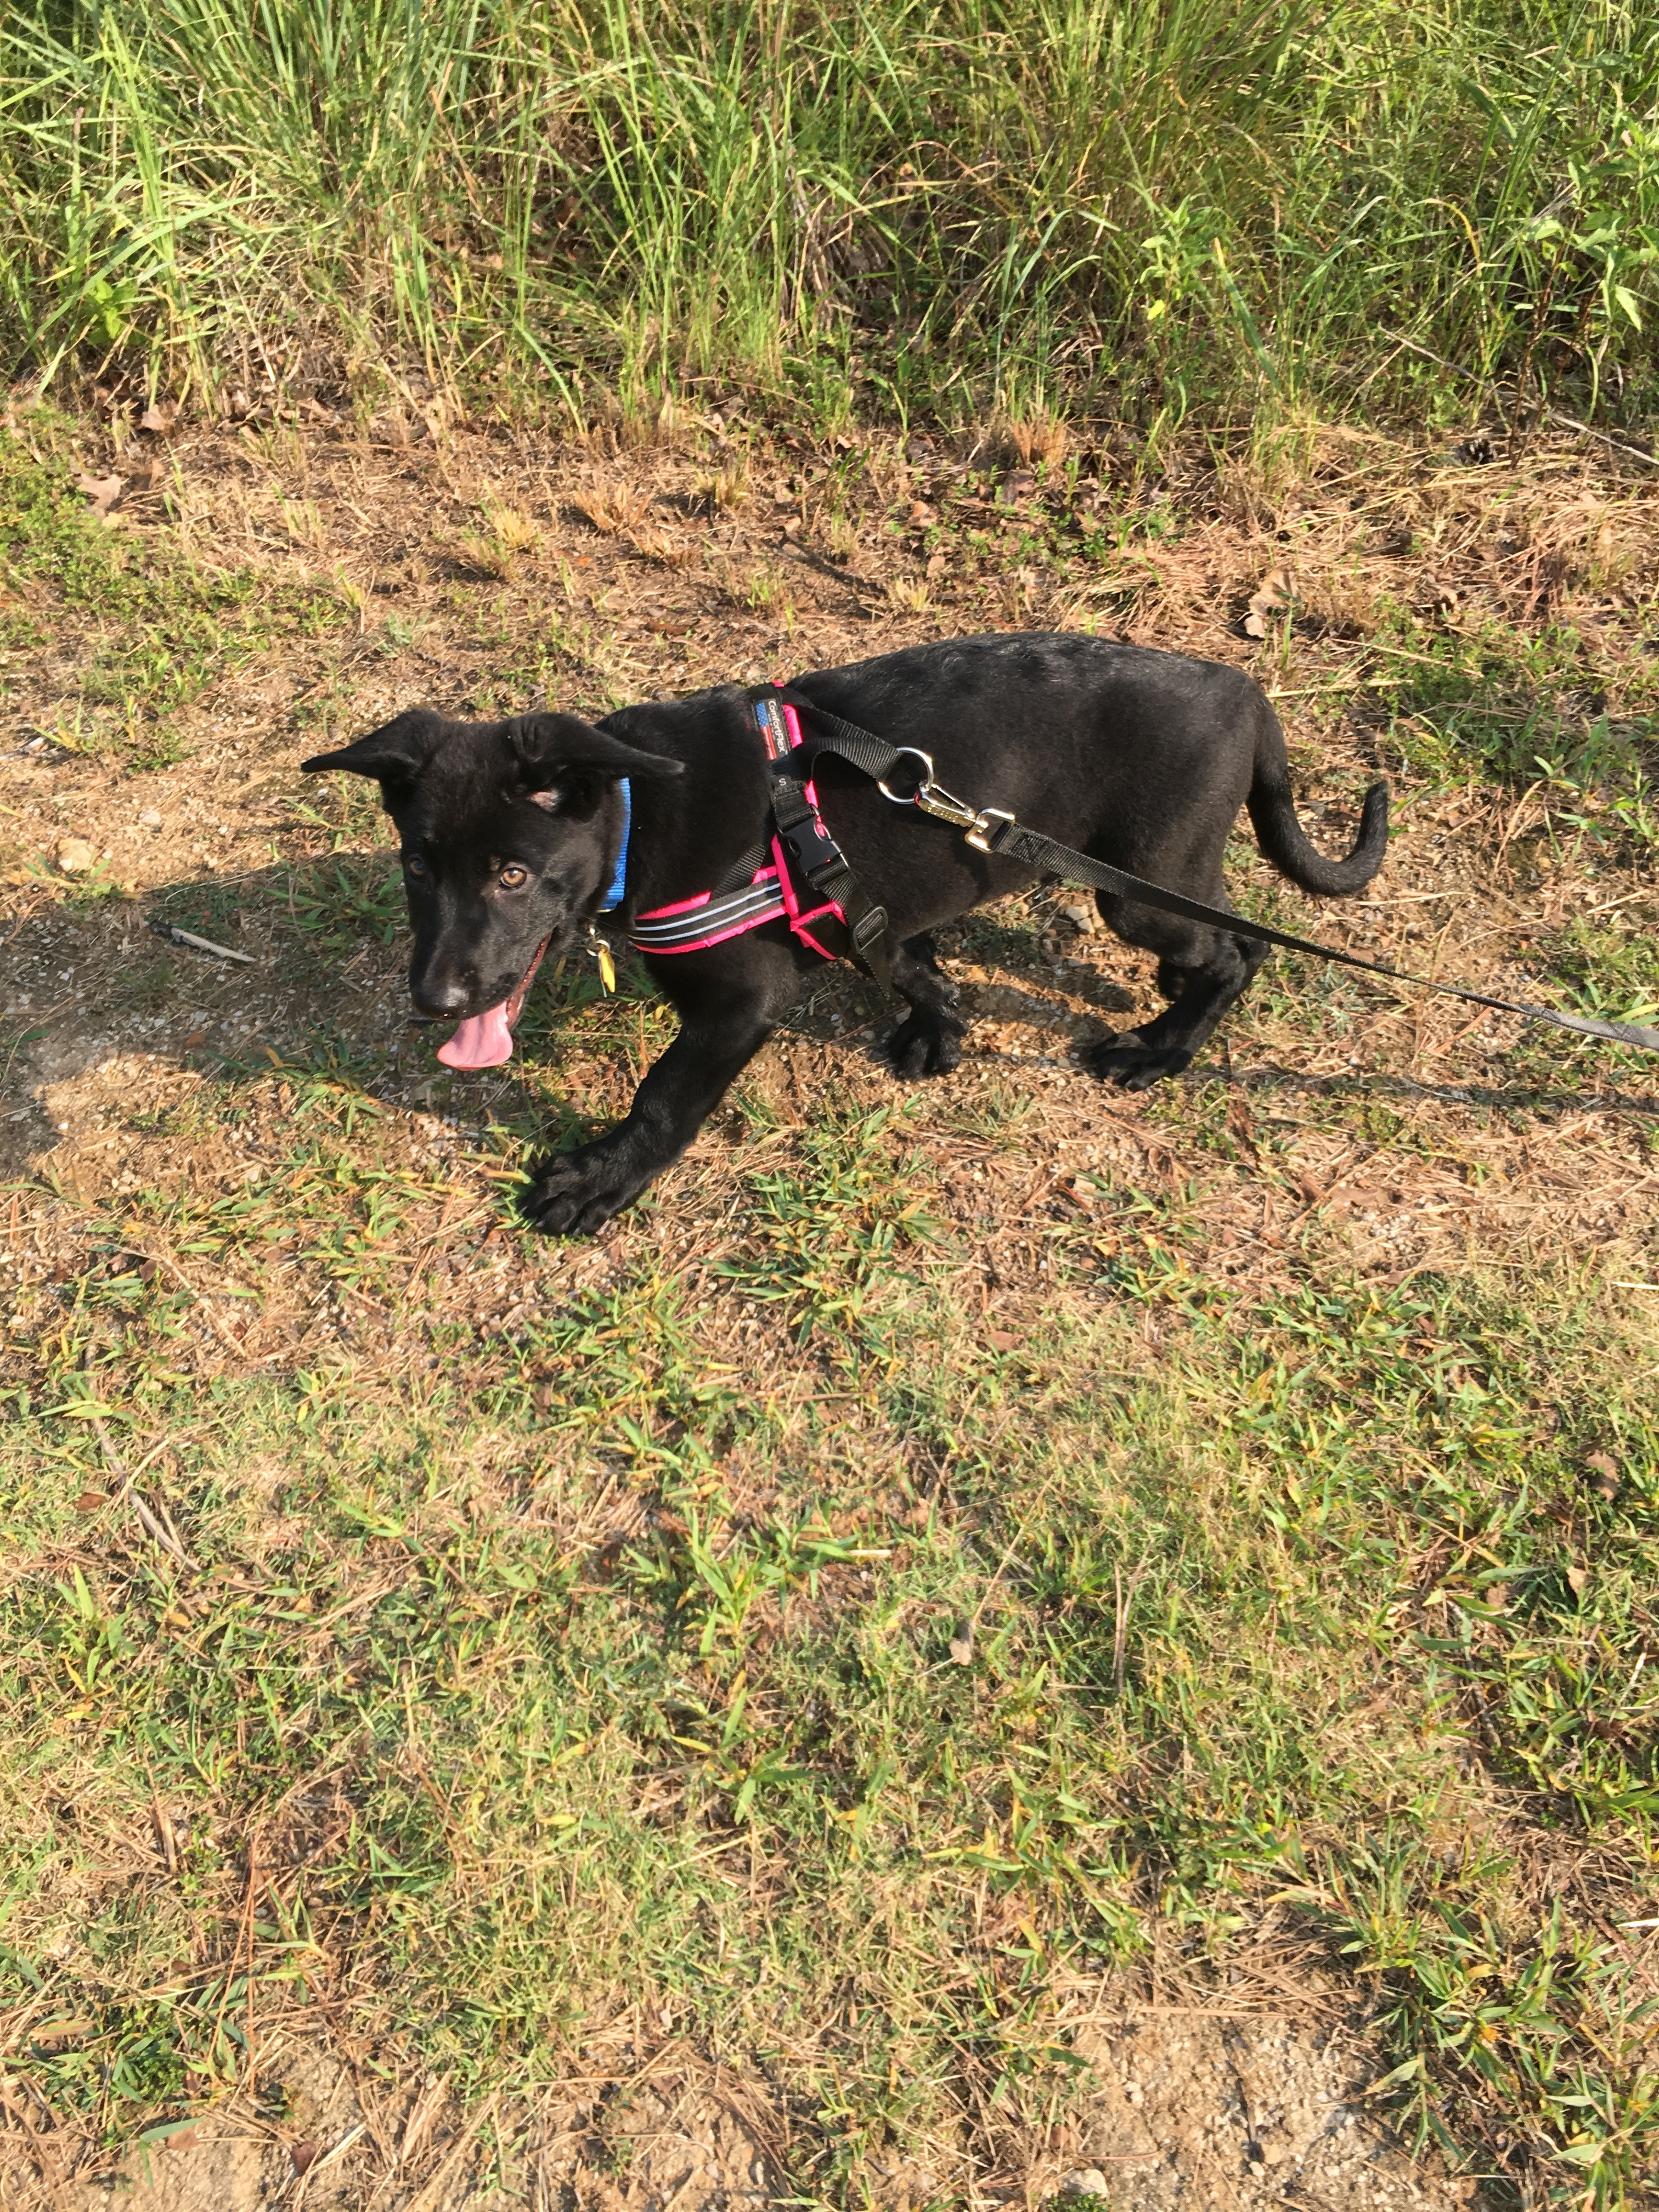
Without being prepared, I would have missed being able to click/treat this voluntary attention Funneigh offered. And don’t kid yourself, puppies only become attentive adolescents if we reinforce attention consistently.
So, I hope this helps you “pack like a pro trainer”! Fate does favor the prepared, and mannerly, well trained dogs are NOT born, they are made through consistent reinforcment of the behaviors YOU value.
Treat every outing as a training class, practice all your puppies learned skills! Make yourself the most interesting thing in her environment! Always be prepared!
Here’s a list of affiliate links to the items we recommend for your tote bags! I hope they work as well for you as they do for me!
Note: Not pictured, and the subject for a future post, a travel first aid kit for dogs.
Junco “checking in” on a walk around the lake. If I wasn’t prepared with my clicker, bait bag, and a high value treat, I would not have been able to catch and reinforce Junco for checking in with me. Given how interesting the environment is (lake!) I would likely see less attention to me, instead of of more. If you want an attentive adult dog, be sure to build a reinforcment history for attentive behavior from day 1!
Wow! When I wrote this blog I never expected the response to be so powerful. This page continues to be the most visited page on our website all these years later. As we have continued to use our crate conditioning protocol and coach other breeders through the process we have updated and progressed the course to reflect the needs of puppies of different breeds, shelter puppies with their own unique needs, and through that work we have added so much content that this blog is now also available as a media rich on demand course offered through our training website. If you are interested in the on demand course and the detail and support that offers you can find information on Crate School Here:
What I remember most about bringing home my second GSD puppy, Indeigh, at 8 weeks was the screaming. Even though it’s been nearly twenty five years, I can still hear it…
She screamed in her crate the entire five hour drive home from the breeder. She screamed in her crate for four or five hours EVERY night, and while I was away at work for the first month. She would grab the bars, pull, and scream – bloodying her mouth and tearing her nails. I lived in a duplex at the time and my neighbors left daily notes about the noise that made me feel terrible, so I started crating Indeigh inside my walk in closet in an attempt to muffle the sound. I got zero sleep.
It took Indeigh weeks to give up screaming. It took her months to stop urinating in her crate.
I didn’t know what to do! Nobody did. Everyone I asked gave me well-meaning advice, but nothing worked. I felt helpless – I was a bad owner – and she was a bad puppy. Very dominate and had no impulse control, she was trying to control me! Just ignore her… or spray her, shake her crate, and above all, never let her out unless she was quiet. I did all the things, not one of them helped.
She grew into an amazing and accomplished dog, but she forever struggled with trusting me and adapting to change. I have always wondered if those first few weeks of struggle taught her that change was scary and that I was not really that helpful during those time.
Now, I can think about how much easier and enjoyable our first weeks together would have been if Indeigh had been conditioned to love her crate before I even brought her home.
Now, at this point, I have to warn you. I have broken every rule of writing in this day and age. There are lots of words here, some of you may be scared by the endless stream of paragraphs. Some may think this will be boring – and it might be, so flee if you must! I understand, but if you hang in there and follow the plan, you can make a different world for your puppies going forward!
I want to give breeders the tools and knowledge needed to create a +CER (Positive Conditioned Emotional Response) to the crate, so no puppy needs to suffer as Indeigh did and so no owner needs to struggle as I did.
Before the puppy ever leaves the litter, it’s in developmental period that is primed to create long-lasting emotional responses. We breeders have a unique opportunity in a limited window of time to use this to our advantage. This is the Critical Socialization Period – that period from 3 to 12/16 weeks when puppies are designed by nature to form positive or negative emotional responses rapidly, with few exposures, and it’s the perfect time to condition a puppy to LOVE the crate.
Snapdragon totally relaxed for the car ride home with his new family.
Why have I become to dedicated to early crate conditioning?
For Indeigh, to honor her memory.
Because puppies (and their caregivers) don’t need the added stress of crate training AND transition stress during their first weeks in a new home.
Because it’s just so easy and offers lifelong benefits to the dog and owner.
If it seems like there are lots of tiny steps, that is by design, and it’s the reason this plan is so effective.
Goals
Violet calmly napping on her drive home with her new family.
Please note, these are not hard target goals like “puppy will be quiet for twenty minutes” because puppies mature at different rates. It’s important to have more subtle but much more important goals. This is NOT a “crate training” plan, but instead a “crate conditioning” plan that focuses on goals associated with positive emotions.
Puppy will choose to spend time in the crate as a preferred location and will experience positive emotions associated with all crate times and activities.
Puppy will not experience negative emotions associated with the crate. No screaming, crying, or attempts to break out.
Here is a quick and easy week by week guide to creating a +CER (Positive Conditioned Emotional Response) to crates and confinement during the Critical Socialization Period. Our plan starts at 4 weeks, when with the Puppy Culture protocols, we move the puppies from the whelping box to the weaning pen.
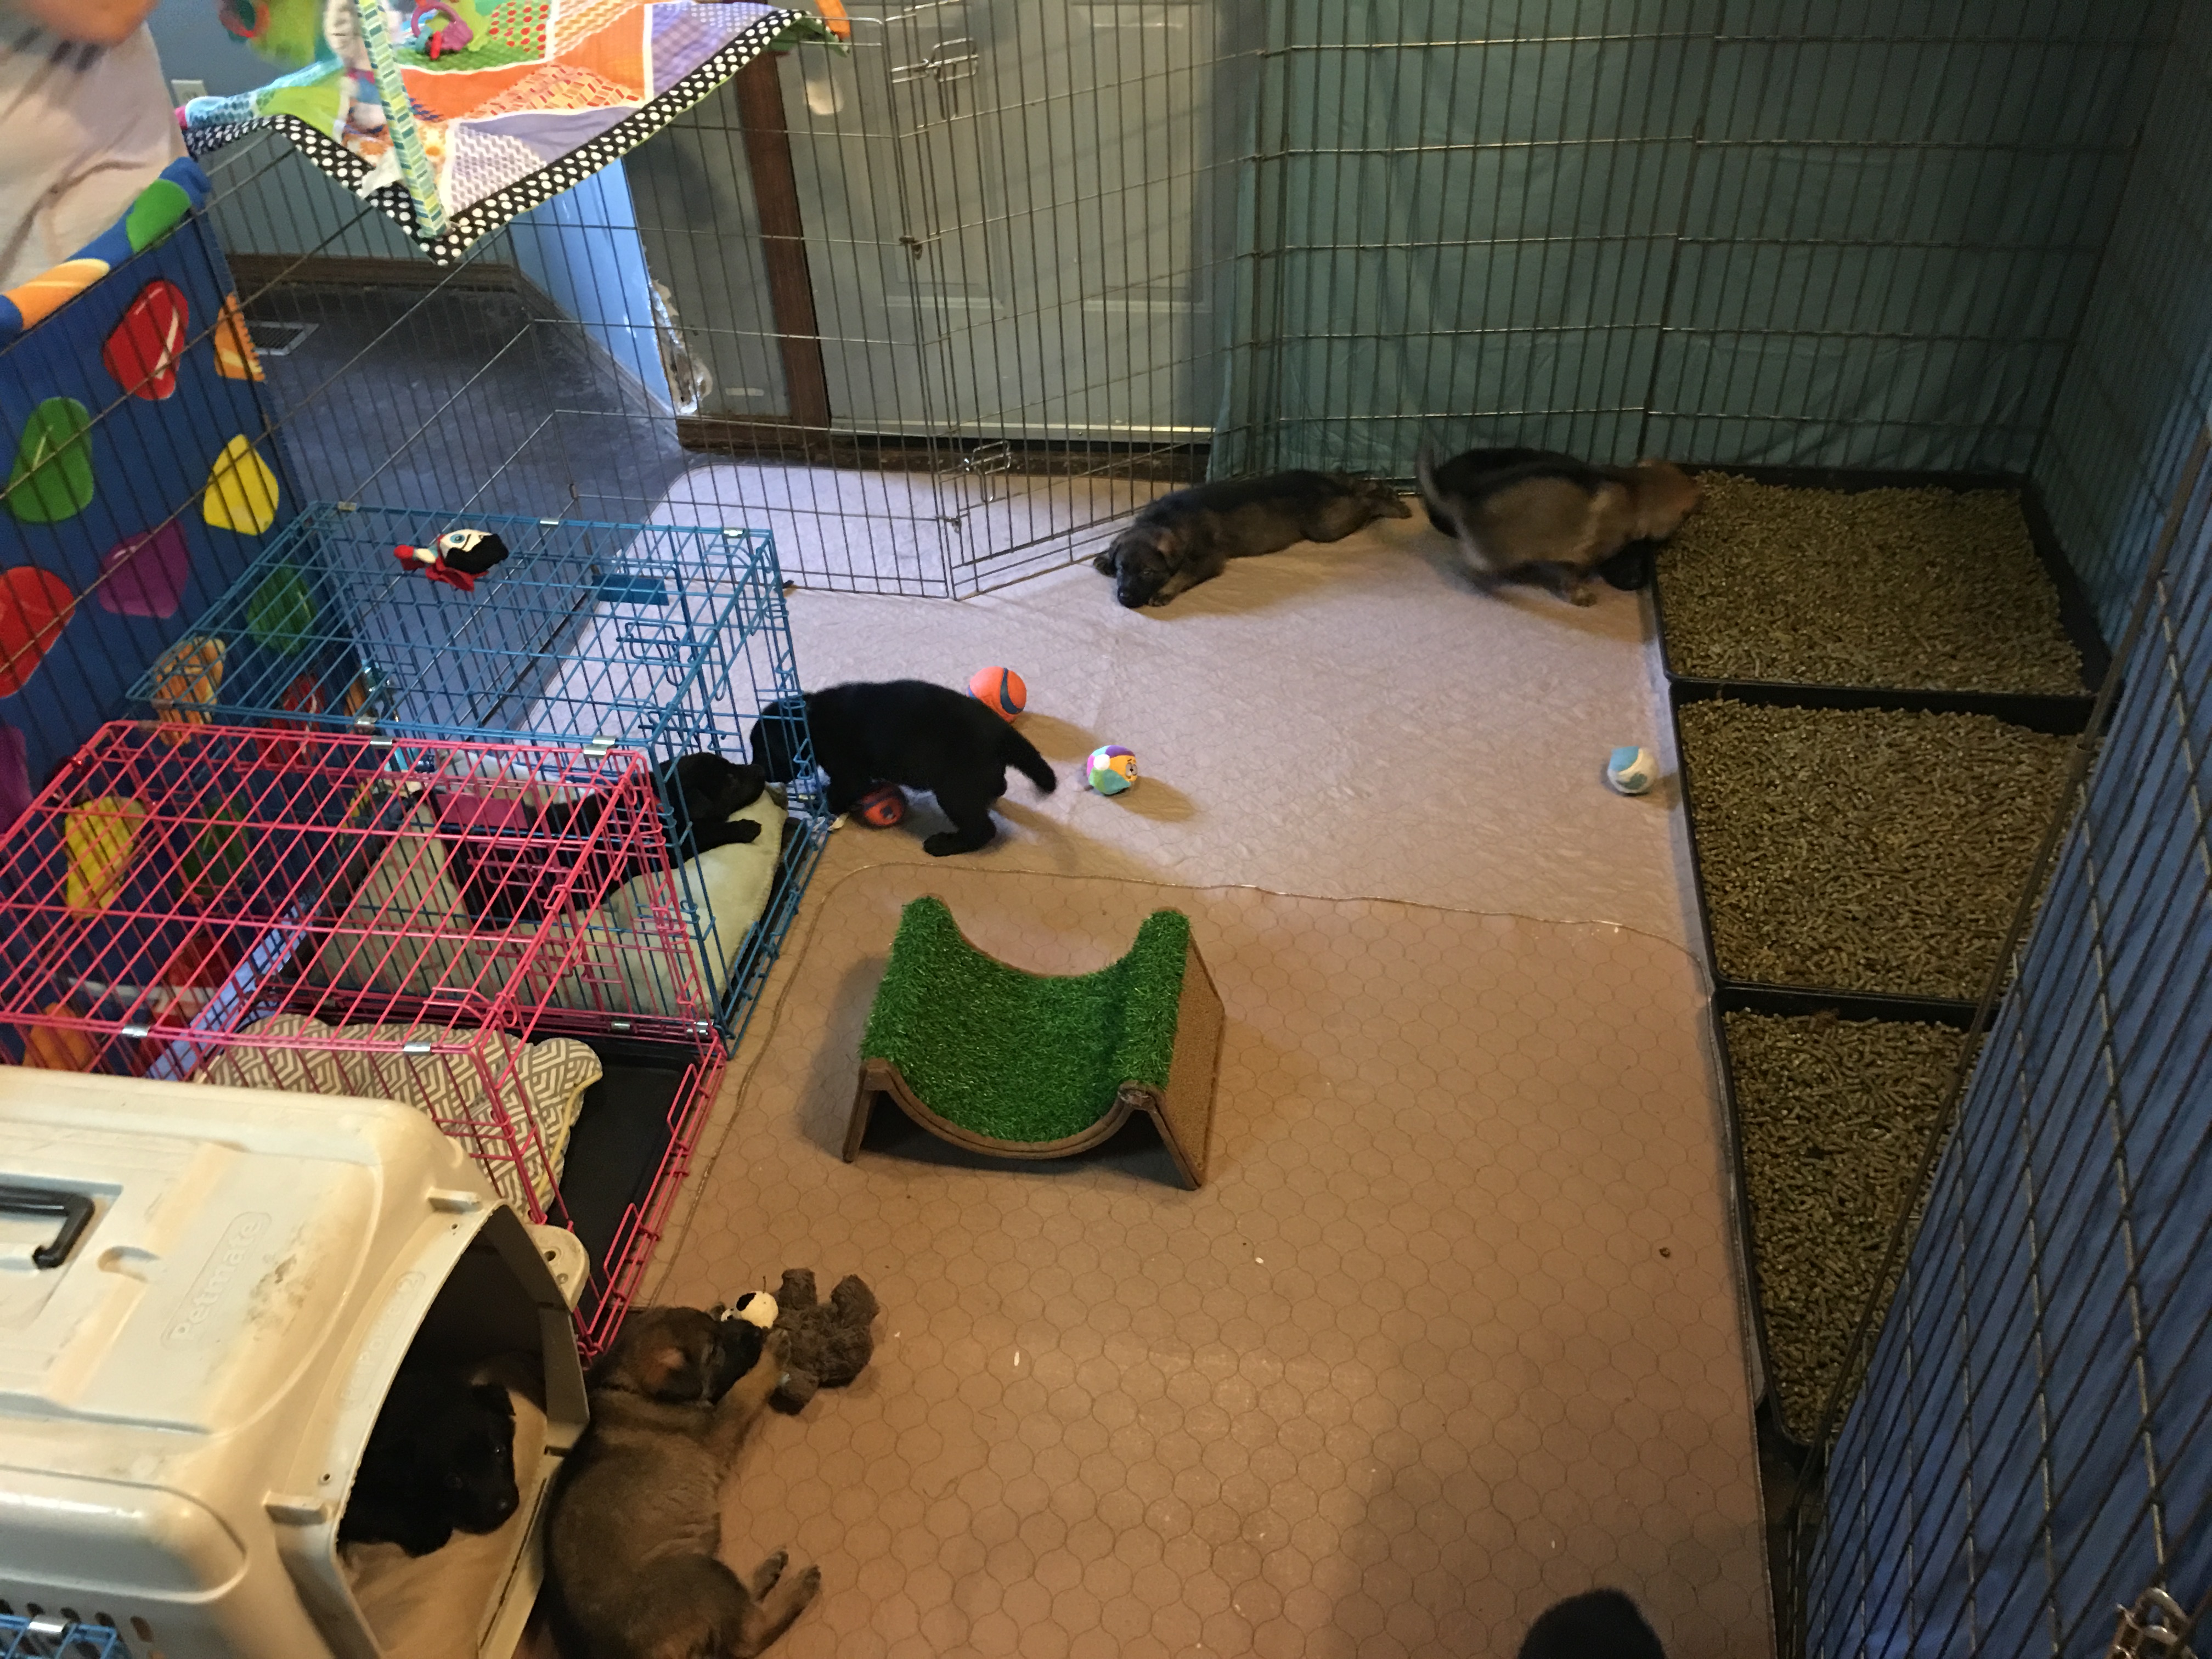
Week 4/5 weaning pen. Crates (L), play area (center) and toilet (R).
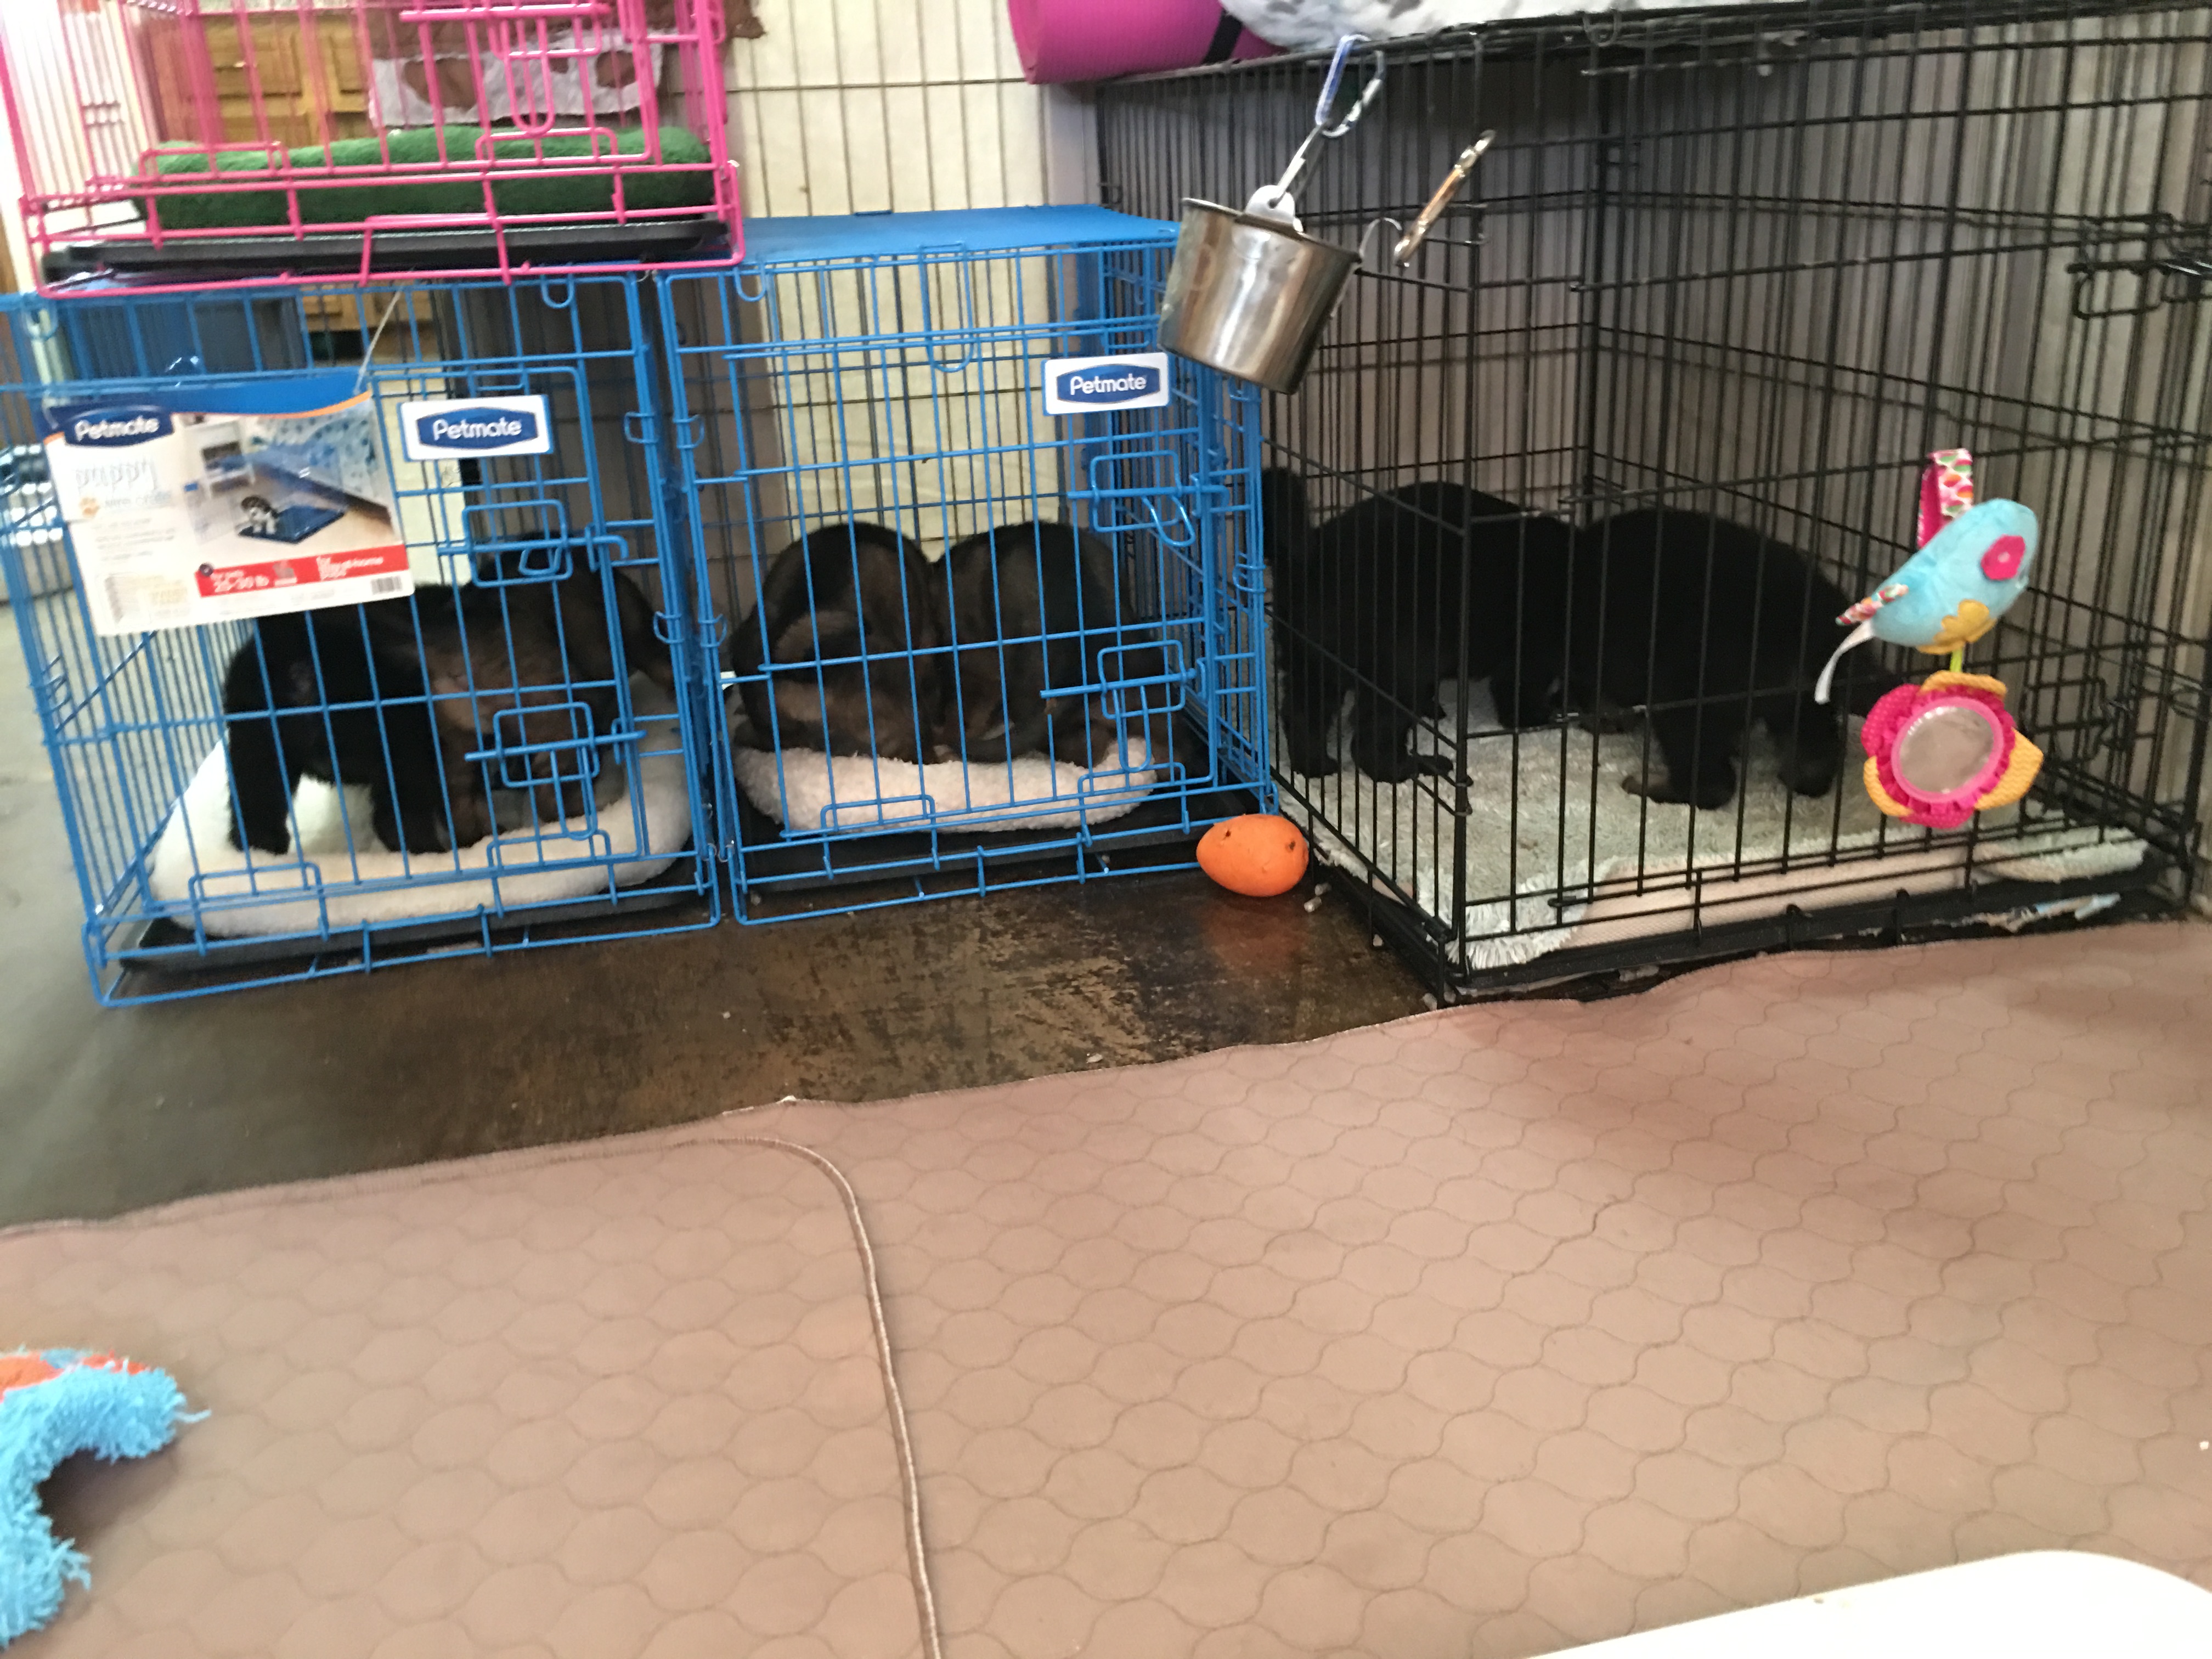
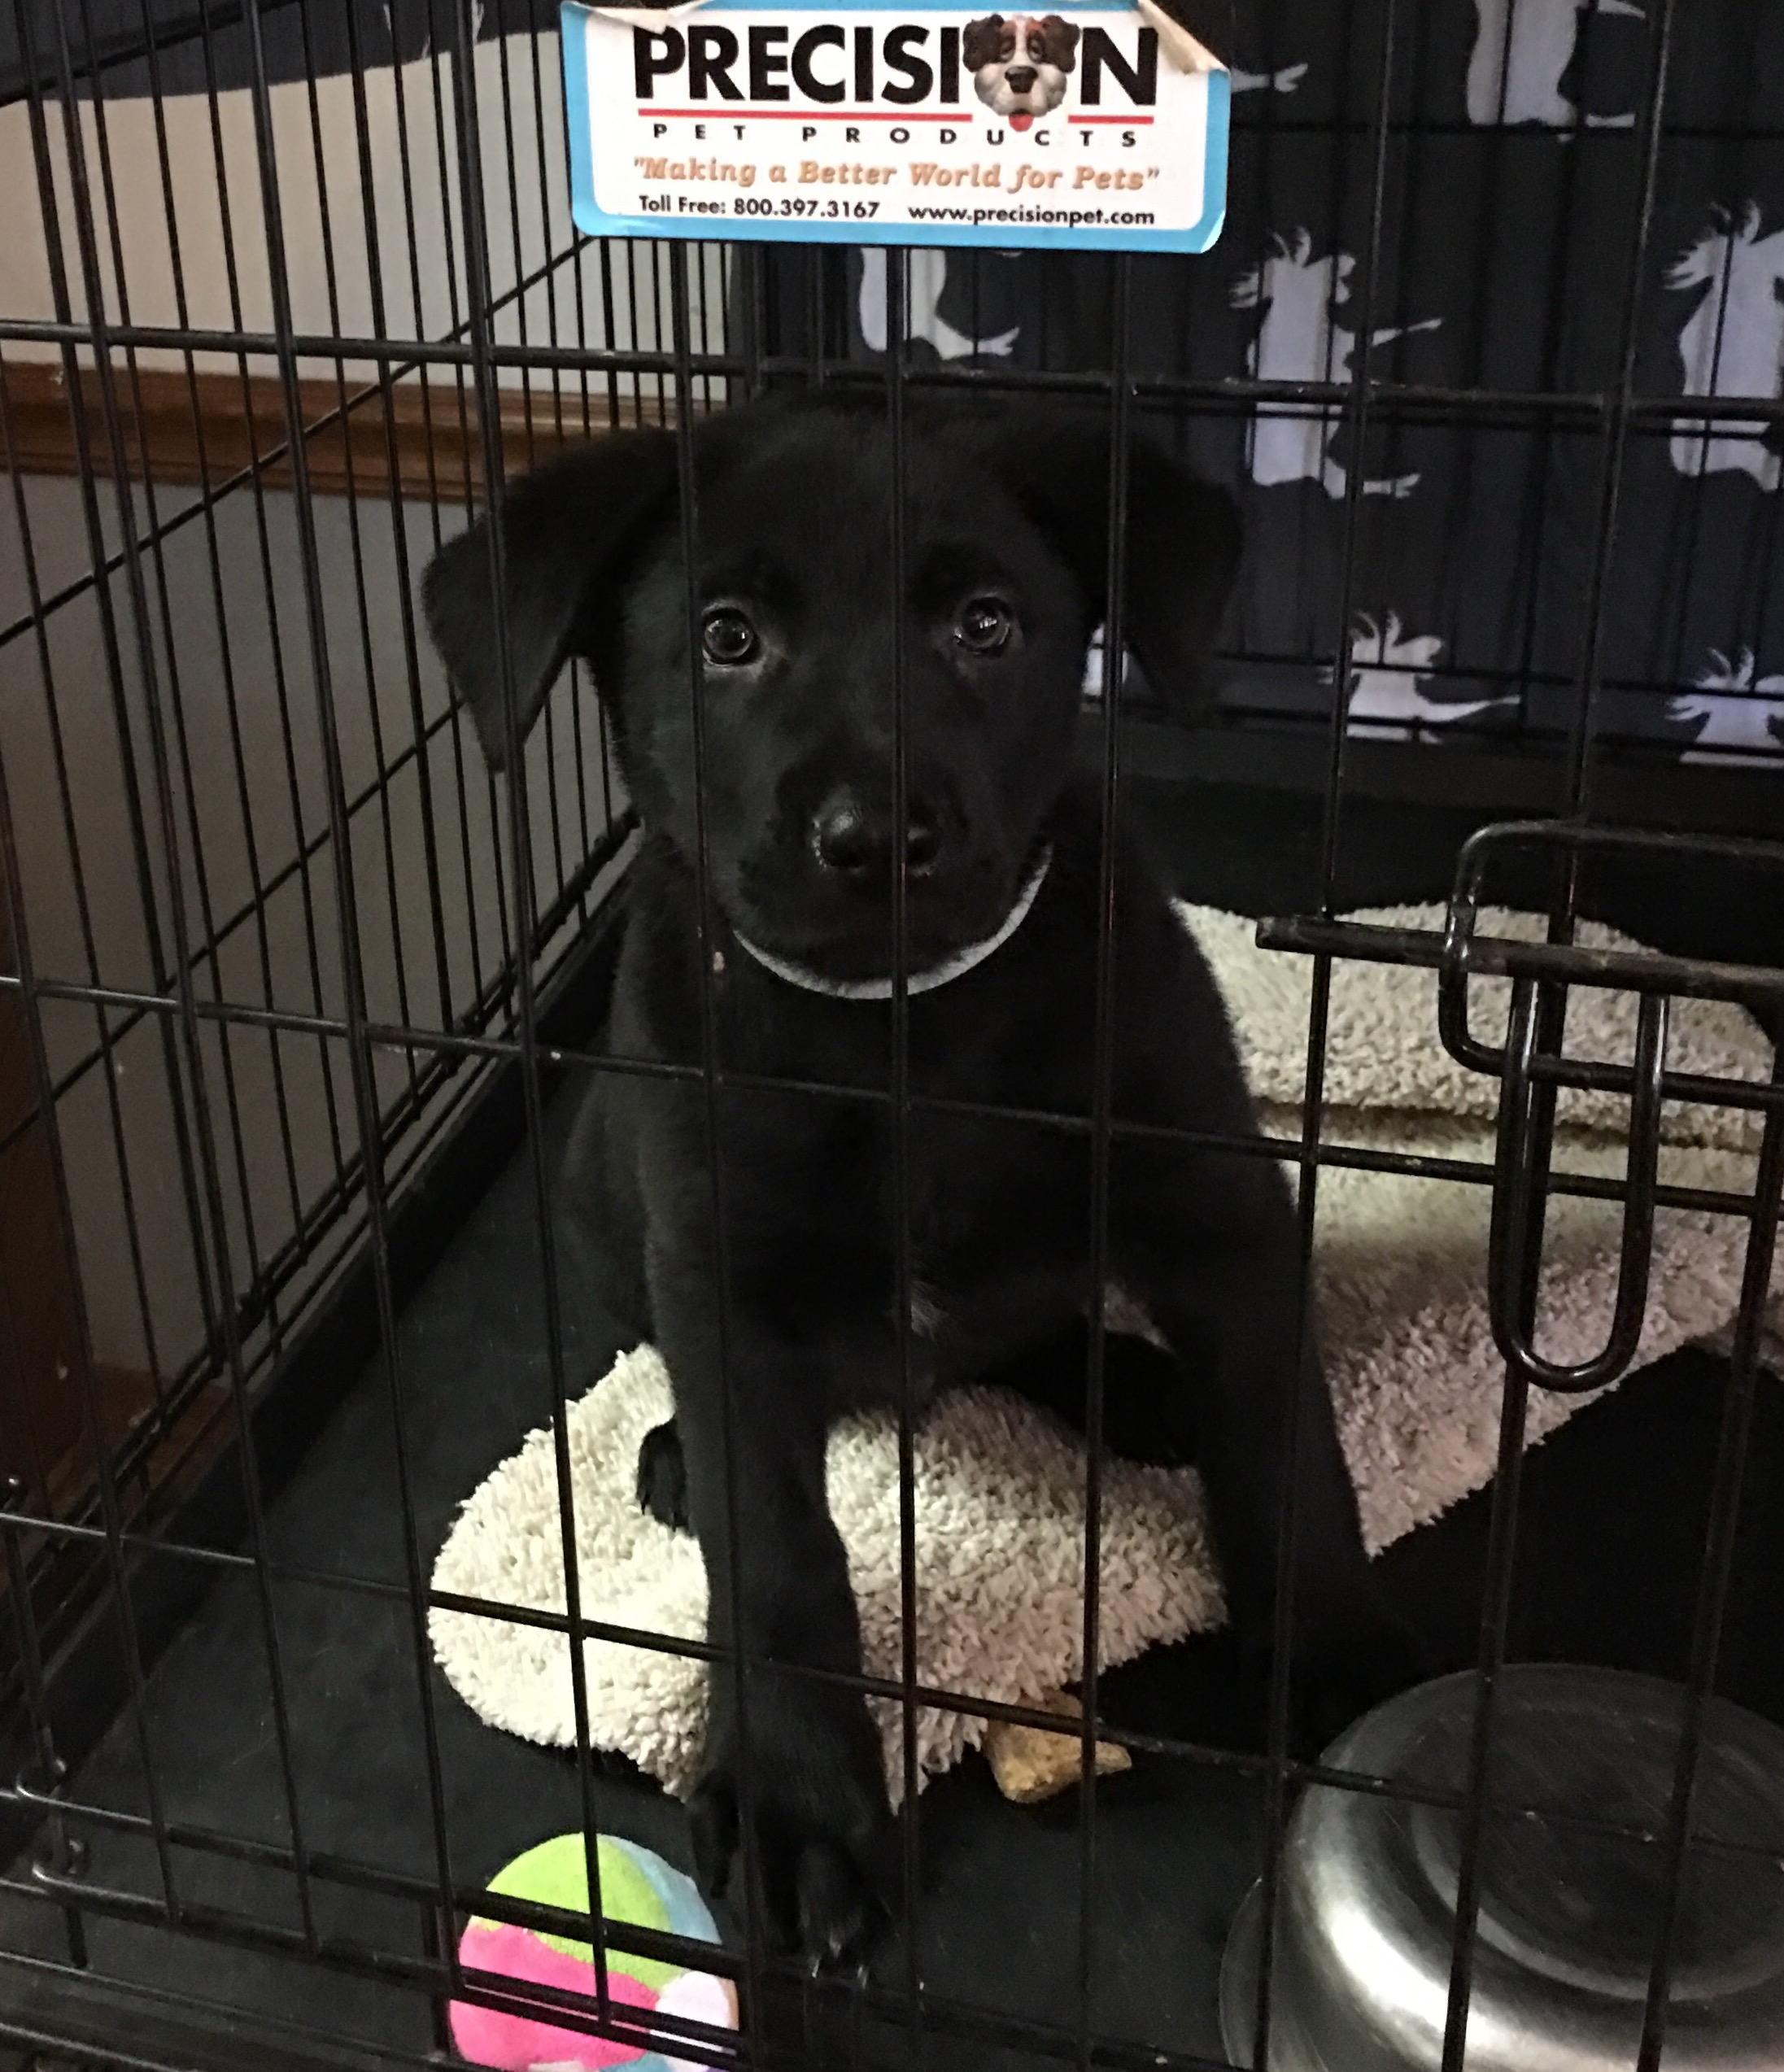
Week 4/5: In the weaning pen we have a toilet for the puppies on one wall, and on the opposite wall I install a row of small crates with the doors removed so the puppies can easily enter/leave at will. In each crate is a comfy bed, the only comfy bed in their weaning pen. Already, their first exposure to the crate is a happy one, a nice comfy bed!
First crates: doors removed
In the Week 4 stage we deliberately use at least two wire crates, and the crates are positioned with the back of the crate into the room. This serves two purposes.
Gives the puppies two really good reasons to enter their crate, visiting a nanny or visiting with us. Entering the crate and napping in the crate voluntarily are goal 1.
Gives us lots of opportunities to observe puppies entering the crate, so we can click/treat, or at this age equally powerful, use social reinforcement in the form of cheerleading to reinforce the puppies for entering or spending time in their crates.
Boom! Goal achieved, puppies are choosing to nap in their crates.
Important! It’s very undesirable for the puppy to enter the crate and then cry or fuss at the back of the crate because they can’t reach us or a nanny. Please note in the pictures above the presence of sheets or blankets as a visual block. When we cannot attend the puppies, we block their view out the back of the crate to prevent frustration. GSDs are very sensitive to developing barrier frustration, so it’s imperative that we don’t allow them to learn this during the CSP.
Week 5: During Week 5 we start feeding the puppies in groups of two inside their crates. Doors are still off at this point. We remove the bed at mealtime and feed the puppies with the bowl at the back of the crate.
Put the puppies outside the pen, and remove any bedding in the crates.
Lift in two puppies (I always choose two who are manding) into the pen and allow the puppy(s) to run into the crate for the food. I use a gate or X-pen to block off the crates I don’t want these puppies to enter, since at this point the crates usually don’t have doors. If the crates do have doors I close them to guide the puppies into the crate I want them to enter. I may also close the doors while they are eating.
Repeat with each group of puppies, ensuring one or two puppies per crate. A helper is nice but not required.
After removing the bowls, I wipe down the crate if needed and put the beds back inside.
Feeding in crates with doors closed. As soon as the puppies are finishing, I open the door. We are not working on duration in the crate.
Towards the end of this week, I put the doors on the crates. At this point I wait to let the puppy enter the crate until it Mands for me. Later I will use this association between the crate door and Manding to teach my puppies to Mand to ask out of a crate also.
Week 6/7: We know we are ready for Week 6 work when the puppies enter their crates frequently and happily for naps and meals. Once we have met those goals we are ready to build duration inside the crate and teach the puppy how to ask out.
Goals for Week 6:
1. Build voluntary duration inside the crate. 2. Teach the puppy how to “ask out” by Manding, instead of fretting, whining, or crying.
To build voluntary duration, we needed an activity the puppy would prefer to participate INSIDE the crate. The obvious choice was chewing. At this age puppies have a strong instinct to chew, and an equally strong desire to chew alone, without littermate interference.
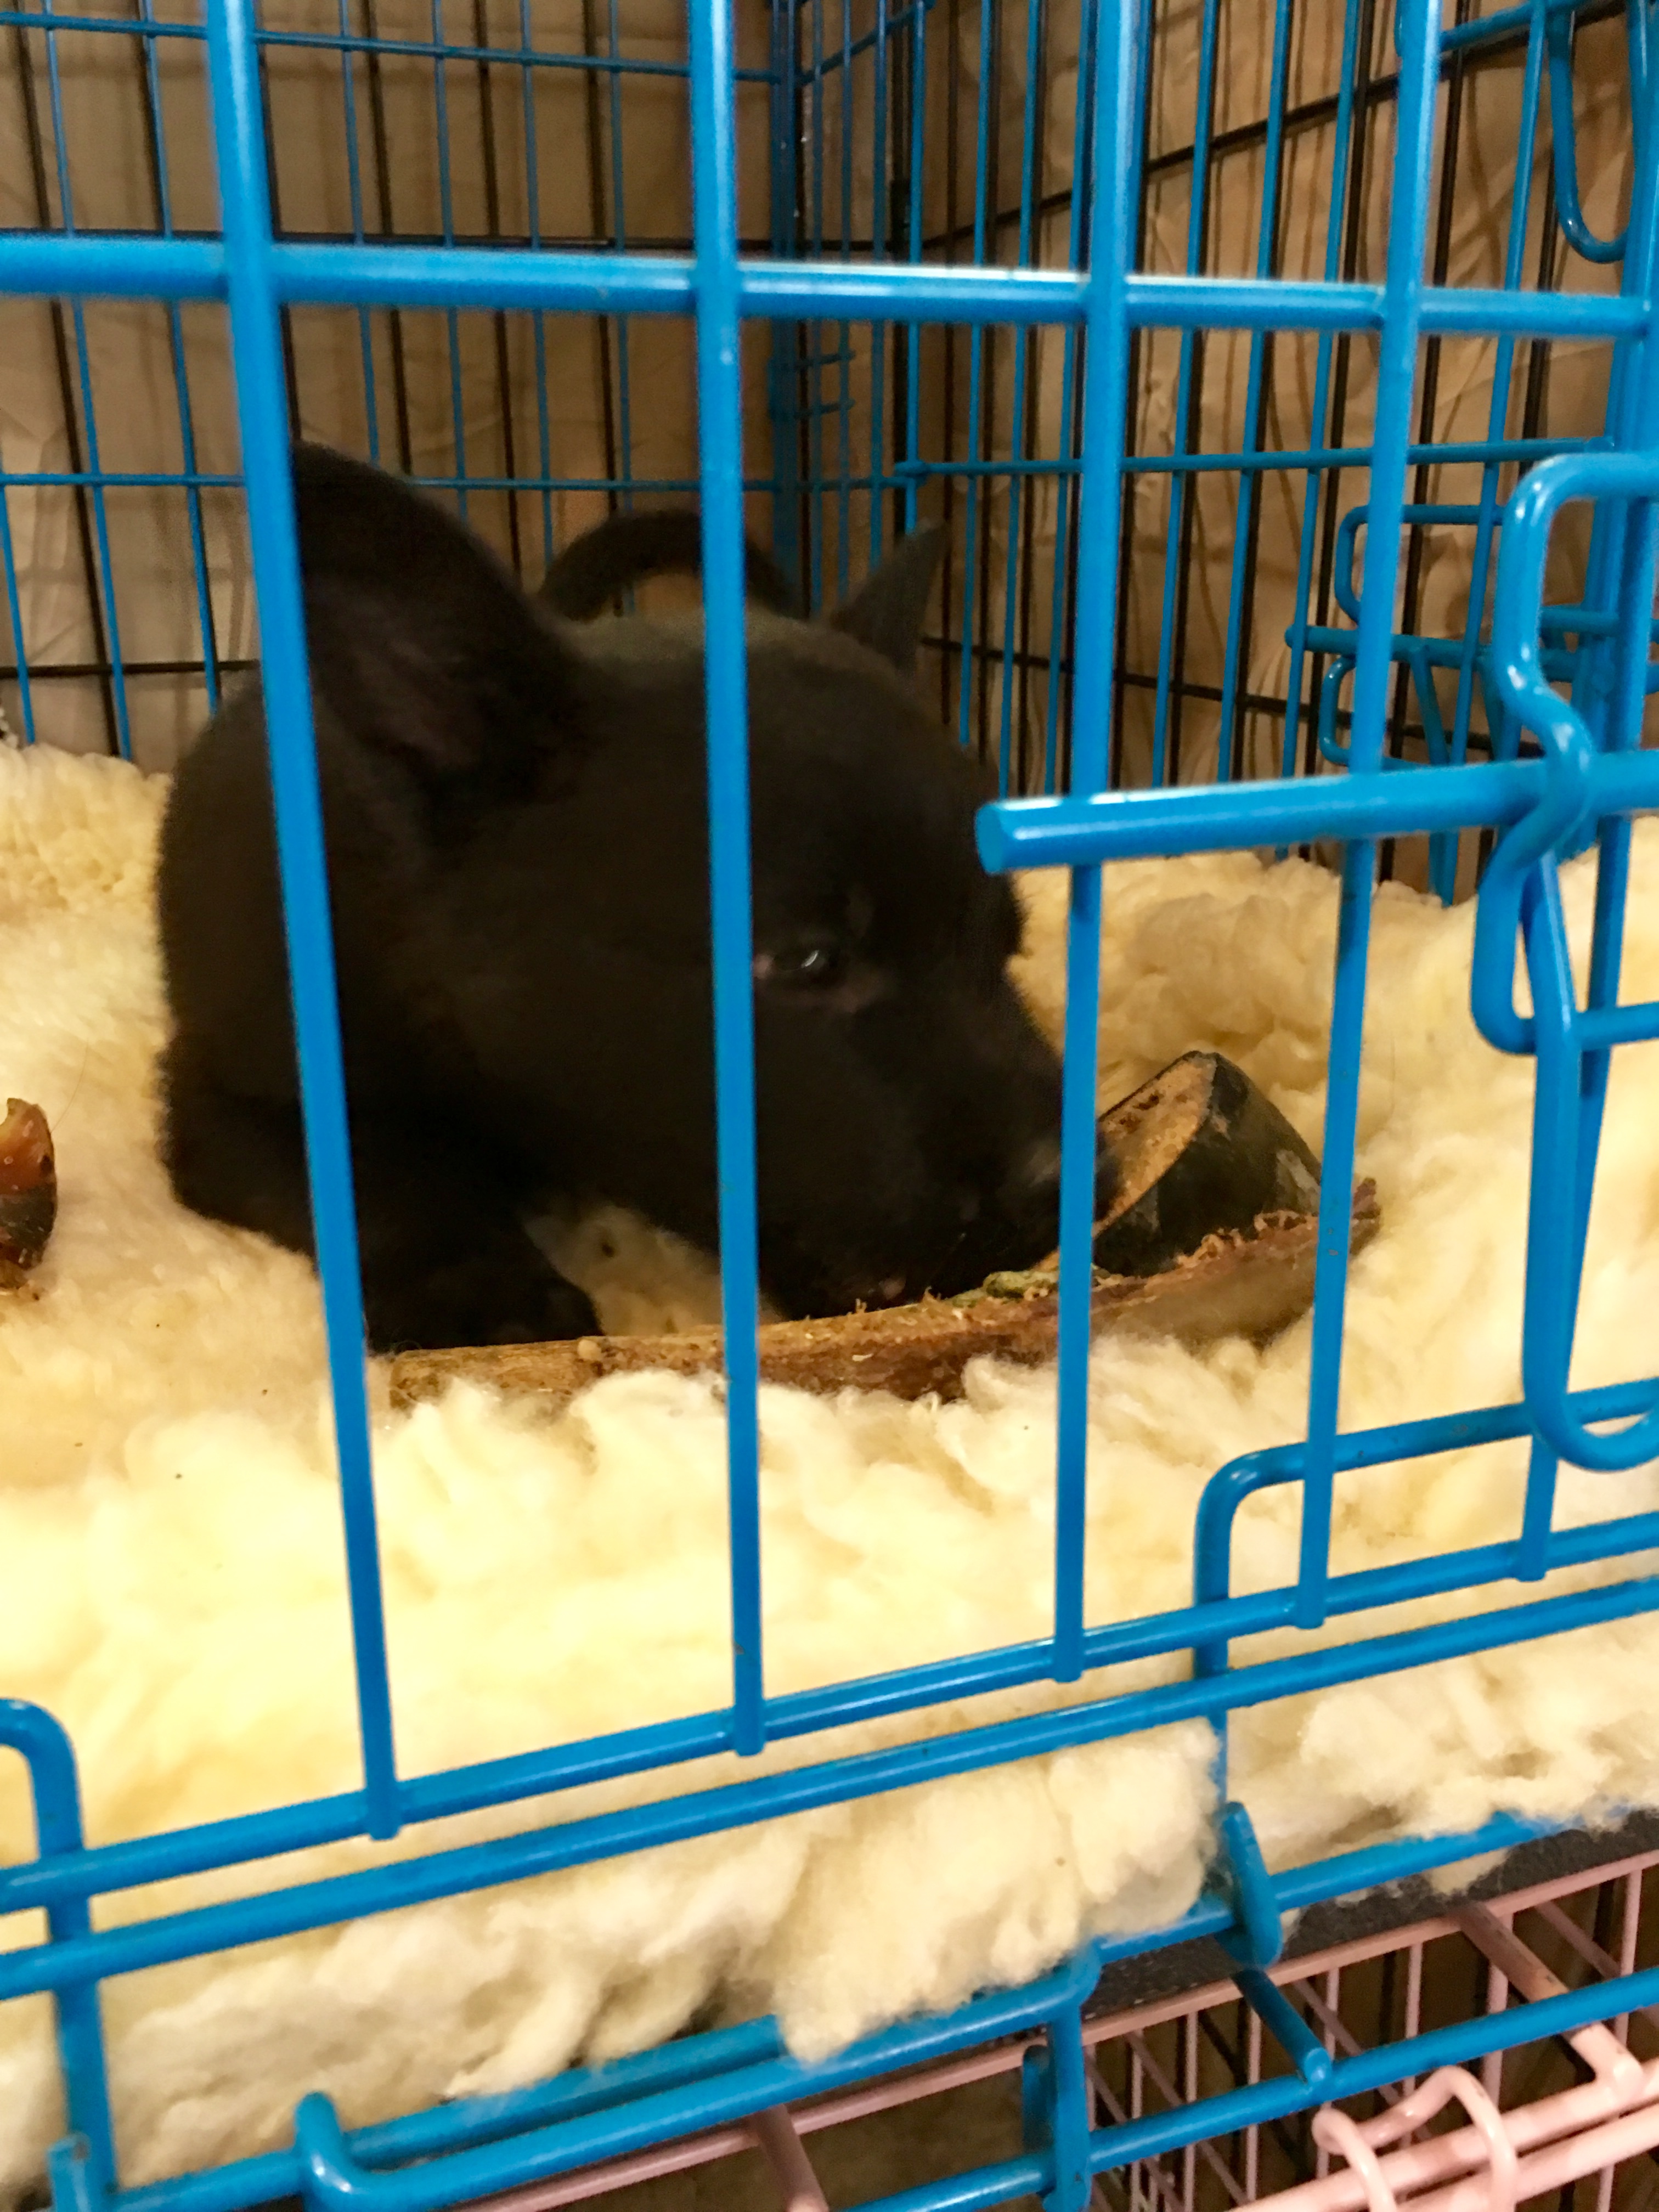
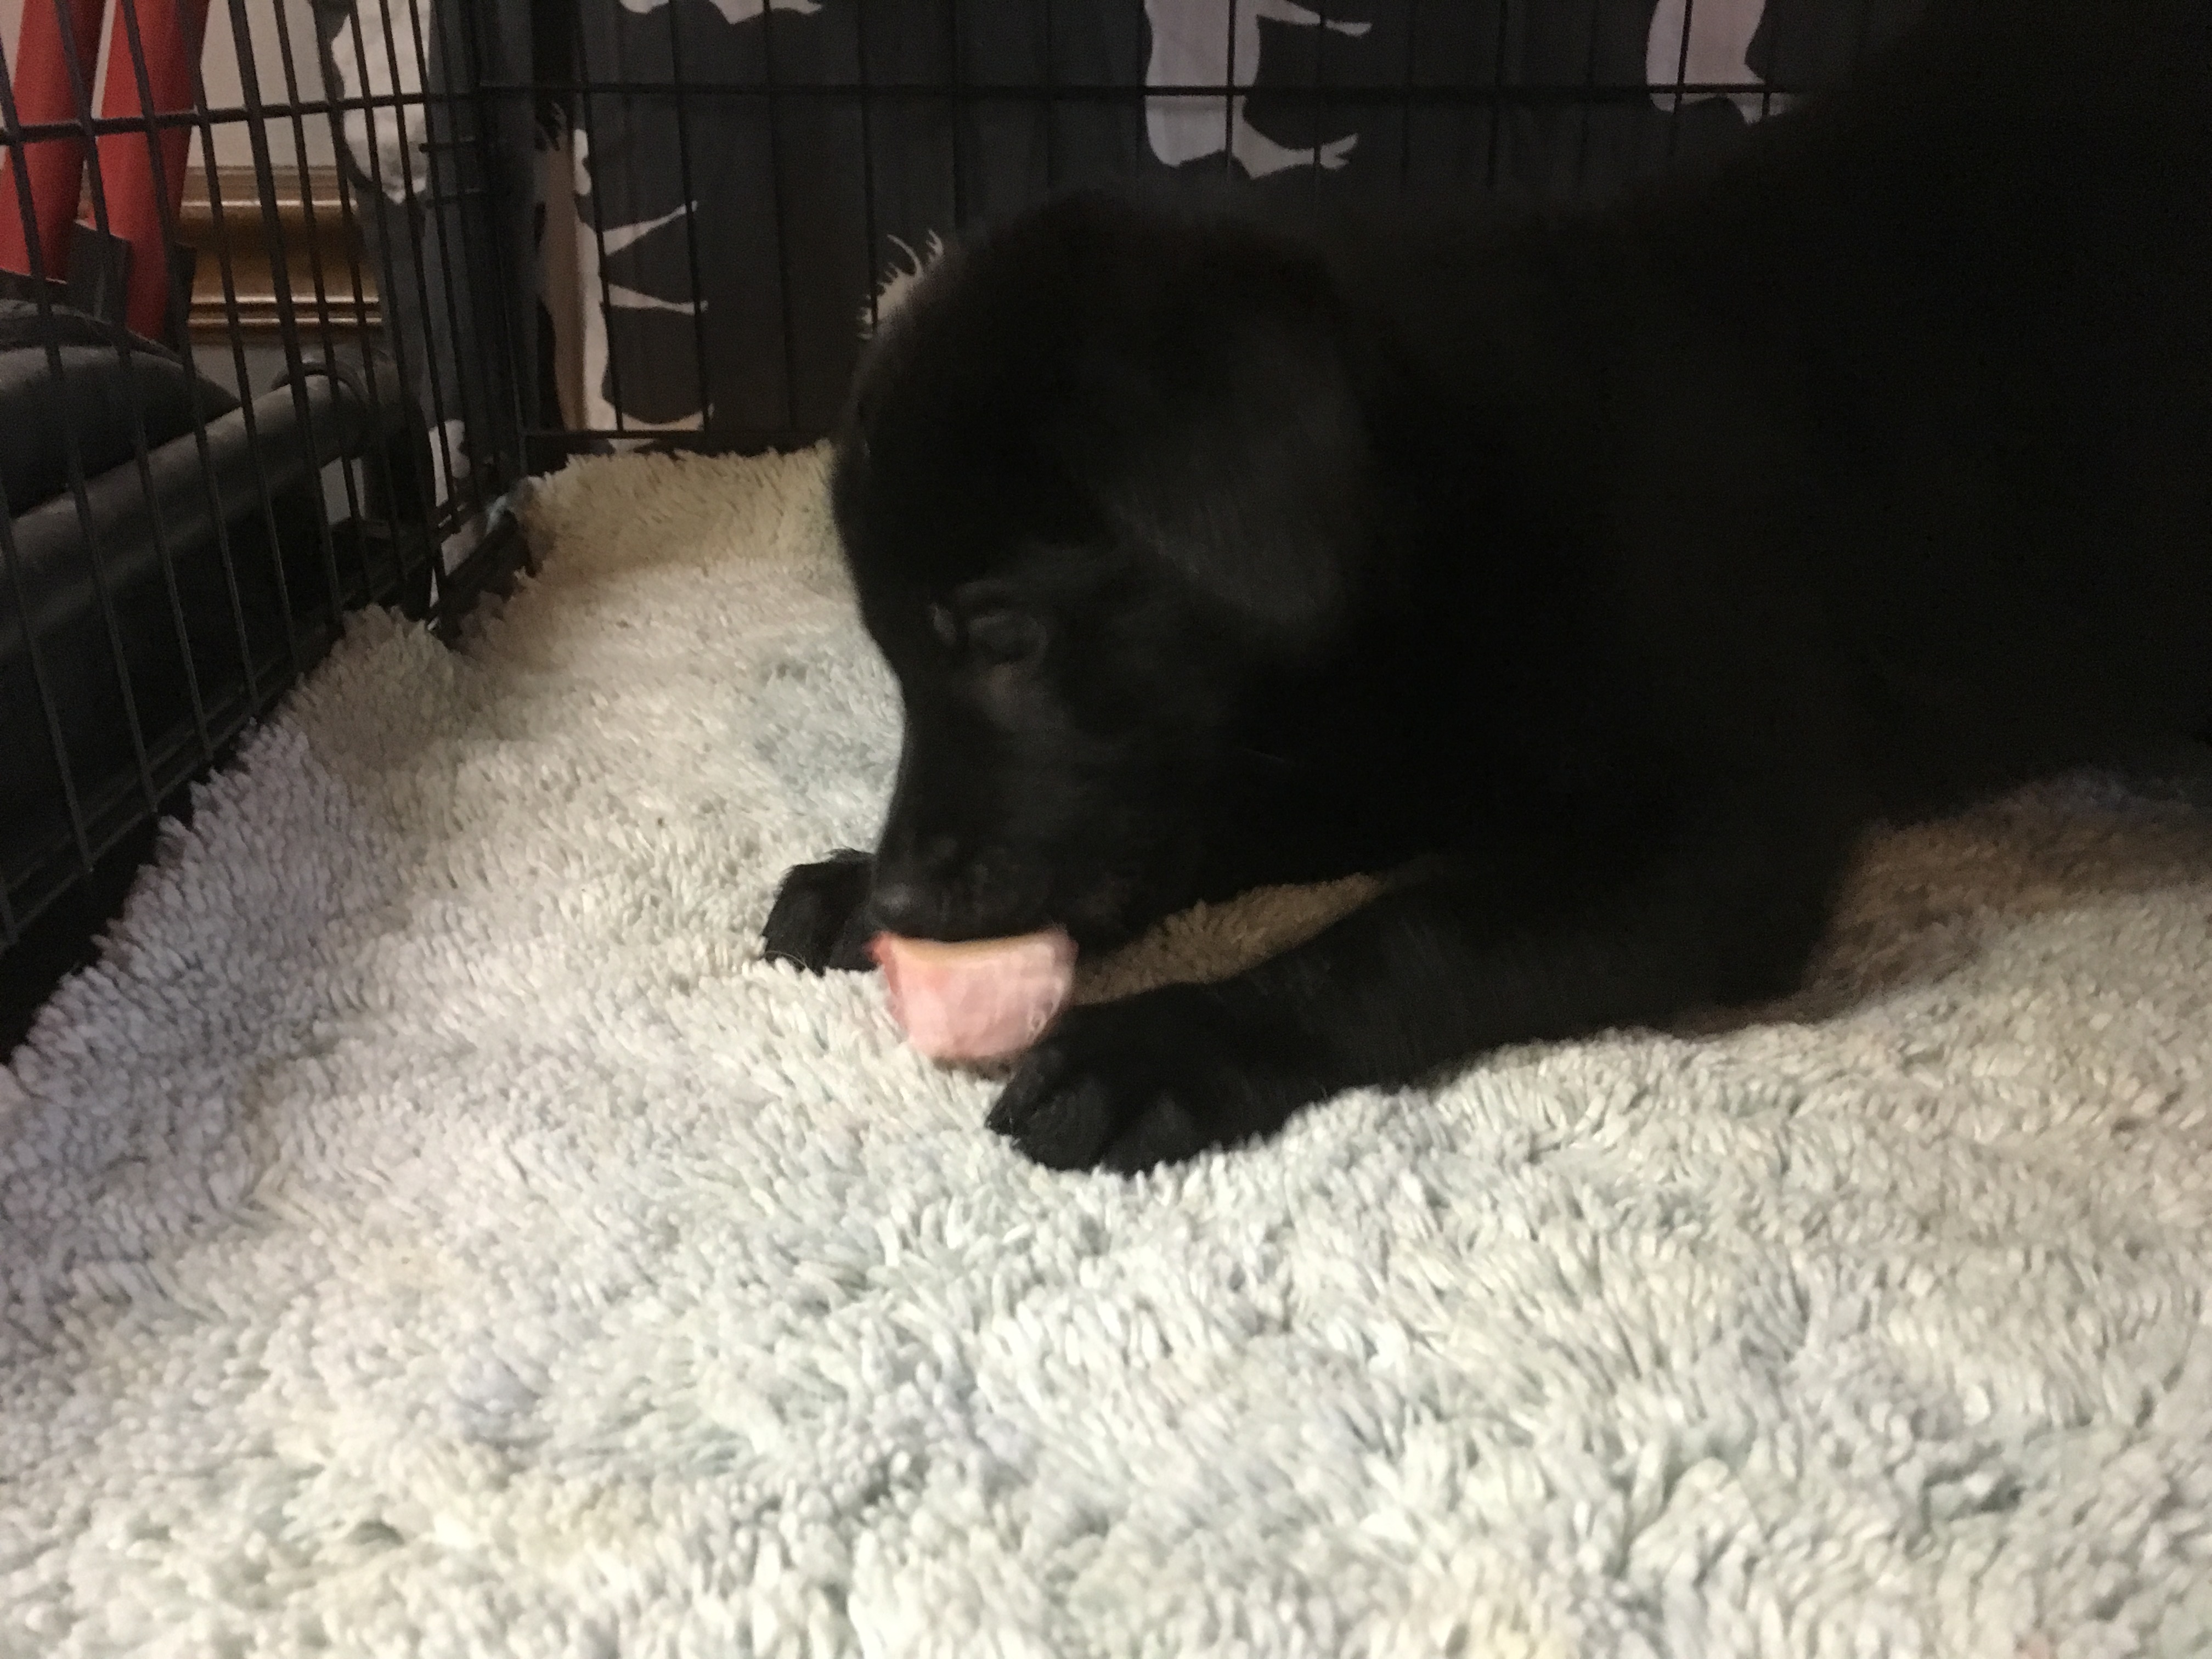
Crate chew time with a raw bone.
We also need to teach the puppy that while we are closing the door to the crate, the puppy can “ask out” by Manding from the Puppy Culture Protocol. It’s vital to me that the puppy does not feel trapped, or regret being inside the crate. To prevent this the puppy needs a way to ask out of the crate! Puppies who cannot express needs become frantic and frustrated, this is contrary to our goals.
During this phase, if the puppy wants to exit the crate, it’s chew must remain inside the crate. If the puppy drops the chew to exit that’s great, if not we trade a high value treat for the chew.
Wren Manding to be let out.
At this stage each puppy is fed individually in a crate. After each meal we remove the bowl and at the same moment, give the puppy a HIGH value chew. Something the puppy thinks is AMAZING! Wait patiently nearby while the puppies chew away.
If a puppy drops it’s chew and moves to the door, open the door and remove the puppy (leaving the bone in the crate to be put away later), offer it a toilet break, and then return it to the crate. Often if a puppy asks out, we find they will return to the crate to chew after a chance to void.
As the week progresses wait a bit longer to open the door, and see if the puppy Mands (if you have been doing lots of Manding in the weeks previous, it’s really likely the puppy will Mand if you just pause there). The moment the puppy Mands, open the door and remove the puppy from the crate.
Give the puppy an opportunity to Mand to ask out each time, but I never “get in a battle” over this, if the puppy really wants out and is upset or fretting I let it out, this is not the age to expect adult behavior. More important is that the puppy learn to trust that it can ask out and be let out, of the crate on demand. Otherwise we risk creating a negative association with confinement.
This puppy isn’t chewing, but isn’t asking to be let out either. We just let them chill until they’re ready to come out!
In week 6 and 7 we allow the puppy to learn that sometimes they might WANT to stay in their crate AND that they can ask out at any time and we will remove them from the crate. These two lessons are learned together.
Now, before you say that you “don’t have time” for this set up at every meal… don’t despair, I don’t do this at EVERY meal because like you, sometimes I don’t have time! At the least I try to do this at one meal per day, some days I make it at two meals!
While the puppies are chewing, I clean up the weaning pen, tidy the toys, refill my success stations, and clean bowls. I just stay nearby.
Win! After meal time, some choosing to nap, some choosing to chew, none asking out (yet).
During week 6 I expect the puppy to stay engaged with the chew around 5 minutes, some less, some more. Please don’t expect your puppy to sit and chew for an hour!
Sometimes, if the puppy wants out I ask the puppy if it would be interested in staying in the crate for a different chew. So the puppy Mands to ask out, and I open the door and show the puppy a different chew, if the puppy takes the chew and lays down and starts chewing I close the door. If the puppy wants out, it’s removed from the crate. This is most often how I build duration beyond five minutes or so. But as always, the puppy chews as long as it likes, and it’s let out when it likes. If a puppy falls asleep in the crate, we leave them to nap if someone will be there to let them out when they wake up.
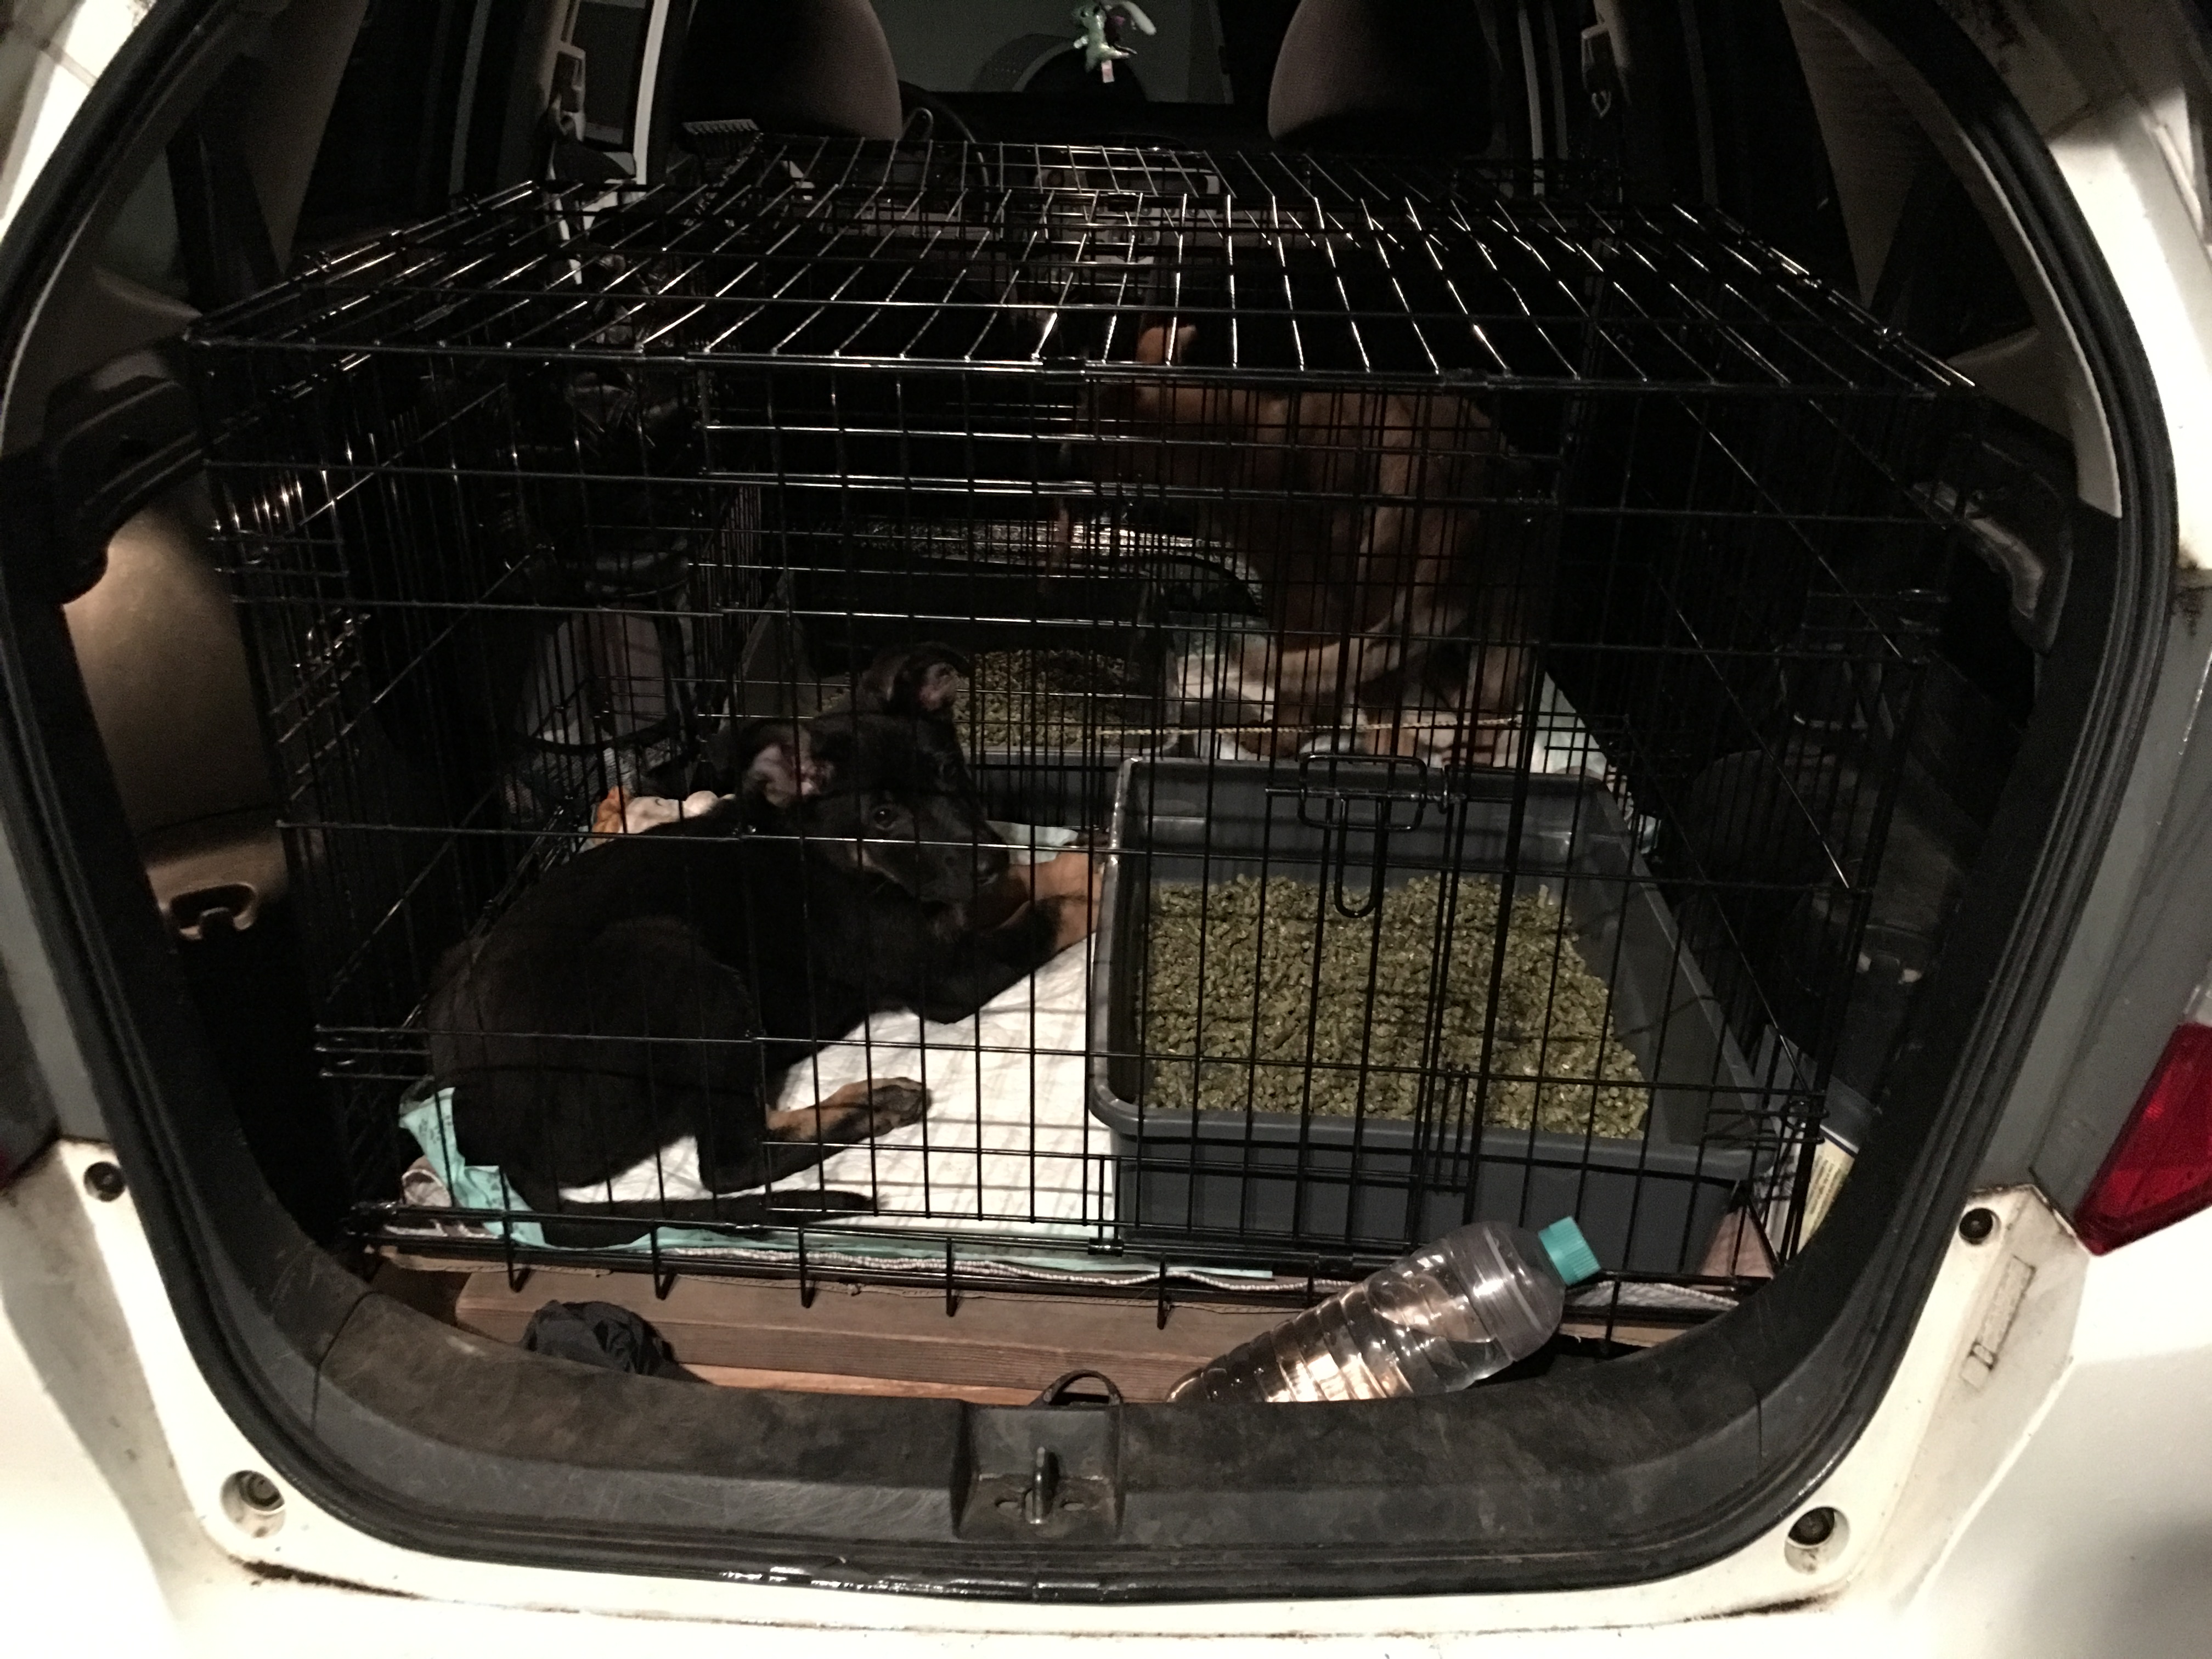
During Week 6 and 7 we do at least one “chew session” in the crate inside the car (ideally running) and if possible we take a short drive.
Week 8 and up:
If you wanted, you could just continue using the Week 6/7 protocol until you send your puppies home at 9 to 16 weeks weeks. JUST doing that would be a great benefit to your puppies, creating a positive emotional response to being crated and confined, and teaching them they can ask out instead of screaming. But if you want MORE, here it is! –Susanne 2021 Update: Indeed we have found that overnight confinement steps do not improve crate work in the new home considerably.
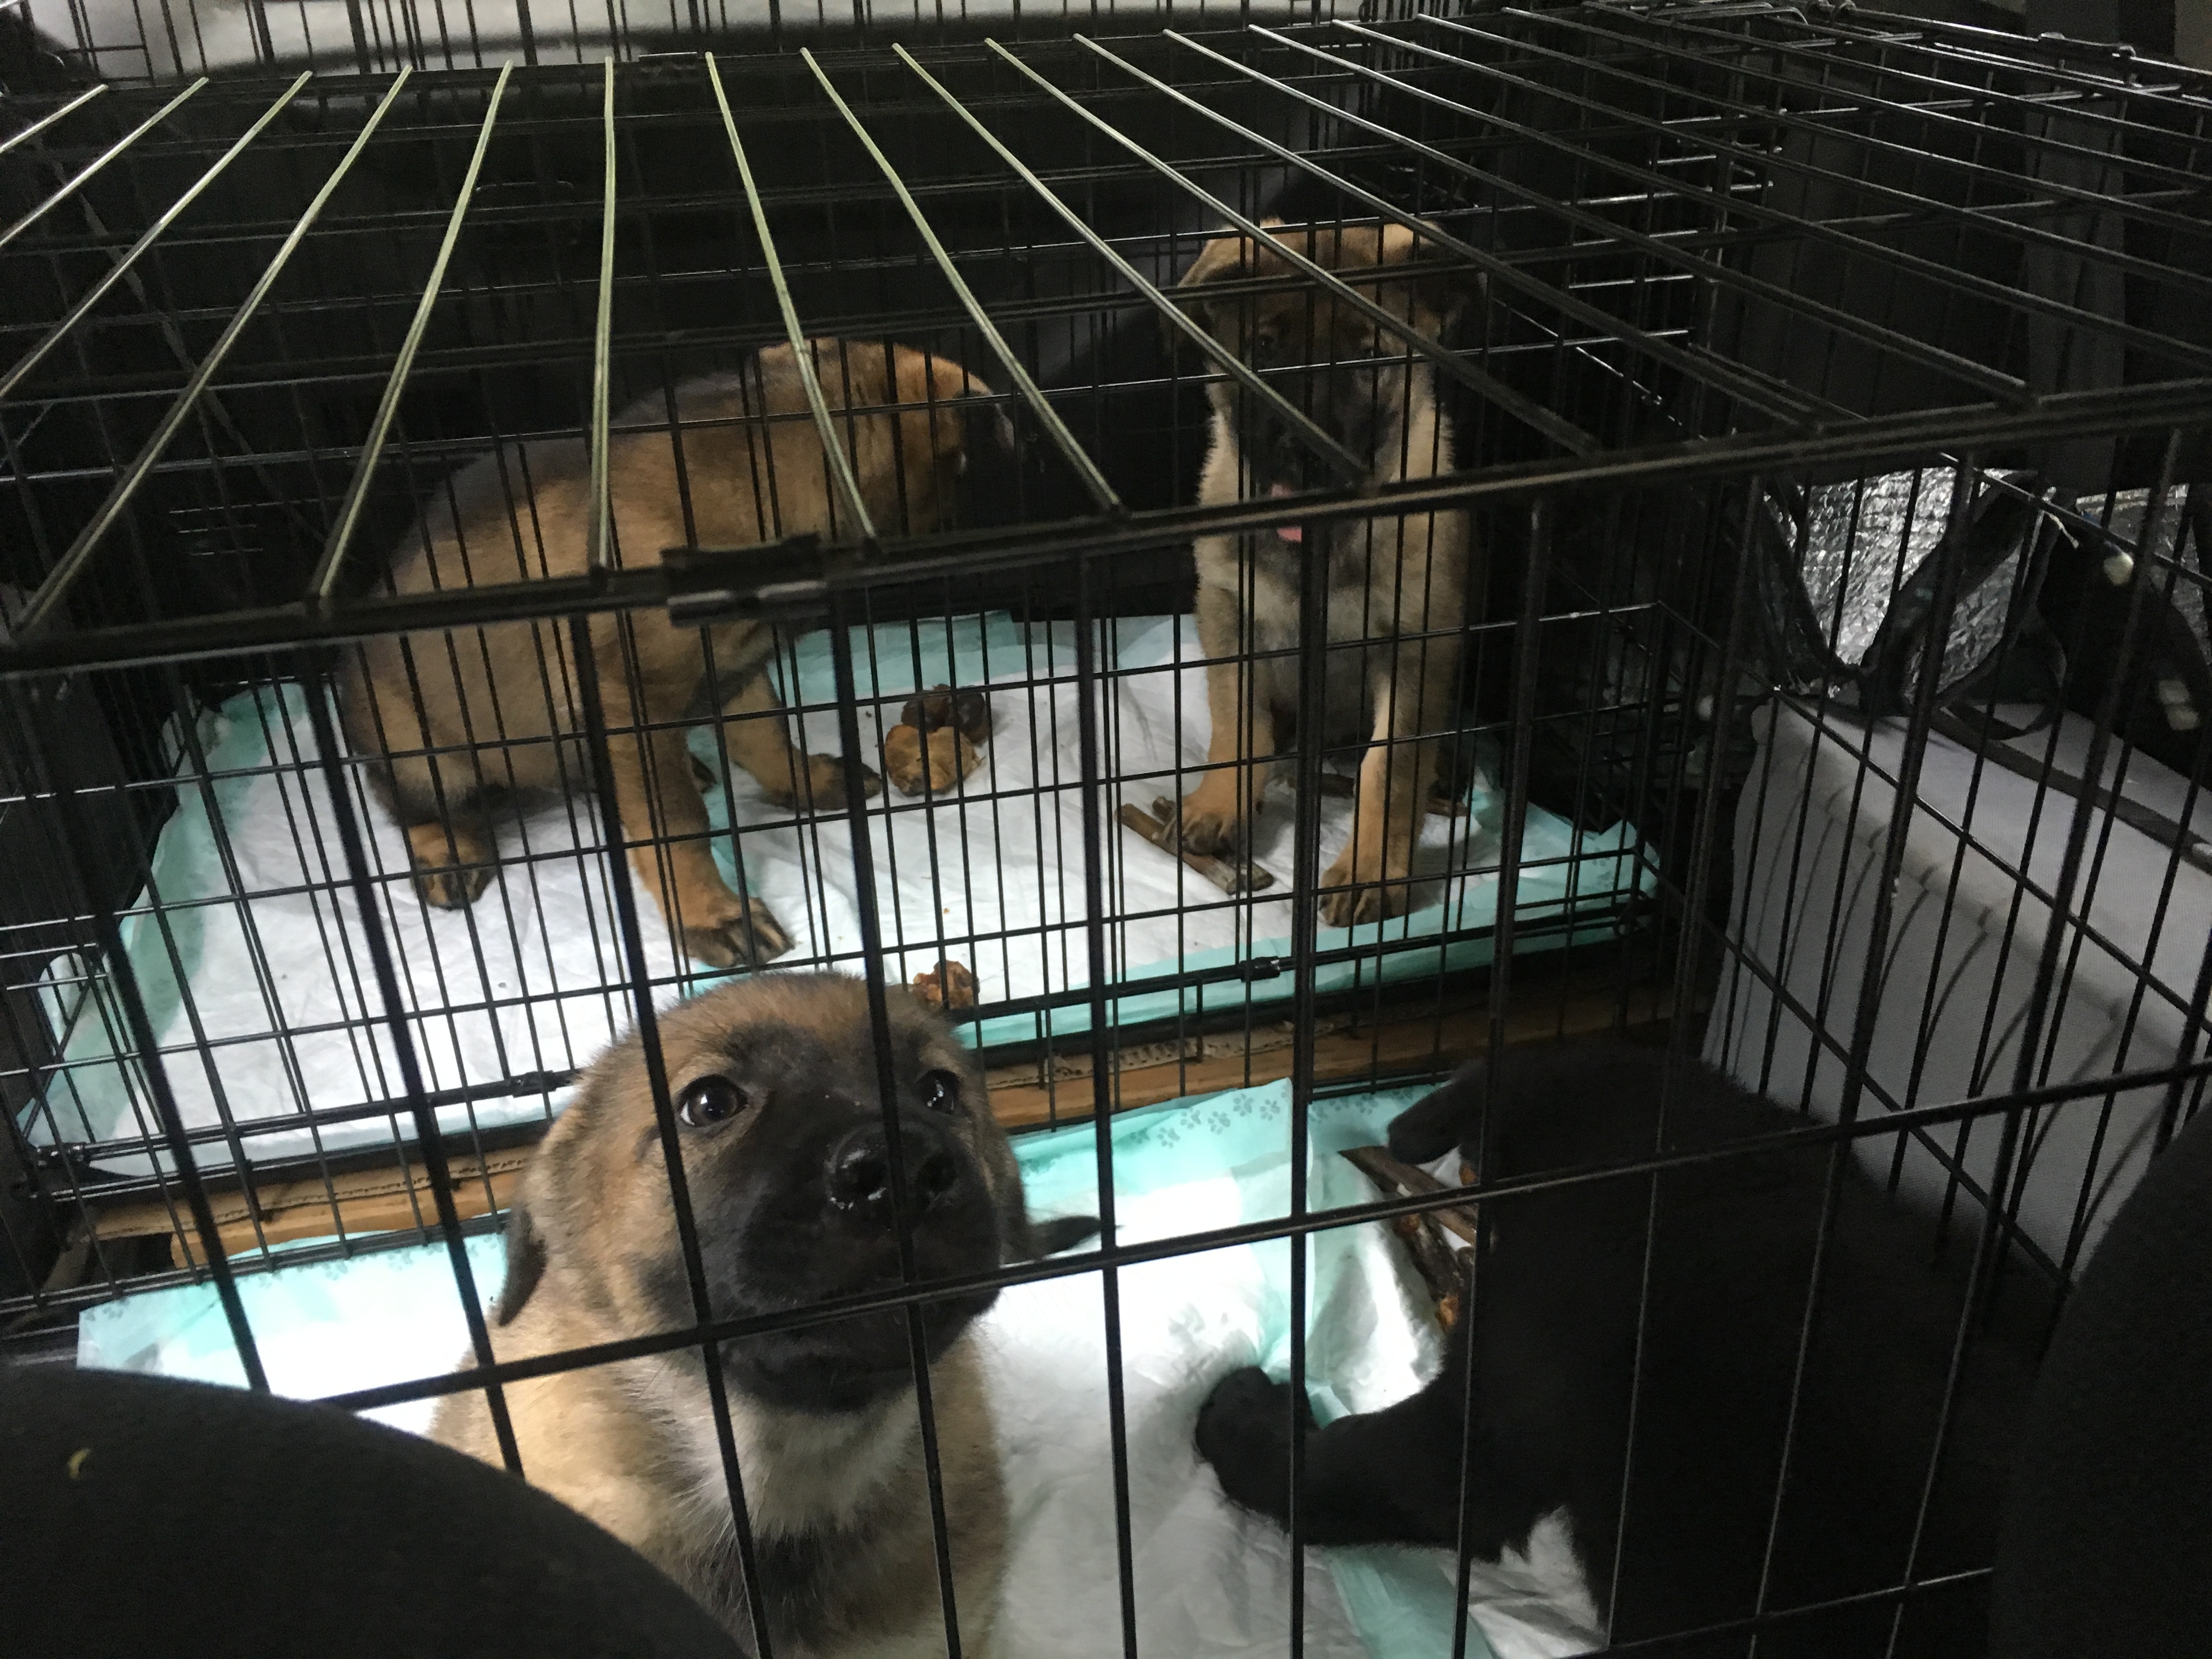
A typical example, a few puppies have chosen to remain in their crates, a few crates are empty because those puppies have asked out.
Goals Week 8 through Send Home Day:
Puppy will sleep through the night (Optional! We have found this step often makes no difference in ease of crate training in the new home-Susanne 2021) in the crate with minimal to no fussing.
Puppy can remain crated up to 10 minutes during the day, with chews.
Puppy will Mand to ask out of crate.
Puppy will enter crate when asked.
Crate Nights
One of our primary goals with this program (remember Indeigh) is that puppies are conditioned to sleeping through the night in their crate before they leave for their new family. While this certainly doesn’t guarantee no sleepless nights in the new home, it does reduce the odds a puppy will panic in the crate or form negative associations with the crate or worse, the new environment or family.
I really struggled with how to do this, because I could not imagine how this would work with baby puppies. What if a puppy needed to potty in the night? I KNEW if a puppy woke up and needed to potty that all HELL would break loose in the puppy room when I went to let that puppy out. I KNEW I would end up with a room full of puppies all frustrated and crying for their release, then crying and frustrated at being crated again. Not to mention spending an hour in the middle of the night getting them all out, then in again. NOT good learning, NOT good for my sanity, NOT good for my marriage! But if I didn’t get up to let a puppy relieve itself it might have an accident in the crate, also NOT good.
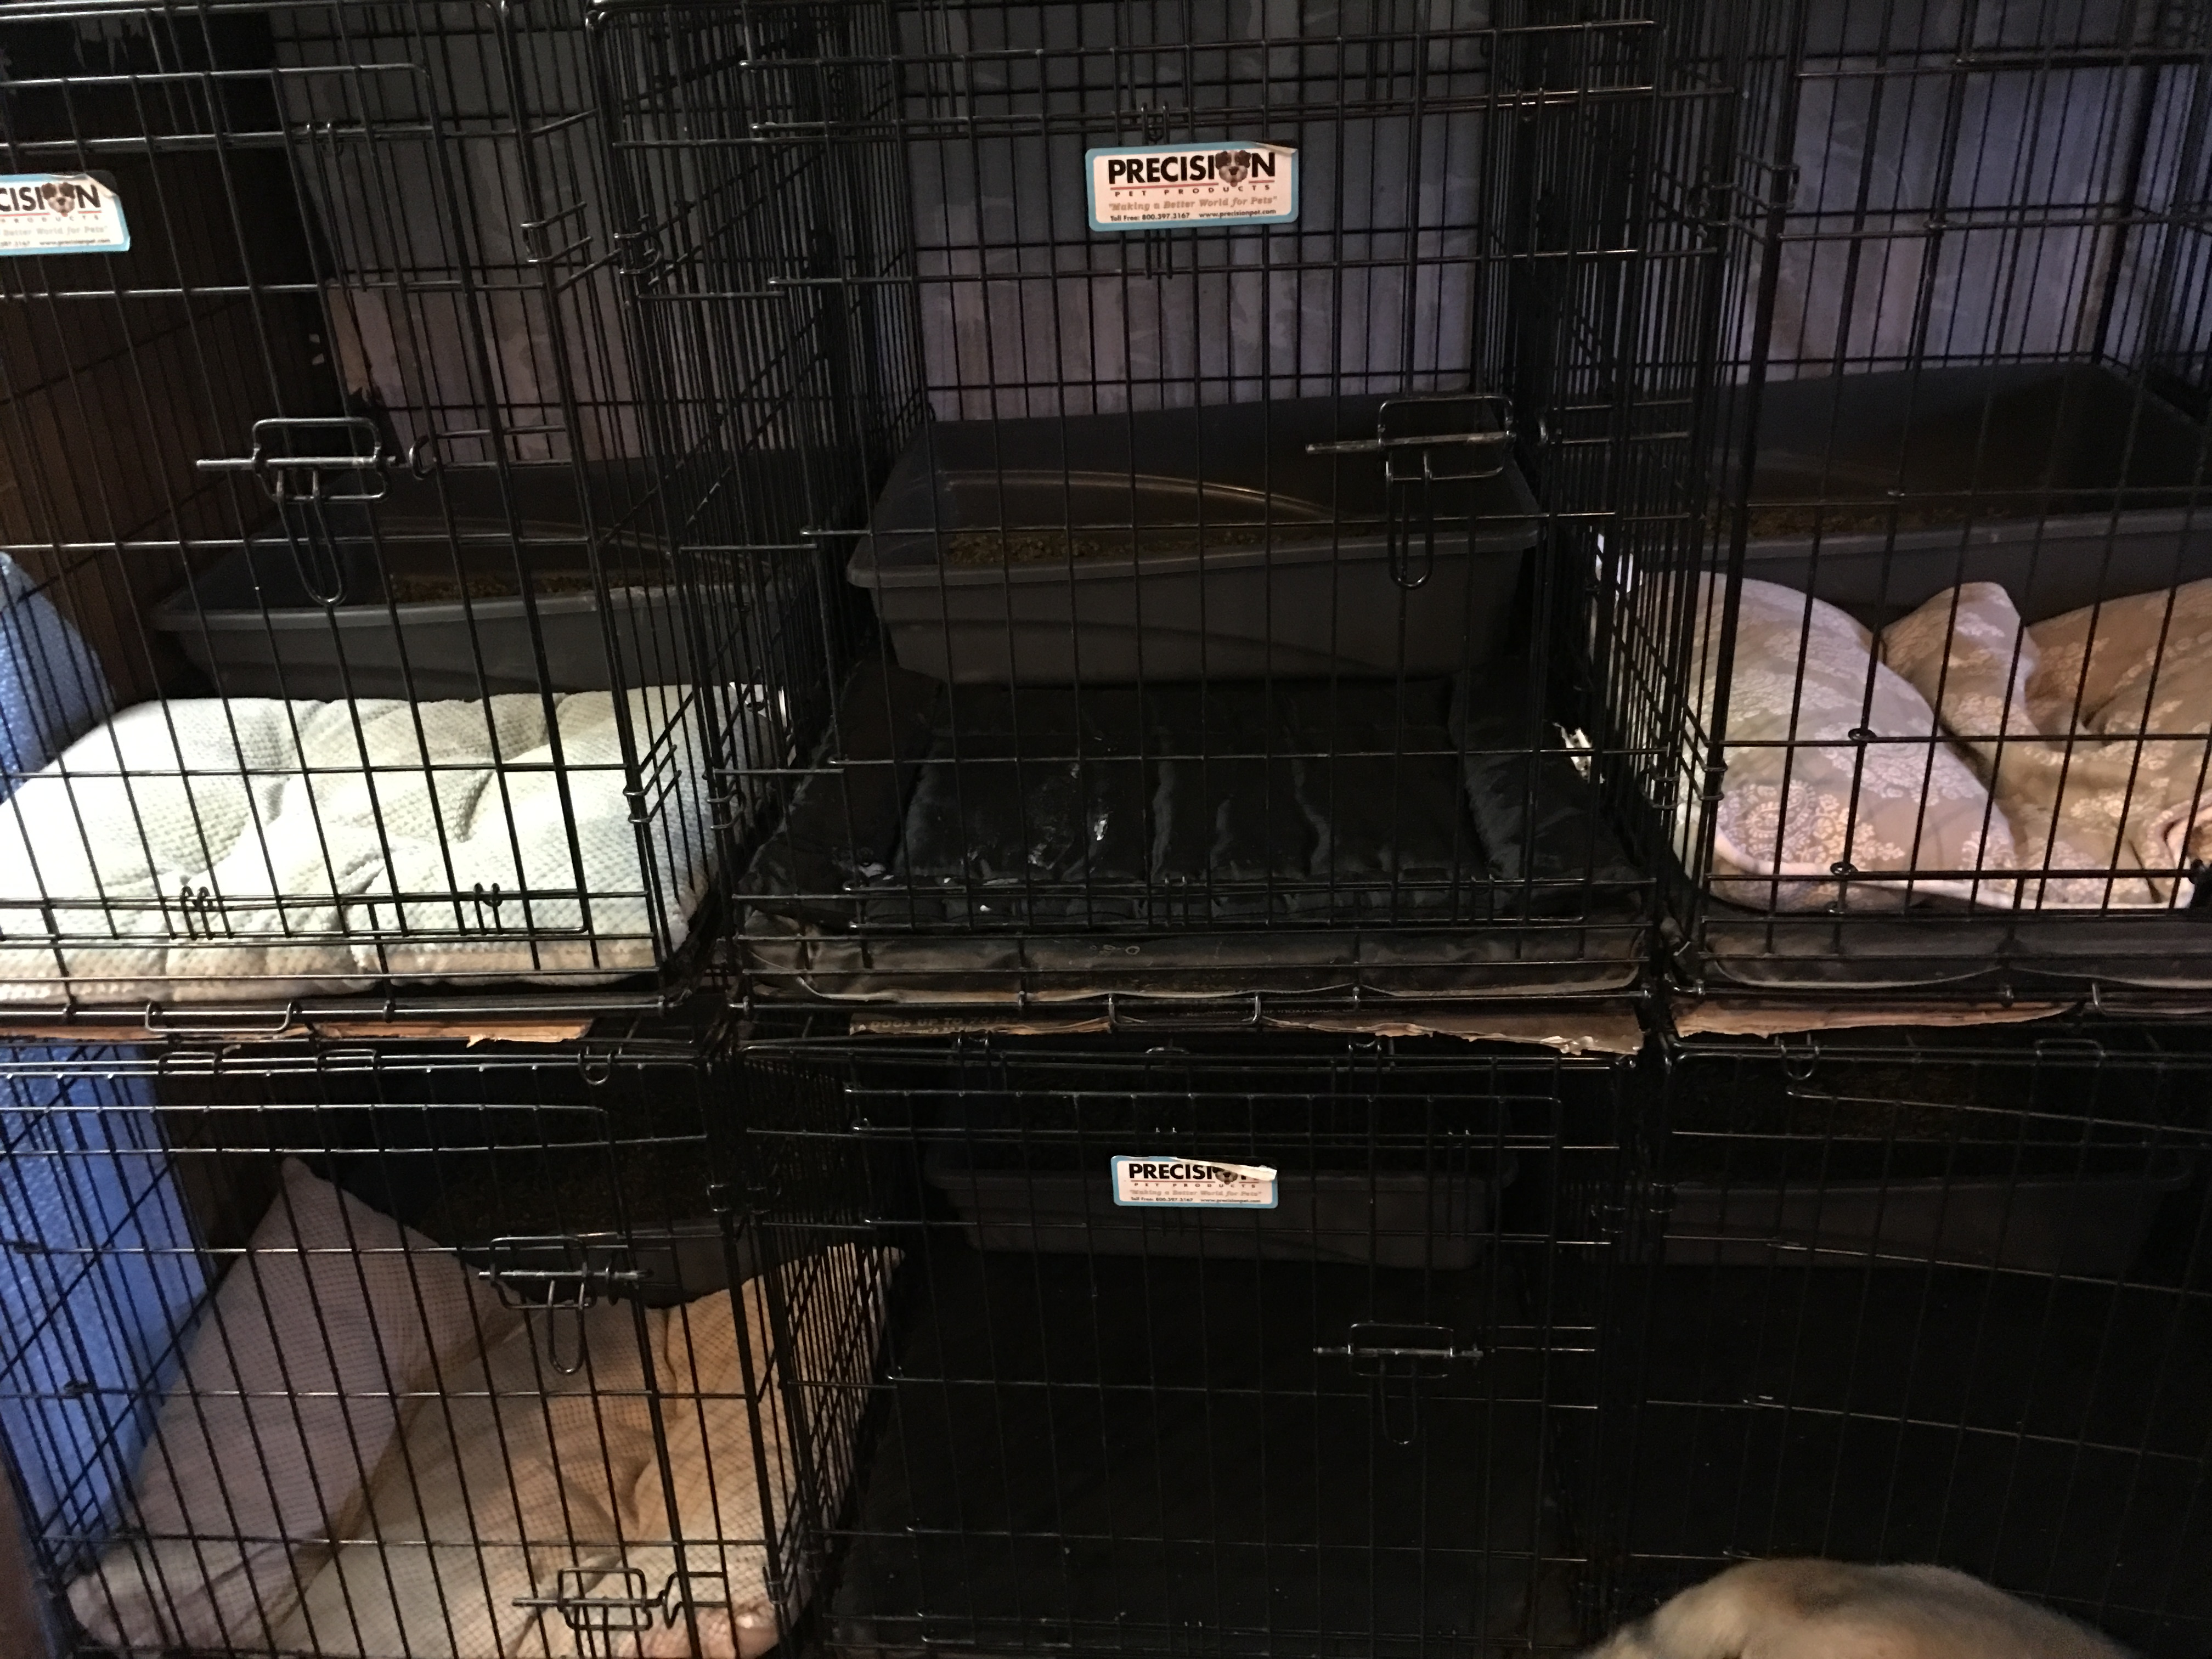
I never solved this problem, but happily for me another breeder (the Amazing Paula Zaro) posted a picture of her crate training and what did I see but a LITTERBOX in the back of each crate. How CLEVER, no, GENIUS! My problem was solved. If a puppy had to void in the night, it would have a small litterbox in the crate with it. No need to wake up all the other puppies, no need to spend an hour pottying puppies at 2:00 am, no need to be sleep deprived! And NO poop covered crate or poop covered puppy! And at that moment the last phase of my crate conditioning program was born.
Starting 7 days before our Send Off Date (which is timed between 9 and 10 weeks) we plan for Crate Nights!
Now, I am going to admit something. By week 8 the litterbox gets really dirty during the night and AM clean up can be messy. So I really look forward to starting the puppies to sleep through the night in crates. REALLY.
The Plan and the Set Up!
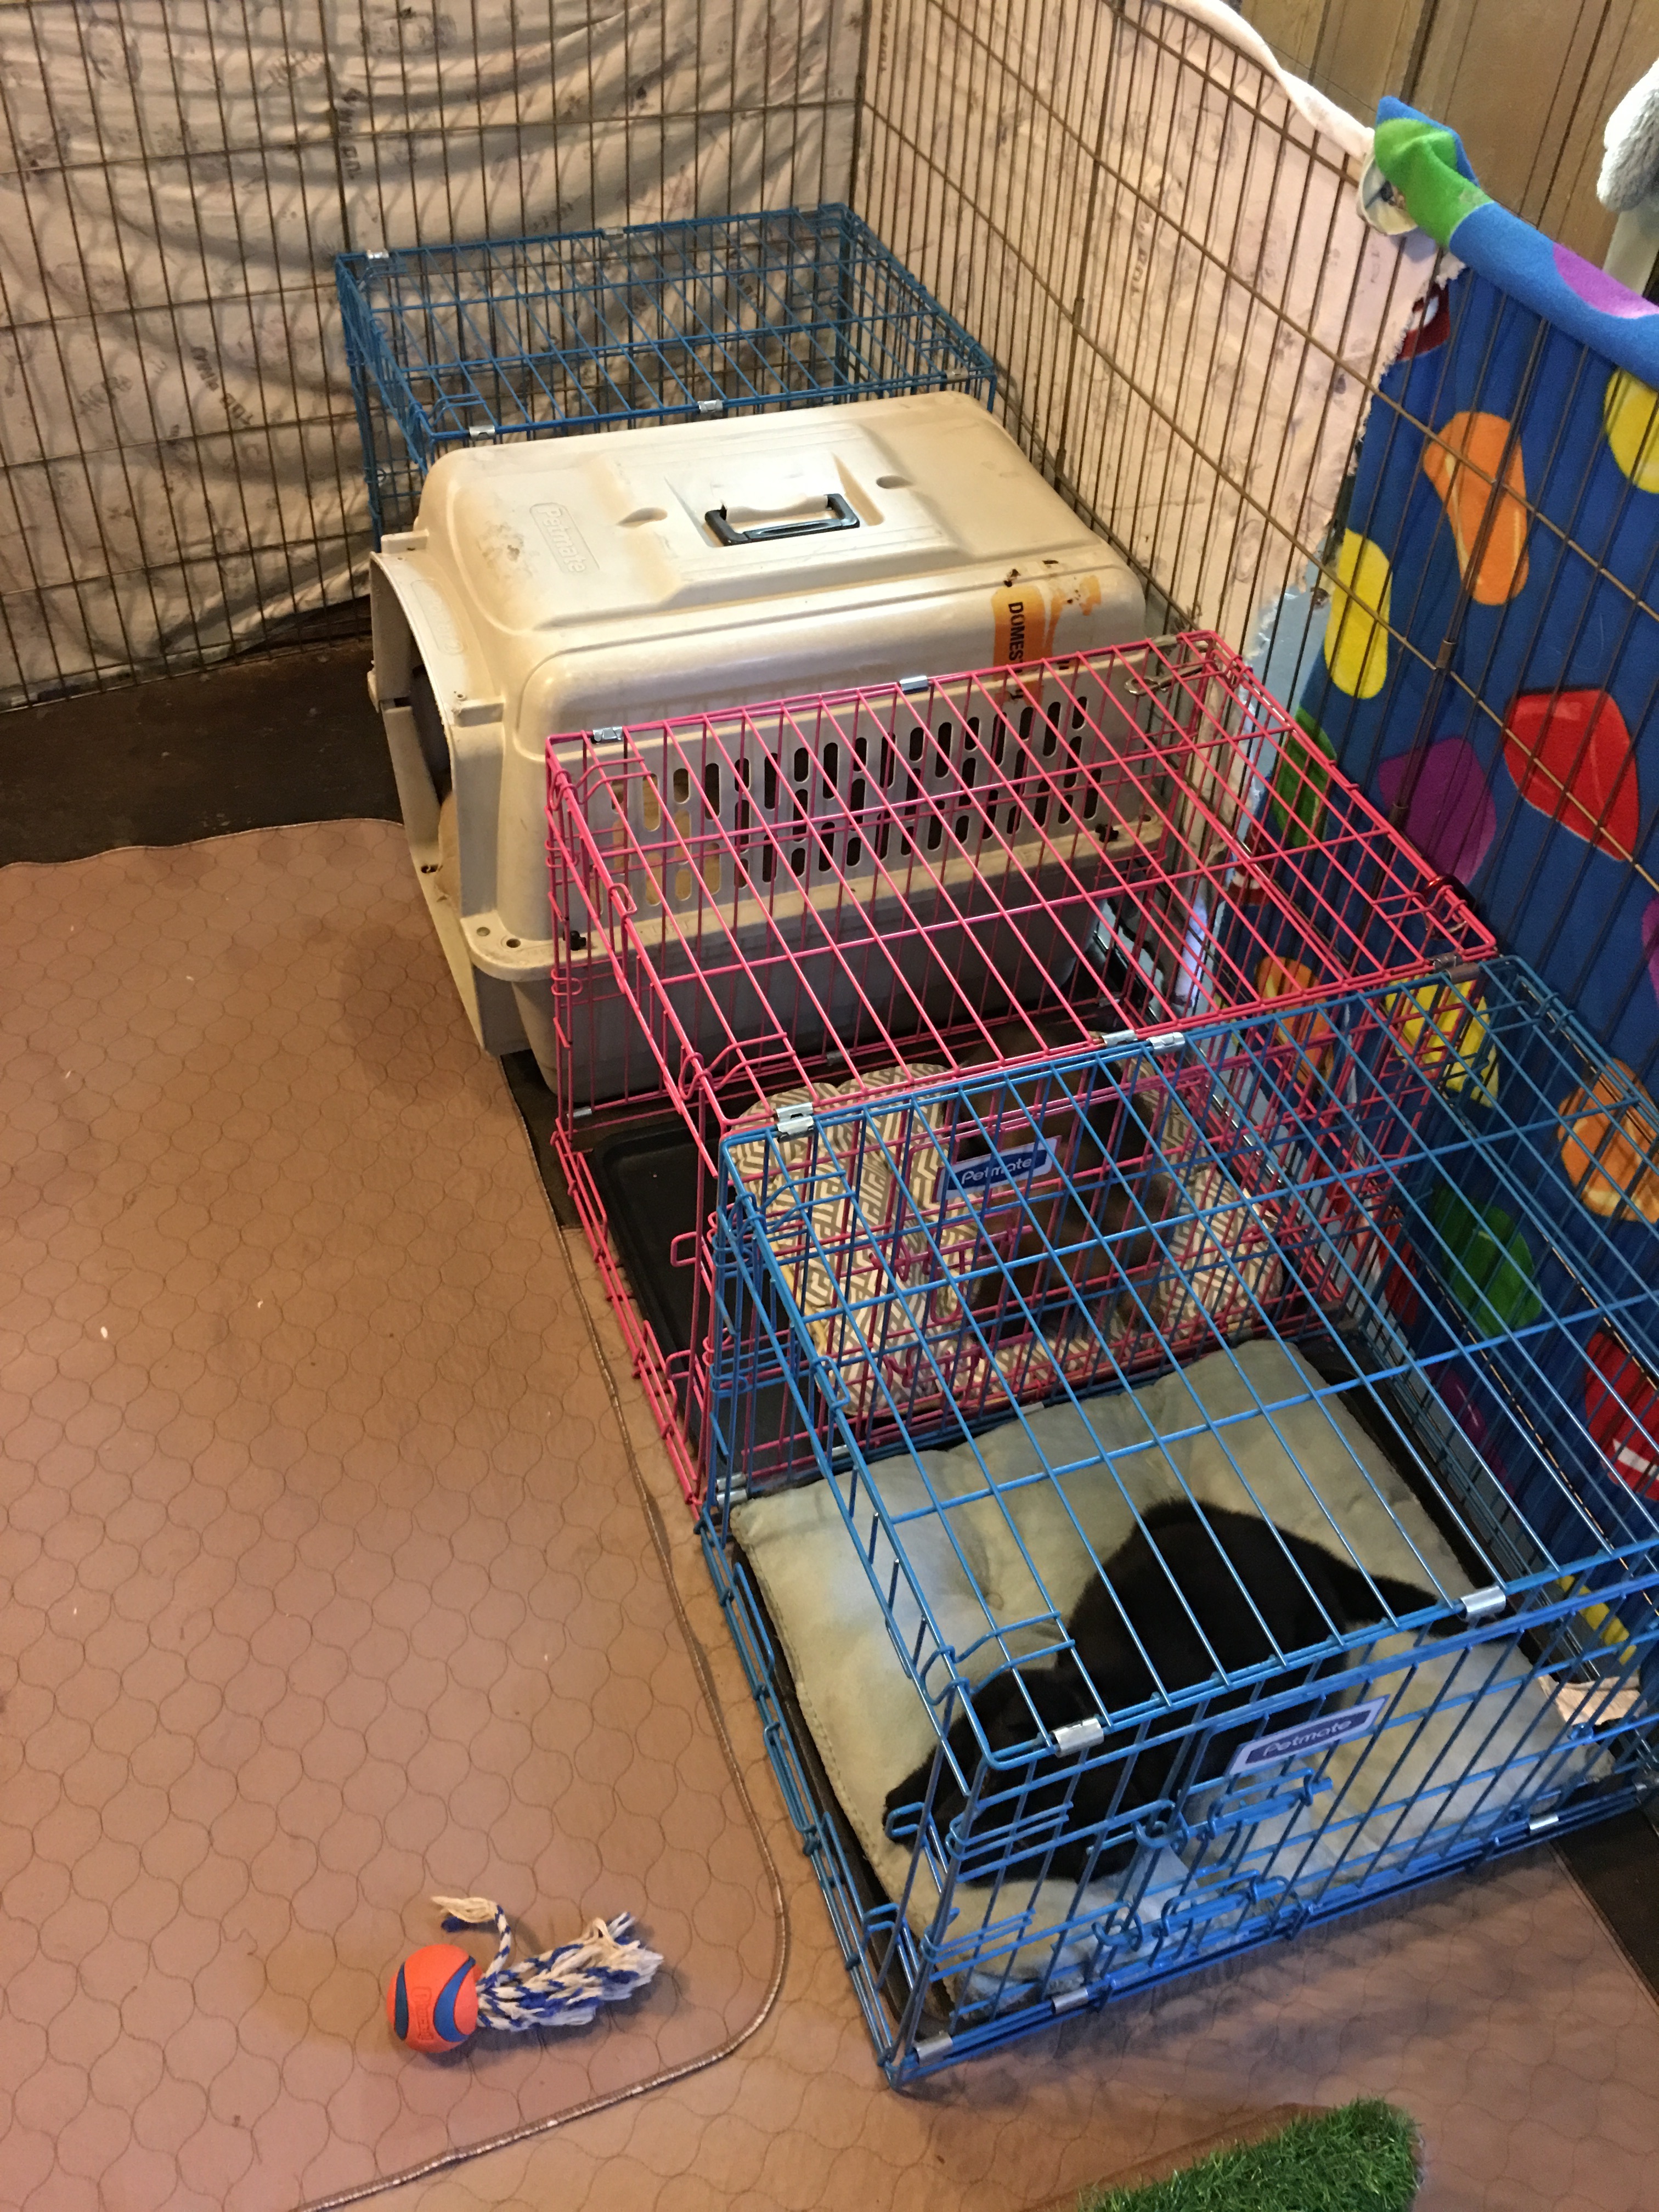
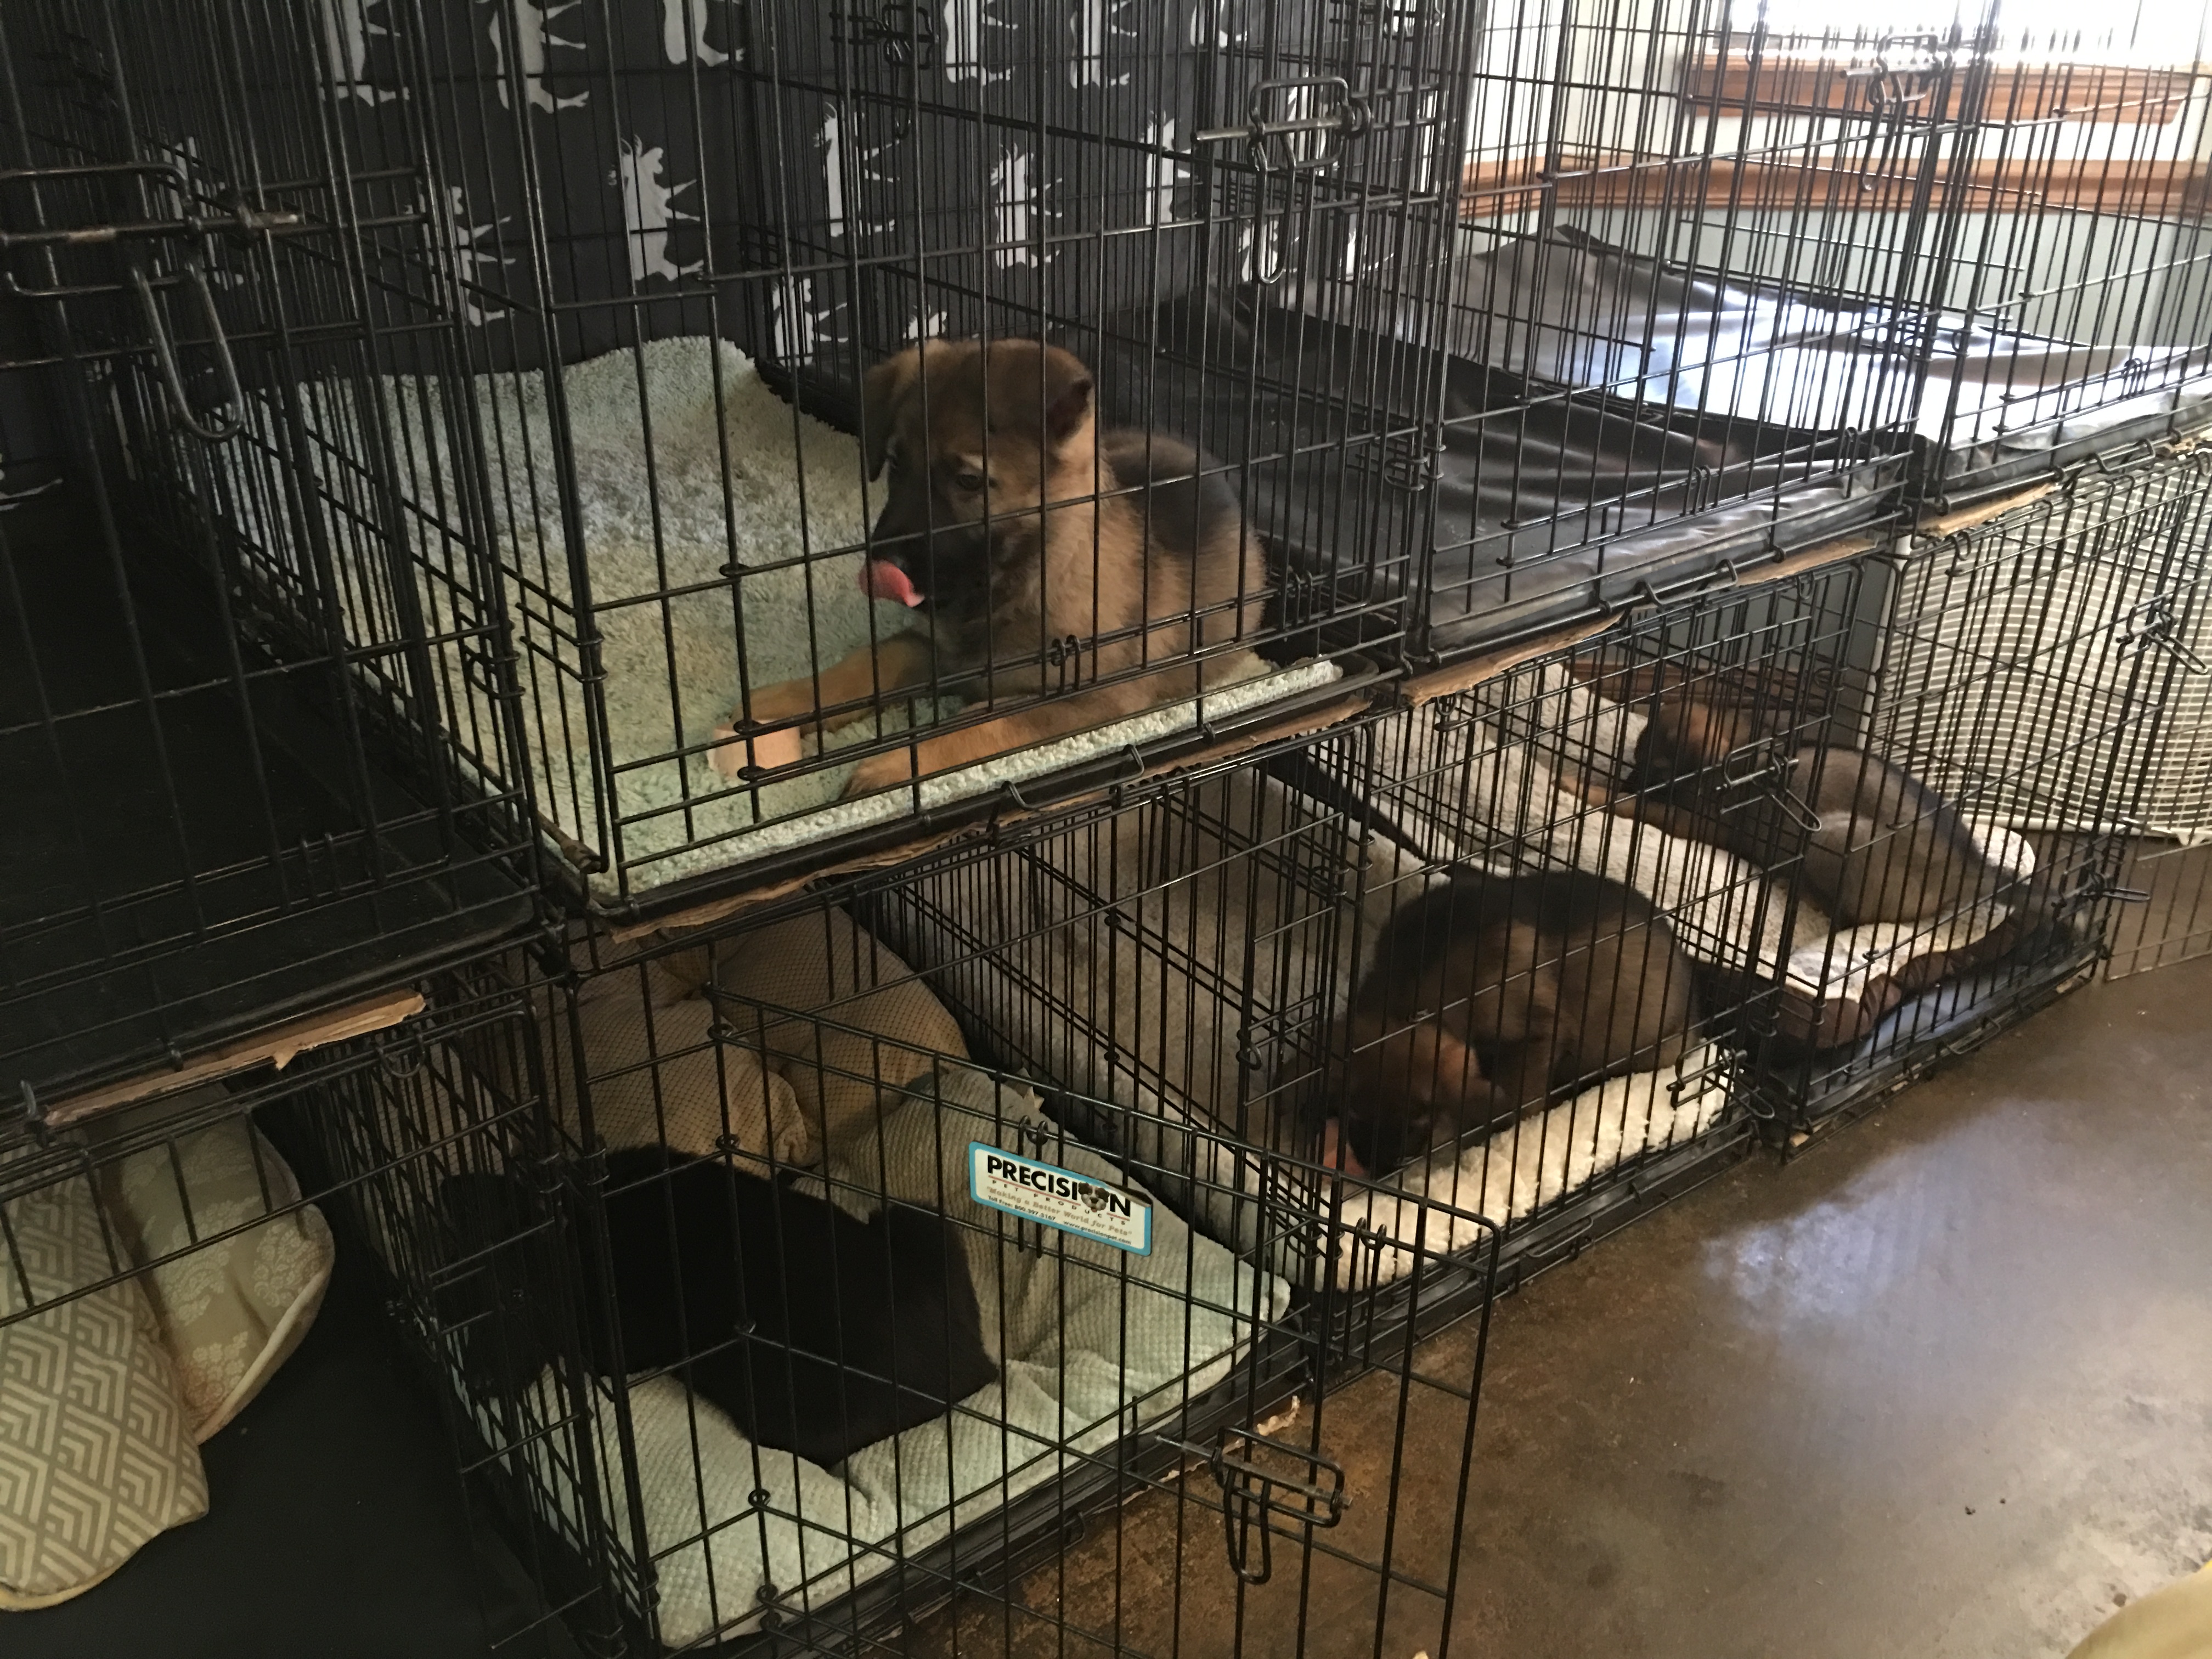
Crate (22 x 36) with cat litterbox in the back.
Same crate, litterbox in the back and bed in the front.
What works for us: My husband goes to bed much later than I do. I set up the crates for bedtime and he gives the puppies one last potty break outside and then crates them around 1:00 am.
Bedtime set up:
Place litterbox (with litter pellets of choice, I use hay pellets) in the back of the crate.
Place a small bed in the front half of the crate, spray with DAP.
Place two HIGH VALUE chews (I use a frozen raw bone and a bully stick) on the puppy’s bed and CLOSE the crate door.
By placing the chews in the crate early the puppies get really excited to enter the crate later, when Larry puts them to bed.
Crates all set up for Bedtime!
Right before bedtime:
Puppies get last outdoor potty break.
Puppies are placed into crates.
Lights off, soothing music such as Through A Dogs Ear is played.
Everyone to bed, household is quiet now, lest we wake the puppies.
Morning:
Remove puppies from crates and take them to their Puppy Patio to void. I toss treats out the door to ensure the puppies all run out quickly before they are tempted to use the indoor litterbox.
I remove crate litterboxes and clean any that have been used and also remove the chews.
Set up crates for daytime use – beds but no chews or litter boxes.
Repeat every night for seven nights before the puppies go home.
Notes:
During Week 8/9/10 we are also doing the Puppy Culture Resource Guarding Prevention Protocols. I use the puppies crate time around meals for this, as well as chew times. Please see Puppy Culture for information on that.
During week 8-10 we don’t offer chew times after meals, instead we reserve chewing for Bedtime. Offering chews primarily at bedtime makes the puppies more excited about going to bed. The exception is the car, we give chews in the car every time.
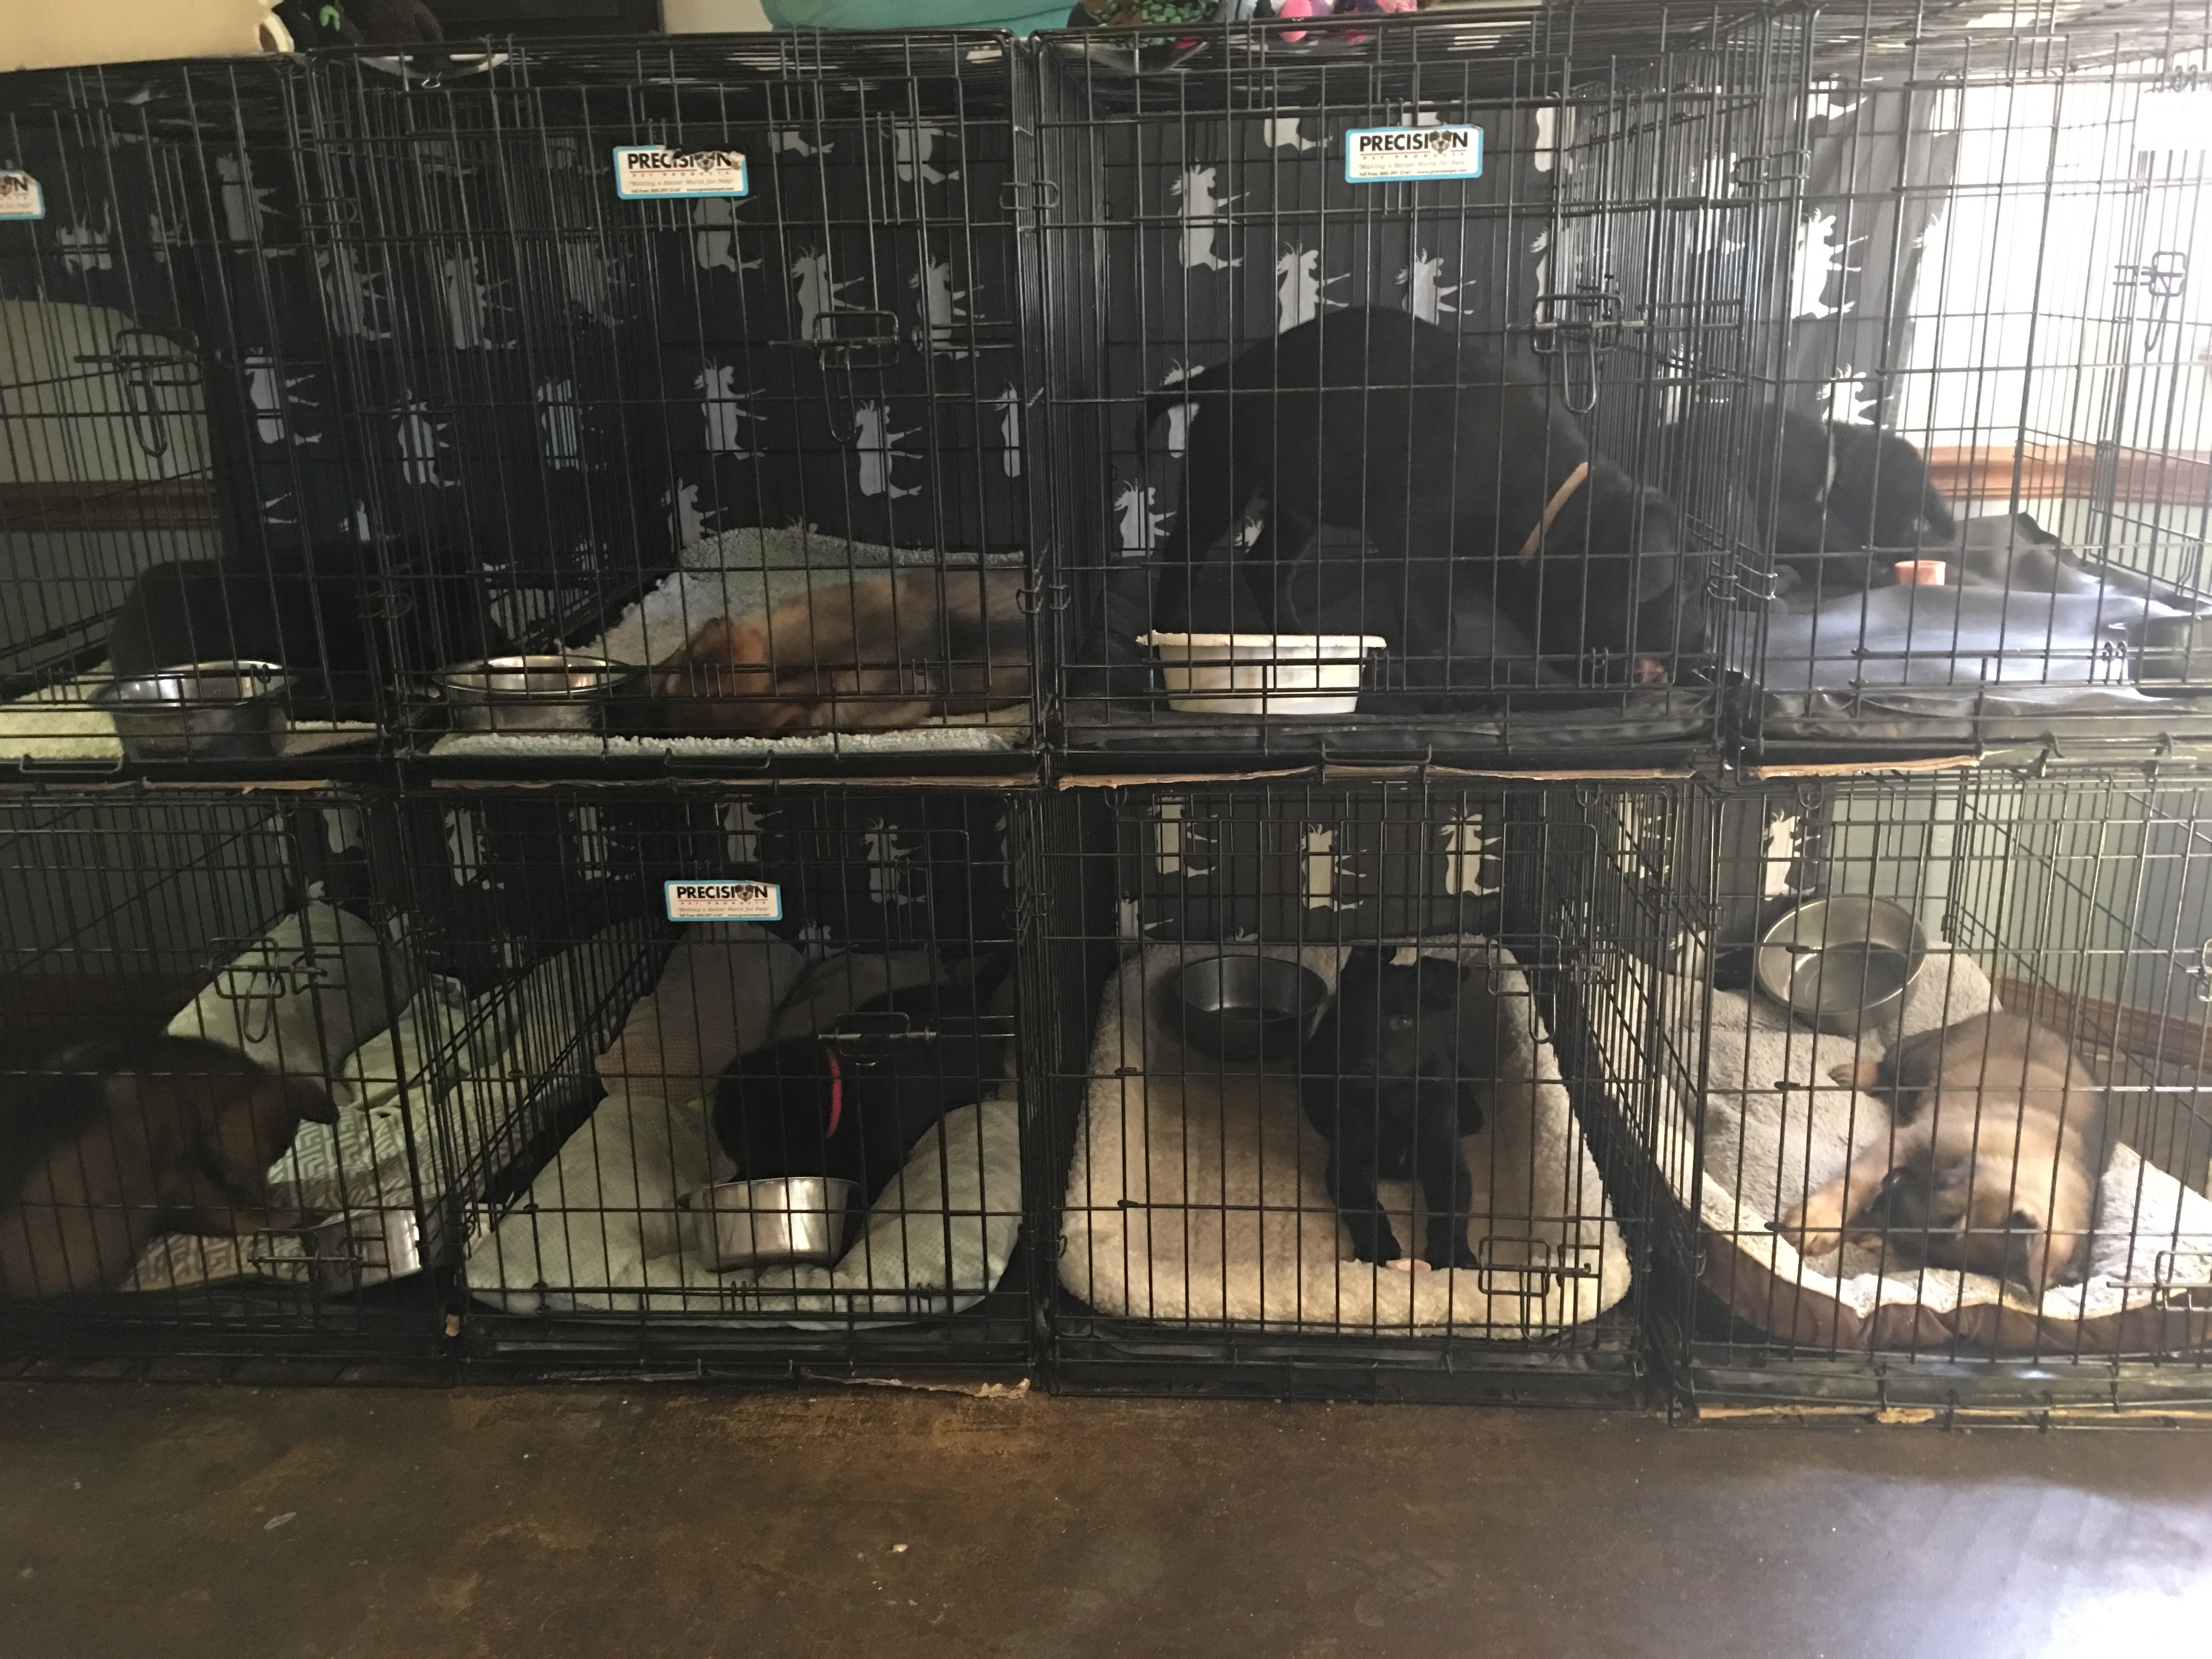
Some breeders double up the puppies in crates, I have no problem with that. We don’t have crates large enough for this, and if we did I don’t think they would fit in our dog room. Single puppies in 22 x 36 inch crates works for us, but don’t feel like it MUST be just as we do it.
Clover and Paisley preparing for a 12 hour road trip to their new families. With crate conditioning and overnights, they made this trip with no drama.
Litter box… in a CRATE?
“Doesn’t having a litterbox in the crate teach the puppies to potty in their crate?” I admit I had this same concern – after all a dog who is dirty in the crate is a HUGE problem. My own Indeigh struggled with being clean in the crate and I remember that she was nearly a year old before I could expect to come home from work and NOT find a urine soaked dog and crate.
I can say that we have done this protocol now for 8 litters, the oldest of which is three years old, and we have had ZERO reports of puppies who are dirty in the crate. In fact, the puppies we start this way have far FEWER accident in the crate in their new homes. Most families actually report to me that the puppies NEVER have accidents, or only have accidents with extenuating circumstances,like someone delayed getting home from work, or the puppy had developed a UTI.
My guess is this is because of the litterbox. Young puppies may need to void more frequently than we think, and by offering them a litterbox we just give them a place to void if needed. But as they mature and can physically go longer between voids, they don’t need the box. Once removed, the puppy doesn’t “go” because the toilet isn’t there AND because they don’t need to. Because they are conditioned to love their crate, they are also NOT having frequent urination due to stress/distress, which is why I think poor old Indeigh struggled so with accidents, she had such a -CER to the crate and confinement. So, while your experience may be different, we have had only beneficial results with using an in crate toilet for the first couple weeks.
On my keeper puppies I remove the litterbox from the nighttime crate at 10 weeks. We don’t instruct the new families to use crate litterboxes at all. Some do, but most don’t. I find that the puppies rarely use the litterboxes in crates as they age, and once they are no longer USING the litterbox for several nights in a row I experiment with removing it.
Letting puppies out when they cry in the crate…
“How long will you let a puppy cry in the crate?” During the daytime, I don’t let them cry in the crate – I let them out if they do start, even if they don’t ask ‘politely’ – hopefully I can read the puppies and let them out before they start to NEED to cry. During Bedtime Week, we rarely have any fussing by that age, but I remove a puppy who is really freaked out. I do not remove a puppy who is just restless and whining a little bit. I try again the next night if I remove a puppy from the crate at night.
“Won’t letting the puppies out when they ask “spoil” the puppy, teaching it that it controls the human, or that crying “works” to get out of the crate?” To answer this I have to explain that I don’t believe baby puppies cry in crates for any reason other than distress. It’s natural for a puppy to panic and cry when it’s unsure about what’s happening. It’s also normal for any animal (human or canine) to panic when it feels trapped and unable to control being able to leave. I don’t think puppies cry in crates to dominate or control humans – puppies cry in crates because they are distressed and their ability to handle that distress is limited by their immaturity.
When we consider the puppy’s emotional response and why it’s vocalizing, our path becomes more clear. Behavior is very fluid and it IS easy to teach a puppy that crying will bring relief from distress… but that’s not really a bad lesson! We don’t want our dogs to silently tolerate being distresse! Crying in the crate does mean we have missed something in our plan – our puppy should not feel distressed. A bit of stress (fussing for example) is OK, but distress (screaming and biting bars for example) means we have messed up. It’s not the puppy’s fault, and the puppy should not be punished.
We need to reevaluate our plan, and go back to conditioning. In fact, what we’ve observed is that by teaching puppies a polite way to ask out of the crate, we actually create more positive emotions. The puppy knows it’s in control of it’s outcome. Dogs are happier, more secure and confident when they know how to control their outcomes and consequences. By allowing the puppy to ask out, we actually create a puppy who doesn’t want to!
“But it’s not the breeder’s job to crate train puppies! No new owner expects this, it’s too much work. Why should I do this?”
I’ll point to the above picture. A picture of baby Paisley – in her new crate, in her new home, happy and relaxed. I’ll tell you more about happy puppies sleeping beside their new person in a crate by the bed. About puppies adapting quickly and without trauma. About puppies and their caregivers able to really enjoy each other from the start, without screaming, fighting, and fear.
I personally do this for Indeigh. Even though her behavior wasn’t typical, my ignorance failed her and I wasn’t trustworthy. I allowed her to struggle, to be scared, to panic. Now I can do better, and I do better in her name and to honor her.
I love you Indeigh, I’m sorry I failed you, and I’m going to honor your memory by doing better and by helping others do better too. You’re a good girl, thank you for teaching me.

 Goals: