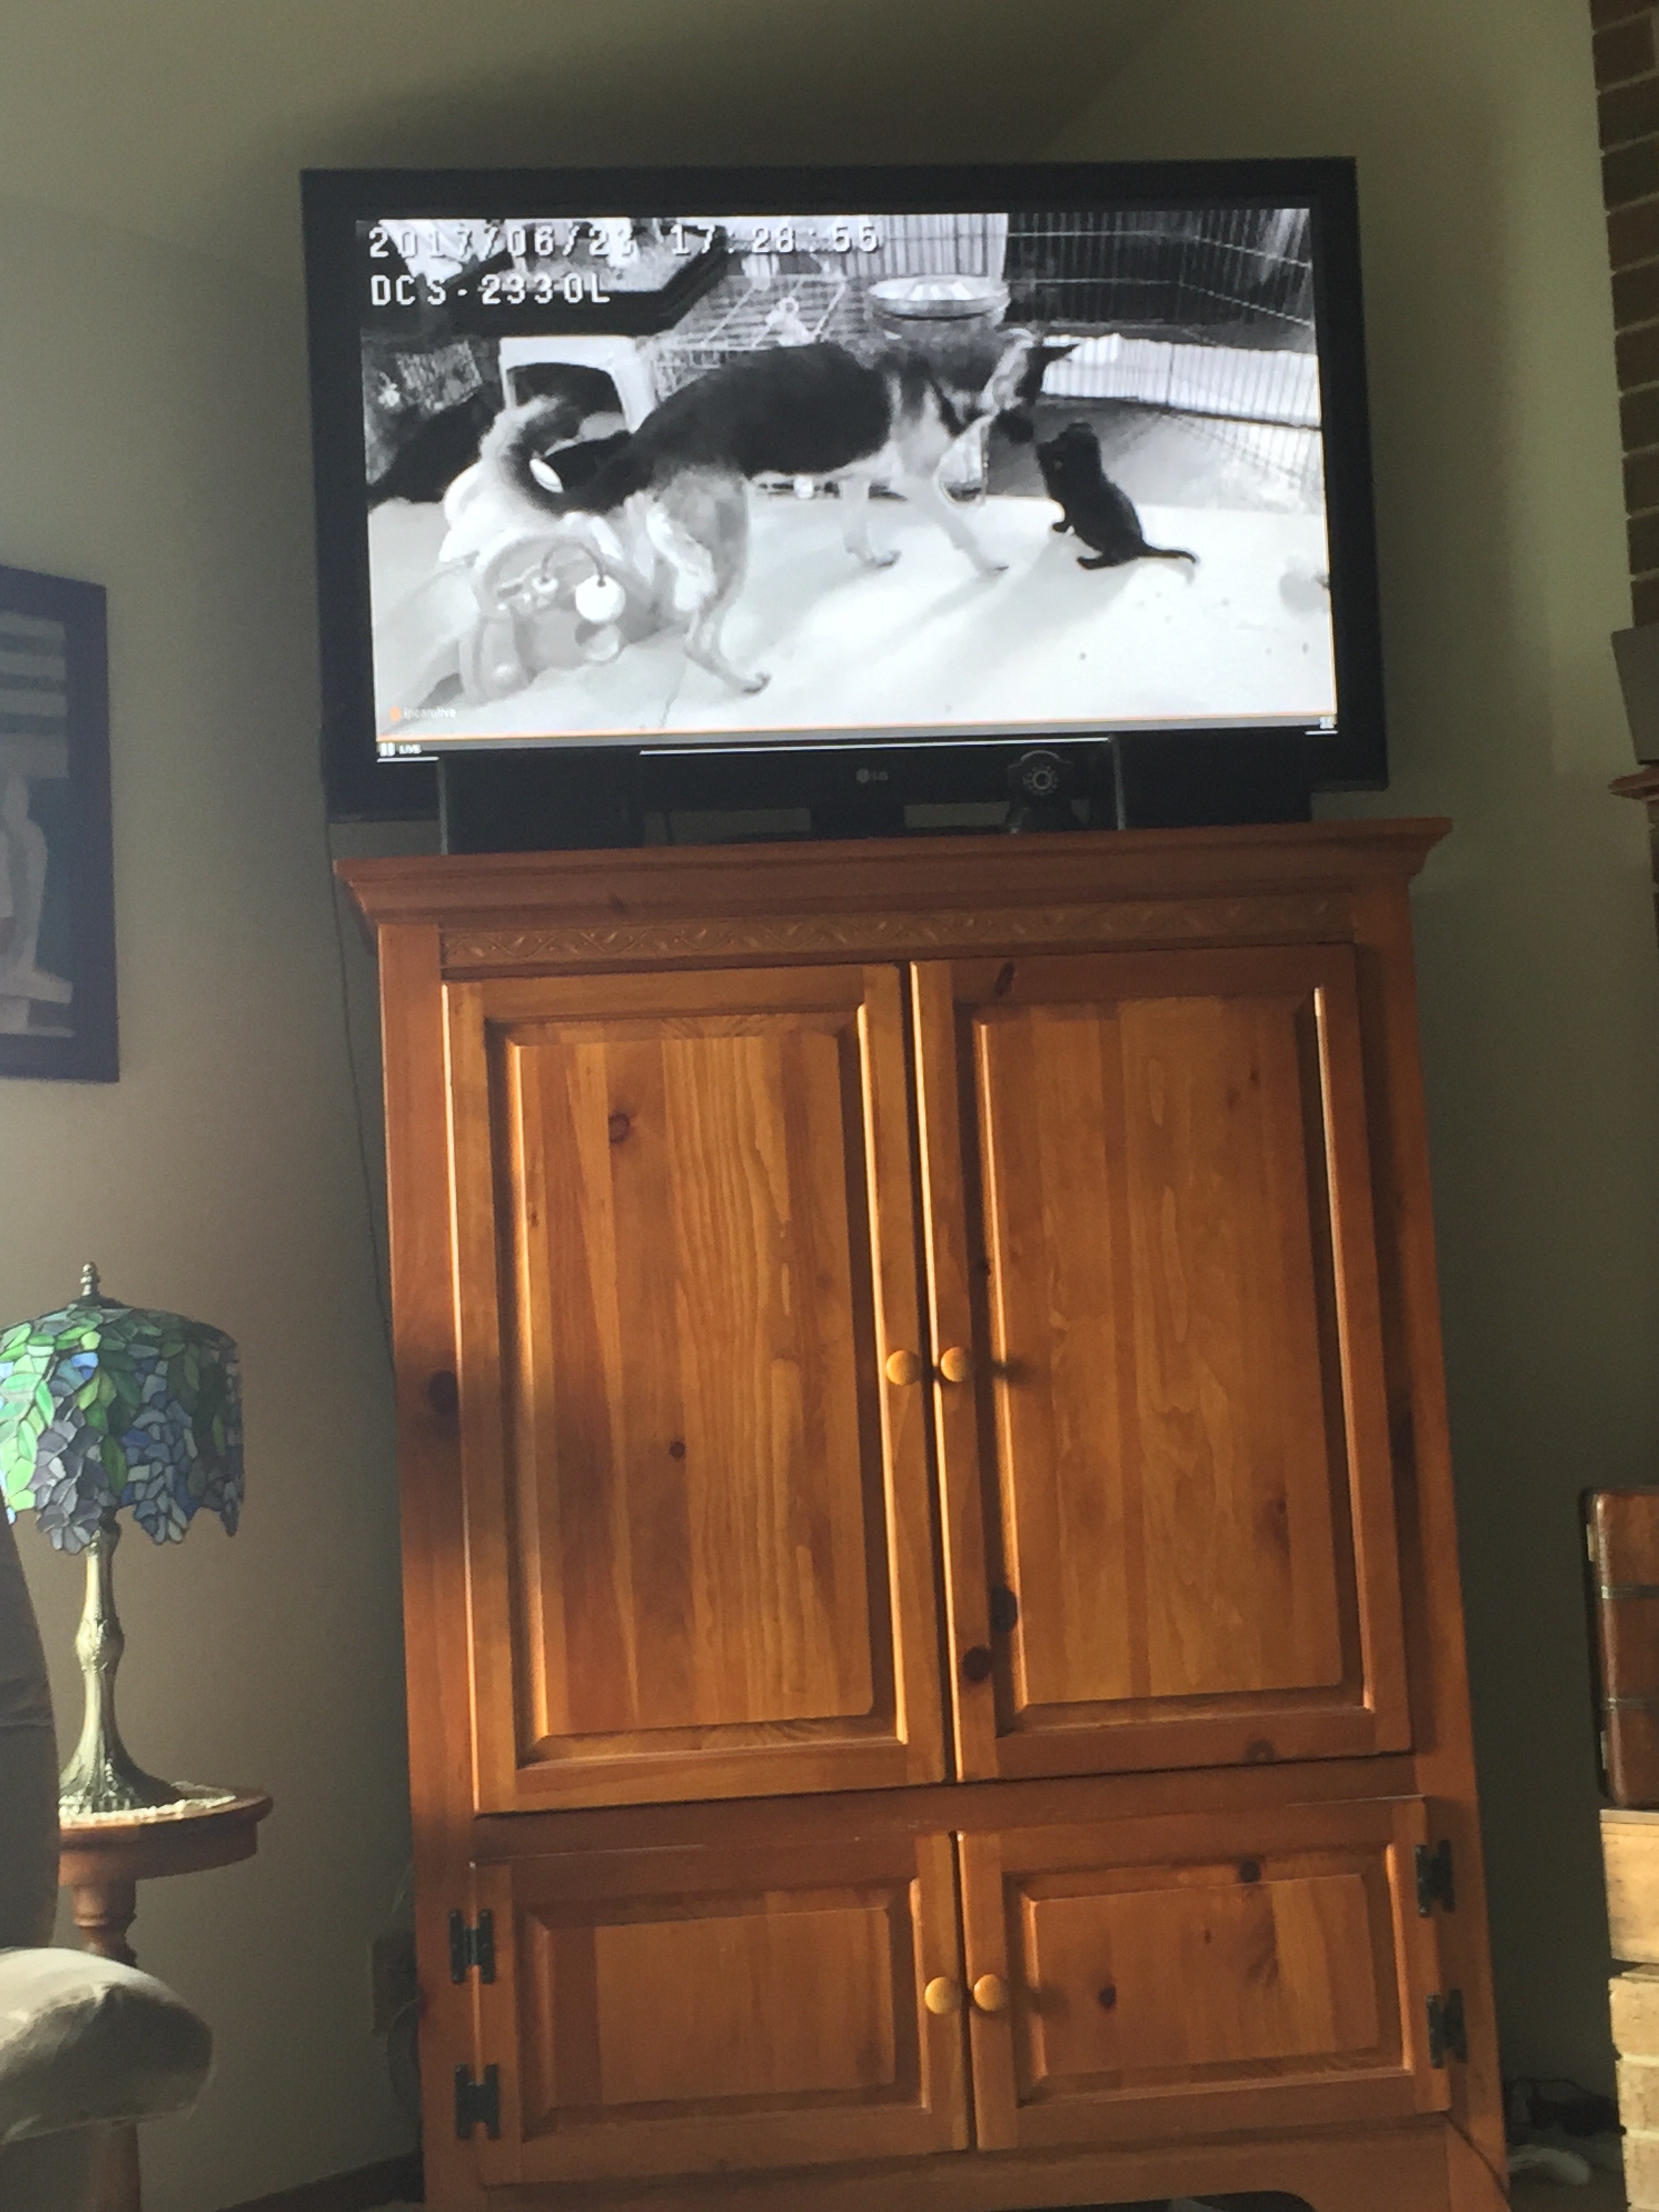
One of our clients sent me this picture of Puppy Cam on their TV, staring Nanny Andeigh playing with the F Litter.
We, and our clients, love the puppy cam. The puppy cam allows you to observe the litter in real time.
We turn the camera on around day 7, this marks the day the puppies can regulate their own temperature, so we can remove the sheet that covers the whelping box (which holds in the dams body heat).
We turn off the camera around Week 9, usually around the time the first puppies start going home.
The puppy cam is on 24/7, so you can and will often see the reality of raising puppies, including poo, puppy naughtiness, us in our jammies late at night tending them, and of course the entry and exit of the dam, and all the nannies and nannos approved to help teach the puppies.
The puppies may not always be on view, the camera doesn’t cover the entire space, they might be outside on their patio, or out in the house with us.
Sometimes, if there is a poosplosion, or if I’m particularly “unpresentable” I turn the puppy cam off for a bit, just check back later, it will be up again.
This year I am trying out a new way to have a “PuppyCam” with this litter.
The link to the the PuppyCam with this new hosting site is here. (This will open a new browser tab/window, so you won’t leave our site.)
Please try this out and let me know how it works. We are in a 5 day trial period with this hosting company, so there are a few limitations on streaming:
I believe there is a time limit on how long you can connect and look, without reloading the page (but I am not sure how long that is).
You have to visit the hosting site directly to view the PuppyCam.
You cannot link the video into a web page.
And it is hard (impossible?) to “brand” the camera.
If this works out and we like this host, I can upgrade the account with the company and get these issues addressed, and a few other extras to make it an overall better viewing experience.
A few other things on the video: the color (or lack of it) is due to our lighting (or lack thereof) where we have the whelping box. The camera is in color, but we don’t have enough artificial or ambient light to kick the camera into displaying color (unfortunately). The webcam is on 24×7, and has good night “vision” so you can see the puppies at all hours (I think it has infrared lighting built in). Also, I have the sound turned off, so don’t expect to hear anything…
So, please drop me an email and let me know how this looks and works.
Wow! When I wrote this blog I never expected the response to be so powerful. This page continues to be the most visited page on our website all these years later. As we have continued to use our crate conditioning protocol and coach other breeders through the process we have updated and progressed the course to reflect the needs of puppies of different breeds, shelter puppies with their own unique needs, and through that work we have added so much content that this blog is now also available as a media rich on demand course offered through our training website. If you are interested in the on demand course and the detail and support that offers you can find information on Crate School Here:
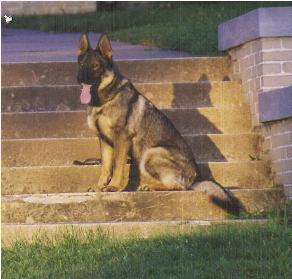
What I remember most about bringing home my second GSD puppy, Indeigh, at 8 weeks was the screaming. Even though it’s been nearly twenty five years, I can still hear it…
She screamed in her crate the entire five hour drive home from the breeder. She screamed in her crate for four or five hours EVERY night, and while I was away at work for the first month. She would grab the bars, pull, and scream – bloodying her mouth and tearing her nails. I lived in a duplex at the time and my neighbors left daily notes about the noise that made me feel terrible, so I started crating Indeigh inside my walk in closet in an attempt to muffle the sound. I got zero sleep.
It took Indeigh weeks to give up screaming. It took her months to stop urinating in her crate.
I didn’t know what to do! Nobody did. Everyone I asked gave me well-meaning advice, but nothing worked. I felt helpless – I was a bad owner – and she was a bad puppy. Very dominate and had no impulse control, she was trying to control me! Just ignore her… or spray her, shake her crate, and above all, never let her out unless she was quiet. I did all the things, not one of them helped.
She grew into an amazing and accomplished dog, but she forever struggled with trusting me and adapting to change. I have always wondered if those first few weeks of struggle taught her that change was scary and that I was not really that helpful during those time.
Now, I can think about how much easier and enjoyable our first weeks together would have been if Indeigh had been conditioned to love her crate before I even brought her home.
Now, at this point, I have to warn you. I have broken every rule of writing in this day and age. There are lots of words here, some of you may be scared by the endless stream of paragraphs. Some may think this will be boring – and it might be, so flee if you must! I understand, but if you hang in there and follow the plan, you can make a different world for your puppies going forward!
I want to give breeders the tools and knowledge needed to create a +CER (Positive Conditioned Emotional Response) to the crate, so no puppy needs to suffer as Indeigh did and so no owner needs to struggle as I did.
Before the puppy ever leaves the litter, it’s in developmental period that is primed to create long-lasting emotional responses. We breeders have a unique opportunity in a limited window of time to use this to our advantage. This is the Critical Socialization Period – that period from 3 to 12/16 weeks when puppies are designed by nature to form positive or negative emotional responses rapidly, with few exposures, and it’s the perfect time to condition a puppy to LOVE the crate.
Snapdragon totally relaxed for the car ride home with his new family.
Why have I become to dedicated to early crate conditioning?
For Indeigh, to honor her memory.
Because puppies (and their caregivers) don’t need the added stress of crate training AND transition stress during their first weeks in a new home.
Because it’s just so easy and offers lifelong benefits to the dog and owner.
If it seems like there are lots of tiny steps, that is by design, and it’s the reason this plan is so effective.
Goals
Violet calmly napping on her drive home with her new family.
Please note, these are not hard target goals like “puppy will be quiet for twenty minutes” because puppies mature at different rates. It’s important to have more subtle but much more important goals. This is NOT a “crate training” plan, but instead a “crate conditioning” plan that focuses on goals associated with positive emotions.
Puppy will choose to spend time in the crate as a preferred location and will experience positive emotions associated with all crate times and activities.
Puppy will not experience negative emotions associated with the crate. No screaming, crying, or attempts to break out.
Here is a quick and easy week by week guide to creating a +CER (Positive Conditioned Emotional Response) to crates and confinement during the Critical Socialization Period. Our plan starts at 4 weeks, when with the Puppy Culture protocols, we move the puppies from the whelping box to the weaning pen.
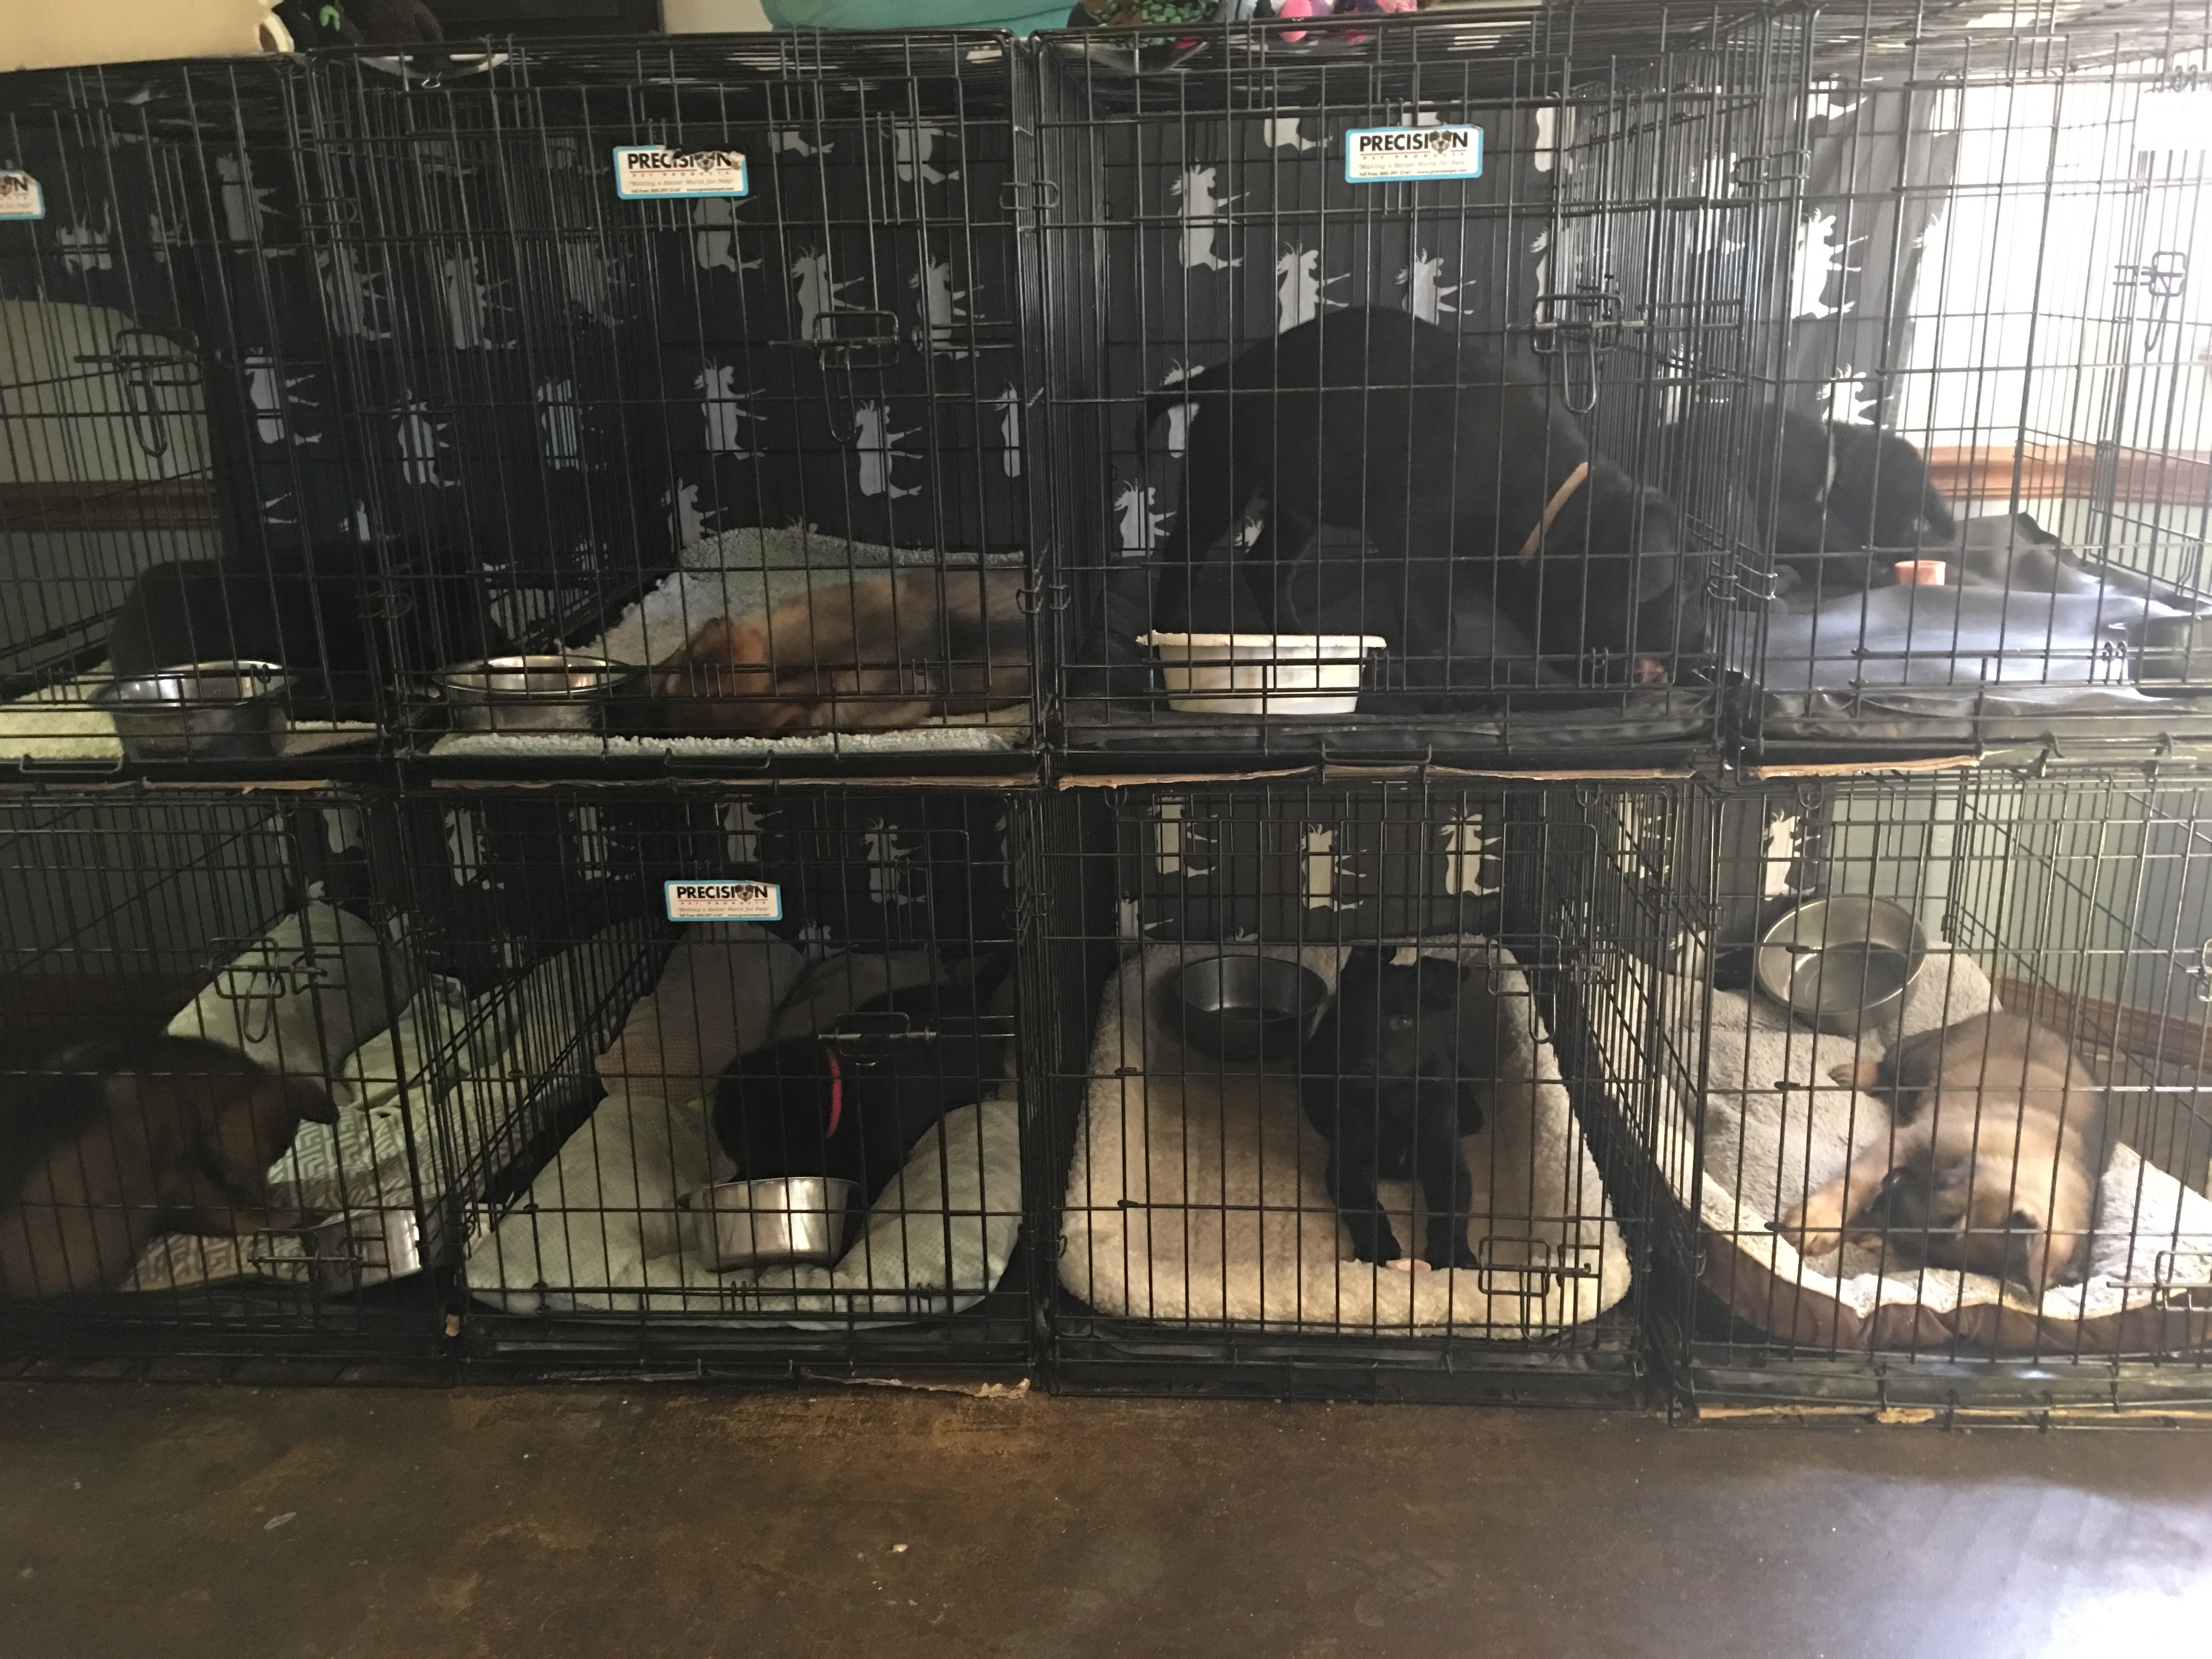
Week 4/5 weaning pen. Crates (L), play area (center) and toilet (R).
Week 4/5: In the weaning pen we have a toilet for the puppies on one wall, and on the opposite wall I install a row of small crates with the doors removed so the puppies can easily enter/leave at will. In each crate is a comfy bed, the only comfy bed in their weaning pen. Already, their first exposure to the crate is a happy one, a nice comfy bed!
First crates: doors removed
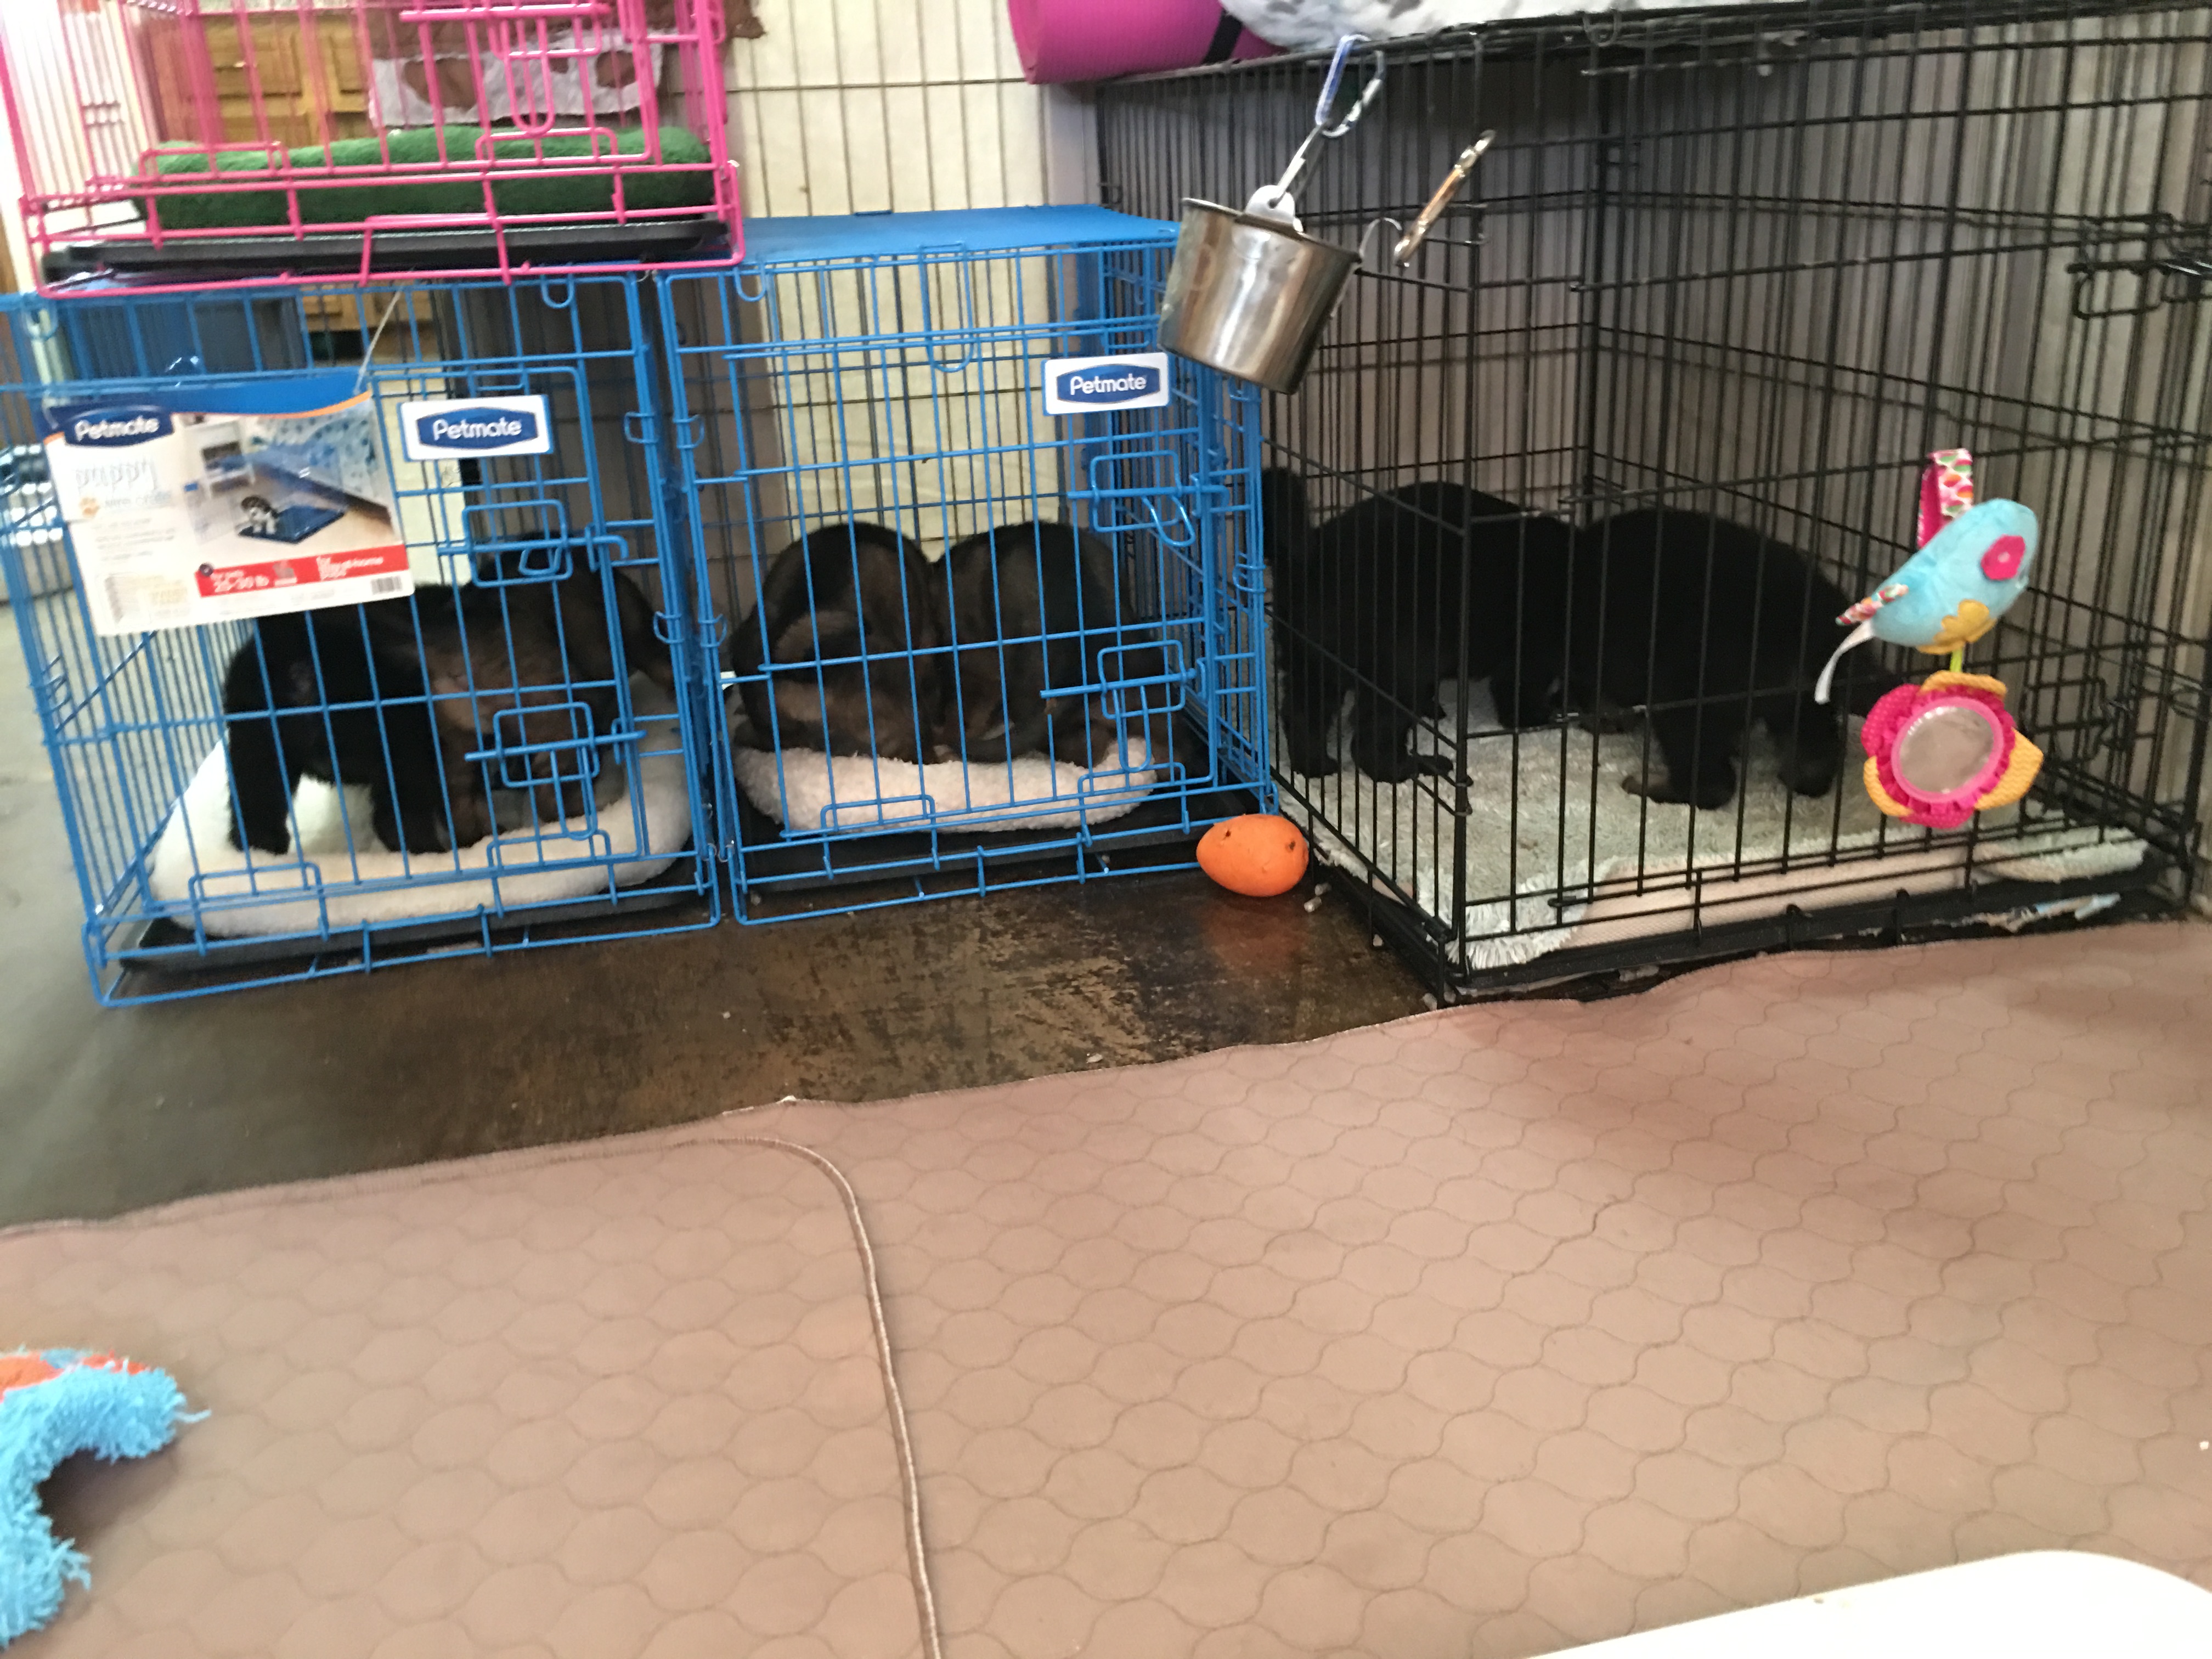
In the Week 4 stage we deliberately use at least two wire crates, and the crates are positioned with the back of the crate into the room. This serves two purposes.
Gives the puppies two really good reasons to enter their crate, visiting a nanny or visiting with us. Entering the crate and napping in the crate voluntarily are goal 1.
Gives us lots of opportunities to observe puppies entering the crate, so we can click/treat, or at this age equally powerful, use social reinforcement in the form of cheerleading to reinforce the puppies for entering or spending time in their crates.
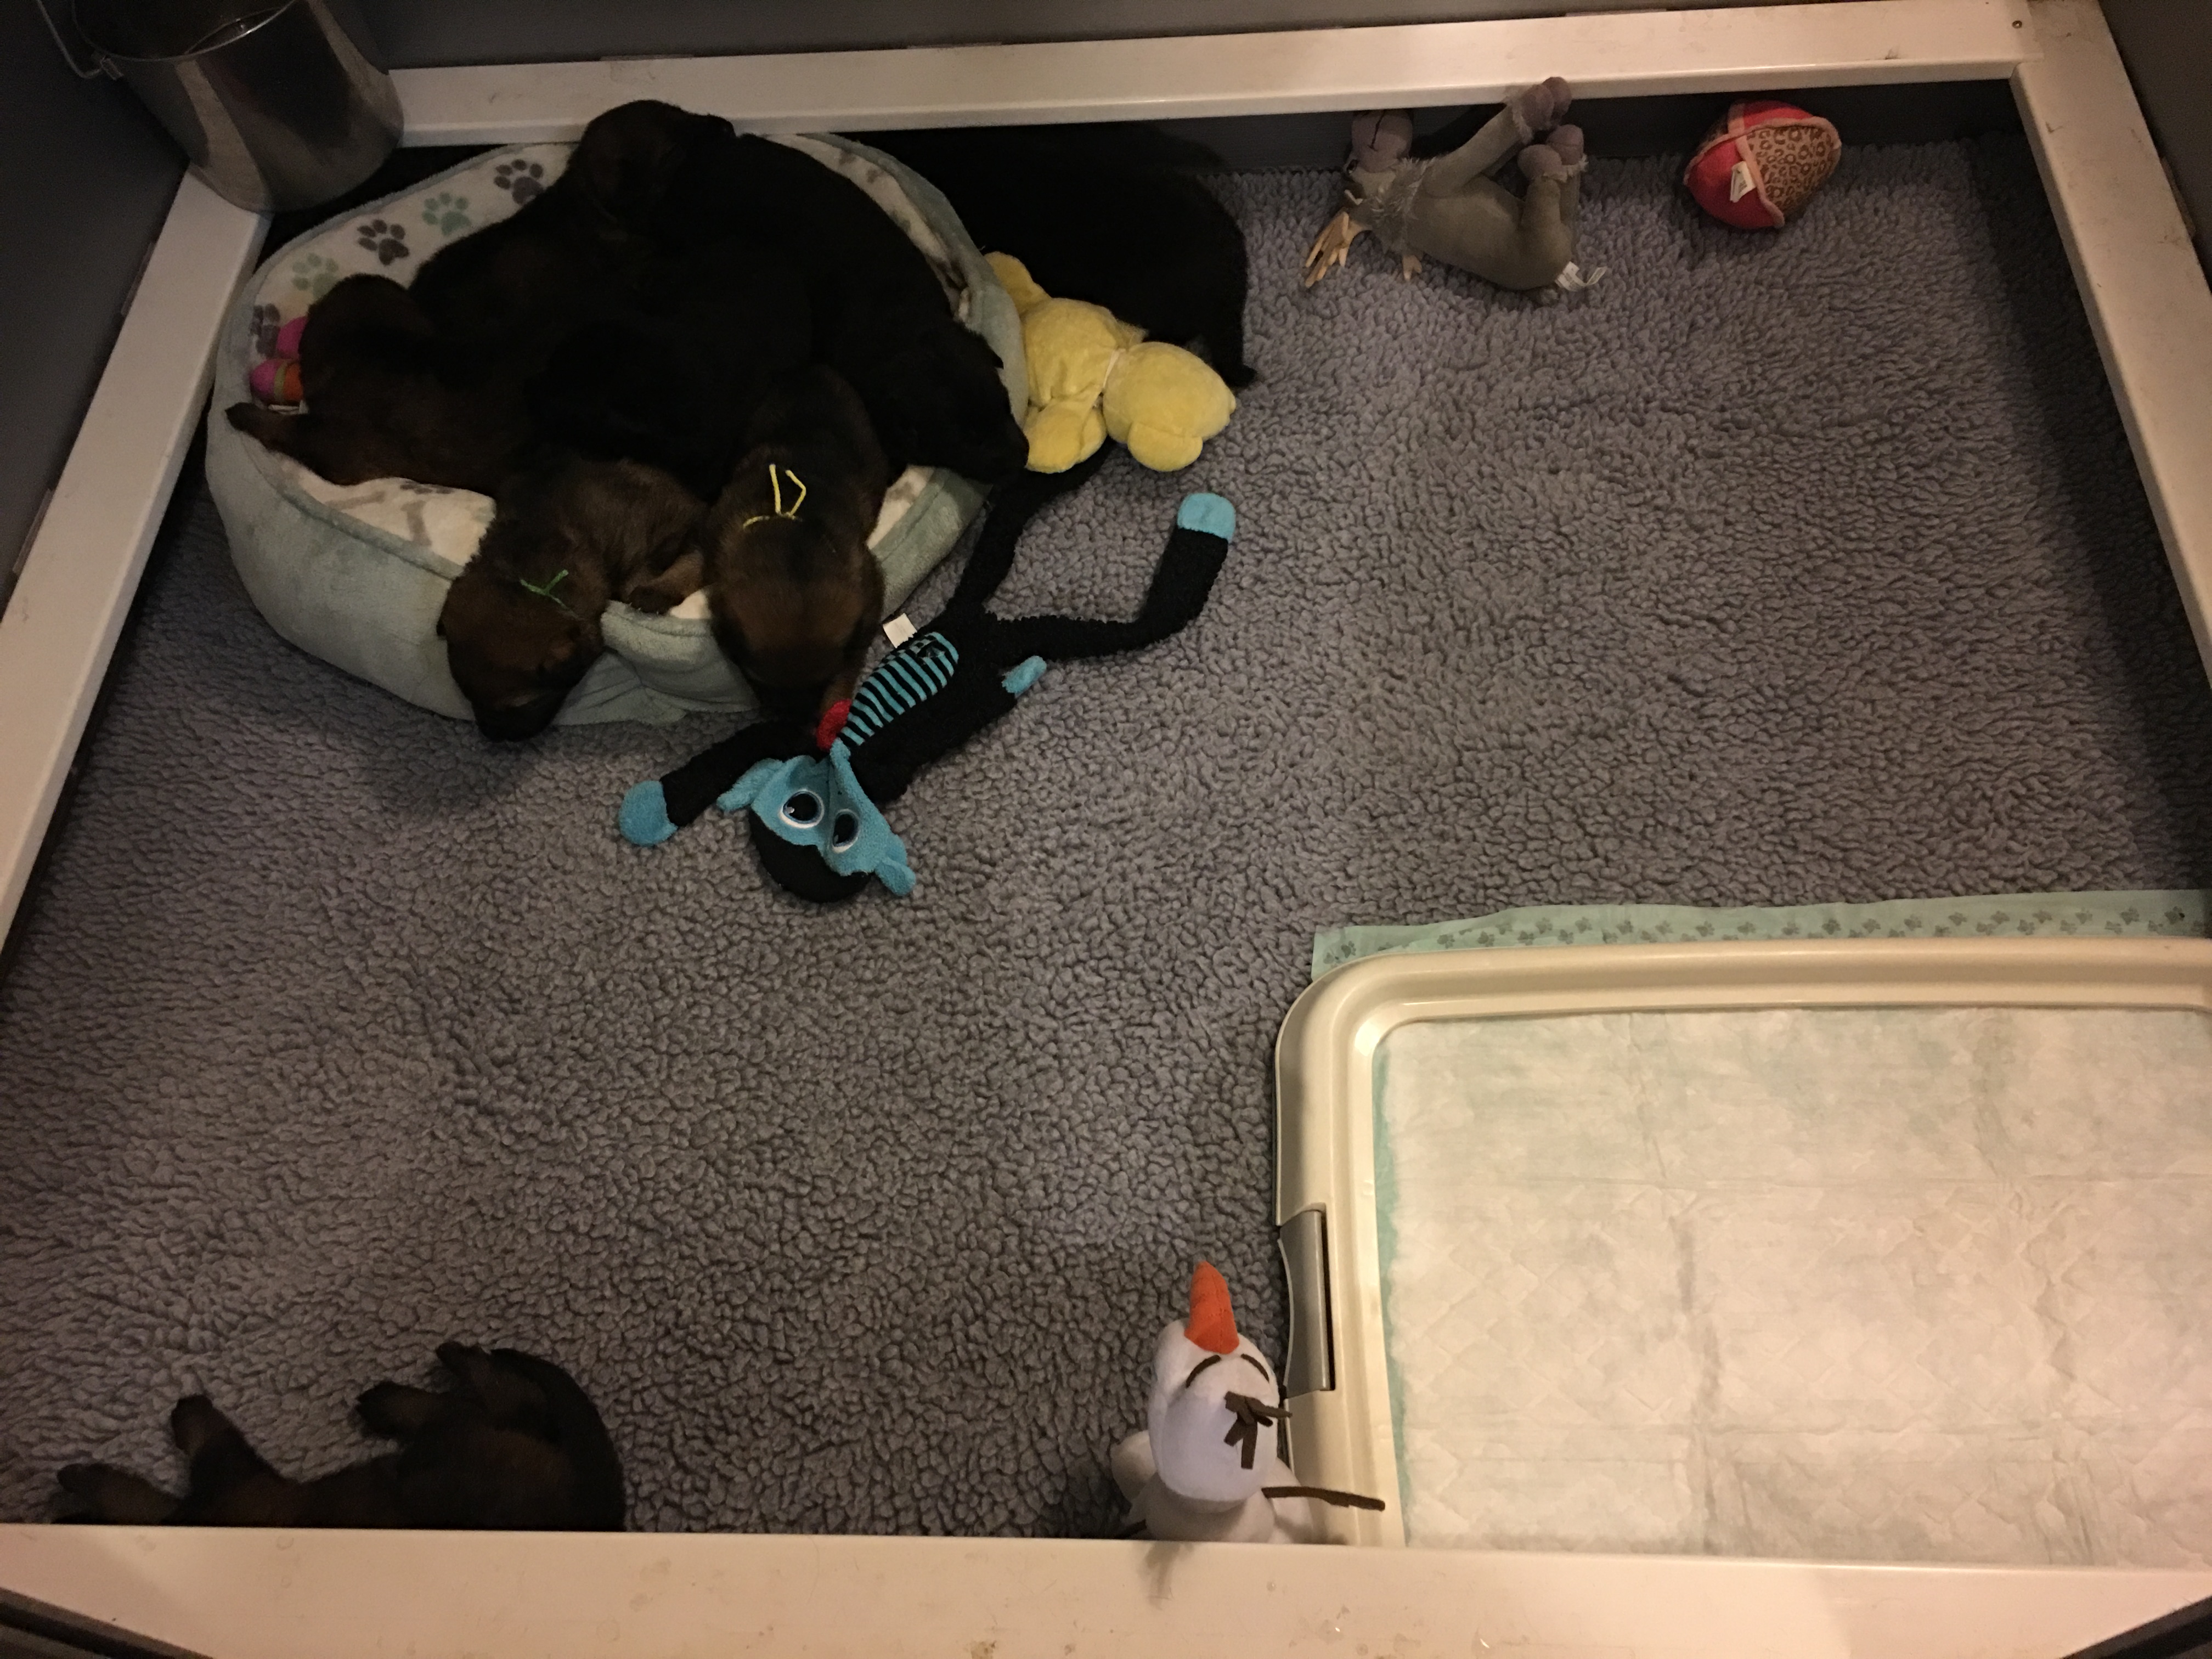
Boom! Goal achieved, puppies are choosing to nap in their crates.
Important! It’s very undesirable for the puppy to enter the crate and then cry or fuss at the back of the crate because they can’t reach us or a nanny. Please note in the pictures above the presence of sheets or blankets as a visual block. When we cannot attend the puppies, we block their view out the back of the crate to prevent frustration. GSDs are very sensitive to developing barrier frustration, so it’s imperative that we don’t allow them to learn this during the CSP.
Week 5: During Week 5 we start feeding the puppies in groups of two inside their crates. Doors are still off at this point. We remove the bed at mealtime and feed the puppies with the bowl at the back of the crate.
Put the puppies outside the pen, and remove any bedding in the crates.
Lift in two puppies (I always choose two who are manding) into the pen and allow the puppy(s) to run into the crate for the food. I use a gate or X-pen to block off the crates I don’t want these puppies to enter, since at this point the crates usually don’t have doors. If the crates do have doors I close them to guide the puppies into the crate I want them to enter. I may also close the doors while they are eating.
Repeat with each group of puppies, ensuring one or two puppies per crate. A helper is nice but not required.
After removing the bowls, I wipe down the crate if needed and put the beds back inside.
Feeding in crates with doors closed. As soon as the puppies are finishing, I open the door. We are not working on duration in the crate.
Towards the end of this week, I put the doors on the crates. At this point I wait to let the puppy enter the crate until it Mands for me. Later I will use this association between the crate door and Manding to teach my puppies to Mand to ask out of a crate also.
Week 6/7: We know we are ready for Week 6 work when the puppies enter their crates frequently and happily for naps and meals. Once we have met those goals we are ready to build duration inside the crate and teach the puppy how to ask out.
Goals for Week 6:
1. Build voluntary duration inside the crate. 2. Teach the puppy how to “ask out” by Manding, instead of fretting, whining, or crying.
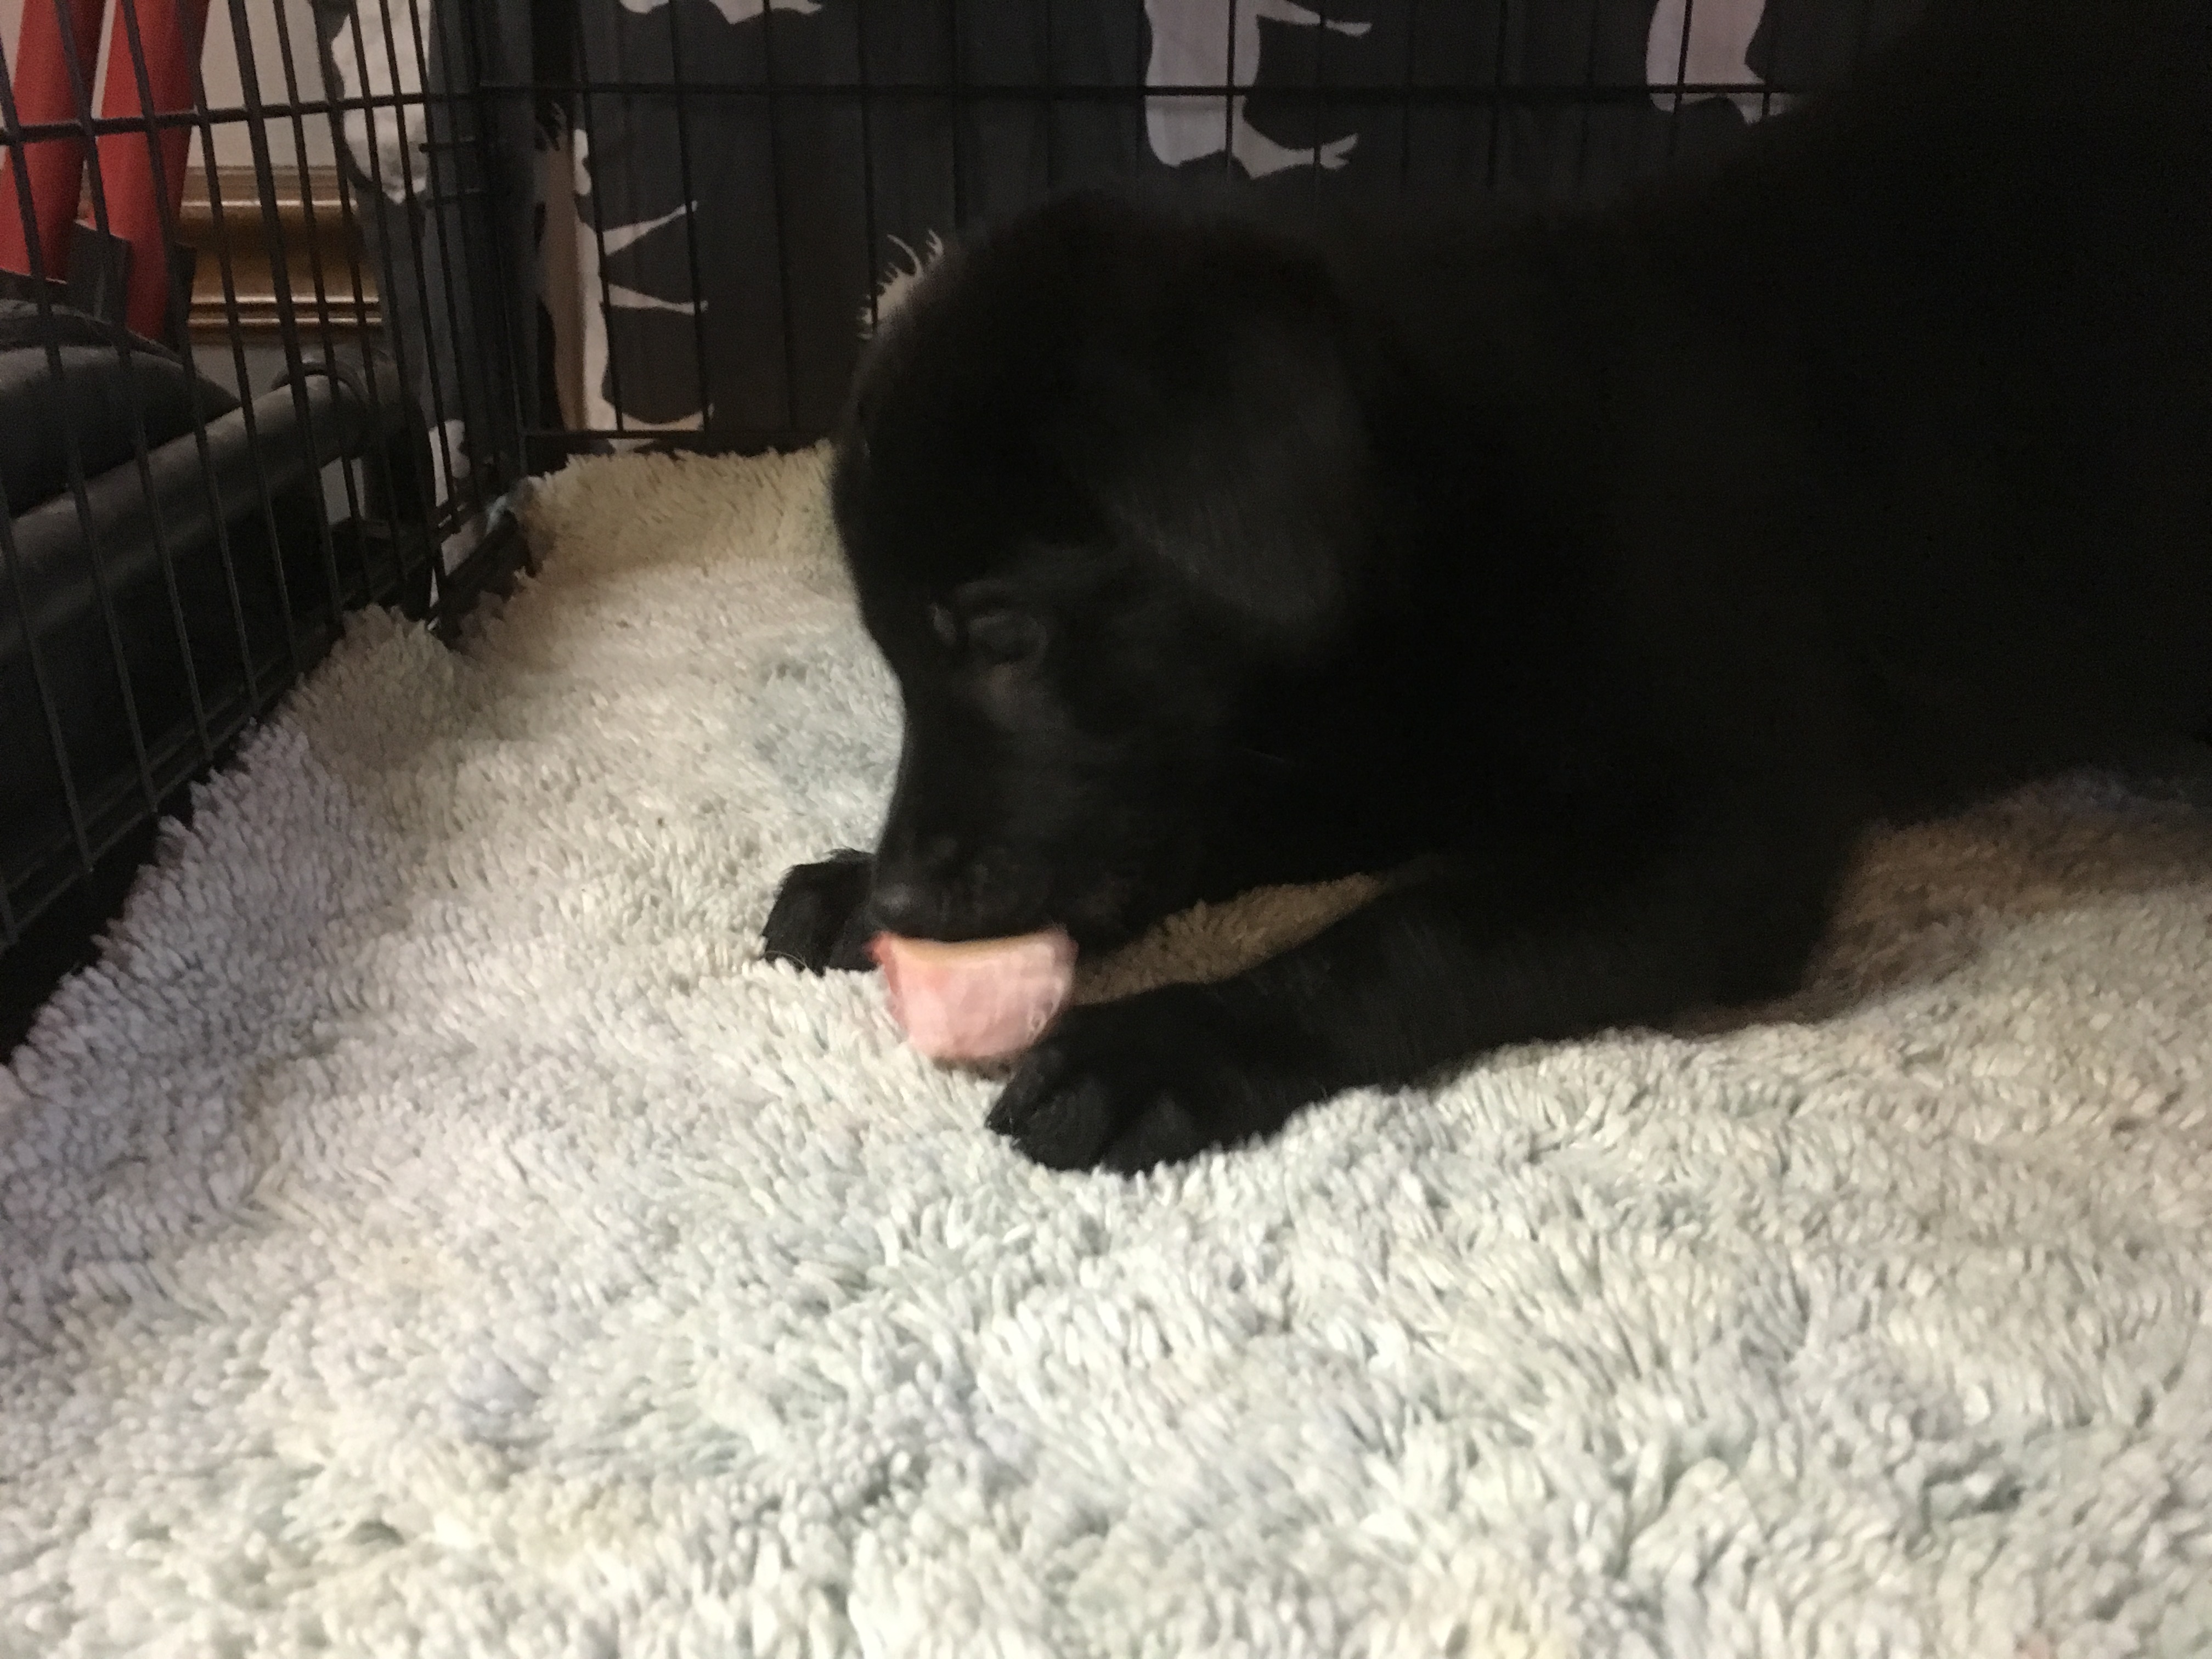
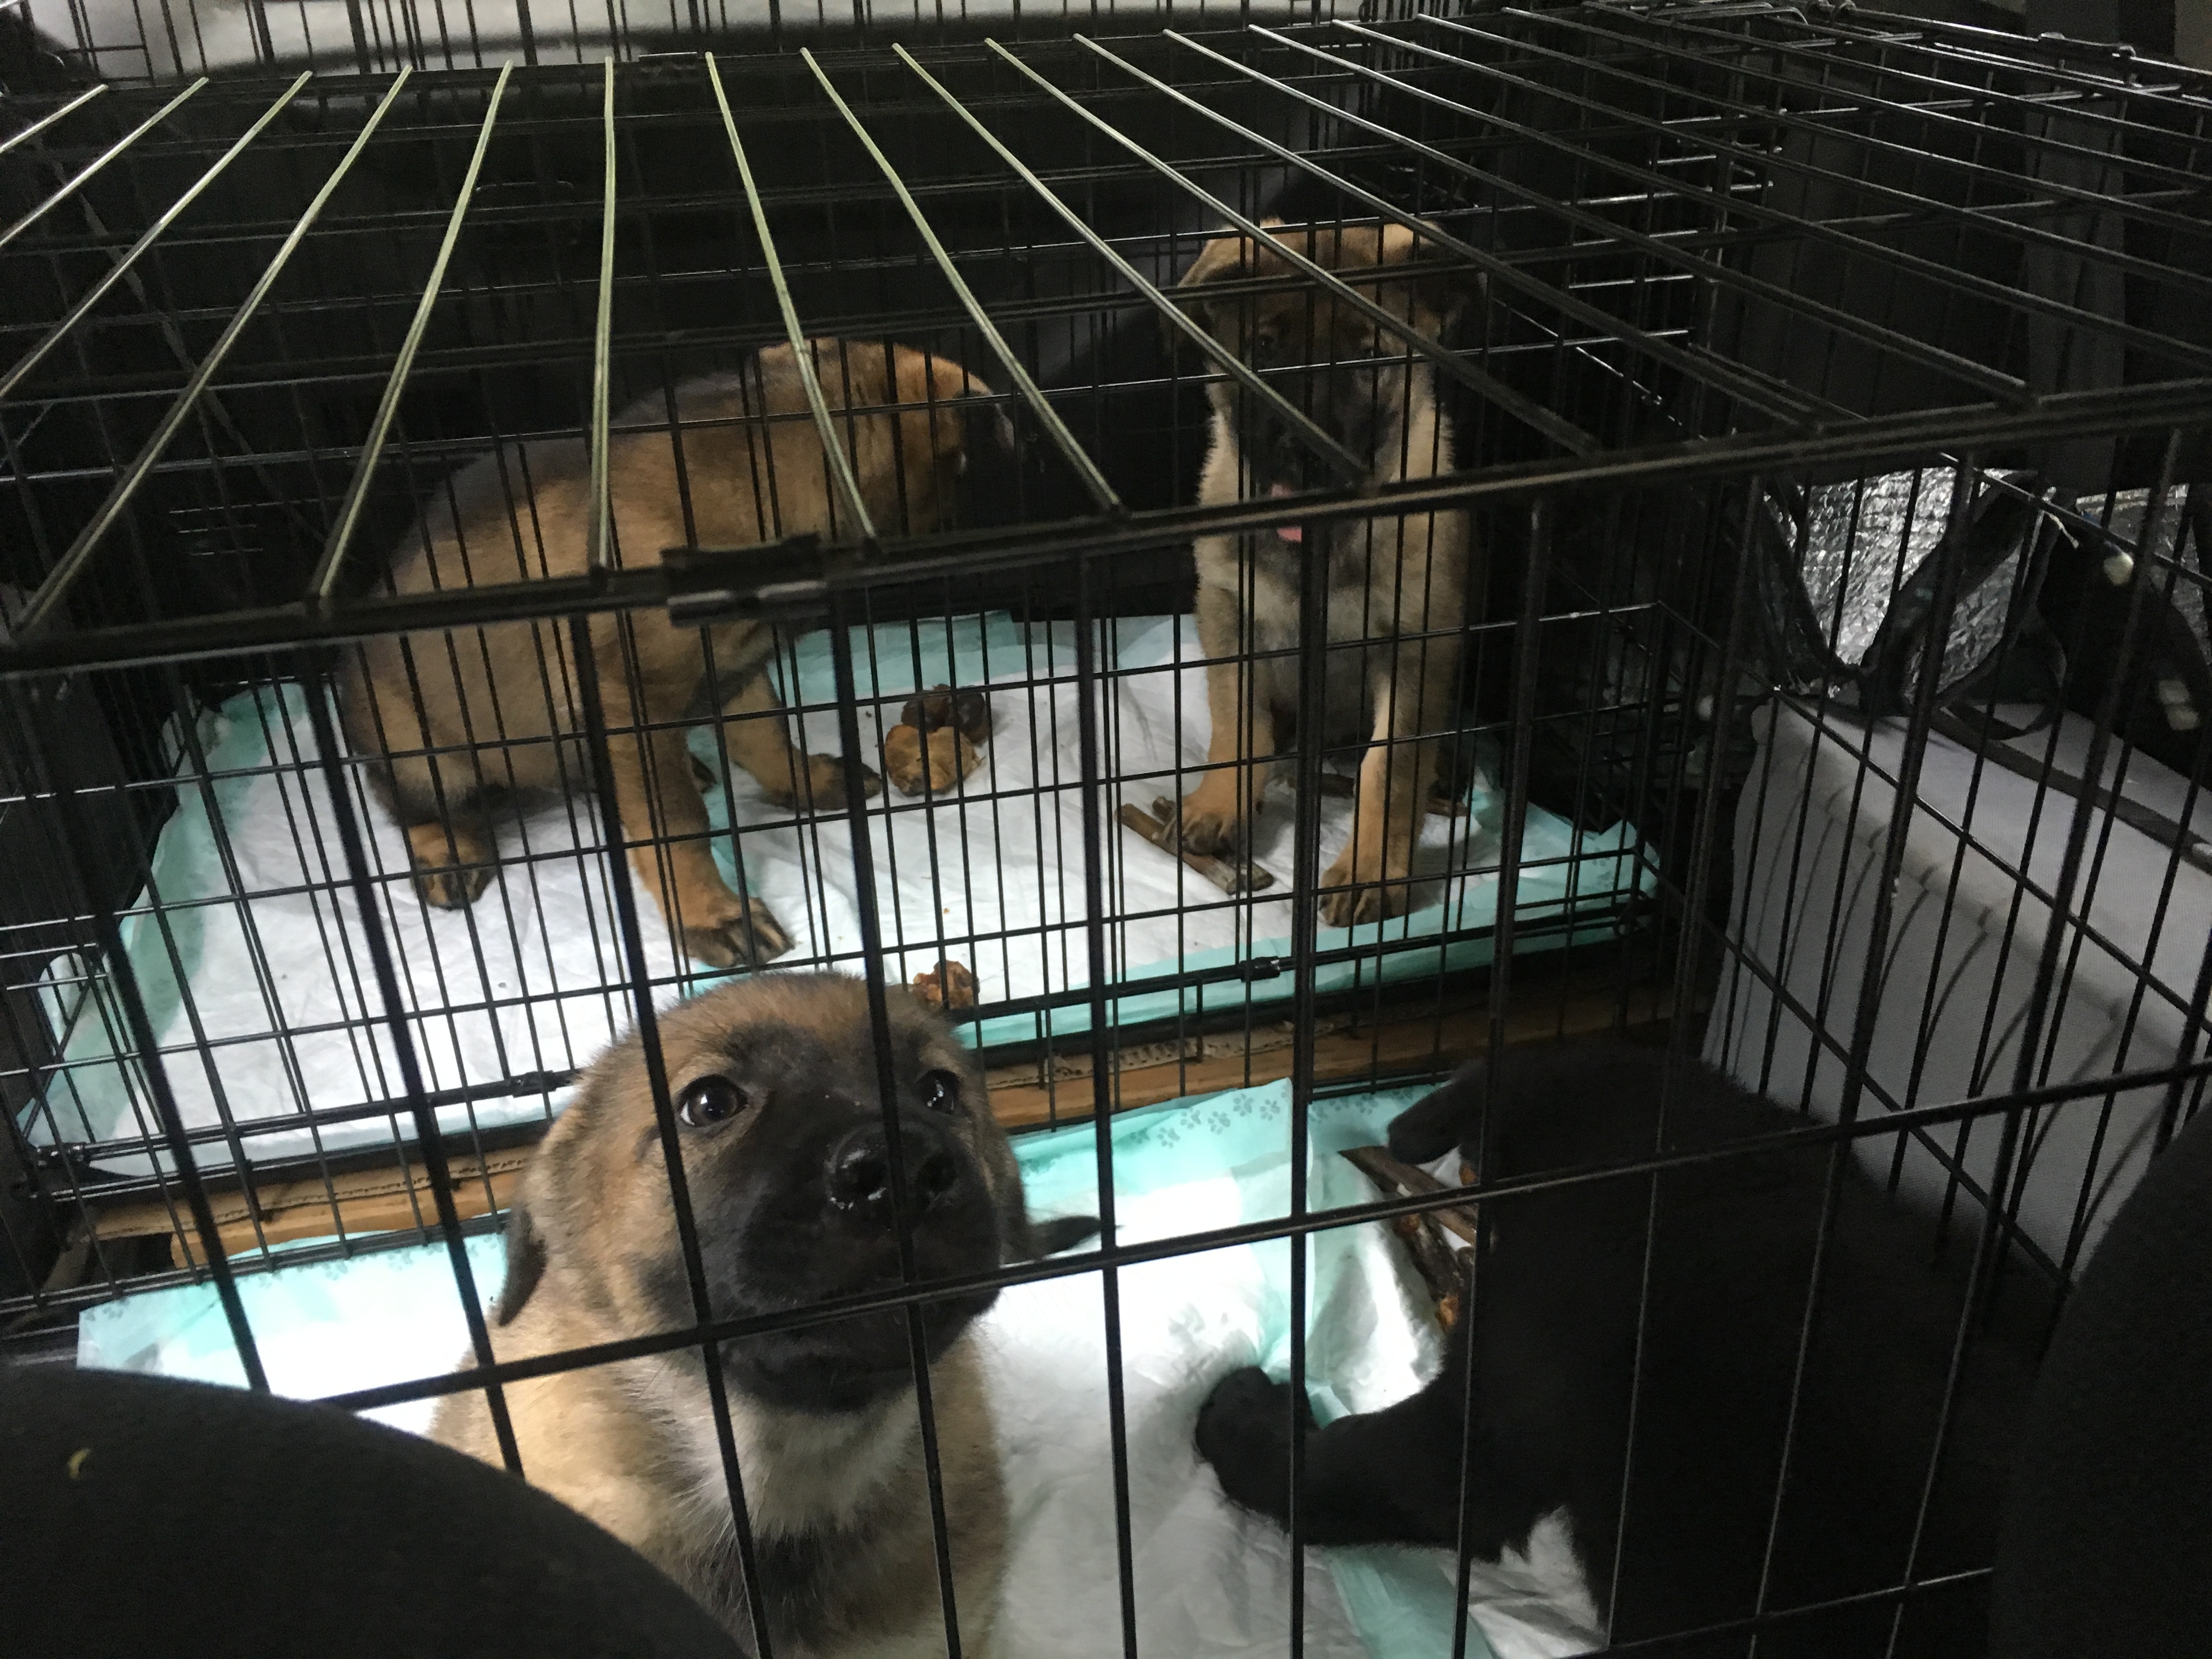
To build voluntary duration, we needed an activity the puppy would prefer to participate INSIDE the crate. The obvious choice was chewing. At this age puppies have a strong instinct to chew, and an equally strong desire to chew alone, without littermate interference.
Crate chew time with a raw bone.
We also need to teach the puppy that while we are closing the door to the crate, the puppy can “ask out” by Manding from the Puppy Culture Protocol. It’s vital to me that the puppy does not feel trapped, or regret being inside the crate. To prevent this the puppy needs a way to ask out of the crate! Puppies who cannot express needs become frantic and frustrated, this is contrary to our goals.
During this phase, if the puppy wants to exit the crate, it’s chew must remain inside the crate. If the puppy drops the chew to exit that’s great, if not we trade a high value treat for the chew.
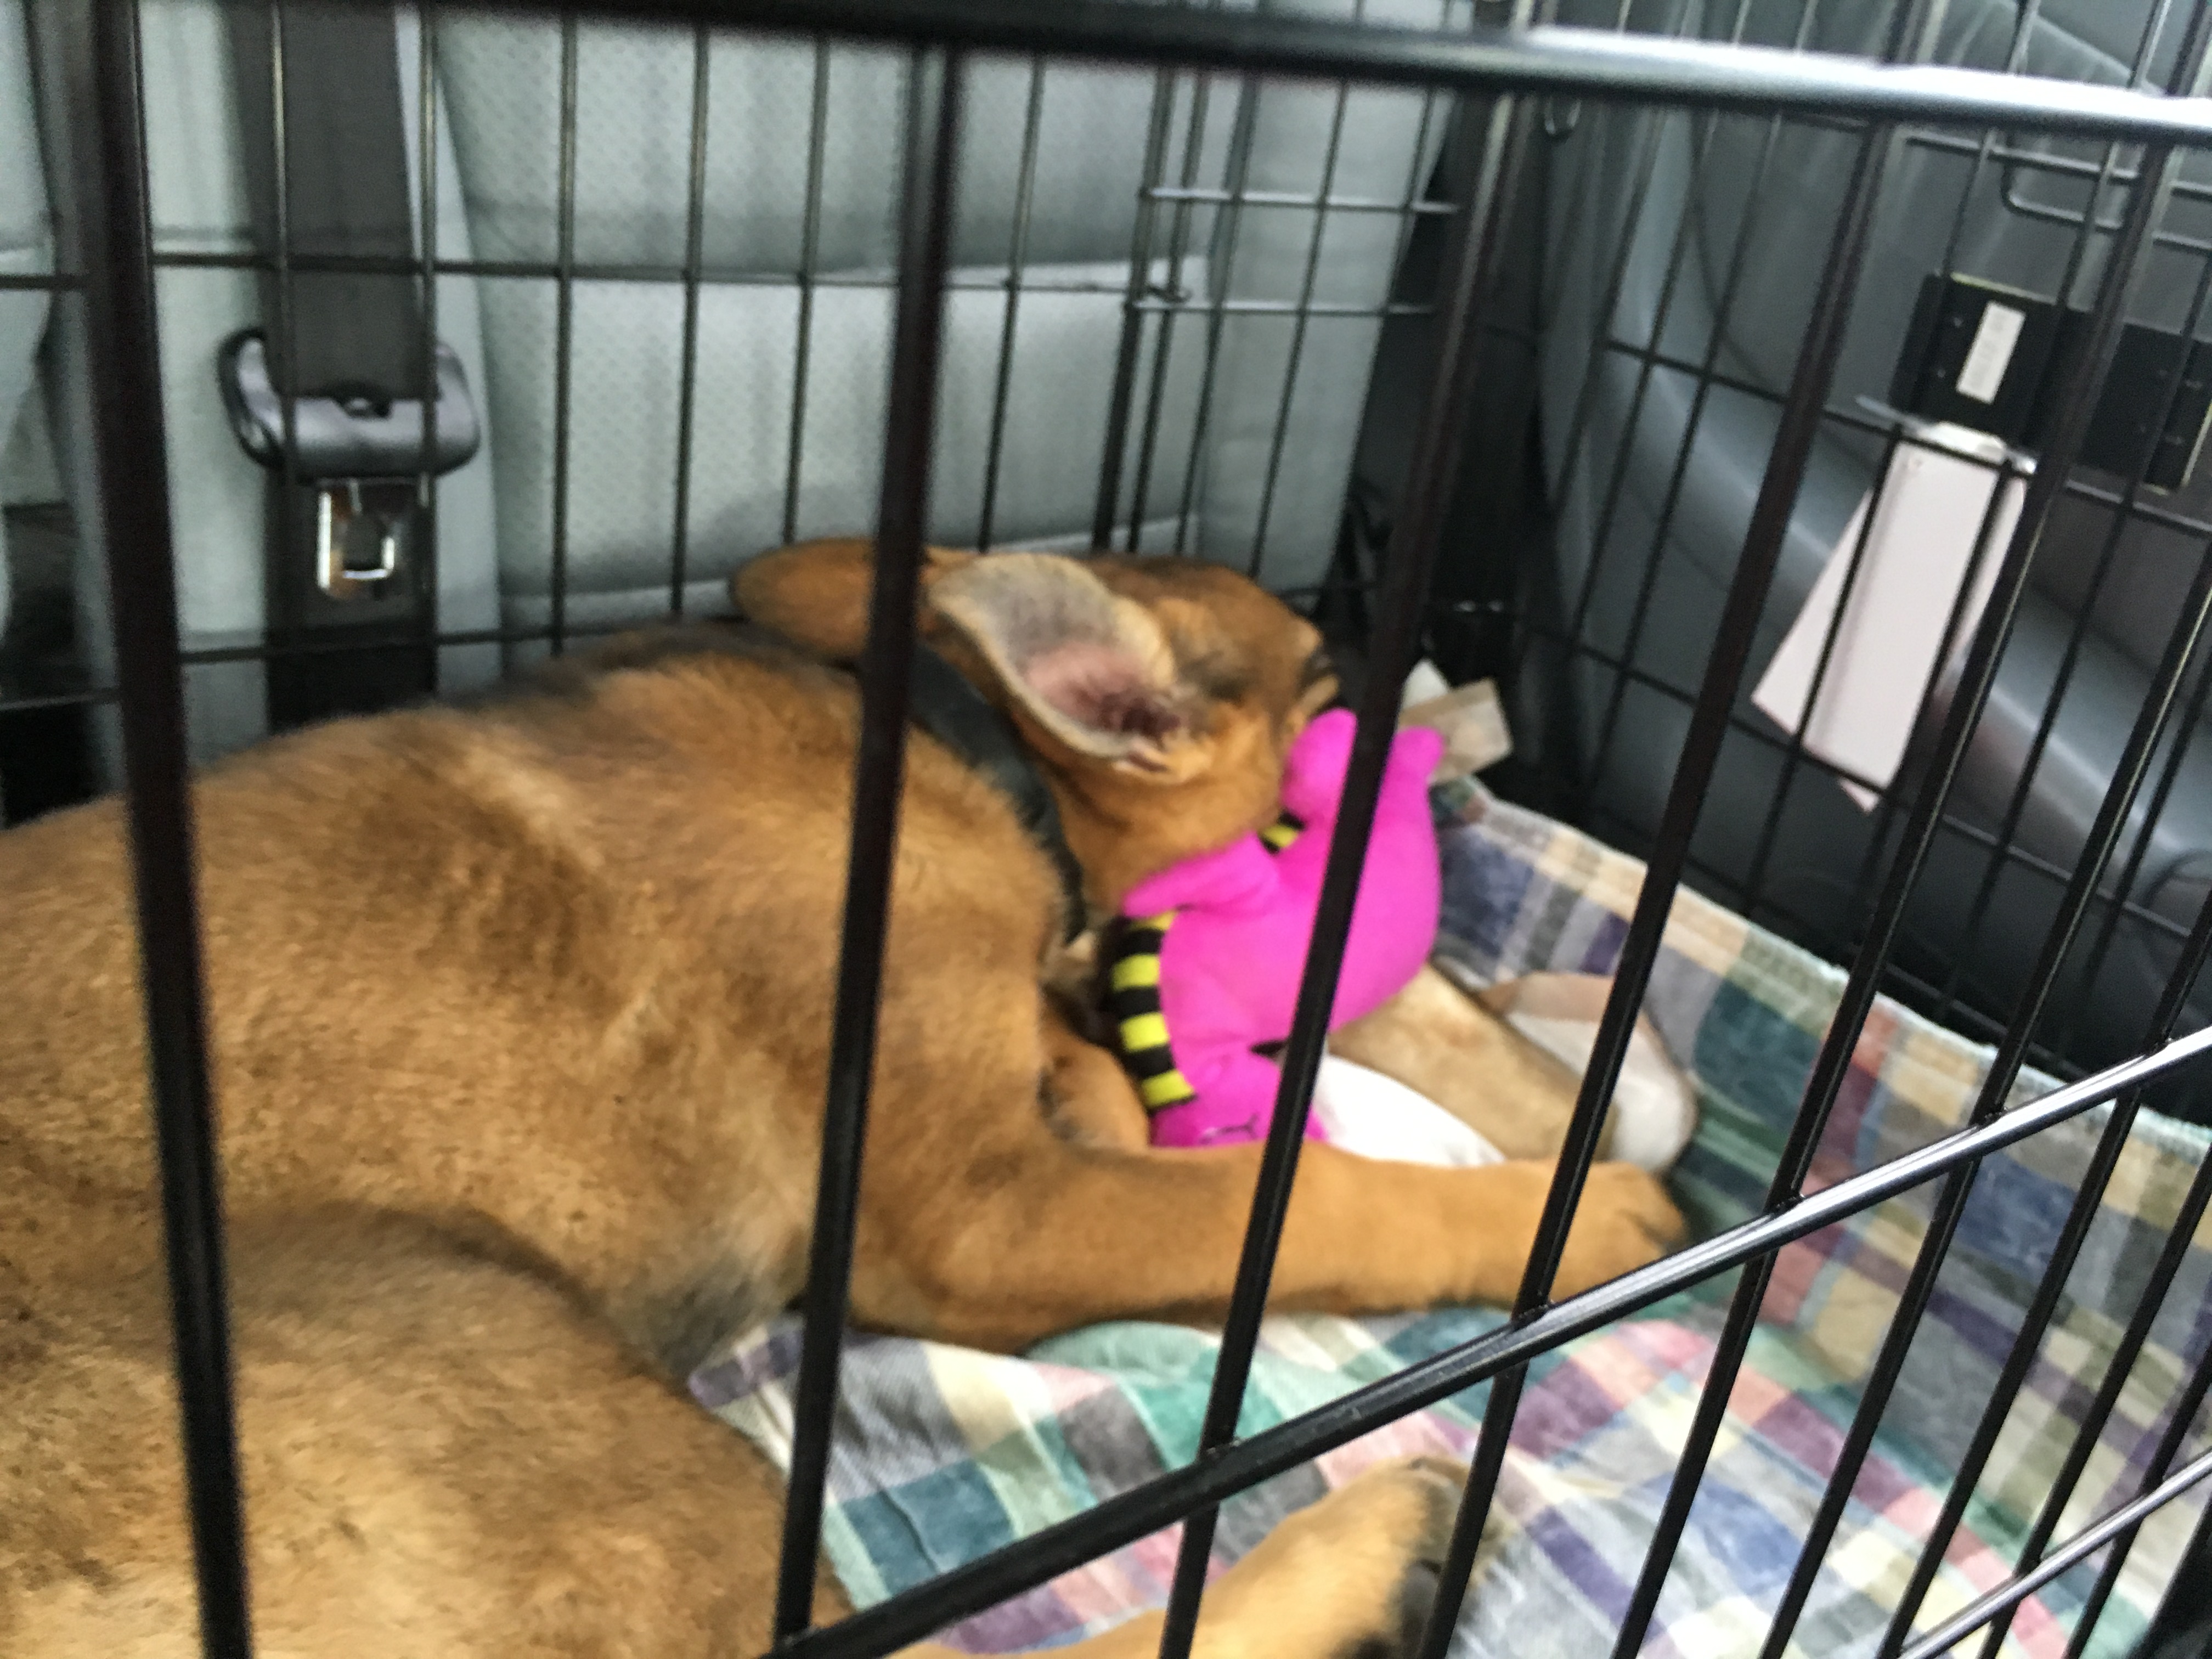
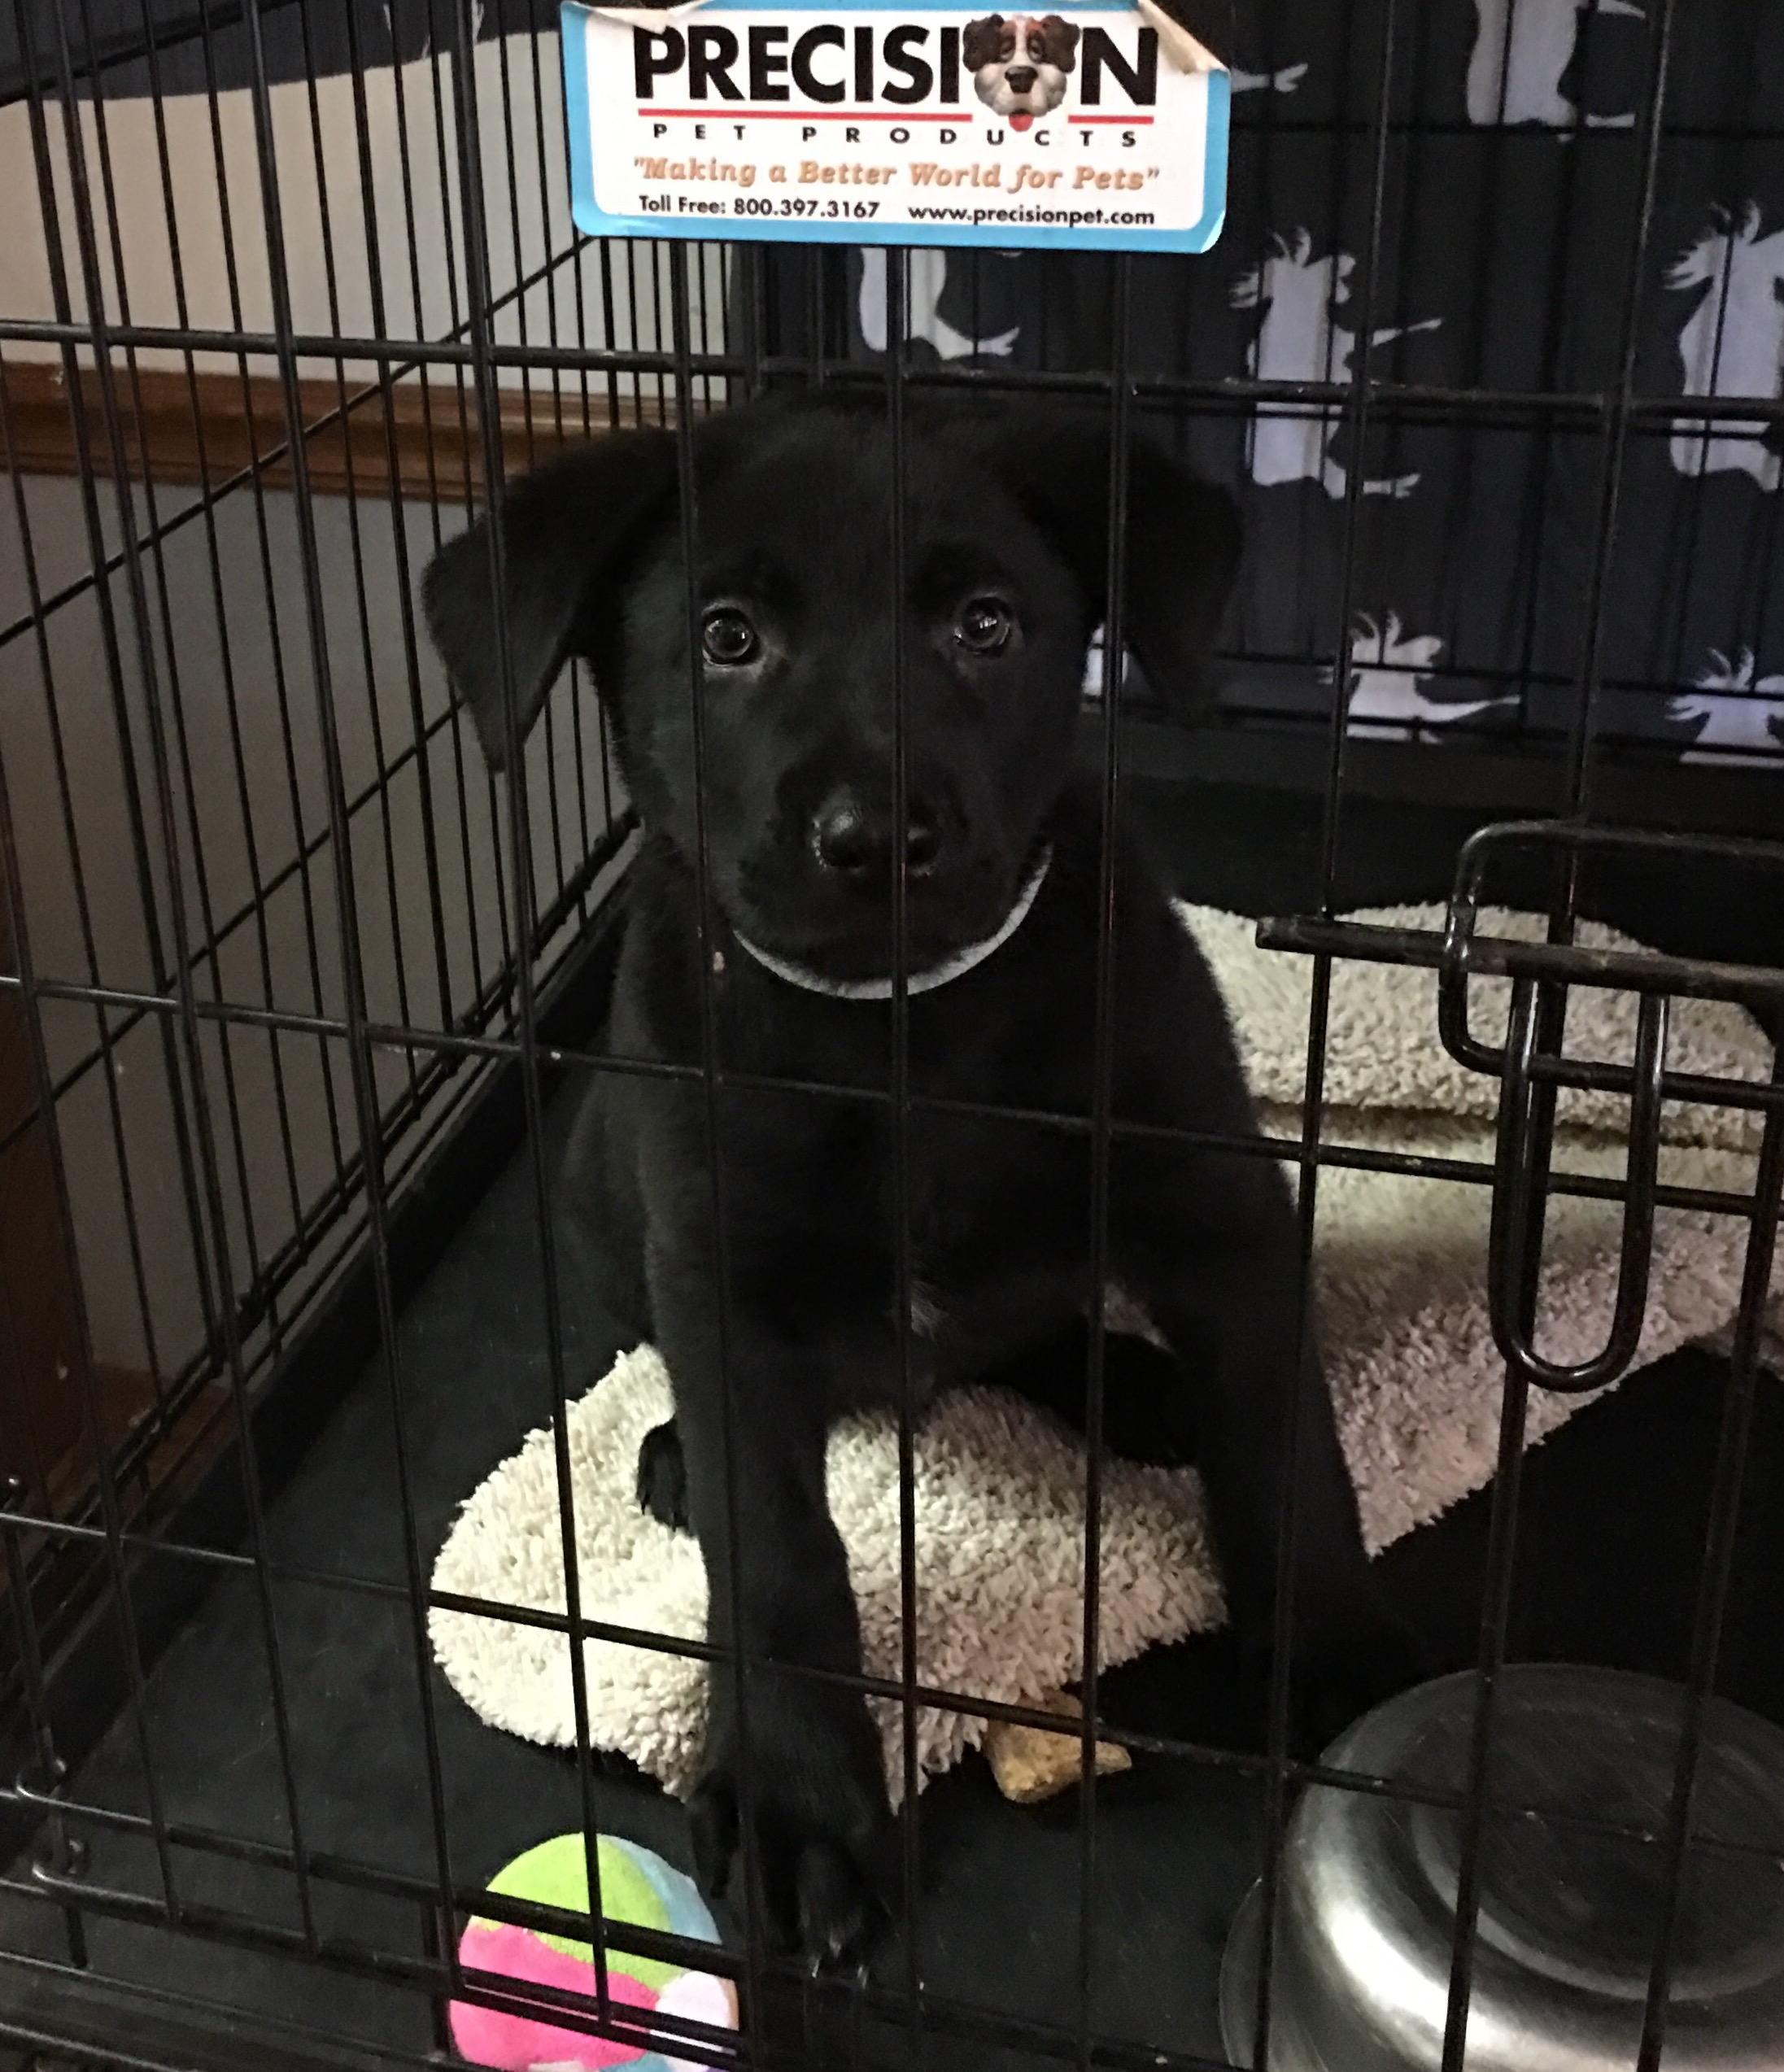
Wren Manding to be let out.
At this stage each puppy is fed individually in a crate. After each meal we remove the bowl and at the same moment, give the puppy a HIGH value chew. Something the puppy thinks is AMAZING! Wait patiently nearby while the puppies chew away.
If a puppy drops it’s chew and moves to the door, open the door and remove the puppy (leaving the bone in the crate to be put away later), offer it a toilet break, and then return it to the crate. Often if a puppy asks out, we find they will return to the crate to chew after a chance to void.
As the week progresses wait a bit longer to open the door, and see if the puppy Mands (if you have been doing lots of Manding in the weeks previous, it’s really likely the puppy will Mand if you just pause there). The moment the puppy Mands, open the door and remove the puppy from the crate.
Give the puppy an opportunity to Mand to ask out each time, but I never “get in a battle” over this, if the puppy really wants out and is upset or fretting I let it out, this is not the age to expect adult behavior. More important is that the puppy learn to trust that it can ask out and be let out, of the crate on demand. Otherwise we risk creating a negative association with confinement.
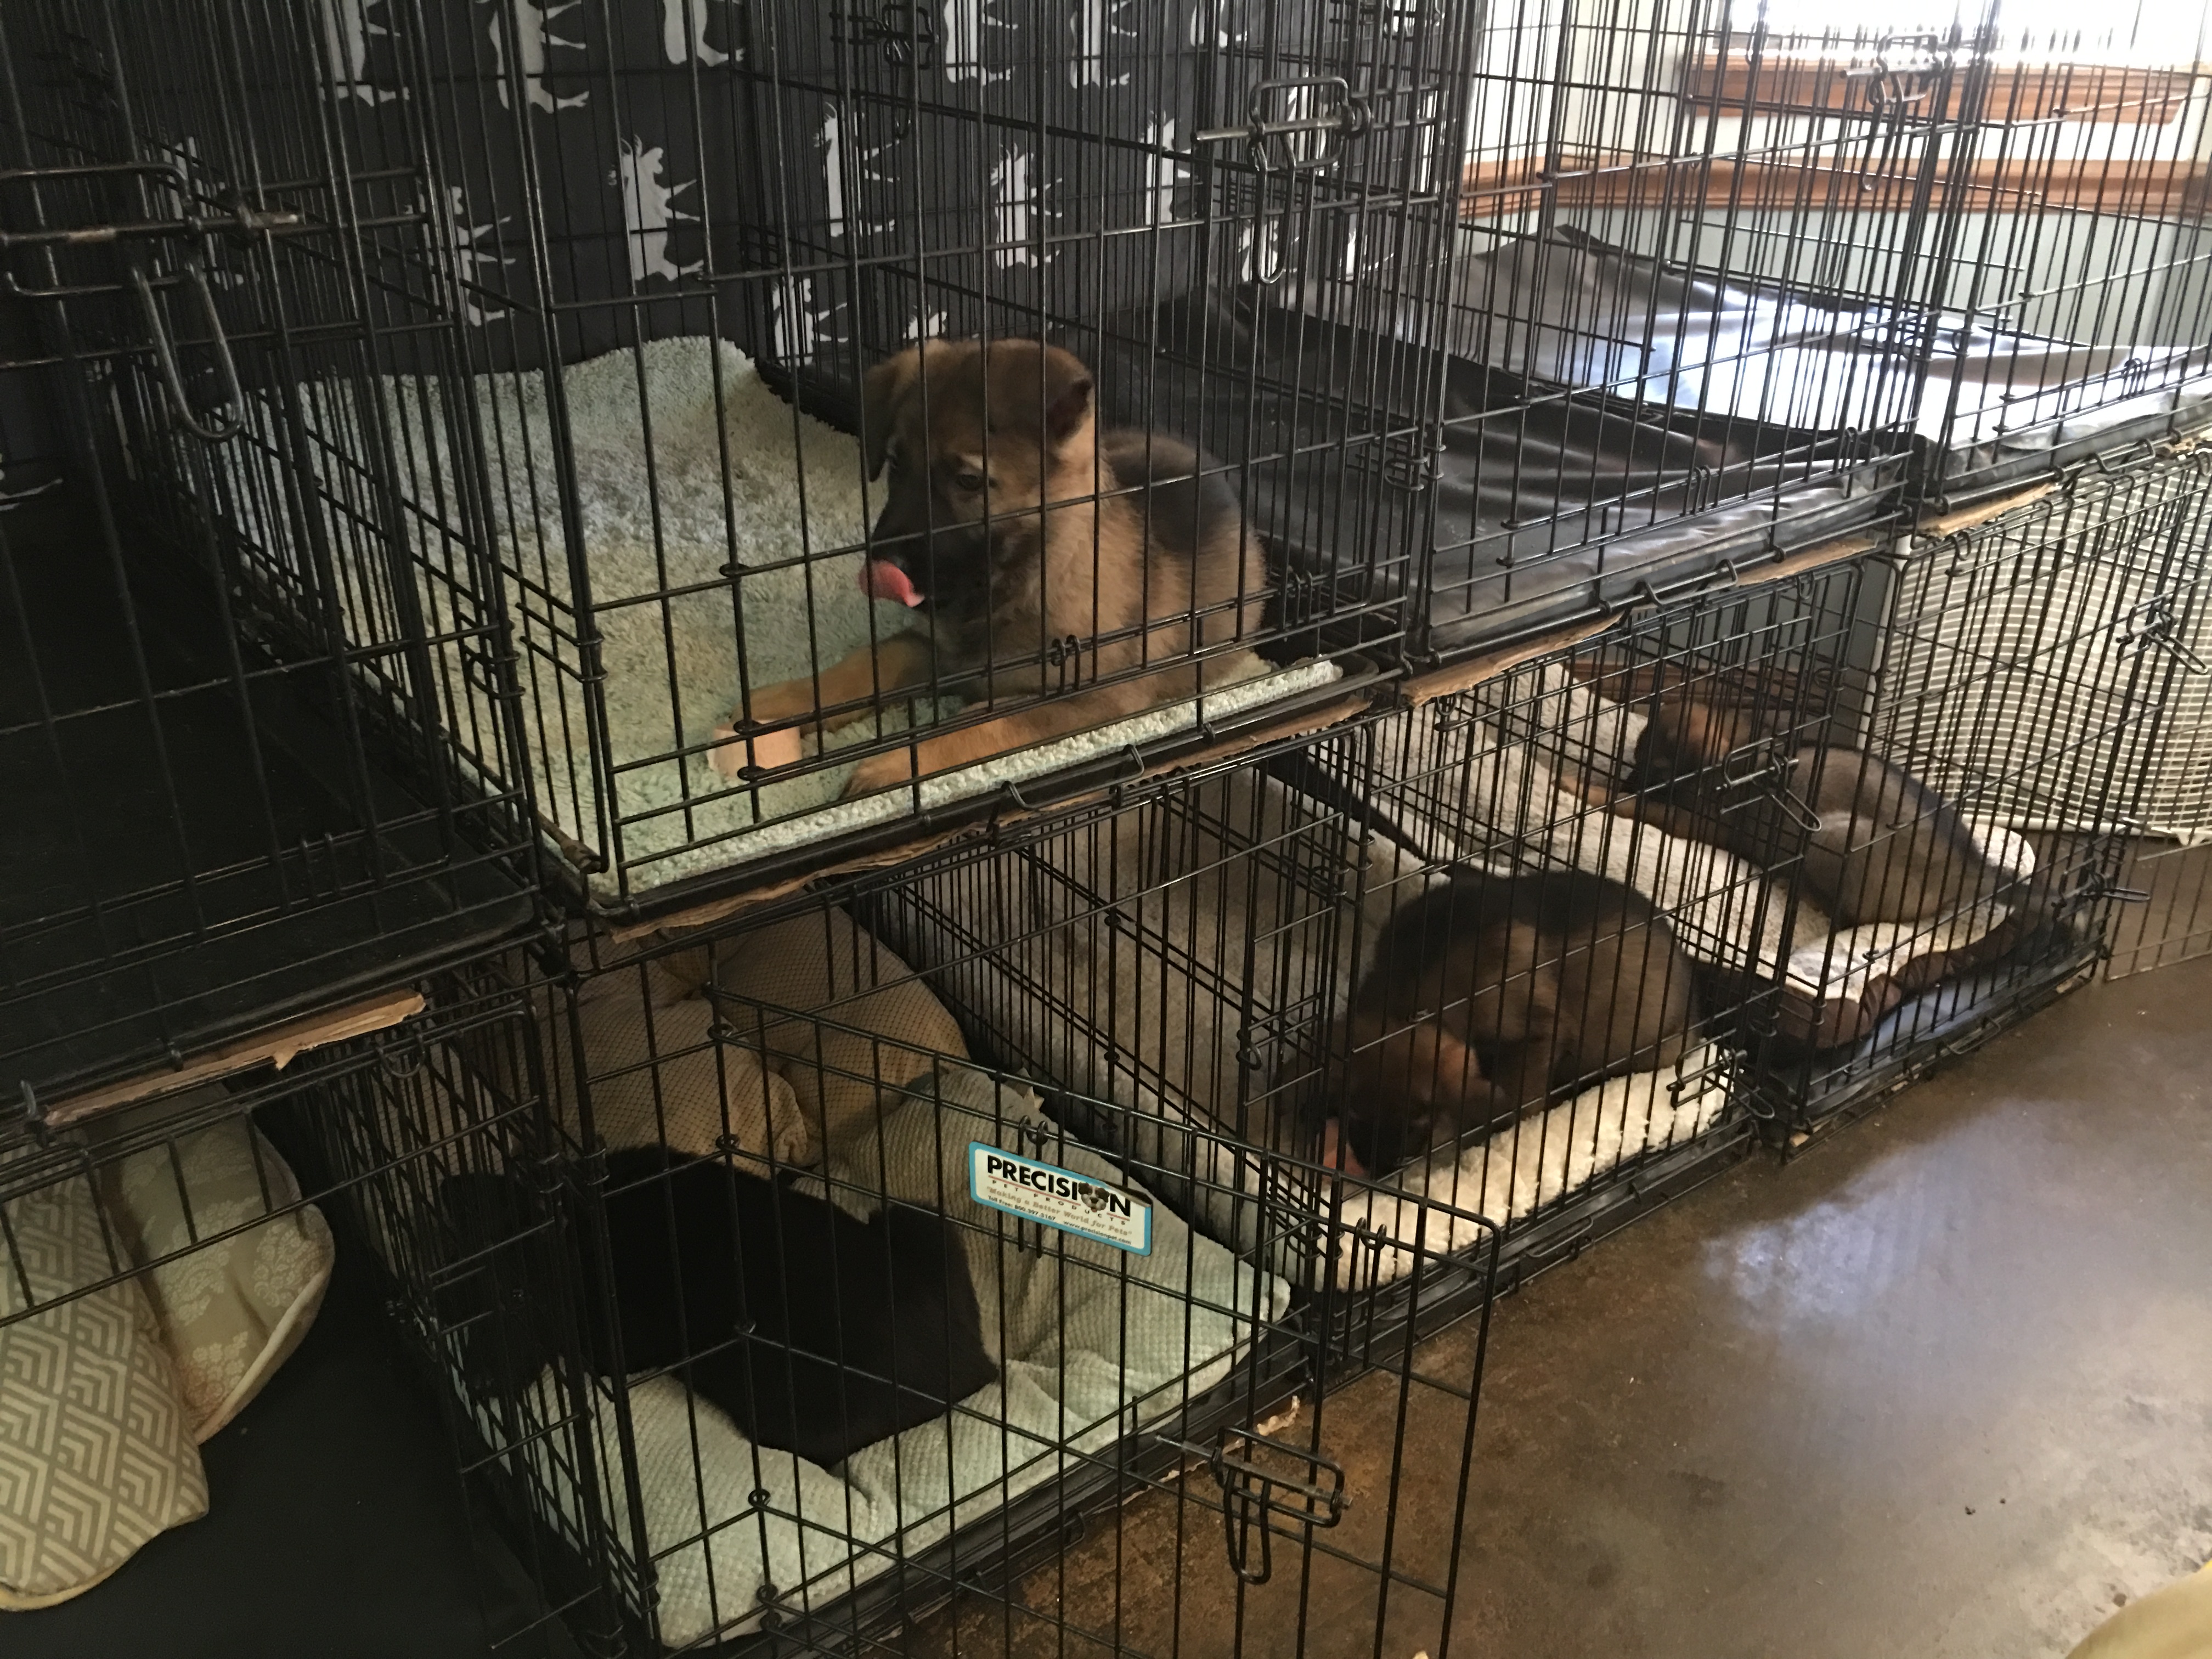
This puppy isn’t chewing, but isn’t asking to be let out either. We just let them chill until they’re ready to come out!
In week 6 and 7 we allow the puppy to learn that sometimes they might WANT to stay in their crate AND that they can ask out at any time and we will remove them from the crate. These two lessons are learned together.
Now, before you say that you “don’t have time” for this set up at every meal… don’t despair, I don’t do this at EVERY meal because like you, sometimes I don’t have time! At the least I try to do this at one meal per day, some days I make it at two meals!
While the puppies are chewing, I clean up the weaning pen, tidy the toys, refill my success stations, and clean bowls. I just stay nearby.
Win! After meal time, some choosing to nap, some choosing to chew, none asking out (yet).
During week 6 I expect the puppy to stay engaged with the chew around 5 minutes, some less, some more. Please don’t expect your puppy to sit and chew for an hour!
Sometimes, if the puppy wants out I ask the puppy if it would be interested in staying in the crate for a different chew. So the puppy Mands to ask out, and I open the door and show the puppy a different chew, if the puppy takes the chew and lays down and starts chewing I close the door. If the puppy wants out, it’s removed from the crate. This is most often how I build duration beyond five minutes or so. But as always, the puppy chews as long as it likes, and it’s let out when it likes. If a puppy falls asleep in the crate, we leave them to nap if someone will be there to let them out when they wake up.
During Week 6 and 7 we do at least one “chew session” in the crate inside the car (ideally running) and if possible we take a short drive.
Week 8 and up:
If you wanted, you could just continue using the Week 6/7 protocol until you send your puppies home at 9 to 16 weeks weeks. JUST doing that would be a great benefit to your puppies, creating a positive emotional response to being crated and confined, and teaching them they can ask out instead of screaming. But if you want MORE, here it is! –Susanne 2021 Update: Indeed we have found that overnight confinement steps do not improve crate work in the new home considerably.
A typical example, a few puppies have chosen to remain in their crates, a few crates are empty because those puppies have asked out.
Goals Week 8 through Send Home Day:
Puppy will sleep through the night (Optional! We have found this step often makes no difference in ease of crate training in the new home-Susanne 2021) in the crate with minimal to no fussing.
Puppy can remain crated up to 10 minutes during the day, with chews.
Puppy will Mand to ask out of crate.
Puppy will enter crate when asked.
Crate Nights
One of our primary goals with this program (remember Indeigh) is that puppies are conditioned to sleeping through the night in their crate before they leave for their new family. While this certainly doesn’t guarantee no sleepless nights in the new home, it does reduce the odds a puppy will panic in the crate or form negative associations with the crate or worse, the new environment or family.
I really struggled with how to do this, because I could not imagine how this would work with baby puppies. What if a puppy needed to potty in the night? I KNEW if a puppy woke up and needed to potty that all HELL would break loose in the puppy room when I went to let that puppy out. I KNEW I would end up with a room full of puppies all frustrated and crying for their release, then crying and frustrated at being crated again. Not to mention spending an hour in the middle of the night getting them all out, then in again. NOT good learning, NOT good for my sanity, NOT good for my marriage! But if I didn’t get up to let a puppy relieve itself it might have an accident in the crate, also NOT good.
I never solved this problem, but happily for me another breeder (the Amazing Paula Zaro) posted a picture of her crate training and what did I see but a LITTERBOX in the back of each crate. How CLEVER, no, GENIUS! My problem was solved. If a puppy had to void in the night, it would have a small litterbox in the crate with it. No need to wake up all the other puppies, no need to spend an hour pottying puppies at 2:00 am, no need to be sleep deprived! And NO poop covered crate or poop covered puppy! And at that moment the last phase of my crate conditioning program was born.
Starting 7 days before our Send Off Date (which is timed between 9 and 10 weeks) we plan for Crate Nights!
Now, I am going to admit something. By week 8 the litterbox gets really dirty during the night and AM clean up can be messy. So I really look forward to starting the puppies to sleep through the night in crates. REALLY.
The Plan and the Set Up!
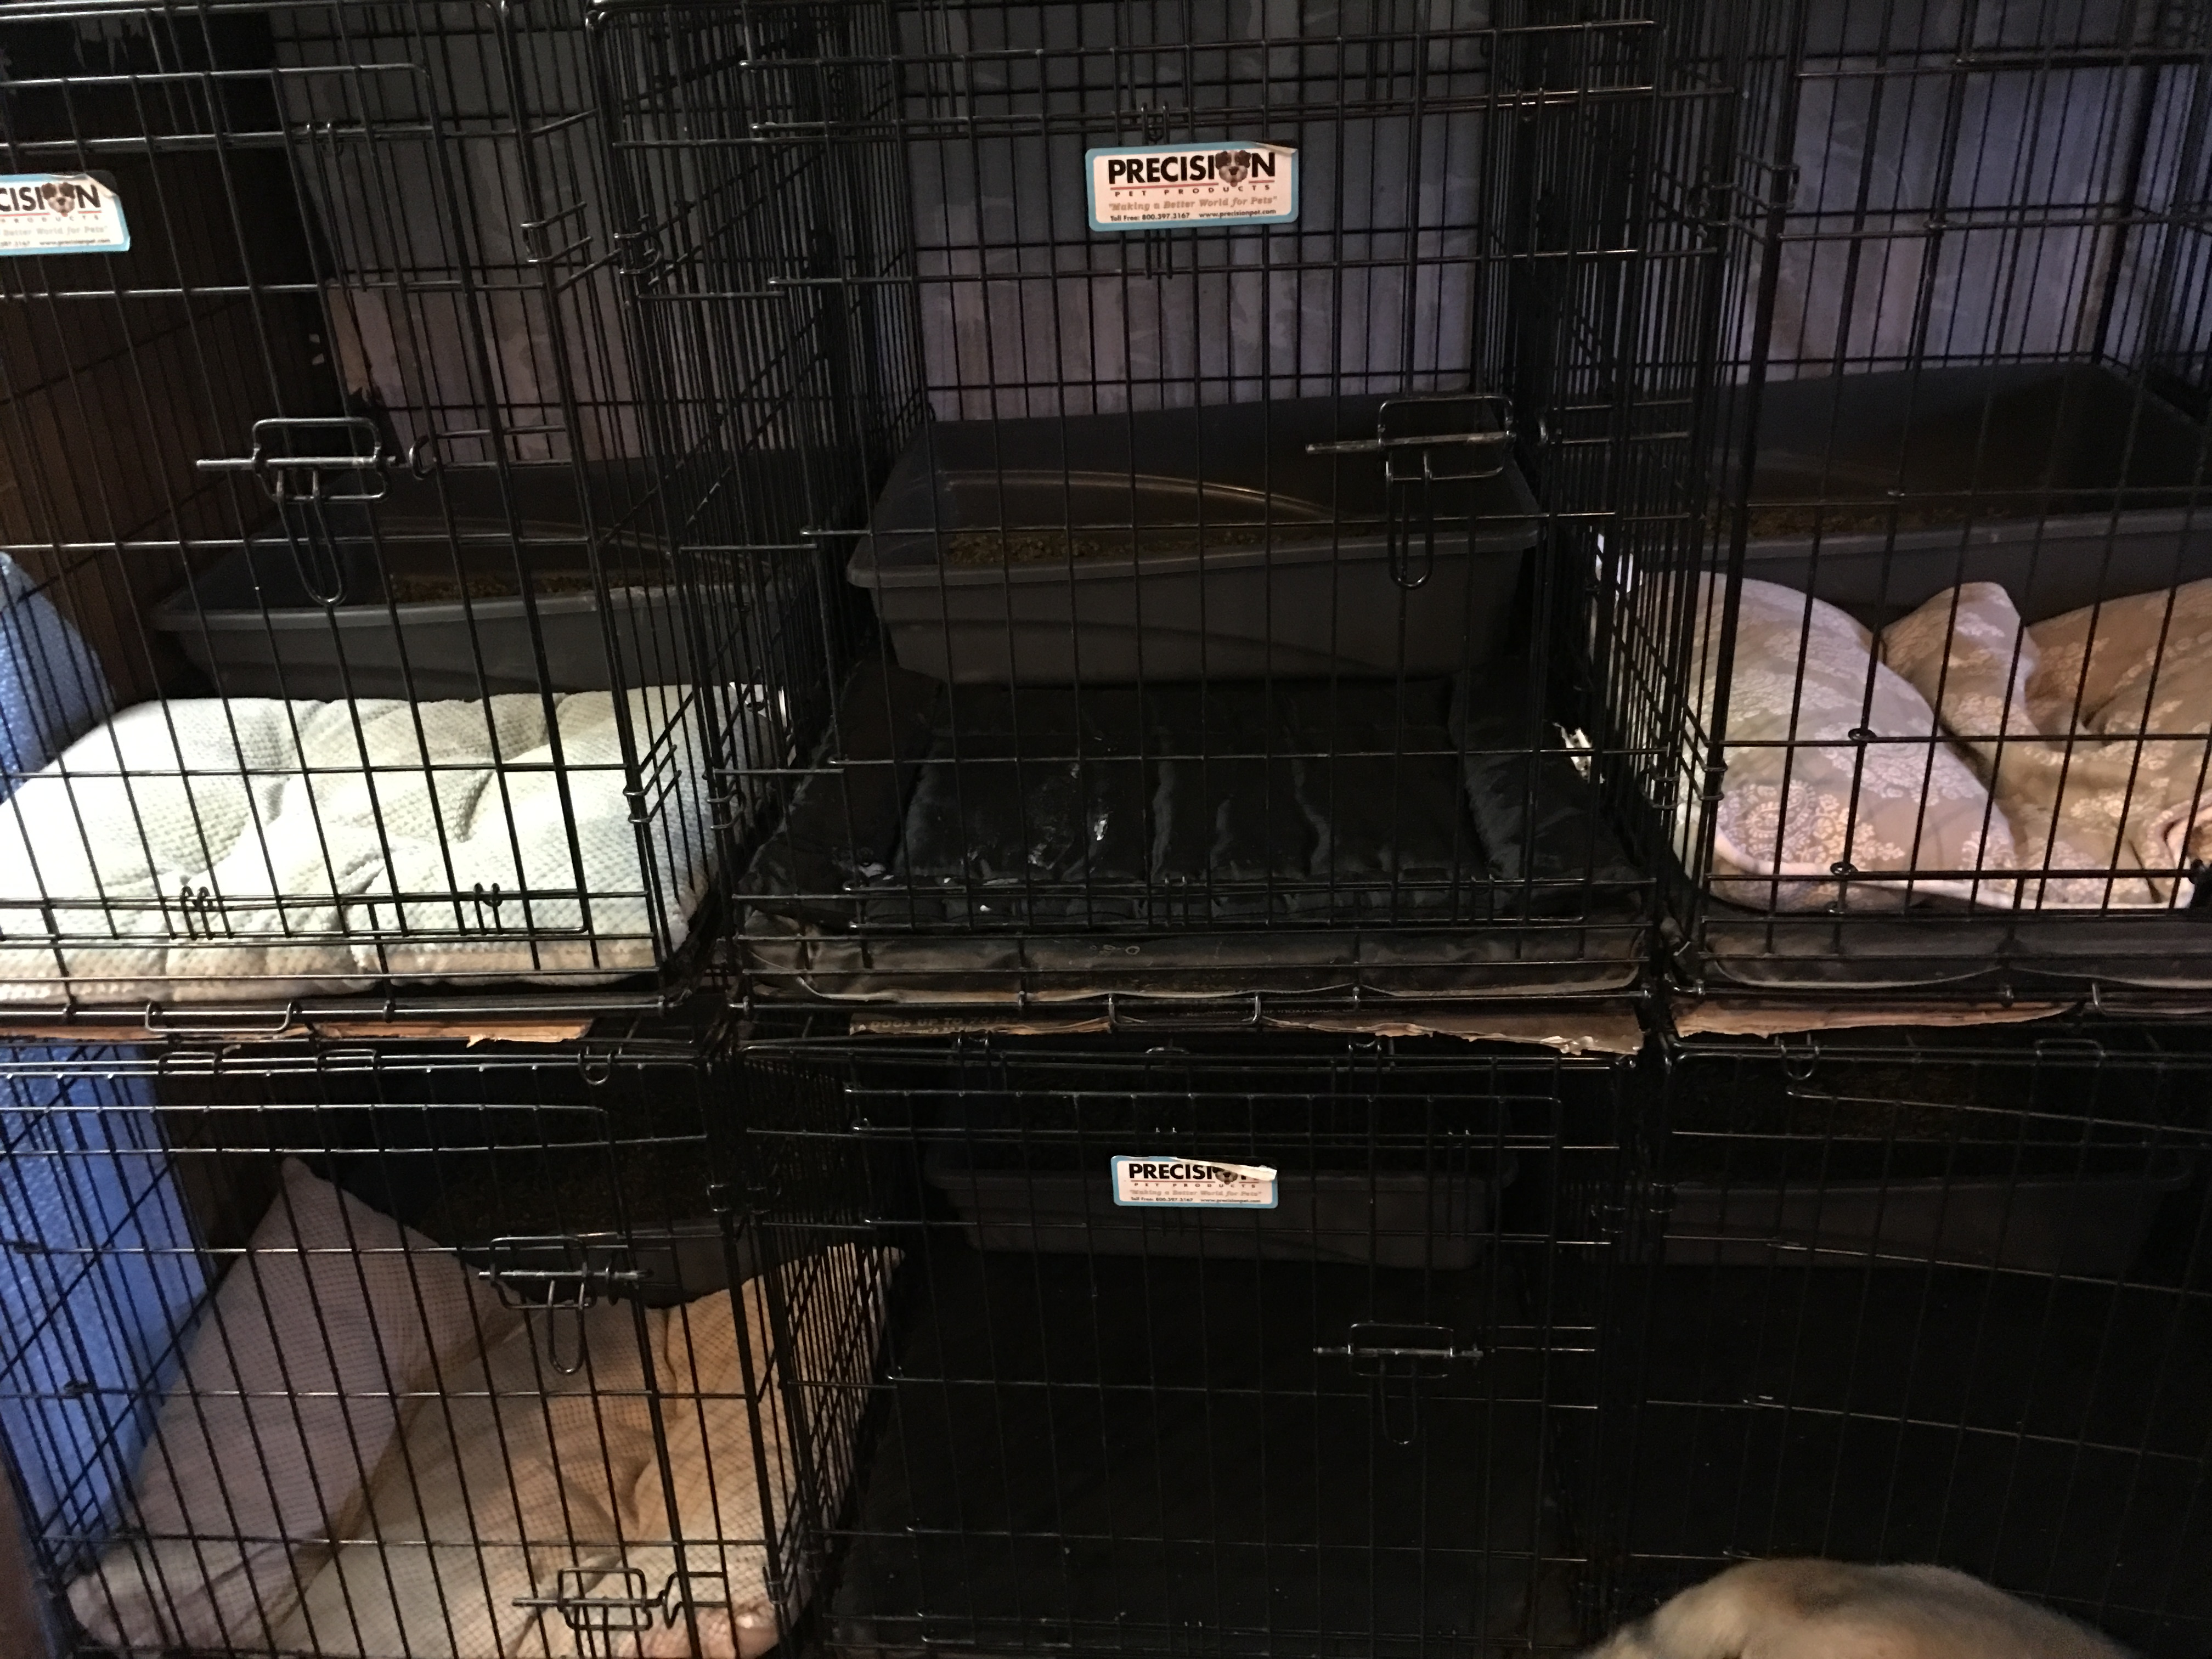
Crate (22 x 36) with cat litterbox in the back.
Same crate, litterbox in the back and bed in the front.
What works for us: My husband goes to bed much later than I do. I set up the crates for bedtime and he gives the puppies one last potty break outside and then crates them around 1:00 am.
Bedtime set up:
Place litterbox (with litter pellets of choice, I use hay pellets) in the back of the crate.
Place a small bed in the front half of the crate, spray with DAP.
Place two HIGH VALUE chews (I use a frozen raw bone and a bully stick) on the puppy’s bed and CLOSE the crate door.
By placing the chews in the crate early the puppies get really excited to enter the crate later, when Larry puts them to bed.
Crates all set up for Bedtime!
Right before bedtime:
Puppies get last outdoor potty break.
Puppies are placed into crates.
Lights off, soothing music such as Through A Dogs Ear is played.
Everyone to bed, household is quiet now, lest we wake the puppies.
Morning:
Remove puppies from crates and take them to their Puppy Patio to void. I toss treats out the door to ensure the puppies all run out quickly before they are tempted to use the indoor litterbox.
I remove crate litterboxes and clean any that have been used and also remove the chews.
Set up crates for daytime use – beds but no chews or litter boxes.
Repeat every night for seven nights before the puppies go home.
Notes:
During Week 8/9/10 we are also doing the Puppy Culture Resource Guarding Prevention Protocols. I use the puppies crate time around meals for this, as well as chew times. Please see Puppy Culture for information on that.
During week 8-10 we don’t offer chew times after meals, instead we reserve chewing for Bedtime. Offering chews primarily at bedtime makes the puppies more excited about going to bed. The exception is the car, we give chews in the car every time.
Some breeders double up the puppies in crates, I have no problem with that. We don’t have crates large enough for this, and if we did I don’t think they would fit in our dog room. Single puppies in 22 x 36 inch crates works for us, but don’t feel like it MUST be just as we do it.
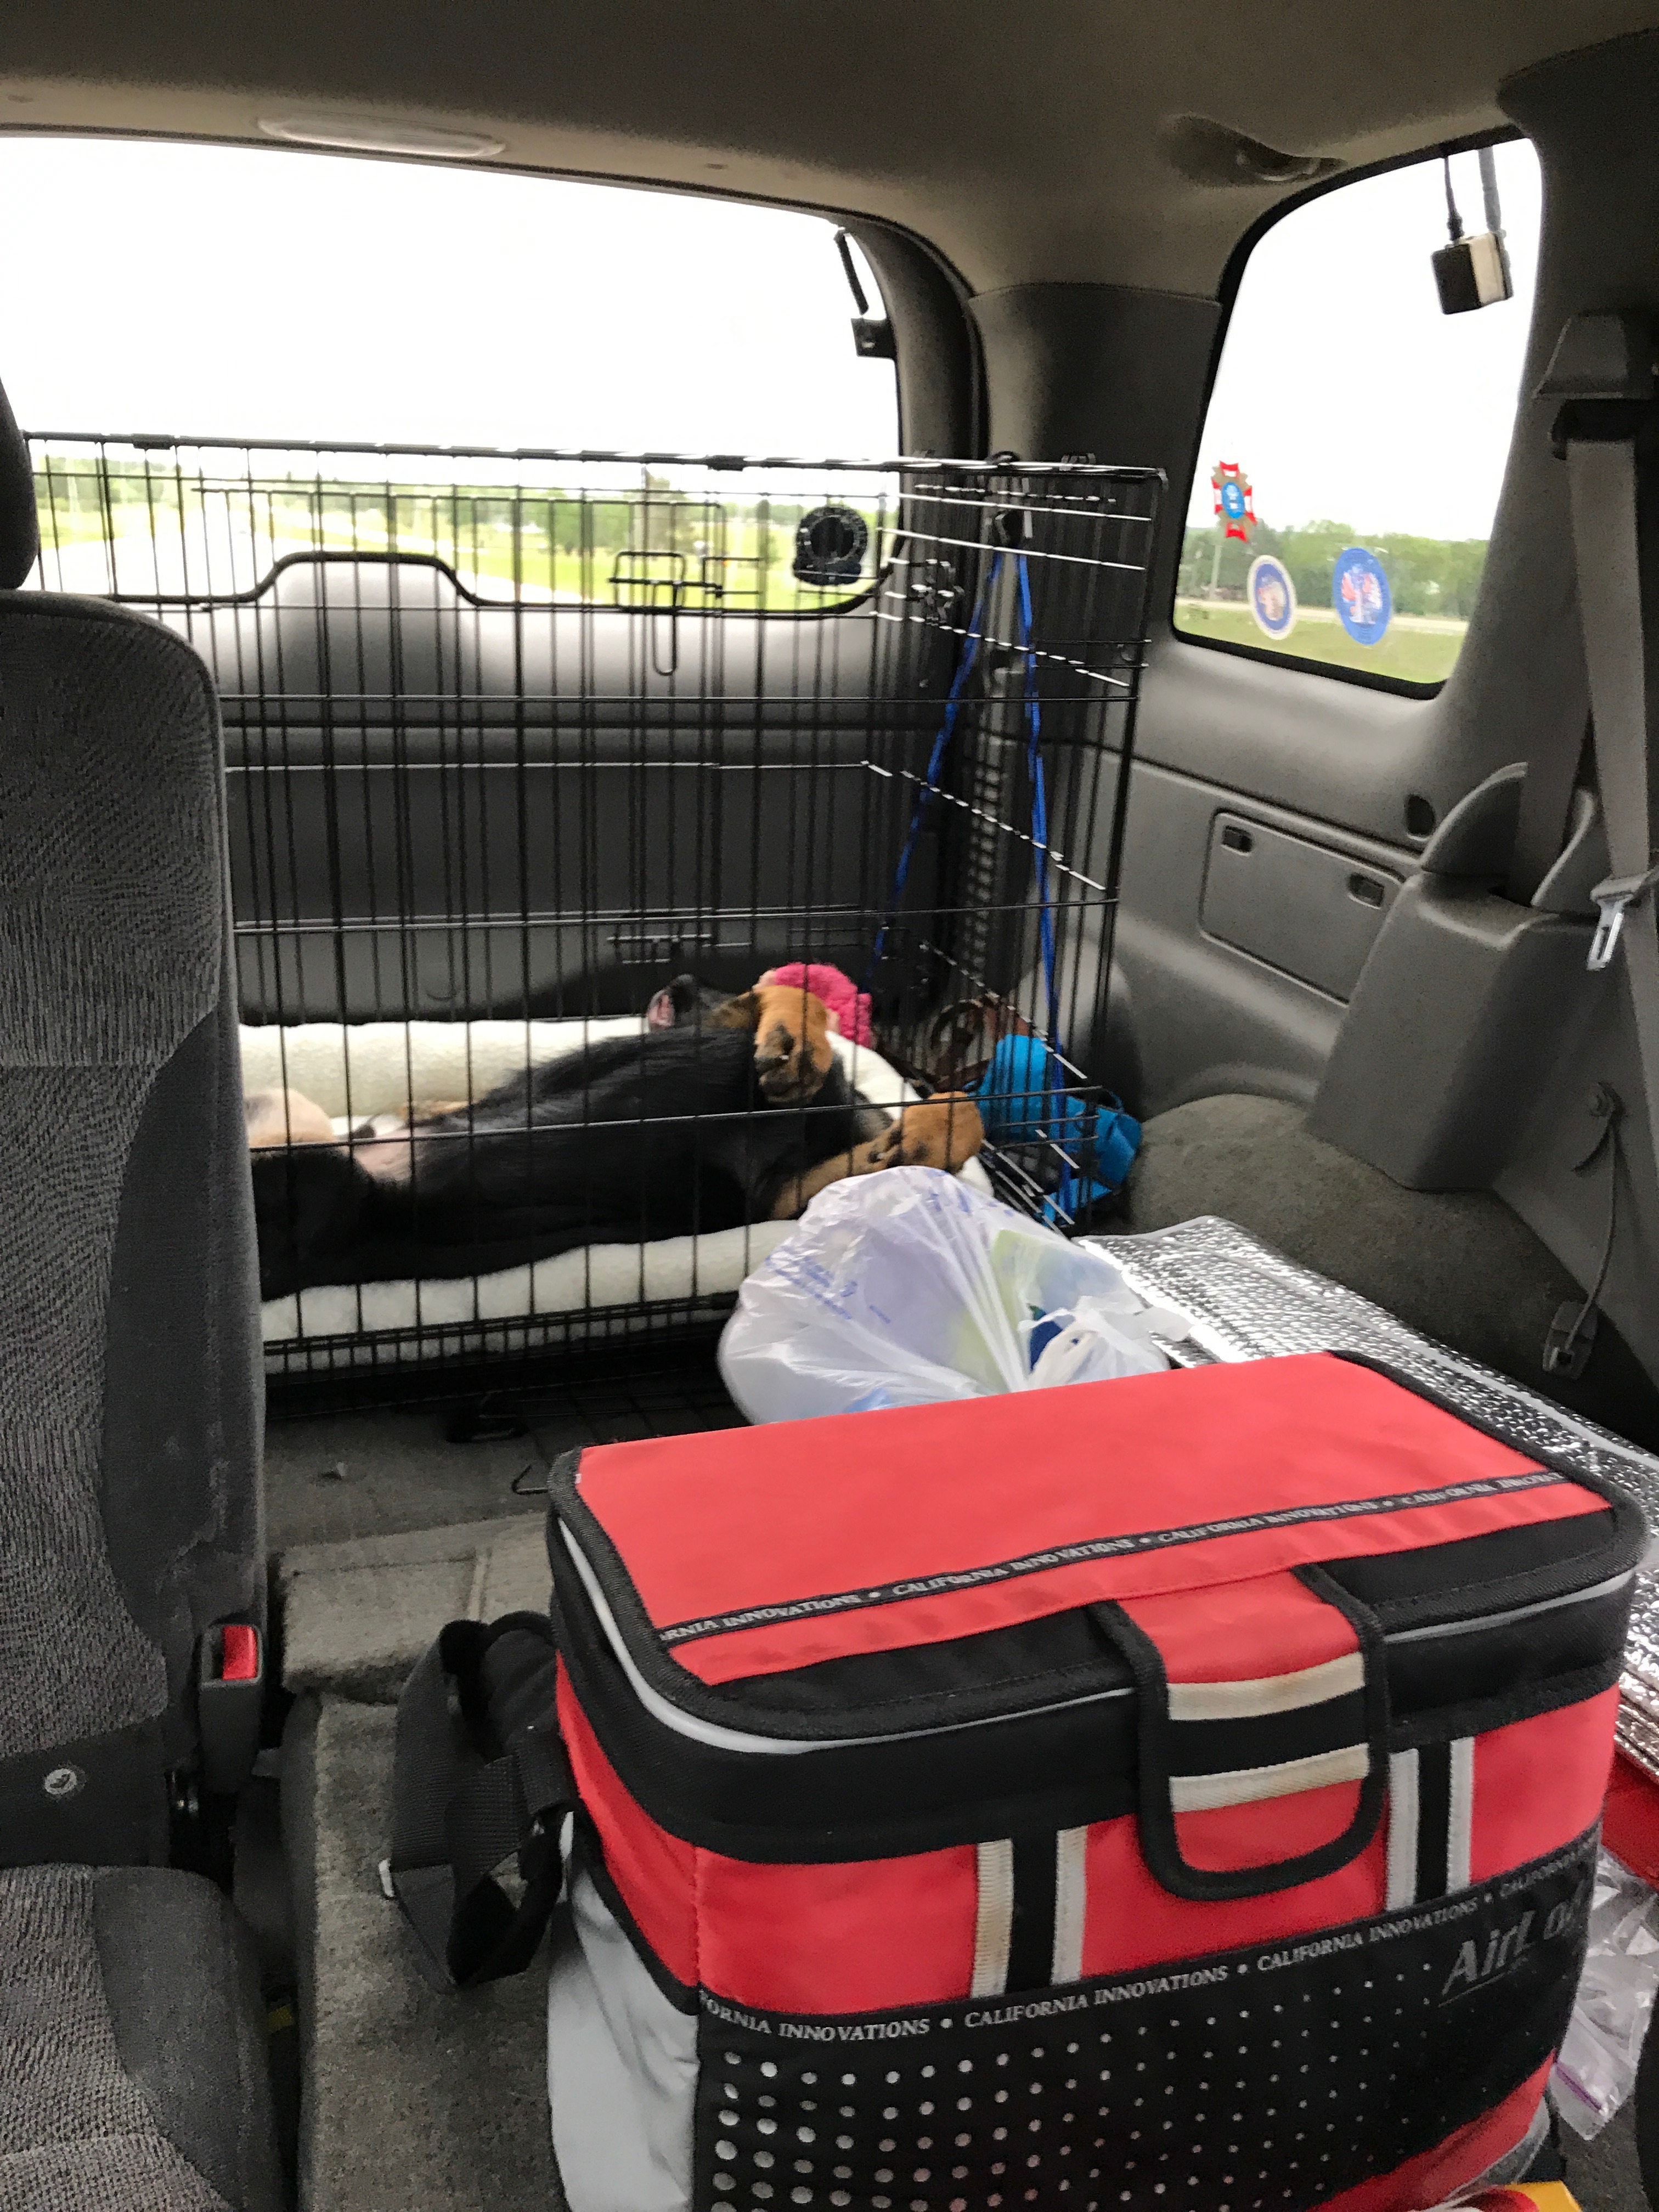
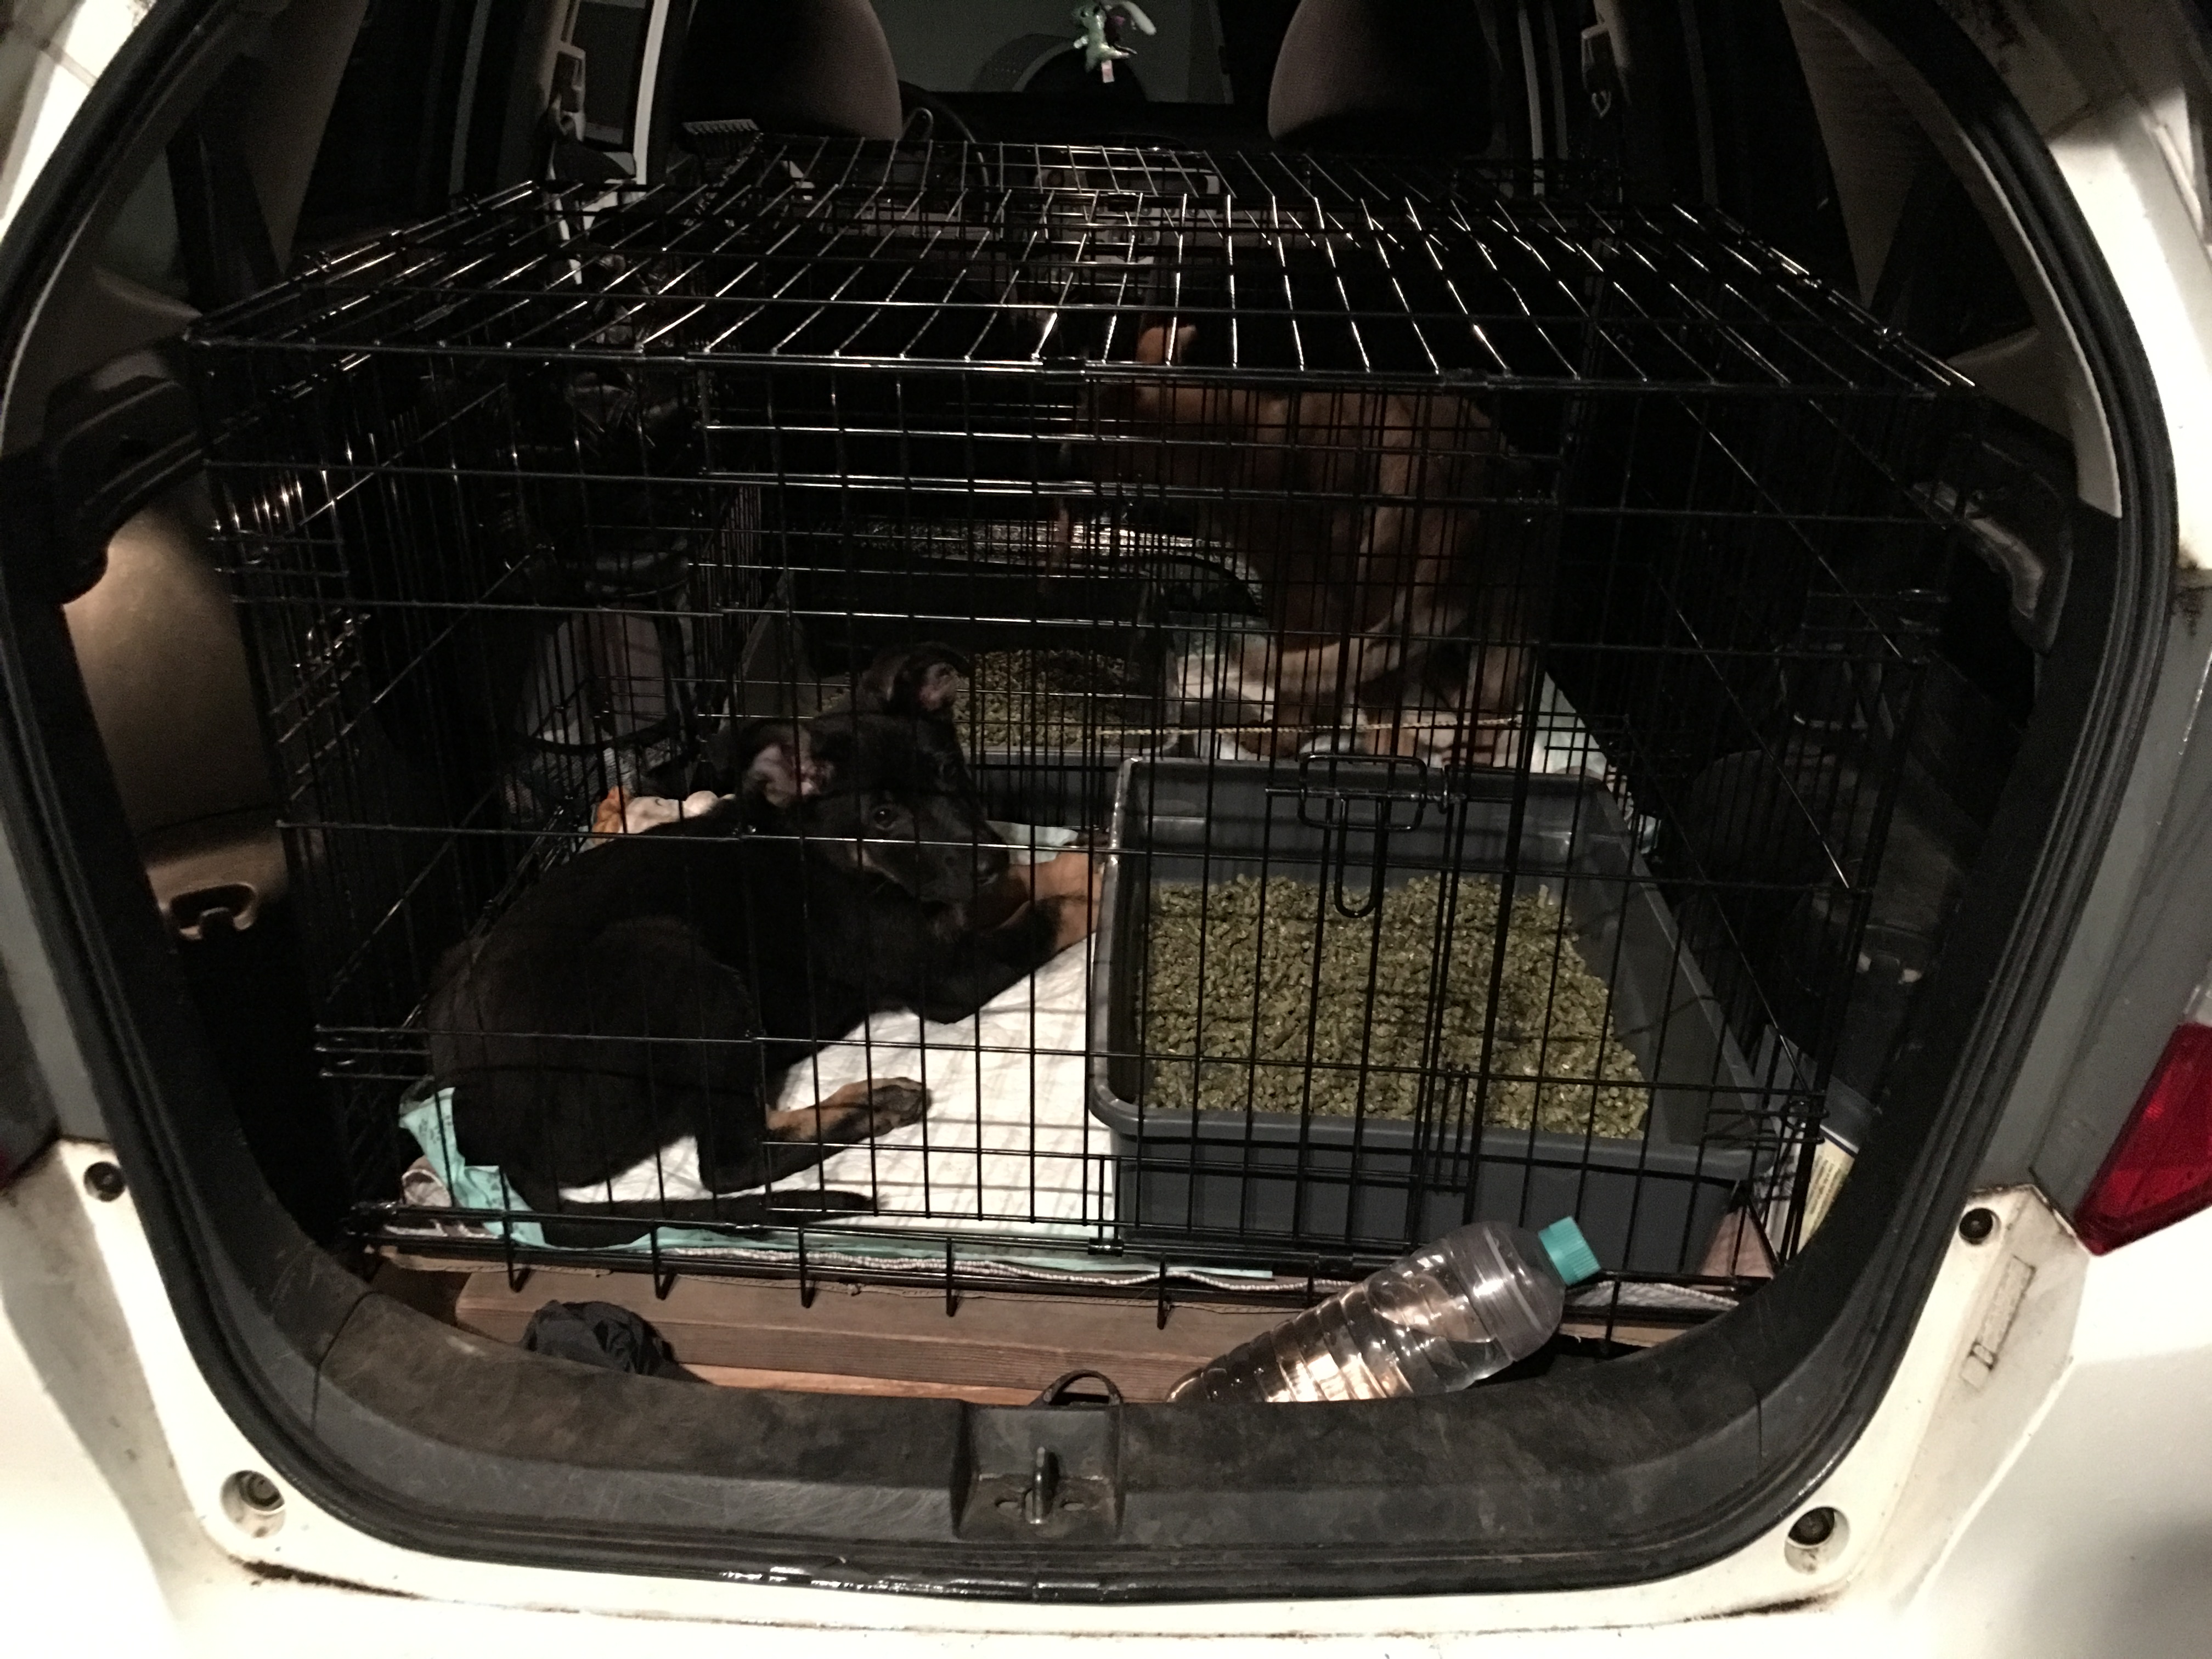
Clover and Paisley preparing for a 12 hour road trip to their new families. With crate conditioning and overnights, they made this trip with no drama.
Litter box… in a CRATE?
“Doesn’t having a litterbox in the crate teach the puppies to potty in their crate?” I admit I had this same concern – after all a dog who is dirty in the crate is a HUGE problem. My own Indeigh struggled with being clean in the crate and I remember that she was nearly a year old before I could expect to come home from work and NOT find a urine soaked dog and crate.
I can say that we have done this protocol now for 8 litters, the oldest of which is three years old, and we have had ZERO reports of puppies who are dirty in the crate. In fact, the puppies we start this way have far FEWER accident in the crate in their new homes. Most families actually report to me that the puppies NEVER have accidents, or only have accidents with extenuating circumstances,like someone delayed getting home from work, or the puppy had developed a UTI.
My guess is this is because of the litterbox. Young puppies may need to void more frequently than we think, and by offering them a litterbox we just give them a place to void if needed. But as they mature and can physically go longer between voids, they don’t need the box. Once removed, the puppy doesn’t “go” because the toilet isn’t there AND because they don’t need to. Because they are conditioned to love their crate, they are also NOT having frequent urination due to stress/distress, which is why I think poor old Indeigh struggled so with accidents, she had such a -CER to the crate and confinement. So, while your experience may be different, we have had only beneficial results with using an in crate toilet for the first couple weeks.
On my keeper puppies I remove the litterbox from the nighttime crate at 10 weeks. We don’t instruct the new families to use crate litterboxes at all. Some do, but most don’t. I find that the puppies rarely use the litterboxes in crates as they age, and once they are no longer USING the litterbox for several nights in a row I experiment with removing it.
Letting puppies out when they cry in the crate…
“How long will you let a puppy cry in the crate?” During the daytime, I don’t let them cry in the crate – I let them out if they do start, even if they don’t ask ‘politely’ – hopefully I can read the puppies and let them out before they start to NEED to cry. During Bedtime Week, we rarely have any fussing by that age, but I remove a puppy who is really freaked out. I do not remove a puppy who is just restless and whining a little bit. I try again the next night if I remove a puppy from the crate at night.
“Won’t letting the puppies out when they ask “spoil” the puppy, teaching it that it controls the human, or that crying “works” to get out of the crate?” To answer this I have to explain that I don’t believe baby puppies cry in crates for any reason other than distress. It’s natural for a puppy to panic and cry when it’s unsure about what’s happening. It’s also normal for any animal (human or canine) to panic when it feels trapped and unable to control being able to leave. I don’t think puppies cry in crates to dominate or control humans – puppies cry in crates because they are distressed and their ability to handle that distress is limited by their immaturity.
When we consider the puppy’s emotional response and why it’s vocalizing, our path becomes more clear. Behavior is very fluid and it IS easy to teach a puppy that crying will bring relief from distress… but that’s not really a bad lesson! We don’t want our dogs to silently tolerate being distresse! Crying in the crate does mean we have missed something in our plan – our puppy should not feel distressed. A bit of stress (fussing for example) is OK, but distress (screaming and biting bars for example) means we have messed up. It’s not the puppy’s fault, and the puppy should not be punished.
We need to reevaluate our plan, and go back to conditioning. In fact, what we’ve observed is that by teaching puppies a polite way to ask out of the crate, we actually create more positive emotions. The puppy knows it’s in control of it’s outcome. Dogs are happier, more secure and confident when they know how to control their outcomes and consequences. By allowing the puppy to ask out, we actually create a puppy who doesn’t want to!
“But it’s not the breeder’s job to crate train puppies! No new owner expects this, it’s too much work. Why should I do this?”
I’ll point to the above picture. A picture of baby Paisley – in her new crate, in her new home, happy and relaxed. I’ll tell you more about happy puppies sleeping beside their new person in a crate by the bed. About puppies adapting quickly and without trauma. About puppies and their caregivers able to really enjoy each other from the start, without screaming, fighting, and fear.
I personally do this for Indeigh. Even though her behavior wasn’t typical, my ignorance failed her and I wasn’t trustworthy. I allowed her to struggle, to be scared, to panic. Now I can do better, and I do better in her name and to honor her.
I love you Indeigh, I’m sorry I failed you, and I’m going to honor your memory by doing better and by helping others do better too. You’re a good girl, thank you for teaching me.
We never could have predicted the enthusiasm for our litter box training protocol, and now after years of raising litters with our method, and teaching it to other breeders, we have converted this blog into a fully updated, media rich, course for breeders and fosters. We even designed a detailed, step by step, house training course for those who purchase puppies raised with our Poop School methods. You can find the Poop School: Litter Box Training For Breeders and Fosters course as an on demand course on our training website.
If anyone had told me I could raise a litter of German Shepherd puppies from birth through 10 weeks in my home without going stark raving mad, I would never have believed them!
Too big!
Too many!
Too much poop!
Prior to Puppy Culture, we raised puppies inside our home for the first six weeks. Then, when the poop got too much, we moved them outside to a large indoor/outdoor puppy pen and yard. Good enough, right? We thought so, and indeed this worked okay for many years.
But times, and paradigms, change. Along came Puppy Culture and it’s community of breeders dedicated to doing the best they can for their puppies, to challenge us to do better.
While our older model worked well, we missed out on a lot – our puppies AND their new owners. There was so much more we could accomplish if the puppies were inside the house. We could spend our time on more than just poop patrol! We had been doing good, but Puppy Culture showed us how much better we could be doing.
I became dedicated to figuring out and perfecting how to teaching my puppies what they needed to know to live inside with us the full nine to ten weeks. With less time spent cleaning messes, I would have the time to really work through the Puppy Culture protocols. If I was going to keep a bunch of little poop machines in my house for weeks on end, I decided they would have to be litter box trained. Litter box training is covered in Puppy Culture, but what worked for me is just a little bit different. As an unexpected bonus, our puppies were significantly easier for their new families to house train. Talk about a win-win!
Here’s what I learned in a week by week guide.
First toilet! I want to leave room for the dam, so it’s just one pad/holder and a small bed.
2-3 Weeks: I put a small potty pad on the west wall of the whelping box. I have found it’s really important to keep the litter box in the same place. When I’ve done it this way, and I make the pen larger, they can always find the litter box and I have fewer misses. On the other side I place a small bed. So, sleep area and toilet area, baby version. The puppies hit the toilet about 10% to 20% of the time.
What I used:
1 Durawhelp to line the whelping box.
1 potty pad frame with potty pads.
Part 1: One Litter Box with several Potty Pads.
4-6 Weeks: As per Puppy Culture protocols, we move puppies to the weaning pen around week 4. I remove the whelping box and put the larger toilet where the whelping box toliet was, along the western wall of our dog room. In front of the new toilet is a slightly larger play area. On the eastern side of the pen I put in a row of small puppy beds (during week 4) and small crates (week 5). Before I add the crates I want to be sure the puppies are NOT urinating on their bed area. They don’t have to make it all the way to the litter box, but are at least moving off their bed area. Once the puppies are moving off their bed area to urinate, I add the crates. By now the puppies poop in the toilet most of the time, but they still miss as much as they hit with pee.
Part 2: Removed Puppy Pads and added litter boxes with pellets.
It’s important to have realistic expectations. During week 4 the puppies rarely make it all the way to the toilet to urinate, they are just not mature enough. What I’m looking for is that the pee spots on the brown pads are moving CLOSER to the toilet. This tells me the puppies are learning to move away from their bed and play area to potty, which is an important skill.
From the moment we move the puppies to the weaning pen, we start to carry each puppy to the litter box immediately after eating. Someone watches them to make sure they actually hit the toilet when they void. Doing this religiously really helps the puppies understand to “go to” the litter box when they need to void. During week 4 we are often placing the puppies in the toilet when we know they need to poop. SOME of the puppies will start going to the toilet to poop during this week and by the end of week 5 we hope that most of the poop will be in the toilet.
Part 3: Pen expansion, added crates.
Please don’t expect your puppies to be perfectly litter box trained. They are not adults, we are just looking for an effort to reach the toilet to tell us the puppies are learning and trying.
What I used, with links at the end of the blog:
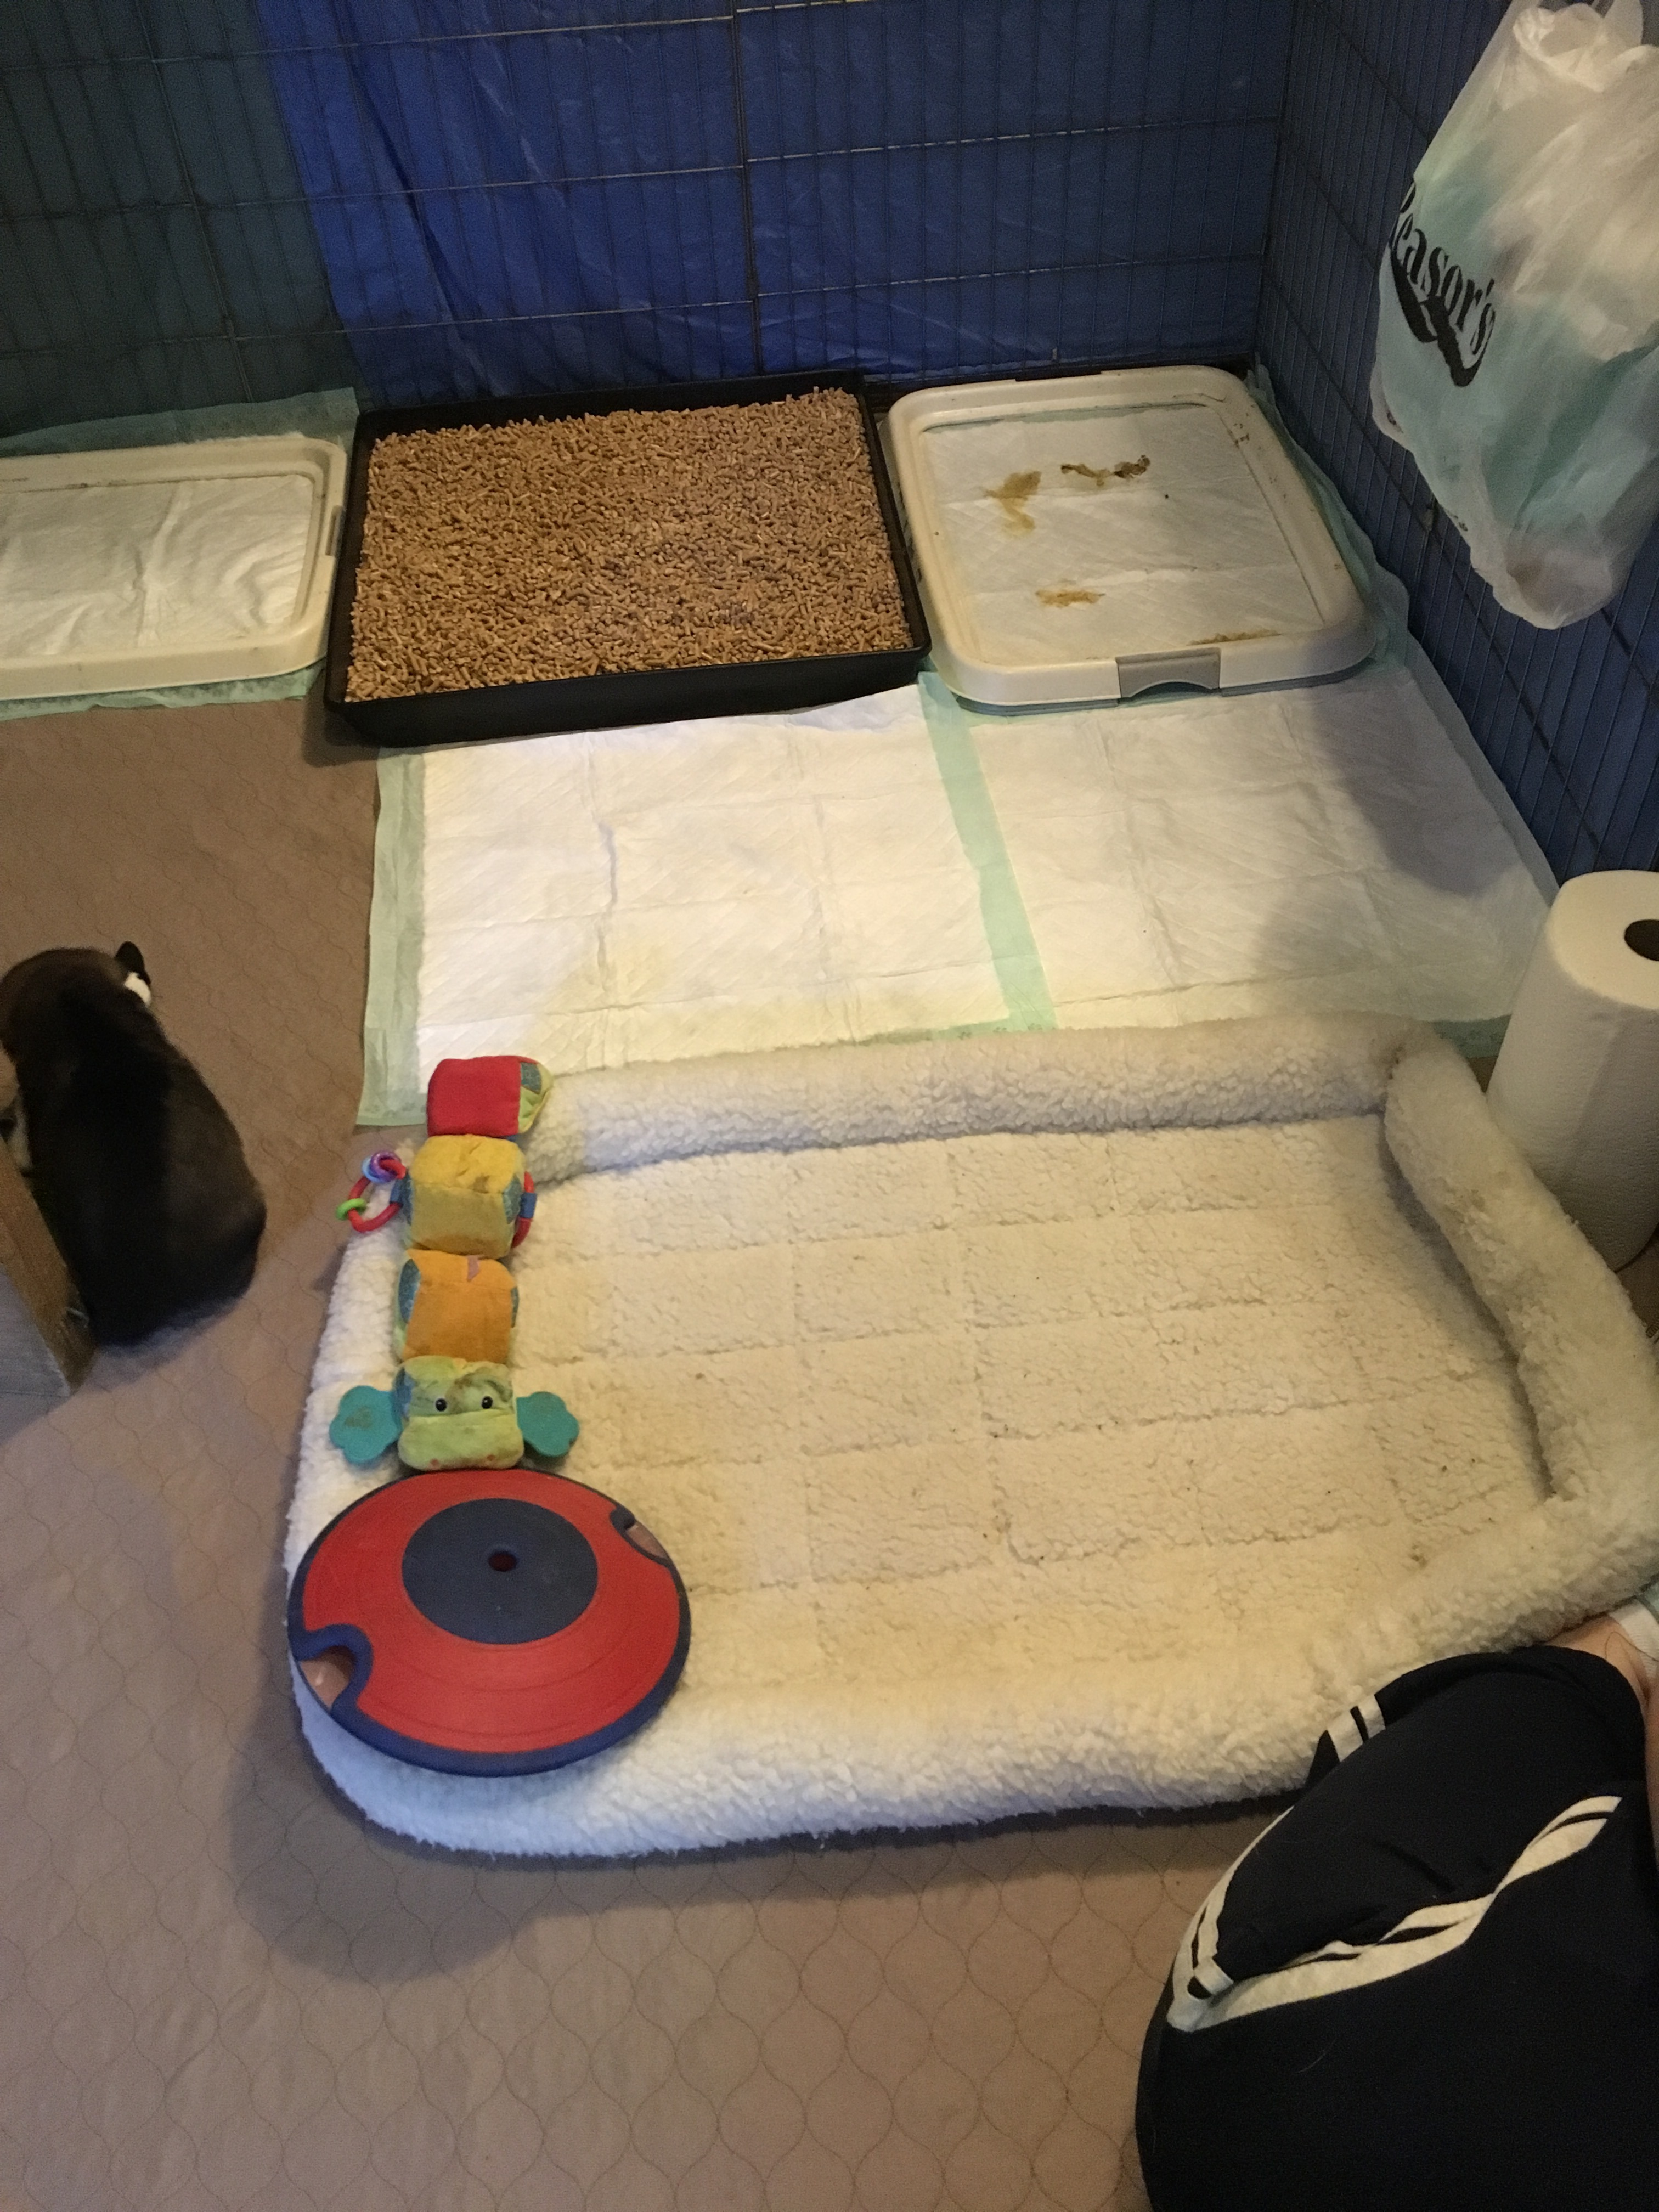
Toilet: 3 plastic rabbit hutch trays from Tractor Supply Company 24″ x 24″
TIP! I have learned that keeping the toilet in the same place speeds toilet training. Now, I always have the toilet on the west wall of their pen, even starting as early as the whelping pen pad, and THAT was really helpful. On previous litters I experimented and moved the toilet around often, that really made it harder for my puppies to have success. My suggestion is that you decide before the litter is born how you will build out from the whelping box, to the weaning pen, to the toddler pen. Plan in advance, so your litter box will stay in the same area the entire time.
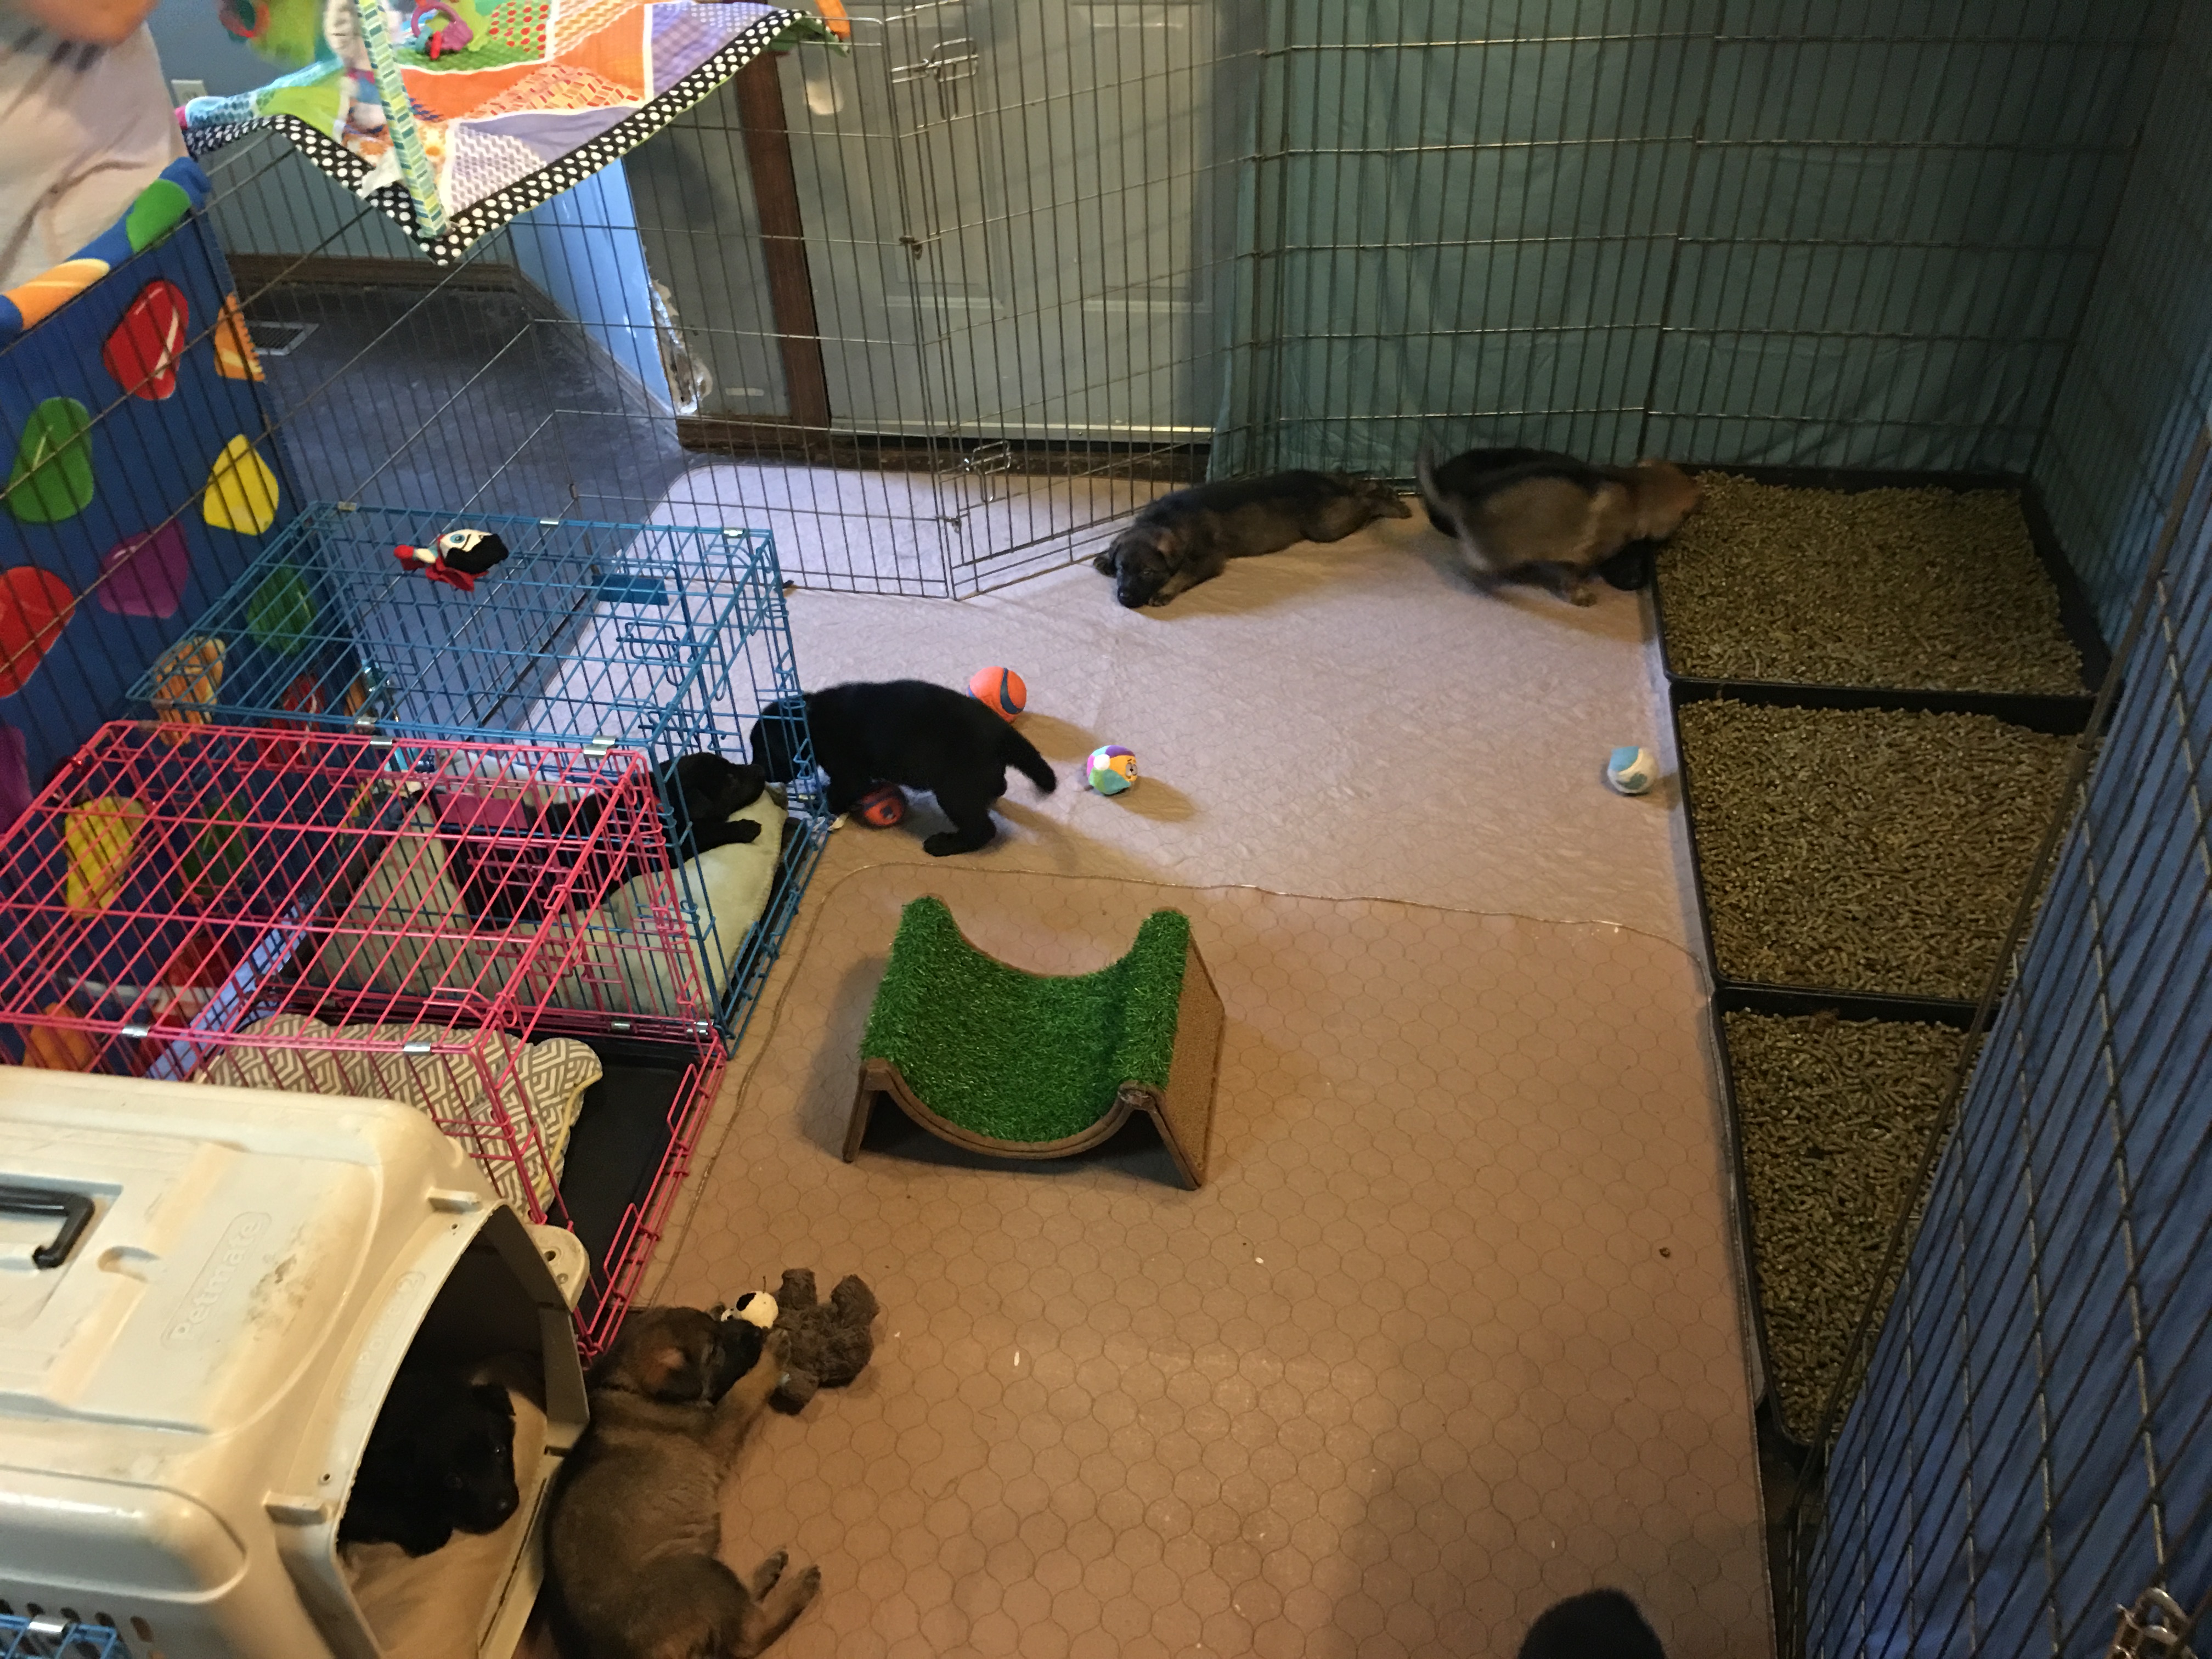
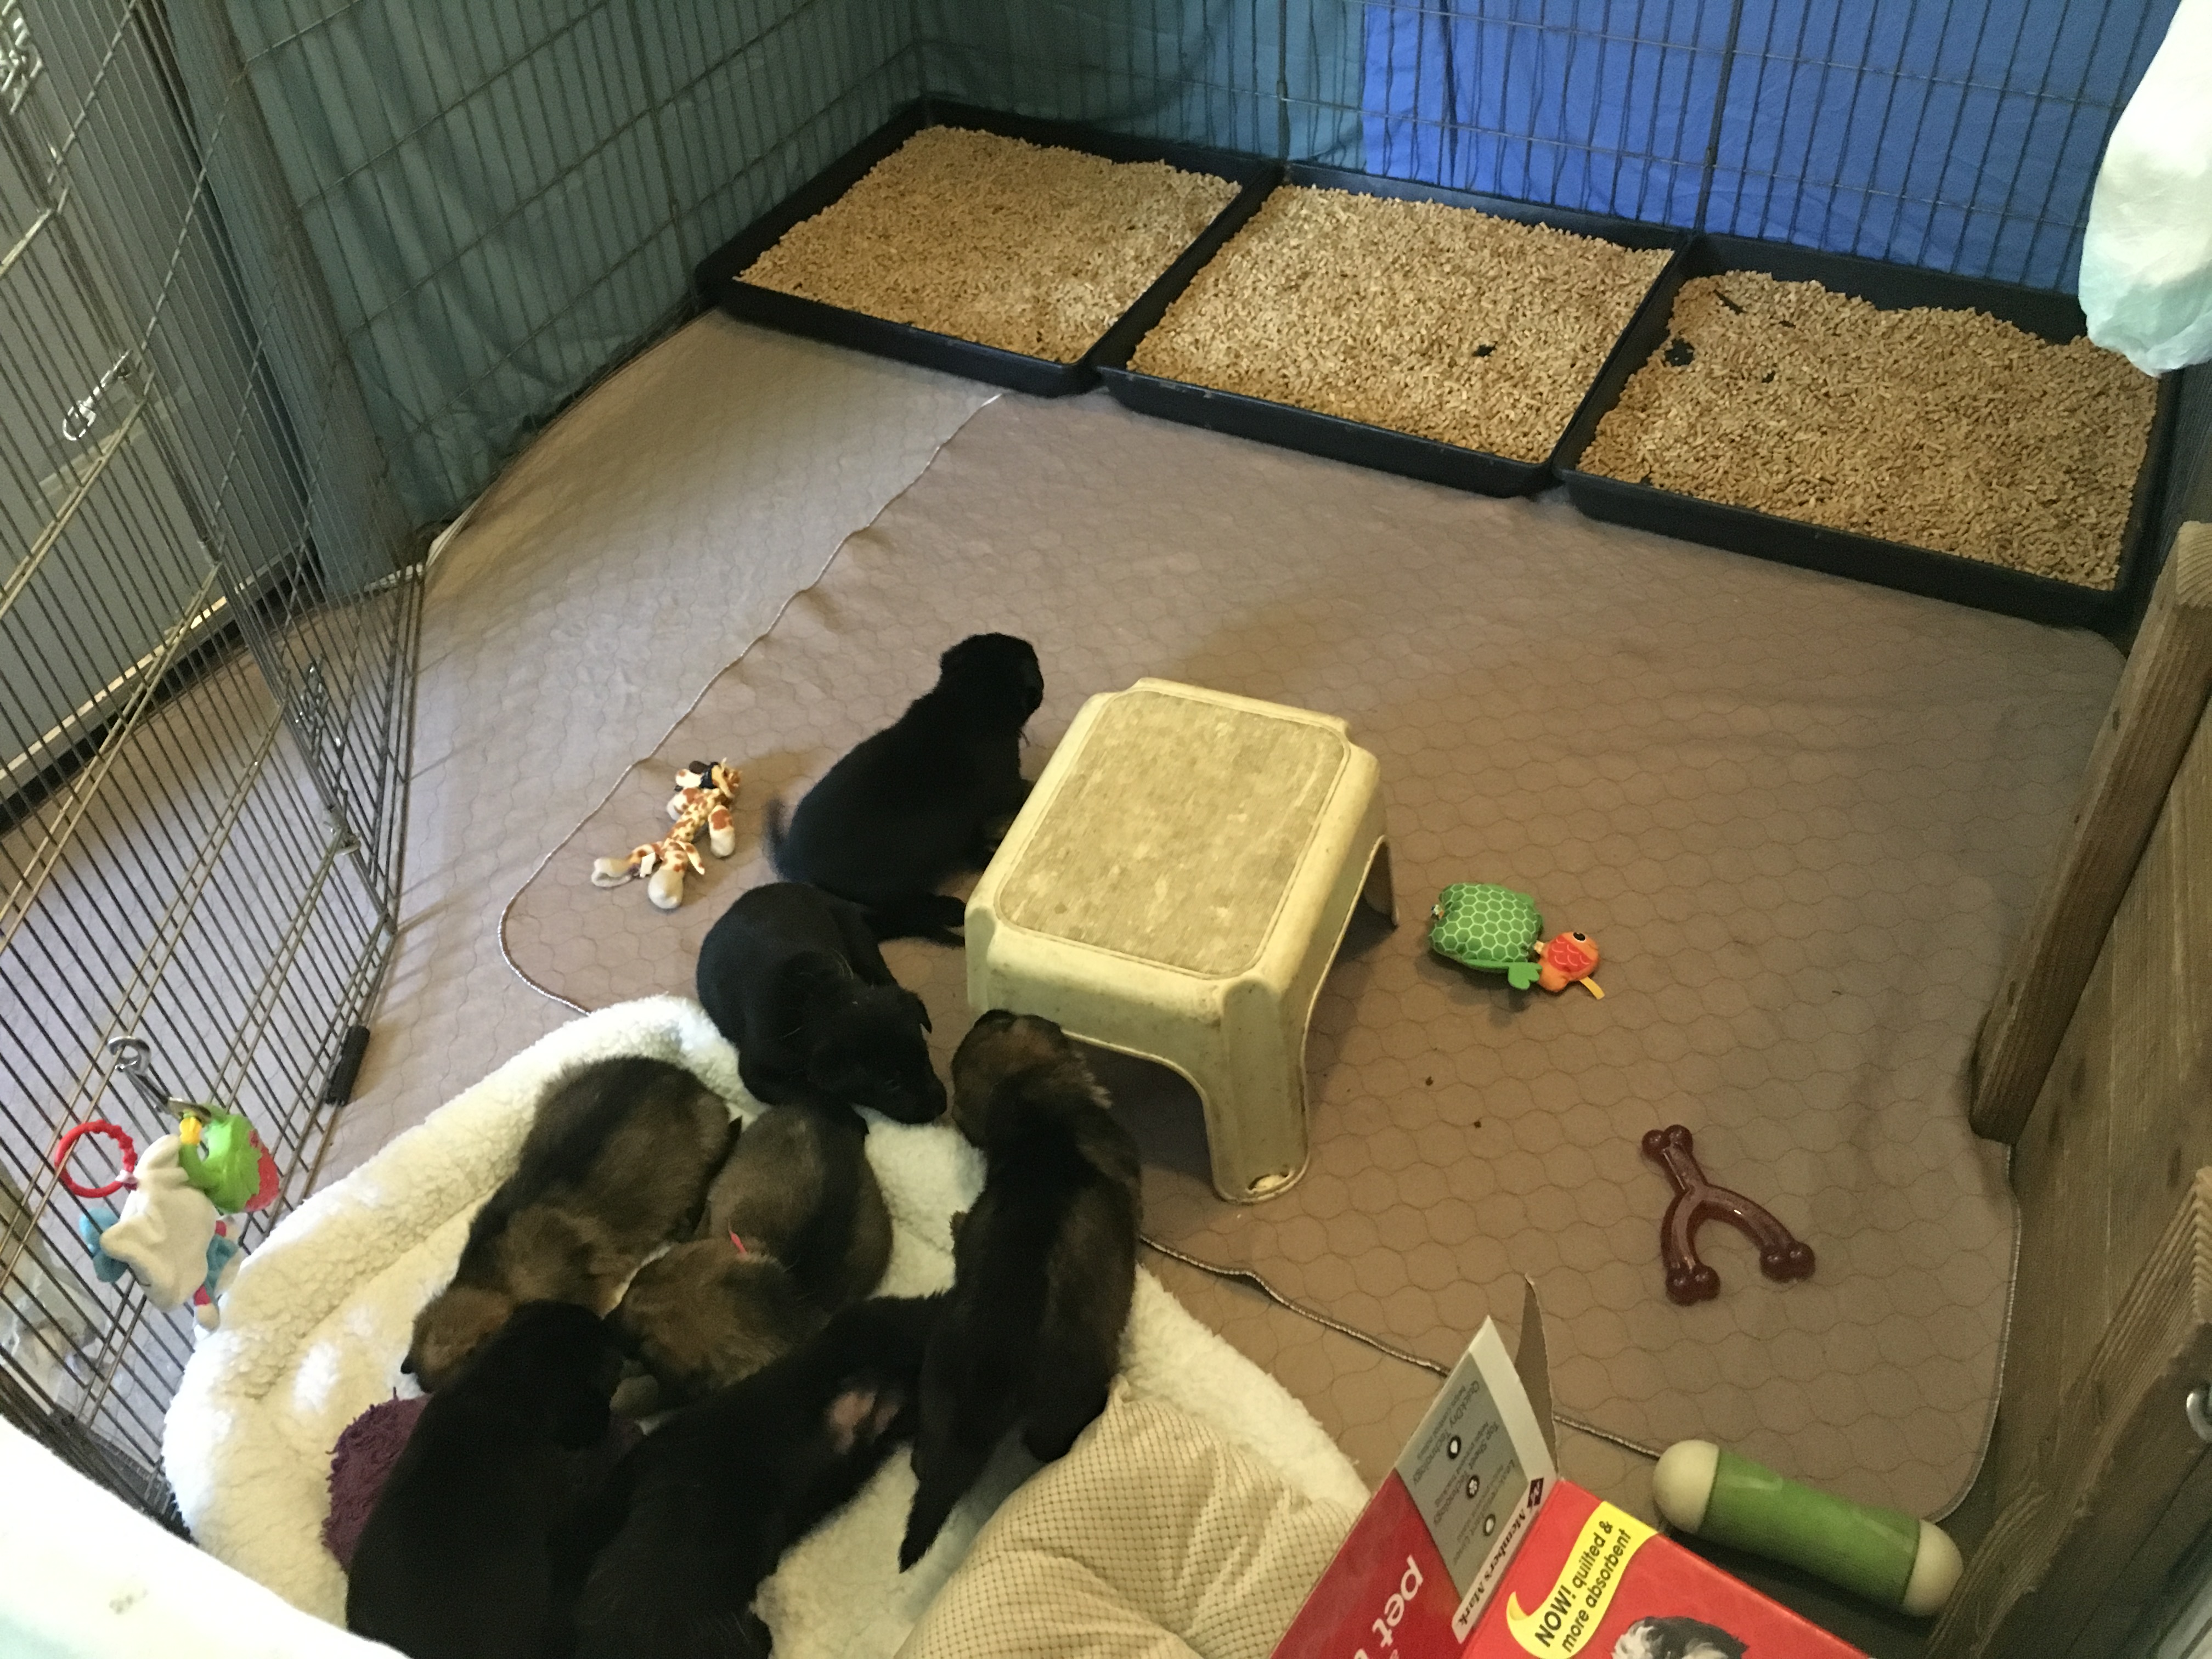
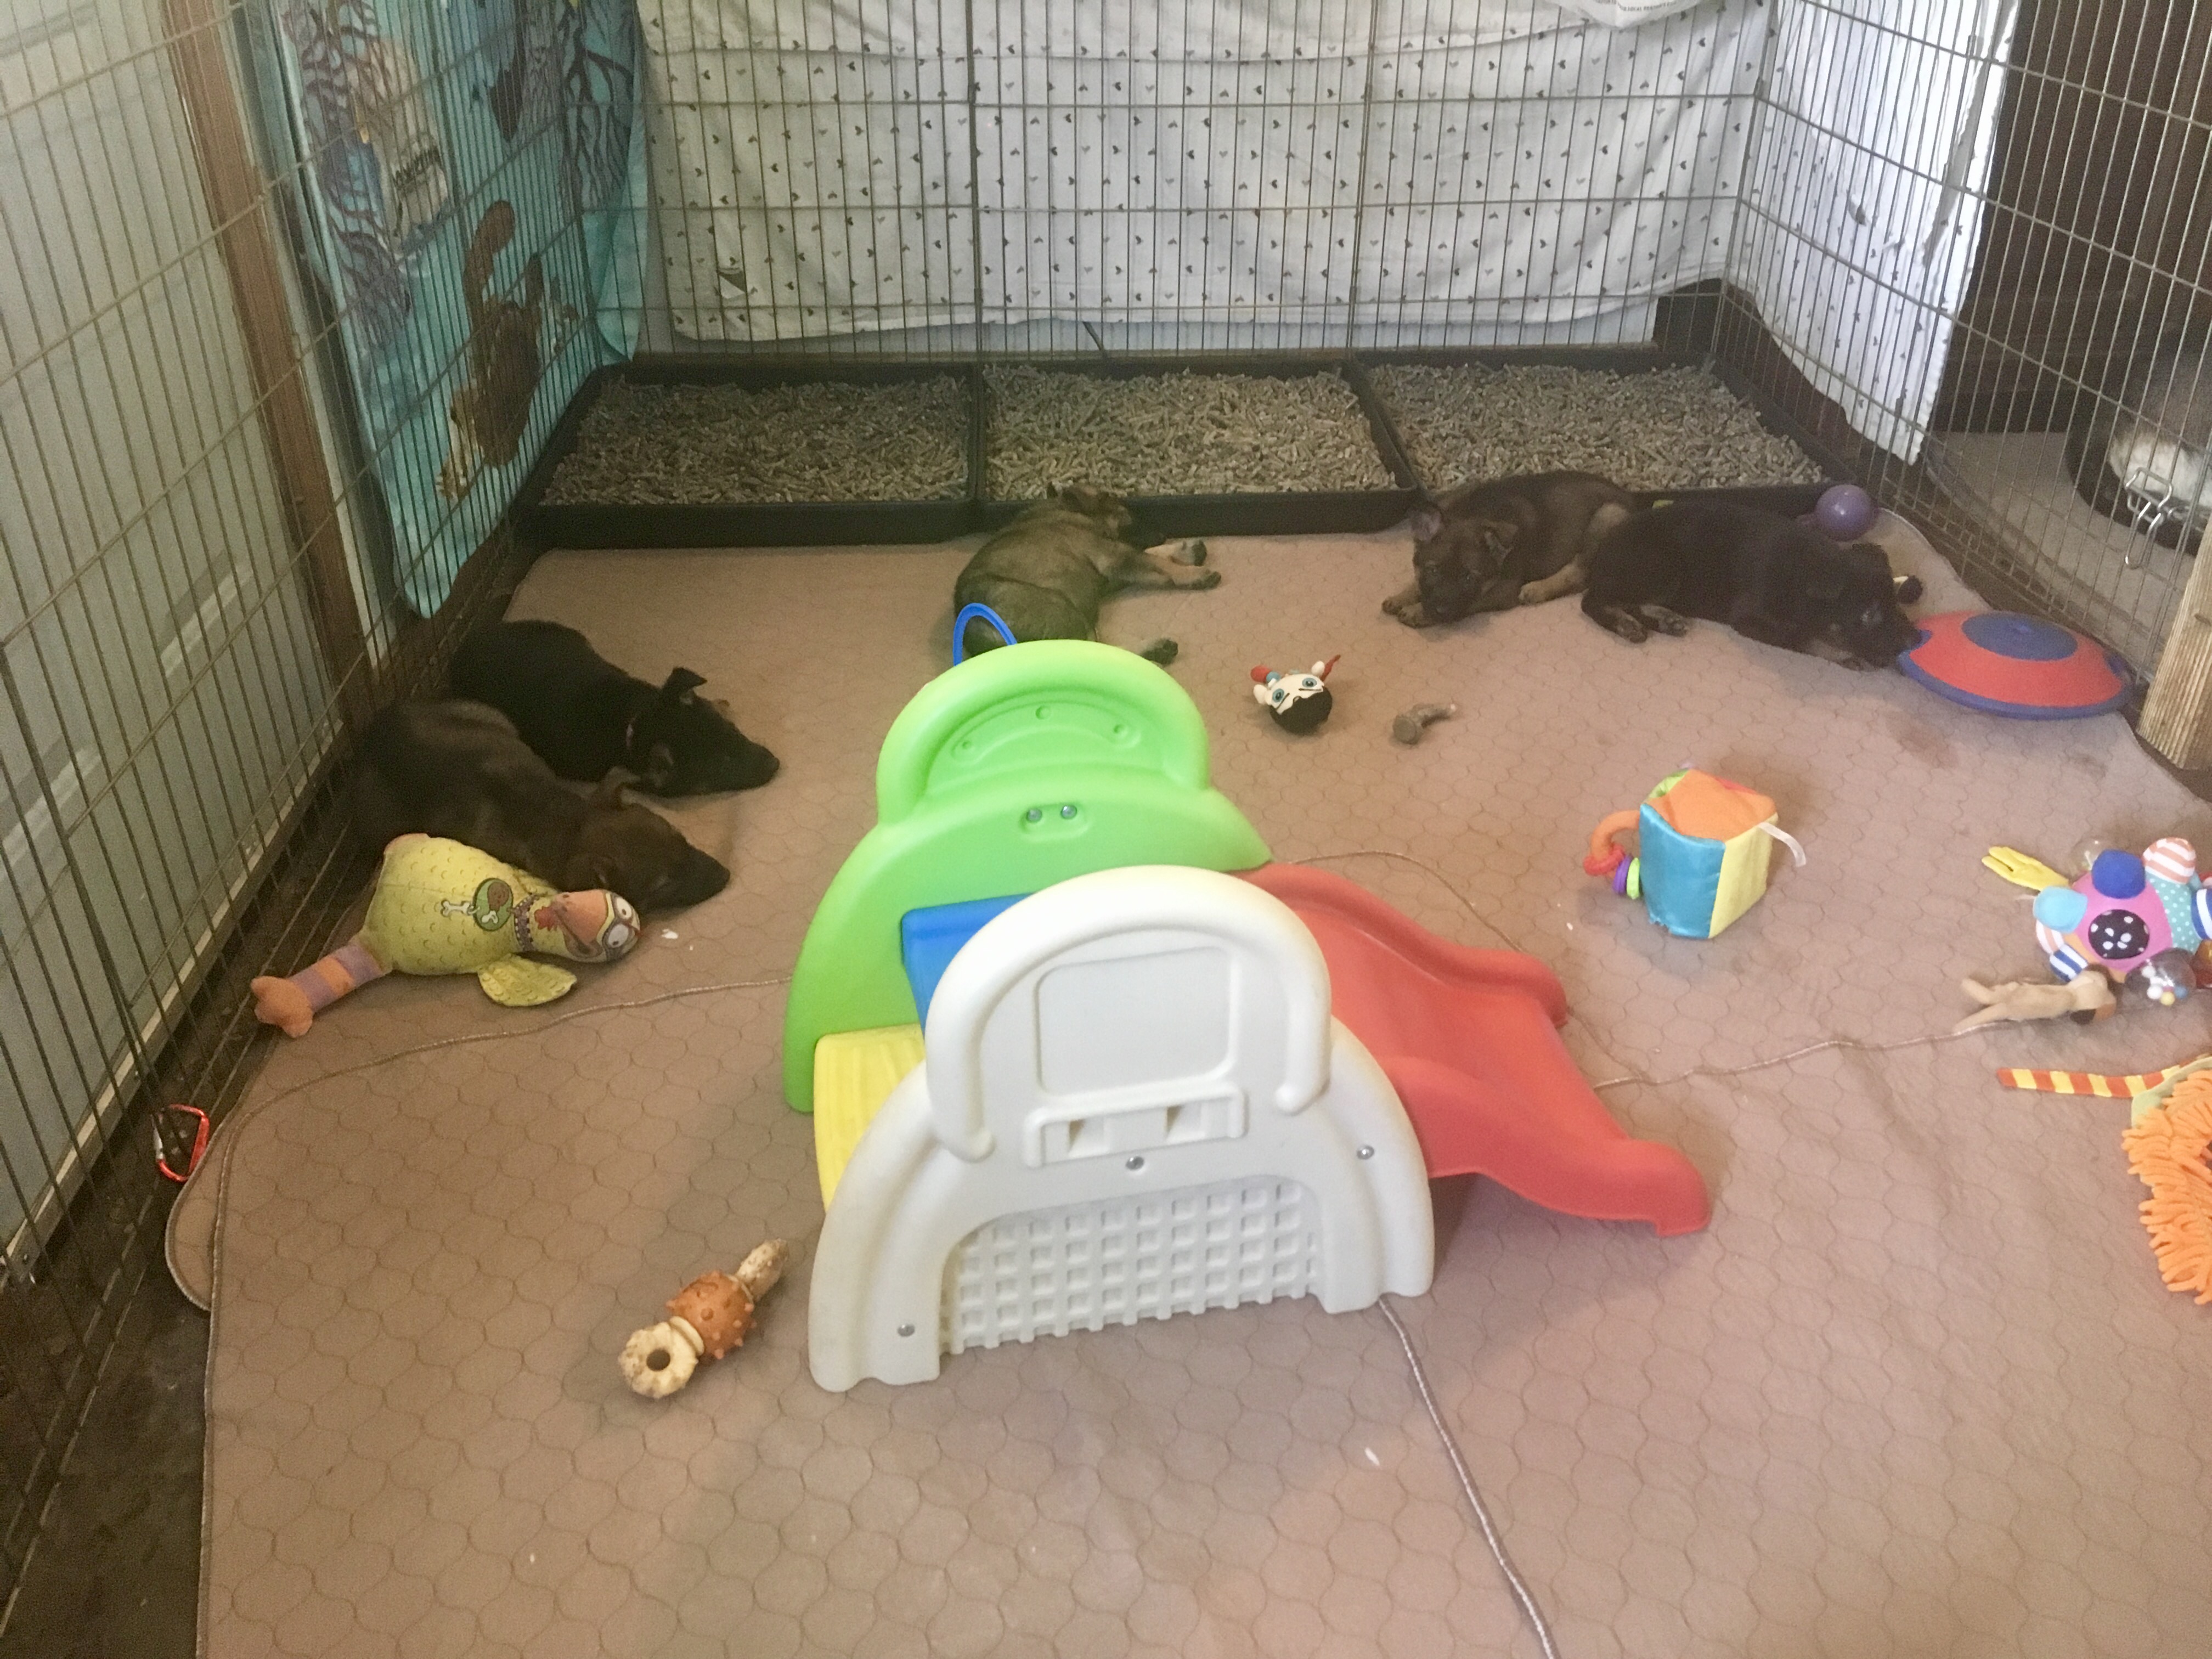
The now expanded weaning pen, the litter box is in the same position, the play area is larger to meet the needs of our growing puppies.
Week 6-7. At the end of week 5 we enlarge the weaning pen. The puppies are now using the toilet most (but not all) of the time and their pen is enlarged to make room for more exercise and passive enrichment. At this point you can also see the door is available (left) to their puppy patio outside. The crates are still on the wall opposite of the toilet, and our crate conditioning plan is in full force. The pen opens into the kitchen and living room (right), and outdoors (left). We are still using the three pan toilet for these two weeks. Please note, there are still plenty of pees outside the toilet, but most of the poop is inside the toilet.
We continue to ensure the puppies either run to, or are carried to, their litter box after each meal. By this age we are feeding the puppies in their crates, so after each meal the crates are opened and the puppies encourage to their toilet area to void.
What I added:
Larger (24 x 36 inch) crates not visible here.
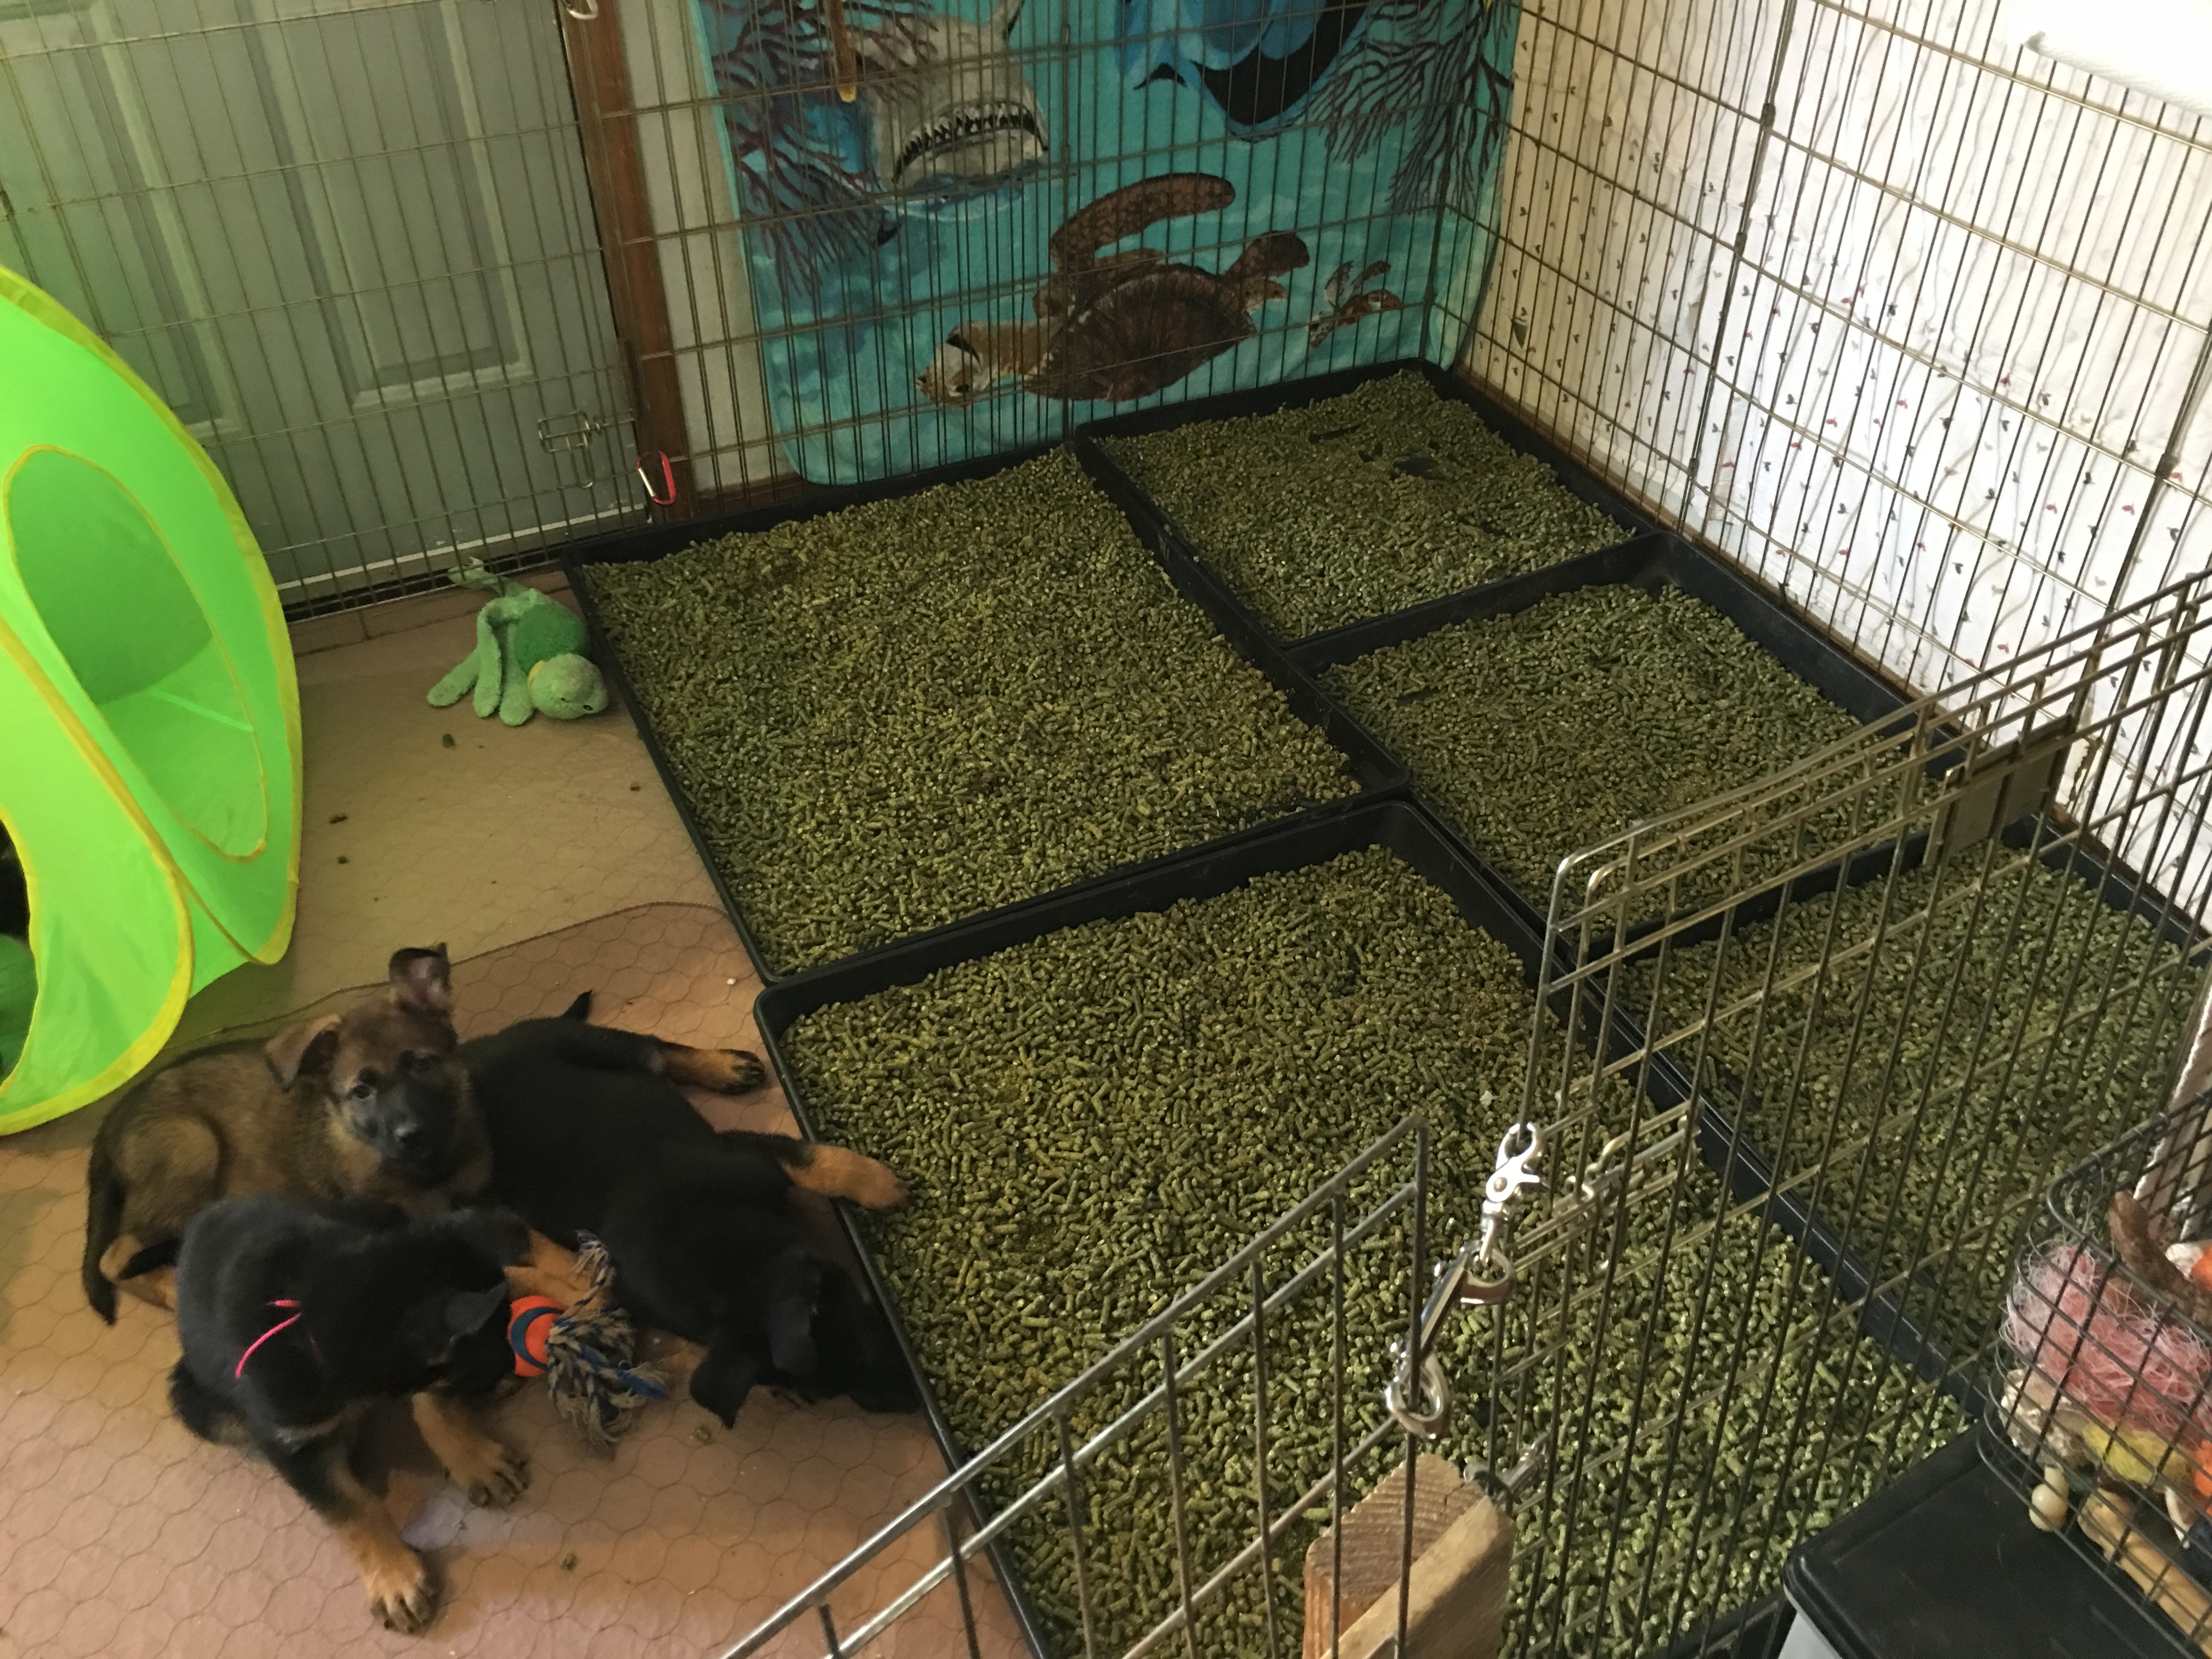
Week 8-10: For the last two or three weeks the puppies are with us, we expand the weaning pen until it takes up the entire dog room. I found my puppies do not like to touch poop, and will choose to poop outside of the box if they must touch poop to void inside the box. Not a problem during the day when we pick up constantly, but at night the box can get poopy. Once this starts, I switch my smaller boxes out for the largest boxes that are 24″x36″ – and at night i put the three smaller boxes down in front of those bigger ones!
Our largest litter box area, we use this at night for large litters in weeks 7 and 8.
This photo shows the boxes reversed! This largest toilet helps the puppies succeed in getting fully into the box to void, even if there are some poops in it. Puppies are now taken outside for potty breaks as often as possible, through their exterior door and onto their puppy patio outside. They still need and use their litter box however, and there is the occasional accident on the EZ whelp pads.
By now we are encouraging the puppies to void outside. They have a doggie door that leads to their puppy patio, so they can go outside often on their own.
What I add this week:
2 Rabbit Hutch Trays (24 x 36) TSC
I hope this guide helps you litter box train your own puppies. We found by starting early, creating an environment designed for success, and not expecting perfection we have been able to enjoy having our puppies in the house with us with far LESS work than ever imagined. This has freed up even more time to implement Puppy Cultures core protocols, active enrichment, training, socialization and teaching puppies to be enrichment seekers.
Throw us a bone? The above links are affiliate links. These are products we have used and loved. We get a few coins for purchases from these links but you never pay more.